Quick Answer: Complete Dive Master Achievement by jumping from stair structure south of Pochinki into water on Erangel. Jump at 750-780m distance with 10 o'clock angle, punch on landing to cancel animation. Single successful dive triggers achievement automatically.
Understanding Stepwell Diving in PUBG Mobile BGMI 4.0
What is Stepwell Diving
Here's the thing about Dive Master Achievement – it's refreshingly straightforward compared to some of the grindier challenges we've seen. You need exactly one thing: jump from that specific stairs structure south of Pochinki into water on Erangel. That's it.

The achievement triggers automatically the moment you hit water in any mode. We're talking 2-3 minutes versus those soul-crushing performance-based challenges like Overachiever (looking at you, 2800 points). Honestly? It's almost too easy once you know the trick.
For premium currency enhancement, buy PUBG Mobile UC online through BitTopup platform offering competitive pricing, instant delivery, secure transactions with 24/7 customer support.
BGMI 4.0 Updates and Changes
BGMI 4.0 dropped on September 11, 2025, and – I'll be honest – some of these updates actually make the dive challenge more interesting. The new Spooky Soiree mode introduces Ghostie companion with shielding, armor repairs, healing, and flight talents. Players can equip 1 main skill plus 2 passive skills for tactical synergy.
The Magic Broom vehicle? Game-changer. Carries 2 players with dash and sweep abilities, making contested zone traversal way safer. I've used it to escape sticky situations around Pochinki more times than I can count.
Wraithmoor Mansion adds this exploration zone with artifacts and ghost encounters. Environmental changes might influence traversal safety around the Pochinki area – something to keep in mind during your dive attempts.
Challenge Requirements
The sequence couldn't be simpler: Select Erangel → mark south of Pochinki → land → climb stairs → jump into water. Achievement triggers immediately regardless of match outcome.
Unlike those sustained performance achievements that make you sweat for 20+ minutes, you can literally dive and disconnect if you want. (Though where's the fun in that?)
Essential Preparation for 5 Leaps Challenge
Optimal Settings Configuration
Configure your parachute based on proximity – this is crucial. Automatic opening when you're near the flight path maximizes descent speed. Early opening for extended gliding when you're distant.
Keep your thumbs dry. Sounds obvious, but sweaty fingers during precise skydive control can mess up your angle execution. Trust me on this one.
Practice distance judgment and bullet drop awareness for pre-dive engagements. Control quality affects both skydive angle execution and survival odds in that high-traffic Pochinki area.
Equipment and Loadout Setup
Minimize inventory management. Grab basic survival gear and head to those stairs immediately. I've seen too many players get caught up looting near Pochinki – extended ground time equals vulnerability.
Use vehicles strategically for positioning despite the attention they attract. Yeah, they're loud, but they reduce travel time significantly. Just requires careful risk assessment in contested zones.
Map Knowledge Requirements
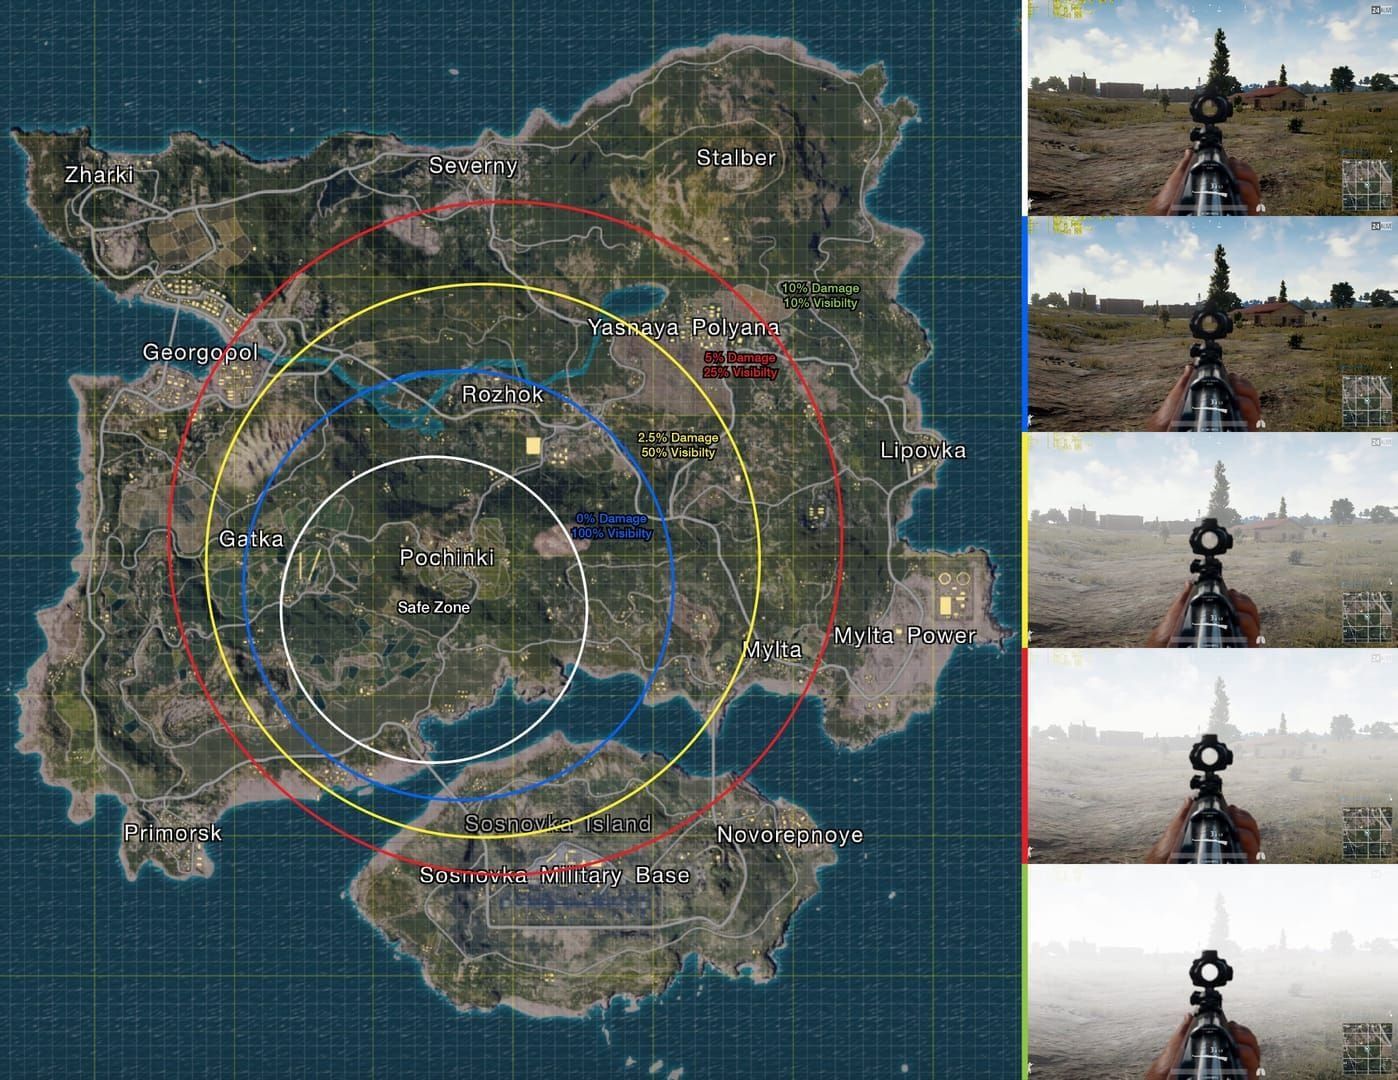
Here's something interesting – the dive site's central positioning commonly places it within the first circle. Extra time for match continuation if you're feeling ambitious.
Predict closing circles to route safely. Avoid zone cuts or forced fights that'll derail your dive mission. Understanding traffic patterns around Pochinki helps identify safer approach angles and timing windows.
Best Stepwell Locations for Fast Completion
Primary Stepwell Spots
The structure south of Pochinki features stairs leading directly to water. Proximity to Pochinki creates high accessibility but intense fighting – Pochinki's reputation as a contested zone isn't undeserved.

If your jump doesn't register due to incorrect edge or angle? Restart the match for rapid reattempt. No point wasting time troubleshooting mid-match.
Central positioning offers multiple approach vectors and quick restart capability. Vehicle accessibility enables repositioning under pressure – something you'll appreciate when things go sideways.
Secondary Location Options
Dive Master works exclusively on Erangel, but alternative approach routes are essential under varying flight paths. When flight paths create high enemy density over Pochinki, rotate from areas far from the path to reduce encounter risk.
Extended gliding trades descent speed for positioning advantages. Sometimes avoiding those crowded high-loot zones (which correlate with flight path proximity) is worth the extra seconds.
Step-by-Step Fastest Route Guide
Route Planning Strategy
Pre-mark your target south of Pochinki before plane exit. Use that spawn phase to read the plane path on your mini-map – adjust strategy once the path becomes clear.
Avoid high-loot zones directly on flight path. Higher enemy density isn't worth it when you're focused on achievement completion rather than match wins.
Optimal Movement Sequence
Fastest landing workflow: pre-mark target → observe flight path → jump at optimal distance → use 10 o'clock angle → adjust parachute timing → punch on ground to cancel somersault.
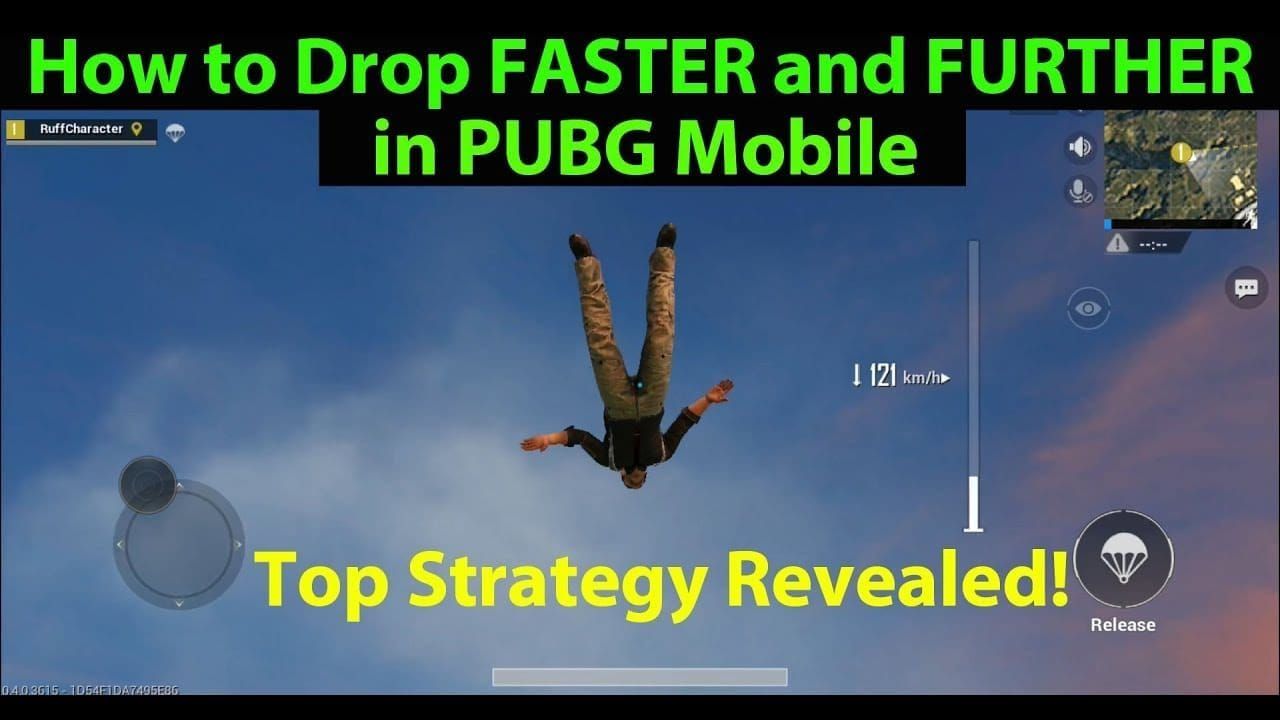
Jump when your marked drop appears at 10 o'clock relative to flight path direction. This angle accelerates drop speed and improves target alignment. Look at the actual target spot rather than your mini-map during descent – visual alignment beats everything.

For enhanced progression, PUBG Mobile UC instant top up through BitTopup ensures immediate access to battle passes, weapon skins, exclusive content with reliable service and competitive rates.
Timing and Execution
Optimal jump distance on Erangel: 750-780 meters for fastest descent. Parachute timing varies – near flight path uses automatic opening for maximum descent speed, far targets benefit from early opening for extended gliding range.

Punch immediately upon ground contact to cancel that somersault animation. Minimizes exposure time and accelerates progression to dive point.
Advanced Diving Techniques and Combos
Pro Movement Mechanics
The 10 o'clock jump angle combined with 750-780m distance yields fastest landing through synergy. You're maximizing vertical drop rate while ensuring lateral alignment.
Skydiving straight down provides fastest speed; gliding sacrifices descent speed for distance. It's all about reading the situation and adapting accordingly.
Fine-tune parachute timing based on real-time distance assessment. Re-aim visually at your spot rather than depending on mini-map guidance – your eyes are more reliable than that tiny map.
Advanced Leap Combinations
Achievement triggers after a single successful dive regardless of match continuation. For multi-objective sessions, coordinate dive completion with other Erangel-specific challenges to maximize efficiency.
That central location supports transition to other objectives within the same match when circumstances permit. Why waste a good Erangel drop?
Speed Optimization Tips
Flight path analysis during spawn enables rapid decision-making for drop selection. Vehicle usage is tactical for positioning when flight paths create suboptimal landing positions.
Minimize time on inferior items en route. Ensure adequate combat supplies while avoiding over-management that delays dive execution.
Common Mistakes and How to Avoid Them
Timing Errors
Match your parachute strategy to distance: auto for close drops, early for extended glides. Always punch immediately upon landing to cancel animation.
Use that spawn phase effectively to analyze plane trajectory and select positions that minimize enemy encounters. Those few seconds of planning save minutes of frustration.
Route Planning Mistakes
Prioritize uncontested approaches over loot density when focusing on dive completion. Pre-mark your target before jumping to maintain execution focus.
Develop alternative angles and vehicle-assisted routes for varying situations. Flexibility beats rigid planning every time.
Equipment Issues
Focus on essential survival gear only. Prioritize stairs movement over comprehensive equipment collection. Balance minimal looting with sufficient combat readiness – you need enough to survive, not enough to win tournaments.
Real Gameplay Examples and Case Studies
Successful Run Analysis
Optimal execution combines pre-marking with flight path analysis, resulting in uncontested landings within 200 meters of stairs. High-efficiency runs complete the sequence from plane exit to achievement unlock within 90-120 seconds.

Squad coordination provides area security, enabling primary players to focus on dive execution. Vehicle-assisted approaches prove effective when flight paths create distant landing requirements.
Failed Attempt Breakdowns
Common failures? Landing in high-density areas due to poor flight path analysis, resulting in early elimination. Incorrect edge selection leads to failed achievement triggers requiring restarts.
Extended looting phases near Pochinki frequently result in third-party eliminations. Successful attempts minimize ground time through direct stairs movement.
Practice Methods and Training Routines
Solo Practice Sessions
Develop muscle memory for optimal landing sequences through training mode practice. Focus on that 10 o'clock angle execution and parachute timing without combat pressure.
Practice flight path analysis using various spawn scenarios. Improves rapid decision-making when it actually matters.
Training Mode Utilization
Practice vehicle-assisted routing from various positions to the Pochinki area. Develop familiarity with alternative approach angles enabling tactical flexibility.
Perfect movement mechanics including animation canceling and efficient stair navigation. Every second counts when you're minimizing execution time.
Troubleshooting and Performance Optimization
Technical Issues Solutions
Address touchscreen responsiveness through device maintenance and input optimization. Clean screens and stable grip prevent control failures during descent – basic stuff, but crucial.
Optimize game settings for consistent performance during high-action sequences. Monitor connection stability to prevent disconnections during attempts.
Performance Metrics Tracking
Track success rates across different flight path scenarios. Identify optimal conditions and focus your attempts accordingly.
Monitor average completion times targeting sub-120 second execution. Analyze failure patterns, understand elimination causes, and develop countermeasures.
Frequently Asked Questions
Can I complete the Dive Master Achievement on maps other than Erangel? Nope, works exclusively on Erangel. That specific stairs structure exists only south of Pochinki on Erangel.
Do I need to win the match after diving? Not at all. Achievement triggers automatically upon water landing regardless of subsequent elimination or match outcome.
What's the fastest way to reach dive location from far landing? Use 750-780m distance with 10 o'clock angle, early parachute for extended gliding. Consider vehicles if you're 500m+ away.
How do BGMI 4.0 features affect strategies? Ghostie companion provides shielding and healing for contested approaches. Magic Broom offers enhanced mobility for safer dive site access.
Is squad or solo mode safer? Squad offers teammate cover and area security for contested Pochinki approaches. Achievement works identically in all modes.
What if jump doesn't trigger achievement? Restart match and reattempt. Ensure correct edge of stairs structure into water on Erangel south of Pochinki.

