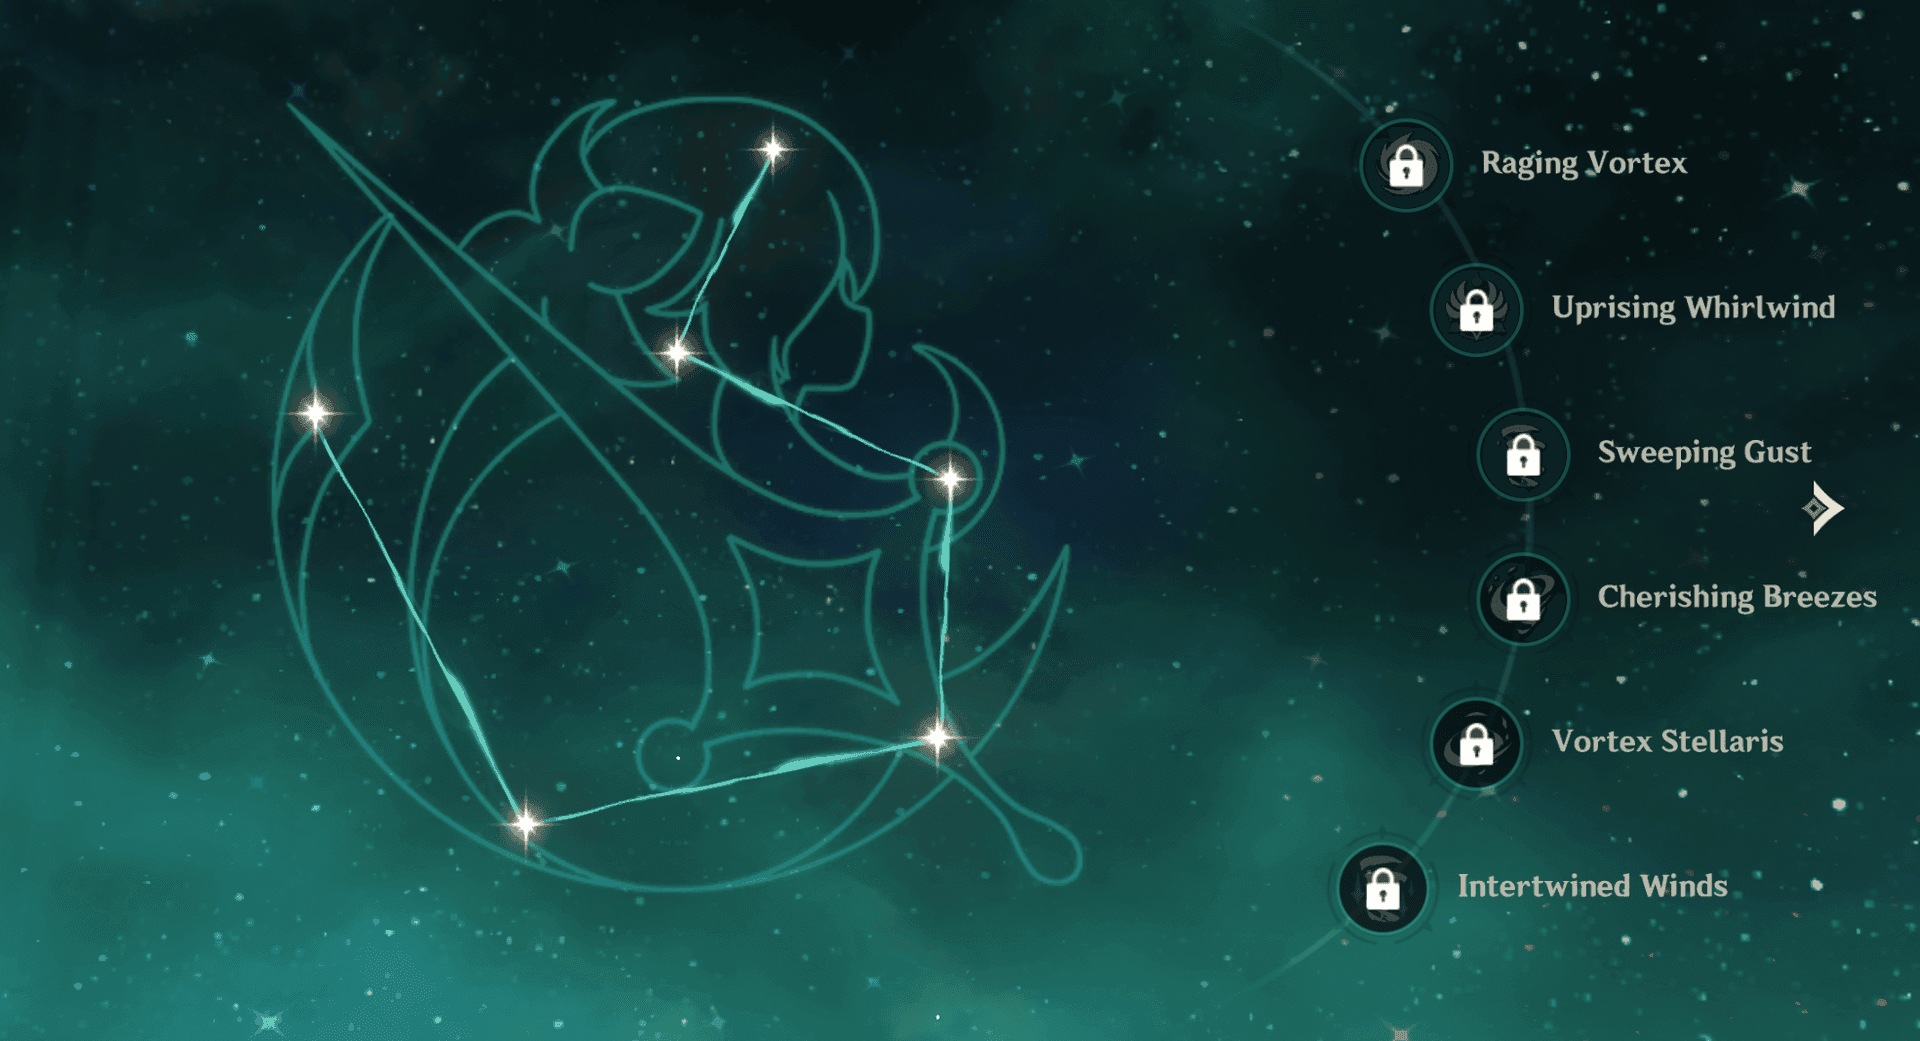
Understanding Lauma’s Constellation Investment
Quick Constellation Primer
Look, constellations are basically character upgrades you get from pulling dupes. They can completely change how a character plays – or sometimes barely make a dent in your wallet’s worth. Each one costs you primo gems, so knowing where to invest matters more than people realize.
Lauma follows the standard 5-star pattern. C1 and C2? That’s where the magic happens.
Lauma at C0: Already Overpowered
Here’s the thing about Lauma – she’s a 5-Star Dendro Catalyst user who specializes in making Bloom reactions actually scary. And honestly? Her base kit at C0 already does what other characters need their C2 to accomplish.
She’s got two game-changing abilities right out of the box. First, she automatically converts regular Bloom reactions into these Lunar-Bloom reactions. Second – and this is where it gets spicy – she lets Bloom, Hyperbloom, and Burgeon reactions actually crit. We’re talking 15% CRIT Rate and 100% CRIT DMG for 20 seconds after popping her Elemental Skill.

That’s… honestly kind of broken at C0.
New Character vs. Constellation Dilemma
Got a solid Dendro roster already? (Think Nilou, Nahida, Baizhu.) Then Lauma’s basically a must-pull even at C0. She’ll supercharge what you’ve already built.
But if you’re missing core Dendro characters? Yeah, roster diversity usually wins over constellation hunting. Lauma’s one of those rare exceptions though – her C0 value is just that good for Bloom teams.
C0 Lauma: The Foundation
What You Get Right Away
At C0, Lauma transforms how Bloom teams function. Her passive Light for the Frosty Night gives your entire party the ability to crit with Bloom reactions – something that’s never existed before. Those fixed 15% CRIT Rate and 100% CRIT DMG stats completely change the damage calculation game.

Plus, her Elemental Skill shreds Dendro and Hydro resistance for 10 seconds. The Lunar-Bloom conversion? Happens automatically.
Performance-wise, we’re seeing 40-60% damage increases in optimized Bloom teams compared to running without her. That’s substantial.
Team Building at C0
The beauty of C0 Lauma is her flexibility:
Nilou Bloom Setups: Lauma + Nilou + Nahida + Kokomi/Baizhu maximizes Bloom frequency
Hyperbloom Focus: Lauma + Nahida + Fischl + Kazuha for Electro-triggered mayhem
Burgeon Variants: Lauma + Nahida + Thoma + Yelan when you want Pyro-triggered damage
Every composition benefits from that universal Bloom enhancement. More EM investment = more damage. Simple math.
The C0 Reality Check
She’s not perfect though. Single-target scenarios where Bloom reactions don’t shine? Lauma’s value drops. Energy requirements are also real – you’ll need 160-180% ER for consistent Burst uptime without C4’s energy help. That means less room for EM investment, which slightly caps her damage amplification potential.
C1: Where Things Get Interesting
Breaking Down the First Constellation
O Lips, Weave Me Songs and Psalms – whoever names these things has a flair for drama. But what it actually does is turn Lauma into a legitimate support powerhouse beyond just buffing.

After using her Skill or Burst, she gets Threads of Life for 20 seconds. This enables two major improvements: healing that scales off 500% of her EM (triggers once every 1.9 seconds when party members proc Lunar-Bloom), and mobility buffs that cut Spirit Envoy Form stamina costs by 40% while extending max duration from 10 to 15 seconds.
The Numbers Game: C0 vs C1
Here’s where it gets interesting – C1’s main value isn’t direct damage. It’s survivability that translates to DPS gains. By eliminating the need for a dedicated healer, you can slot in more aggressive DPS options.
We’re looking at 15-25% effective DPS increases through better team uptime and fewer healing rotations interrupting your damage windows.
For players considering Genshin Impact Top Up to secure C1, BitTopup offers solid pricing with reliable delivery.
Quality of Life Revolution
C1 completely changes team building. Remember those teams that needed a dedicated healer? Now you can run another DPS or utility character instead. The healing scales with EM too, so it synergizes perfectly with her optimal build path – no stat juggling required.
C2: The Damage Ceiling
Second Constellation Breakdown
Twine Warnings and Tales From the North is where Lauma becomes a damage monster. This constellation adds two damage amplification layers that stack beautifully.

First layer: all nearby party members get their Bloom, Hyperbloom, and Burgeon damage increased by 500% of Lauma’s EM. Second layer: Lunar-Bloom specifically gets an additional 400% of her EM plus a flat 40% damage increase when Moonsign: Ascendant Gleam is active.
C1 vs C2 Performance
This is the big power spike. C2 typically delivers 80-120% damage increases over C1 in optimized scenarios.
Let’s do some quick math: with 1000 EM investment, C2 adds 5000 flat damage per Bloom/Hyperbloom/Burgeon reaction, plus 4000 and a 40% multiplier for Lunar-Bloom instances. In multi-target situations, we’re talking 300-400k DPS increases for your team.
That’s… significant.
Endgame Performance Reality
Spiral Abyss times tell the story – C2 Lauma teams clear 20-30 seconds faster than C1 variants, especially on floors with multiple enemies. For Imaginarium Theater, C2’s versatility across team compositions gives you more flexibility while maintaining consistent damage output.
Players looking at Cheap Genshin Top Up for C2 can find competitive rates at BitTopup with instant delivery.
The Primogem Math Nobody Wants to Do
What Each Constellation Actually Costs
Getting C0:
Lucky: 160-1,440 primos (1-9 pulls)
Average: 12,000-14,400 primos (75-90 pulls including 50/50)
Unlucky: 28,800 primos (180 pulls)
C1 Additional Cost:
Range: 160-14,400 primos (1-90 pulls)
Average: 9,600 primos (60 pulls)
C2 Additional Cost:
Same range as C1: 160-14,400 primos
Average: 9,600 primos (60 pulls)
Return on Investment Analysis
C0 Lauma delivers exceptional ROI for Dendro teams – those performance increases justify the 14,400 primo average investment. C1’s ROI depends on whether you need that healer consolidation. C2 offers premium damage but competes with new character acquisition for your resources.
It’s a trade-off worth considering carefully.
Constellation Priority Guide
F2P Strategy
Free-to-play? C0 is your target. Maximum value, transformative performance improvement.
C1 depends on your roster gaps – if you’re lacking reliable healers, the constellation’s sustain addition becomes more valuable. C2 is luxury territory. Only consider it after you’ve got a comprehensive character roster.
Low Spender Approach
Monthly pass and battle pass players can reasonably target C1 as the sweet spot. Strategic timing around favorable banners lets you achieve C1 through accumulated resources plus selective spending. C2 requires serious resource commitment and careful evaluation of upcoming releases.
Whale Optimization
High spenders should consider C2 as the standard target. It provides meaningful damage amplification for endgame optimization. Beyond C2, constellation value drops significantly relative to cost – lower priority for most strategies.
Team Synergy by Constellation Level
Optimal Compositions
C0 Teams:
Core Bloom: Lauma + Nilou + Nahida + Kokomi (healer required)
Hyperbloom: Lauma + Nahida + Fischl + Zhongli (shield support)
C1 Adaptations:
Healer Replacement: Lauma + Nilou + Nahida + Kazuha (EM support)
Aggressive: Lauma + Nahida + Fischl + Yelan (maximum DPS)
C2 Maximum Damage:
Premium Bloom: Lauma + Nilou + Nahida + Furina (damage amplification)
Hyperbloom Ceiling: Lauma + Nahida + Raiden + Kazuha (reaction optimization)
Builds and Gear
Artifacts: EM/EM/EM main stats across all constellation levels. Substats priority: EM > ER > CRIT Rate/DMG. Sets: Silken Moon’s Serenade or Deepwood Memories.

Weapons: Signature Nightweaver’s Looking Glass (542 Base ATK, 265 EM at level 90) is optimal. F2P alternative: Etherlight Spindlelute. Budget option: Sacrificial Fragments.
Energy Recharge needs: C0 wants 160-180% ER, C1 needs 140-160%, C4+ can manage with 120-140%.
For reliable Buy Genesis Crystals services to optimize Lauma’s setup, BitTopup provides secure transactions with competitive rates.
FAQ
Is Lauma C1 worth it for F2P players?
C1 offers solid value through healing consolidation, but F2P should prioritize C0 and roster diversity first. Only consider C1 with established Dendro teams and sufficient future resources.
How much more damage does C2 add over C1?
C2 delivers 80-120% damage increases over C1 in optimized Bloom scenarios. With 1000 EM investment, you’re looking at 5,000+ flat damage per instance from the 500% EM scaling.
Expected primogem cost for C2?
Average cost ranges 19,200-28,800 primos for C2. Worst case requires 57,600 primos, while good RNG can achieve C2 for 15,000-20,000 primos.
Constellations or new characters?
Prioritize new characters if you lack comprehensive roster coverage. Choose Lauma constellations when you’ve got established Dendro teams wanting optimization over expansion.
Which teams benefit most from constellations?
Bloom-focused teams with Nilou, Hyperbloom compositions with Nahida and Electro triggers, and Burgeon variants with Pyro applicators see maximum constellation value.
Is C0 Lauma viable for endgame?
Absolutely. C0 Lauma provides exceptional endgame performance – her base kit offers effects comparable to other characters’ C2 capabilities. She enables Spiral Abyss 36-star clears and excels in Imaginarium Theater.

