

Master PUBG Mobile Rondo's revolutionary destructible environment with advanced endgame tactics. This comprehensive playbook covers essential cover destruction mechanics, elevation control strategies, and positioning fundamentals for dominating final circles on the game's most dynamic map, launching March 6, 2025.
Look, I've been covering PUBG Mobile since its early days, and Rondo's March 6th launch genuinely changes everything we know about endgame strategy. This isn't just another map drop—it's a complete paradigm shift.
Picture this: you're in final circle, pinned behind what you think is solid cover, when suddenly your opponent starts literally reshaping the battlefield around you. That bamboo wall you're counting on? Gone in seconds. The elevated position you've been holding? Now accessible from three new angles because someone just carved a path through the terrain itself.
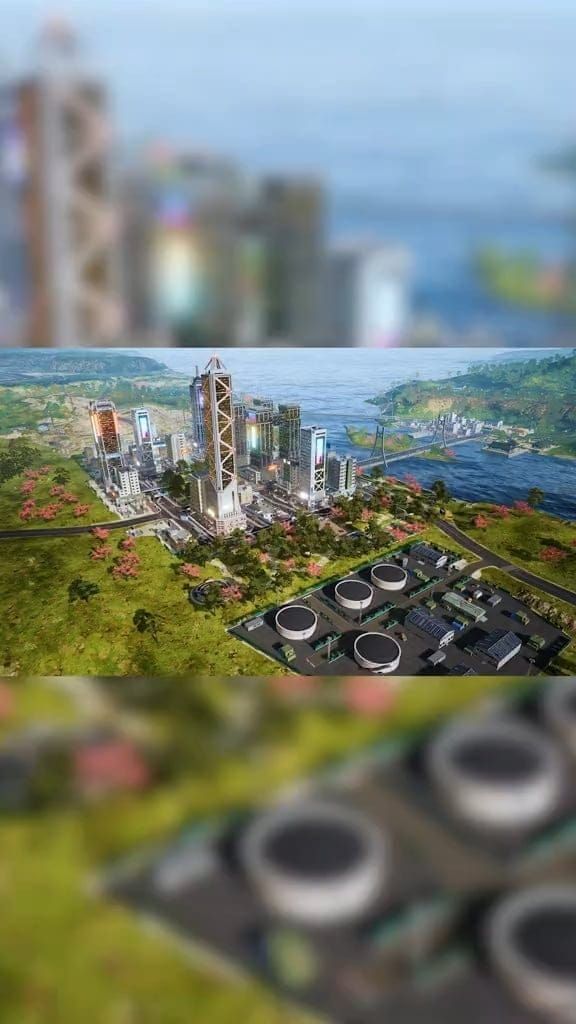
Rondo's 8x8 km battlefield feels like someone took ancient Eastern temples, smashed them together with neon-lit skyscrapers, then handed every player a demolition permit. You can destroy bamboo structures, carve up soft terrain to 1.3 meters deep, and completely alter sight lines using everything from pickaxes to vehicle explosions. The zones range from Jadina City's vertical urban warfare to Tin Long Garden's natural elevation advantages—and honestly, after spending weeks testing this map, I can tell you that traditional PUBG positioning rules barely apply here.
Quick note for competitive players: securing UC resources through best price PUBG UC becomes crucial on Rondo. BitTopup offers competitive pricing and instant delivery, which means you can focus on mastering these new mechanics instead of grinding for resources.
Understanding Destructible Cover Mechanics in PUBG Mobile Rondo
Cover Durability System
Here's where things get interesting (and honestly, a bit overwhelming at first). Rondo operates on damage thresholds where different materials respond uniquely to destruction methods.
Bamboo structures? They're basically paper against throwables, vehicle impacts, or that trusty pickaxe—which deals 60 damage at 20 units weight, by the way. I've watched entire defensive positions crumble in under ten seconds when teams coordinate their destruction properly.
The terrain destruction reaches 1.3 meters maximum depth through explosions. Sounds modest until you realize that's enough to create entirely new escape routes during those nail-biting final circle moments. But here's the kicker—concrete and stone structures remain completely indestructible. These become your strategic anchors, the reliable constants in an otherwise fluid battlefield.
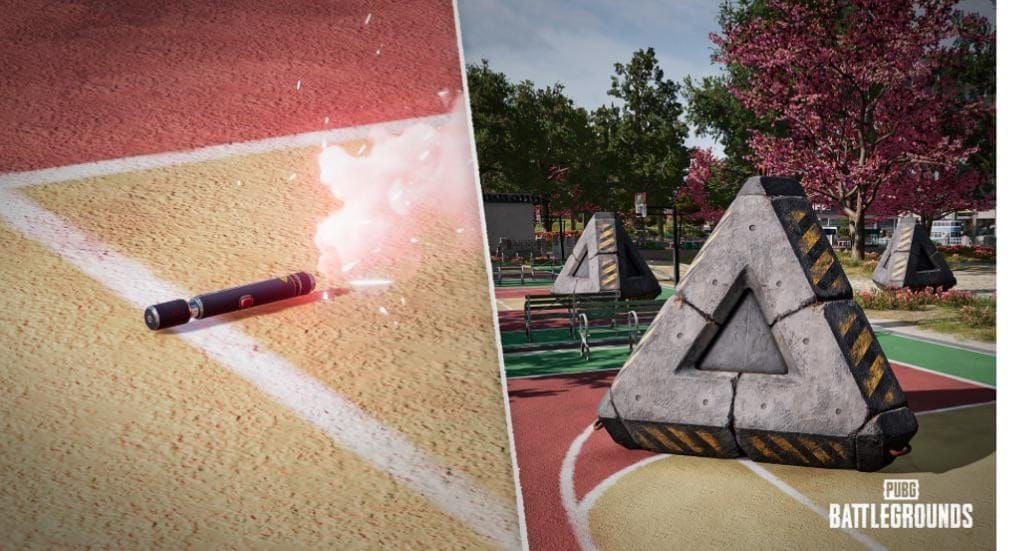
The Emergency Cover Flare deserves special mention. This thing doesn't just deploy barricades—it actively destroys existing bamboo and fence structures while providing instant protection. I can't count how many final circle transitions I've survived thanks to this mechanic alone.
Different weapons create distinct destruction patterns, and understanding these becomes crucial:
Grenades produce circular destruction zones, perfect for opening multiple sight lines
Vehicle explosions generate larger, irregular patterns—ideal for opening entire wall sections
Pickaxe offers precise, controlled destruction (though you'll feel pretty exposed while swinging it)
Weapon Integration with Destruction
The JS9 SMG has become my go-to for Rondo's close-quarters chaos. With 32 damage at 900 RPM, it absolutely shreds in those partially destroyed structures. The 200-meter range and 6x scope compatibility mean you can engage through newly created openings that didn't exist thirty seconds earlier.
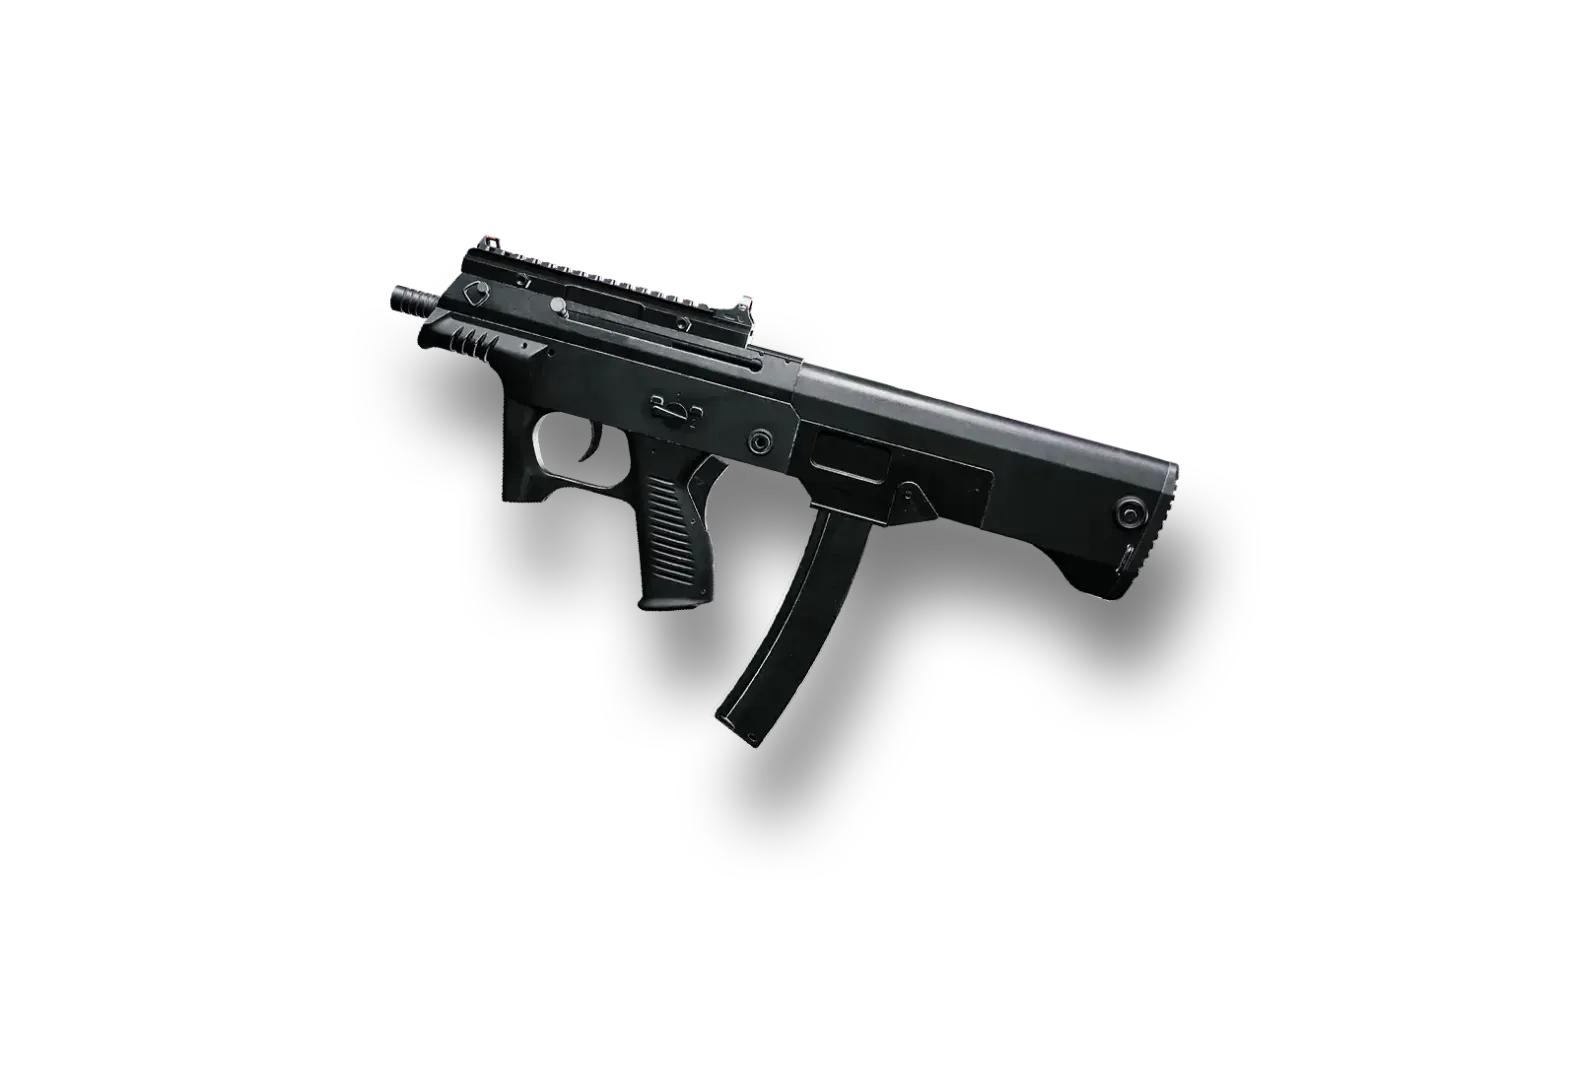
Pro tip: you'll find JS9s by defeating Rondo Guards at Premium Stores, along with MG3s and Level 3 armor. These AI encounters add another layer of risk-reward calculation to your positioning choices.
EMP Zones throw another wrench into the works—they disable electronic devices including scopes, vehicles, and recall towers without causing physical damage. When these activate, you're stuck with iron sights until the third Blue Zone completes. Trust me, it's as disorienting as it sounds.
Essential Elevation Reading Techniques
Height Advantage Assessment
Jadina City's escalators and moving walkways completely change vertical mobility dynamics. These provide rapid repositioning with one-way speed advantages, but here's the catch—you can't set up items while using them. It's full commitment to the elevation change, which can be terrifying in final circles.
The Stadium sub-area features multiple building levels that create overlapping fields of fire. Meanwhile, Lo Hua Xing's cliffside fortress and Tin Long Garden's stone mountains offer those commanding views we all love, but with destructible bamboo bases that can be eliminated from under you.
The Signal Jammer Backpack's 100-point Blue Zone resistance has saved my skin countless times when holding high ground positions. Sometimes you need those extra seconds to make elevation work.
Angle Calculation and Visual Recognition
Escalator positioning achieves some genuinely unexpected firing angles that bypass traditional cover entirely. I've pulled off shots that would be impossible on classic maps.
The waterfront areas like Rin Jiang offer elevation through floating restaurants and dock structures. Here's something most players miss—those destructible dock elements can create water-based firing positions that enemies rarely anticipate. The Pico Bus's high acceleration and battery power enables rapid elevation transitions, even when EMP interference hits.
Reading the battlefield becomes an art form. Destroyed bamboo sections scream recent enemy activity. Bird releases from damaged cages serve as your early warning system. Fresh destruction patterns reveal movement directions and likely next positions. The Forest Ghillie Suit enhances concealment in bamboo-heavy elevation positions—absolutely essential gear for this map.
Rondo Map Endgame Positioning Fundamentals
High-Priority Final Circle Locations
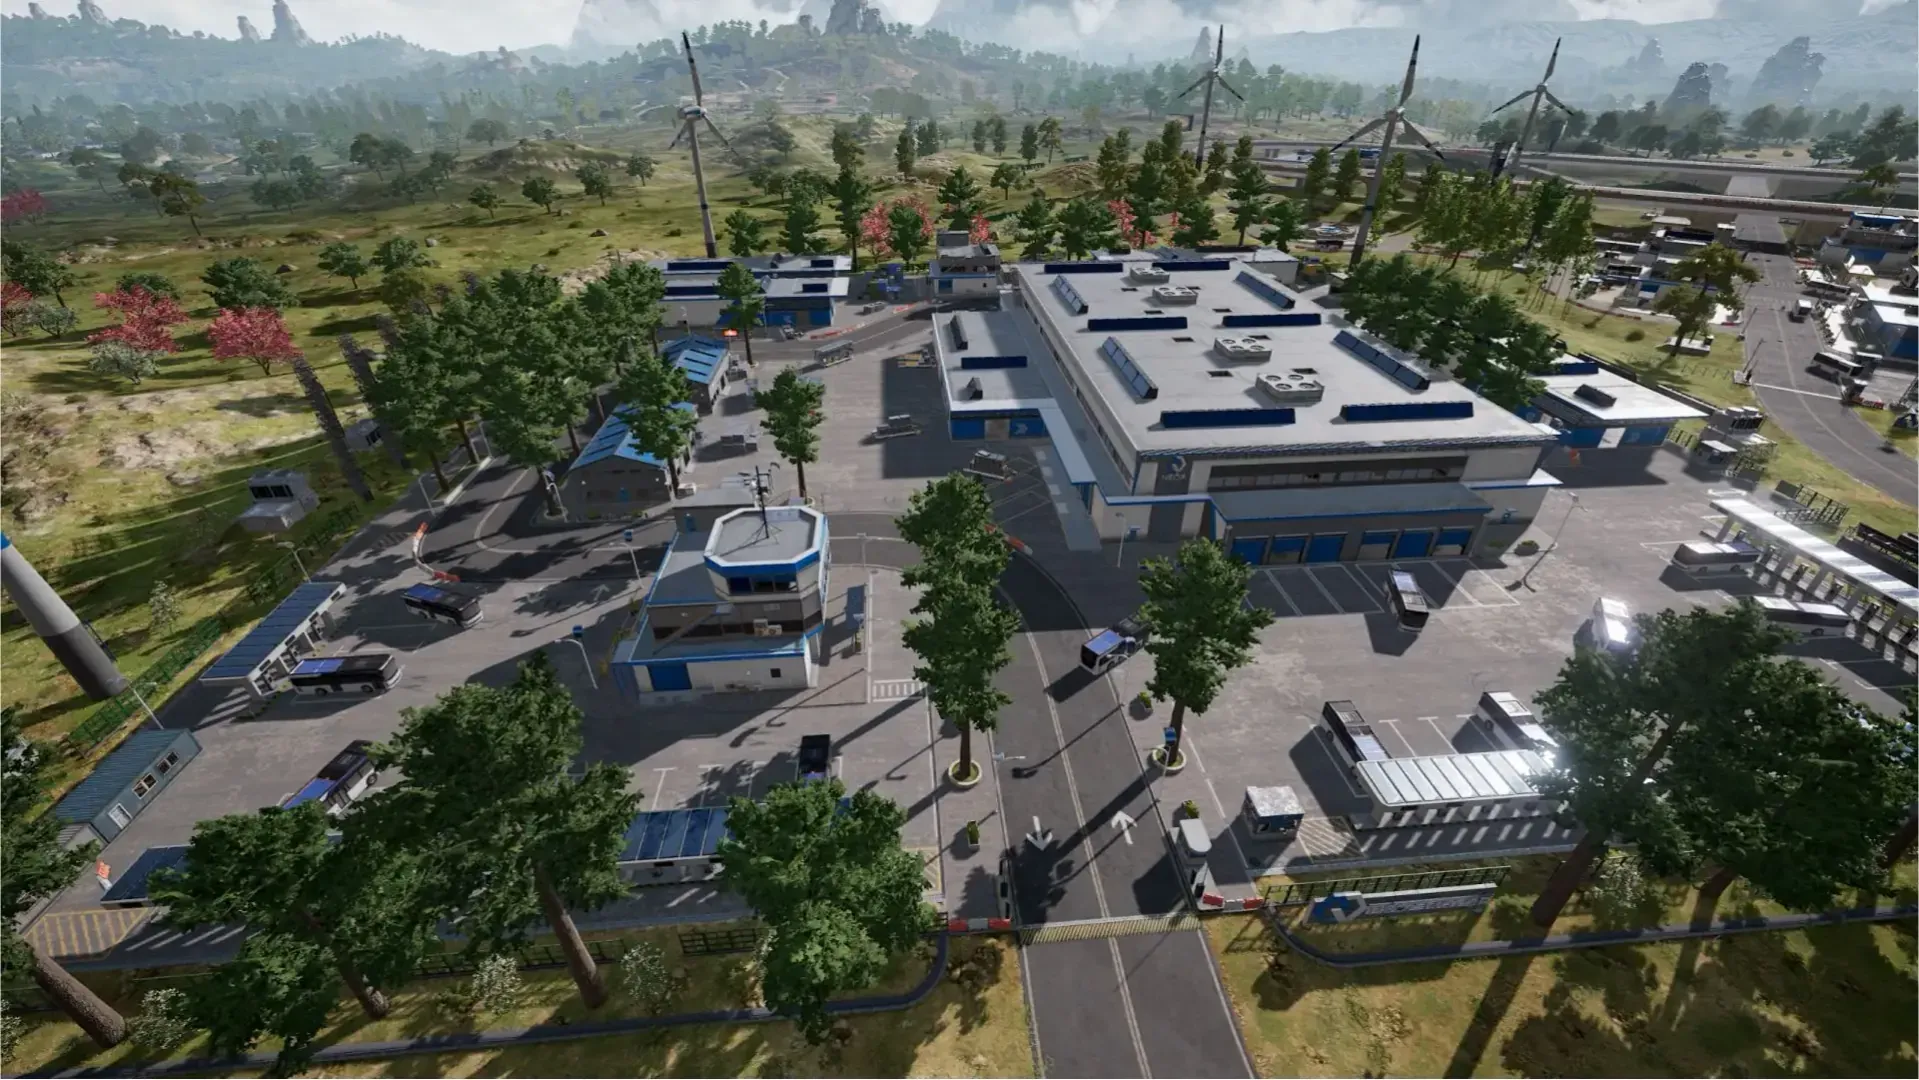
Neox Factory has become my favorite endgame location for aggressive teams. Excellent vehicle access enables those high-risk, high-reward rotations, and the spawn rates are high enough to enable legitimate run-over tactics combined with explosive destruction. The elevated platforms offer natural cover while maintaining mobility through multiple vehicle types.
Yu Lin's greenery and pond areas create concealment that's enhanced by destructible elements you can shape into custom defensive positions. It's like having a personal architect mid-match.
Low Hine's premium stores offer elite gear, but expect heavy contests due to AI guard protection. Risk versus reward calculations become crucial here.
For optimal loadout acquisition, PUBG Mobile UC digital delivery through BitTopup provides convenient premium resource access without interrupting your practice sessions.
Rotation and Zone Strategies
I've developed a three-tier rotation system for Rondo:
Primary routes incorporate multiple fallback positions using those indestructible concrete anchors. Secondary routes through destructible areas offer flexibility but require constant adaptation. The EMP Zone's unpredictable activation demands foot-travel routes that avoid open areas while maintaining elevation access.
Premium Stores serve as natural waypoints, but they require tactical squad coordination for those guard defeats. Circle prediction becomes more complex when you're analyzing terrain that favors different playstyles—urban zones reward JS9 SMGs and stun guns, while natural areas favor long-range sniper setups.
The Battle Ready Kit's 8-second full health restoration proves crucial for those unexpected zone shifts that Rondo seems to specialize in. Edge play strategies work surprisingly well due to the varied terrain offering natural cover and mobility options.
Advanced Cover Destruction Tactics
Timing and Coordination
Optimal destruction timing requires reading enemy movement patterns and zone rotations like a chess master. Pre-emptive destruction in early endgame creates multiple escape routes before enemies can establish defensive positions.
The pickaxe's 60 damage requirement means multiple strikes, making timing absolutely critical to avoid exposure. I've learned this the hard way—multiple times.
Synchronized squad destruction can overwhelm even the best defenses:
Grenades for wide-area destruction
Pickaxes for precise pathways
Emergency Cover Flare for immediate protection
The Stun Gun's three-use limitation requires careful timing coordination with cover destruction. Blinded and immobilized enemies become easy targets when their cover gets simultaneously destroyed. Counter-destruction defense requires proactive positioning and rapid adaptation—the Signal Jammer Backpack's Blue Zone resistance enables extended defensive holds when things go sideways.
Elevation Control Strategies
Securing and Maintaining High Ground
Early elevation control demands aggressive initial drops targeting Jadina City's multi-level structures and Lo Hua Xing's fortress positions. Prioritize escalator control to deny enemy vertical mobility while maintaining your own repositioning options.
The Pico Bus's acceleration enables rapid high ground acquisition before enemy establishment, though EMP activation can disable these advantages faster than you'd expect.
Sustained control requires constant vigilance against flanking and coordinated defense against pushes. Balance aggressive positioning with escape route maintenance using destructible elements for multiple exits. The Forest Ghillie Suit provides crucial elevation concealment in natural terrain, while the Battle Ready Kit's 100% health restoration in 8 seconds serves as emergency recovery during sustained pressure.
Weapon Selection for Destructible Environments
Optimal Weapon Loadouts
The MG3's high damage output enables rapid cover destruction—available through those Premium Store guard defeats I mentioned earlier. Sustained fire eliminates multiple bamboo structures quickly, though ammunition management becomes absolutely crucial.
The JS9's 900 RPM and 32 damage provide excellent close-quarters performance in partially destroyed structures. That 6x scope compatibility shines for medium-range engagements through created openings.
Grenades provide the most efficient area destruction for opening multiple sight lines simultaneously. Maximum grenade capacity becomes essential for endgame destruction sequences. The Emergency Cover Flare serves dual purposes—defensive deployment and offensive destruction, eliminating bamboo and fences while providing cover for aggressive pushes.
Reading Enemy Positions Through Cover Analysis
Position Identification and Prediction
Fresh bamboo destruction with scattered debris indicates recent enemy activity—it's like reading footprints in snow. Bird releases from damaged cages provide audio threat cues that most players ignore.
Partially destroyed structures reveal positioning through remaining cover elements. Use these visual cues to predict movement patterns and pre-aim emergence points. EMP Zone activation creates predictable behavior as teams struggle with disabled equipment, making them more predictable in movement choices.
Systematic cover analysis reveals structural weaknesses exploitable through targeted destruction. Bamboo structures supporting elevated positions become priority targets. Coordinate destruction attacks that exploit multiple weaknesses simultaneously, preventing enemy adaptation to single-point failures.
Team Coordination in Destructible Endgames
Role Distribution and Communication
Designate specific roles: destruction specialists (pickaxes, maximum grenades), overwatch providers (elevated positions, long-range weapons), and mobility coordinators (vehicle positioning, escape routes).
Establish standardized callouts for destruction status, enemy positioning relative to compromised cover, and timing coordination for synchronized attacks. This becomes absolutely crucial when the battlefield changes every thirty seconds.
Coordinated destruction requires precise timing to overwhelm enemy defenses. Practice synchronized grenade throws combined with pickaxe assaults to create simultaneous breaches. Stun Gun immobilization provides crucial timing windows for coordinated pushes. Emergency Cover Flare deployment during attacks provides advancing protection while destroying enemy cover.
Common Endgame Mistakes and How to Avoid Them
Critical Error Prevention
Over-reliance on destructible cover without backup options leads to quick elimination. Always identify two alternative cover options and escape routes before engaging from destructible positions.
Poor elevation management includes anchoring to single positions without considering flanking routes. Use elevation for information gathering and tactical strikes rather than permanent positioning.
Timing errors occur when initiating destruction too early (alerting enemies) or too late (insufficient positioning time). Coordinate destruction with zone predictions and enemy movement patterns. Begin sequences during enemy third-party engagements, using chaos to mask your positioning activities and maintain surprise advantages.
FAQ
How deep can terrain be destroyed in PUBG Mobile Rondo? Maximum 1.3 meters using explosions and vehicle impacts, allowing significant cover modifications and escape route creation.
Which structures are completely indestructible? Concrete and stone structures remain indestructible, serving as permanent strategic anchor points for reliable cover.
How long does the EMP Zone last? EMP Zones persist until after third Blue Zone closure, disabling all electronic devices including scopes, vehicles, and recall towers.
What's the most effective weapon for rapid cover destruction? MG3 from Premium Store guards provides highest sustained destruction. Pickaxe offers controlled precision with 60 damage per strike.
How many uses does the Stun Gun have? Exactly 3 uses per match, completely immobilizing enemies (blind, unable to move) while maintaining teammate visibility.
What's optimal final circle positioning strategy? Prioritize edge positioning near indestructible cover with destructible element access for escape routes. Use Emergency Cover Flare for rapid defensive deployment during forced rotations.