

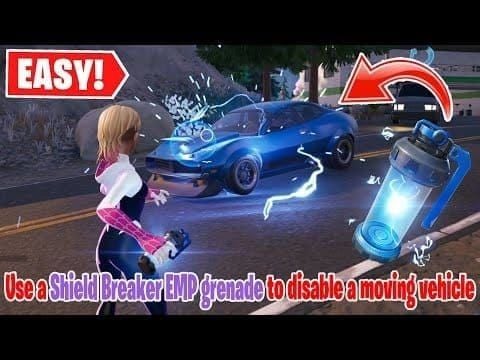
EMP Zones disable electronic equipment without damage, forcing iron sight combat and foot travel until the third Blue Zone ends.
What Are EMP Zones in PUBG Mobile Rondo?
Core Mechanics
So here's the deal - EMP Zones dropped on March 6, 2025 with Version 3.7, and they're honestly a game-changer. These zones shut down every piece of electronic and mechanical gear across Rondo's massive 8x8 km battlefield without actually breaking anything. Think of it as nature's way of saying back to basics.
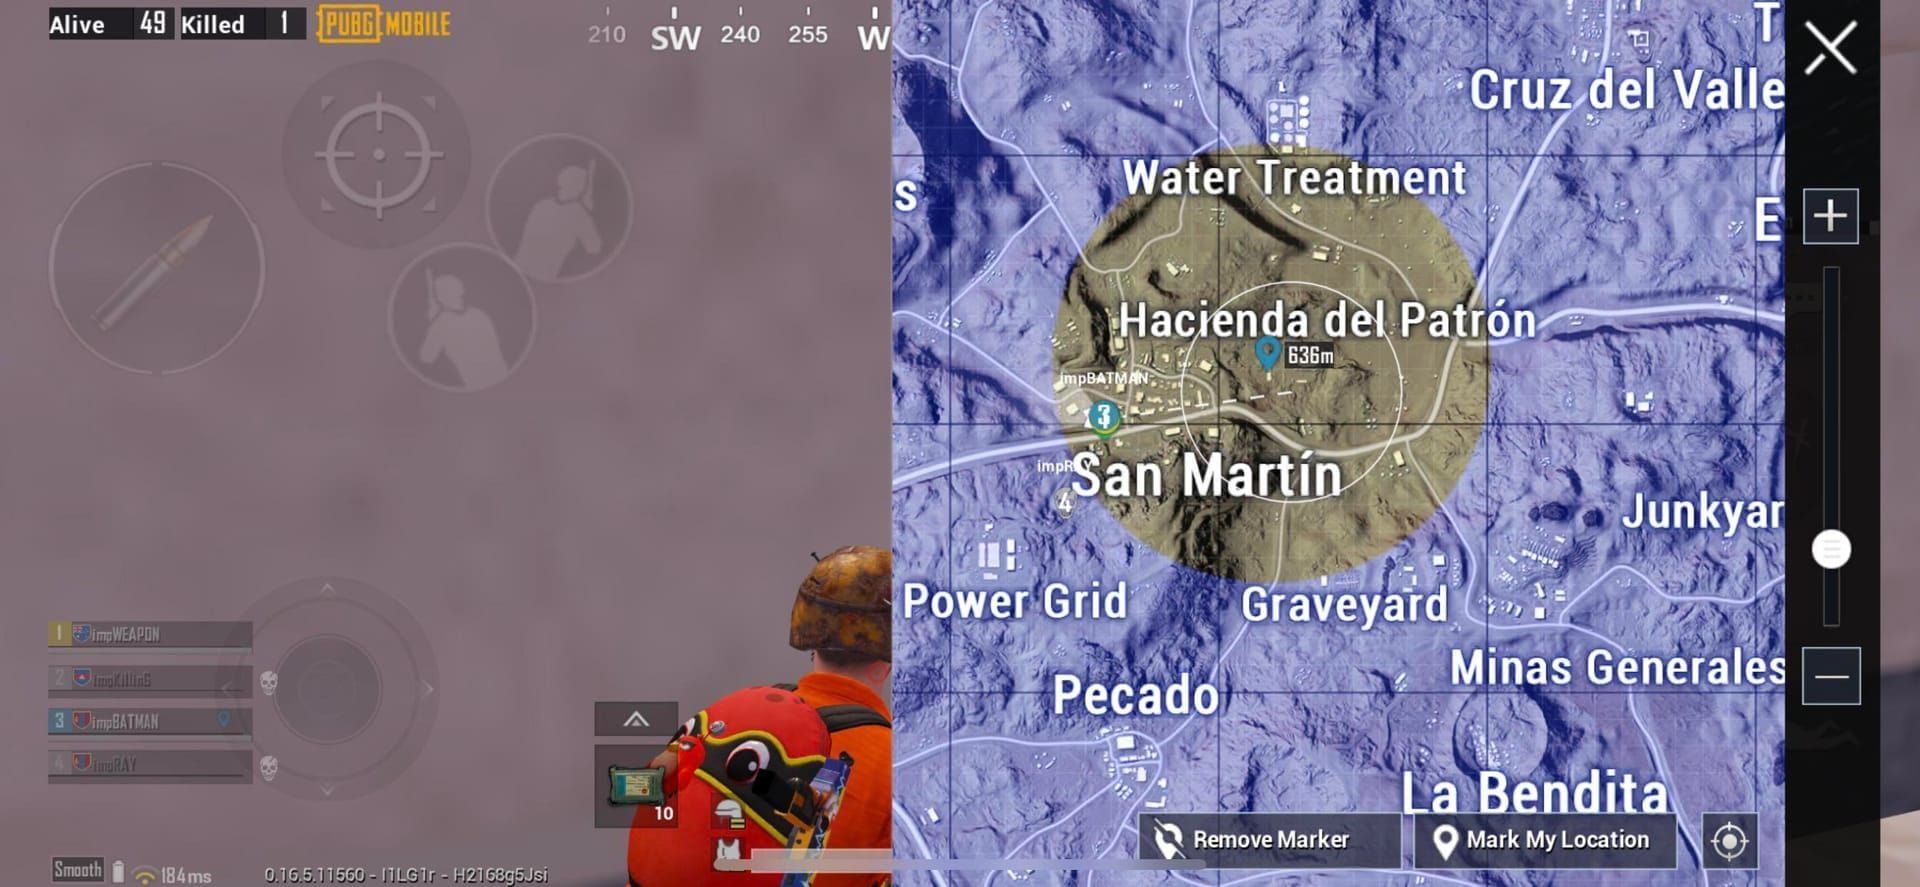
The system's pretty fair, actually. All 100 players get the same heads-up with map markers and those crucial 30-60 second warning alerts before everything goes dark. You'll spot the electromagnetic symbols on both your mini-map and full map - can't miss 'em if you're paying attention.
What I find interesting is how this levels the playing field. Doesn't matter if you're running ranked or just messing around in unranked modes - everyone gets identical warning timing.
Map Integration
Here's where things get tactical. EMP Zones work hand-in-hand with Rondo's destructible terrain system. Got a Pickaxe? Good. You'll be punching 1.3-meter holes through bamboo and walls when your ride inevitably dies on you.
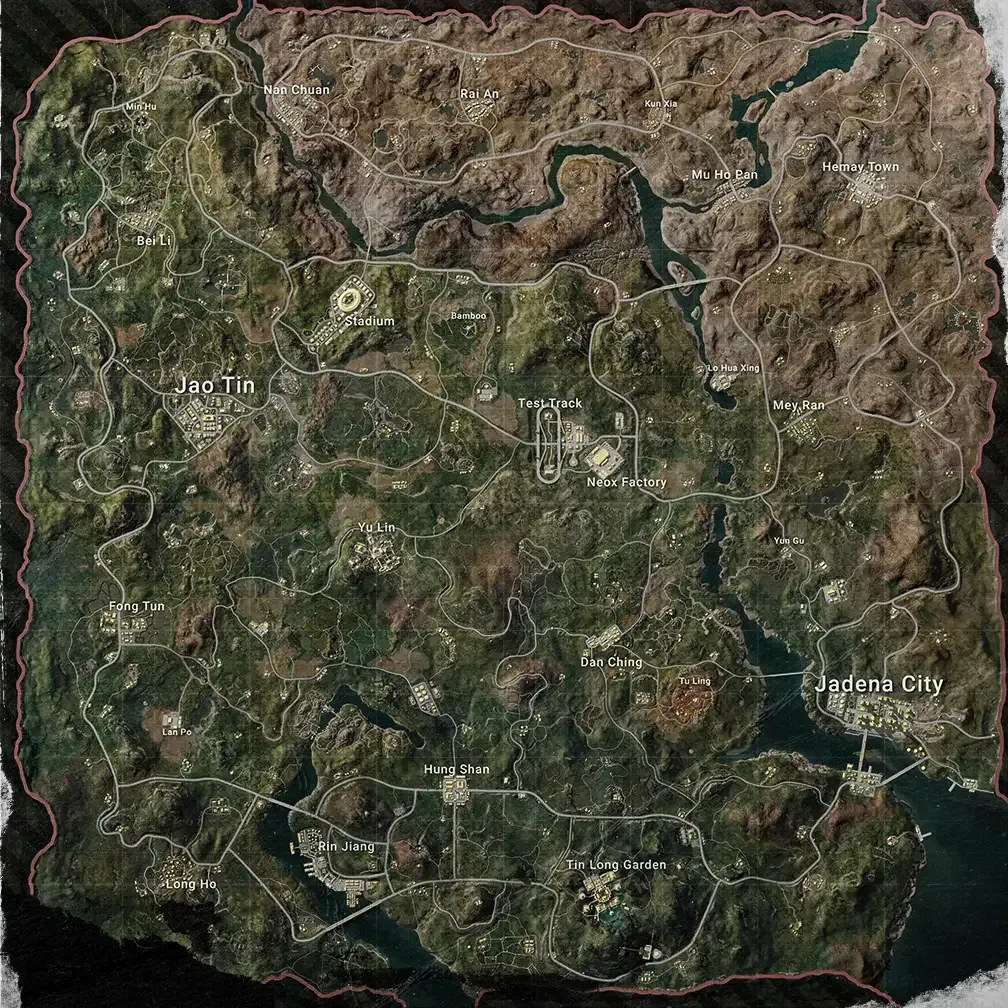
The two random flight routes make things even spicier near activation sites. NEOX Factory's industrial maze becomes a completely different beast when your electronics fail. Same goes for Jadena City's towering high-rises - suddenly those elevator shafts look a lot less appealing.
Complete Disable List
Optical Equipment
Your fancy scopes? Toast. Holographic, red dot, 2x, 4x, and anything higher magnification - they all go dark. That JS9 SMG you've been loving at medium range? Time to get up close and personal with iron sights only.
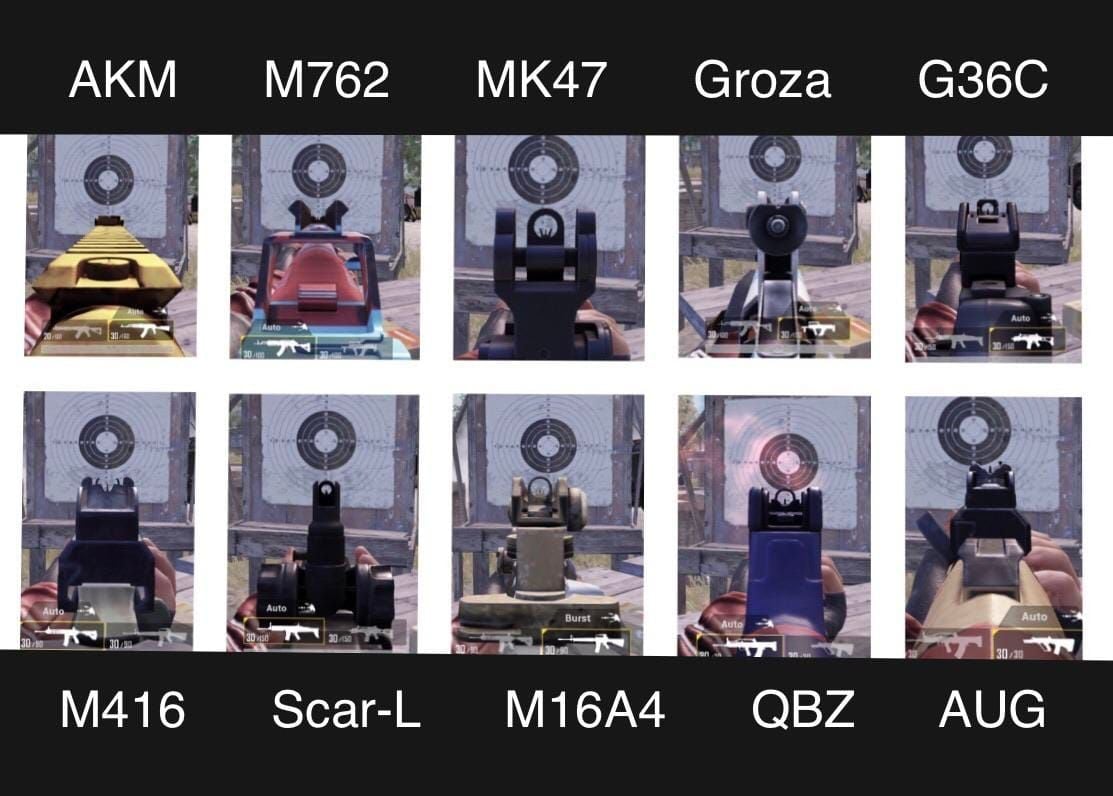
No electronic visual assistance whatsoever.
Vehicle Systems
Every single engine-powered vehicle becomes a very expensive paperweight. The 6-seater Pico Bus with its battery power? Dead. That sleek 4-seater Coupe SUV? Nope. Motorcycles, cars, even those energy recovery systems - everything stops working.
You'll be hoofing it, no exceptions.
Electronic Devices
Signal jammer backpacks lose their Blue Zone resistance completely (that's 100 damage absorption down the drain). Recall towers? Forget about team revivals and teleportation. Even escalators stop moving - though honestly, who relies on those anyway?
Interestingly enough, the Stun Gun keeps working with its 3-use capacity. Go figure.
Weapon Attachments
Electronic weapon attachments beyond scopes get scrambled. The good news? Mechanical components like grips and compensators keep doing their thing. And you can still deploy Emergency Cover Flares for instant barricades - saved my bacon more times than I can count.
Timing and Activation
Activation Patterns
It's completely random, which keeps everyone on their toes. No player can trigger these zones - they're purely environmental events. The universal notification timing means everyone gets the same shot at adapting, which I appreciate from a competitive standpoint.
Duration Cycles
Effects stick around through the first three Blue Zone contractions. We're talking 15-20 minutes of match time here, covering those crucial early-to-mid game rotations when vehicle mobility usually makes or breaks your positioning.
Warning System
The notification system hits you from multiple angles: visual map markers, audio alerts, text notifications. The sequence goes like this - zone appears on map, alerts start blaring, you enter the zone and everything dies, then it persists until the third Blue Zone wraps up.
Pretty straightforward once you know what to look for.
Essential Survival Strategies
Pre-EMP Preparation
Check those map interfaces every 30-45 seconds. Seriously. Park your vehicles 200-300 meters outside predicted boundaries - trust me on this one. Get your iron sight-compatible weapon configs ready and stock up on Battle Ready Kits (full heal in 8 seconds for just 20 weight).
Practice iron sight aiming during downtime. I can't stress this enough - when the EMP hits, you don't want to be figuring out your aim on the fly. Also, scout those destructible terrain routes with your Pickaxe for emergency exits.
During EMP Tactics
The moment you enter that zone, switch to iron sights. No hesitation. You're walking everywhere now, so use terrain destruction for sneaky movement. Those Emergency Cover Flares become your best friend for instant cover during repositioning.
Here's a pro tip - attack enemies during their adaptation phase. Everyone's disoriented when the electronics die, so capitalize on that confusion. The Stun Gun's immobilization effect (3 uses) can turn the tide in close encounters.
For competitive advantage in challenging scenarios, fast PUBG UC top up through BitTopup provides instant access to premium equipment with competitive pricing, 24/7 support, and secure transactions.
Post-EMP Recovery
Once that third Blue Zone completes, you're back in business. Grab those vehicles you parked safely outside the zone. Pop those Battle Ready Kits for quick health restoration after being vulnerable for so long.
Reequip your electronic scopes and redistribute team equipment. Always have contingency plans for when recall towers fail and team members get isolated.
Equipment Optimization
EMP-Resistant Gear
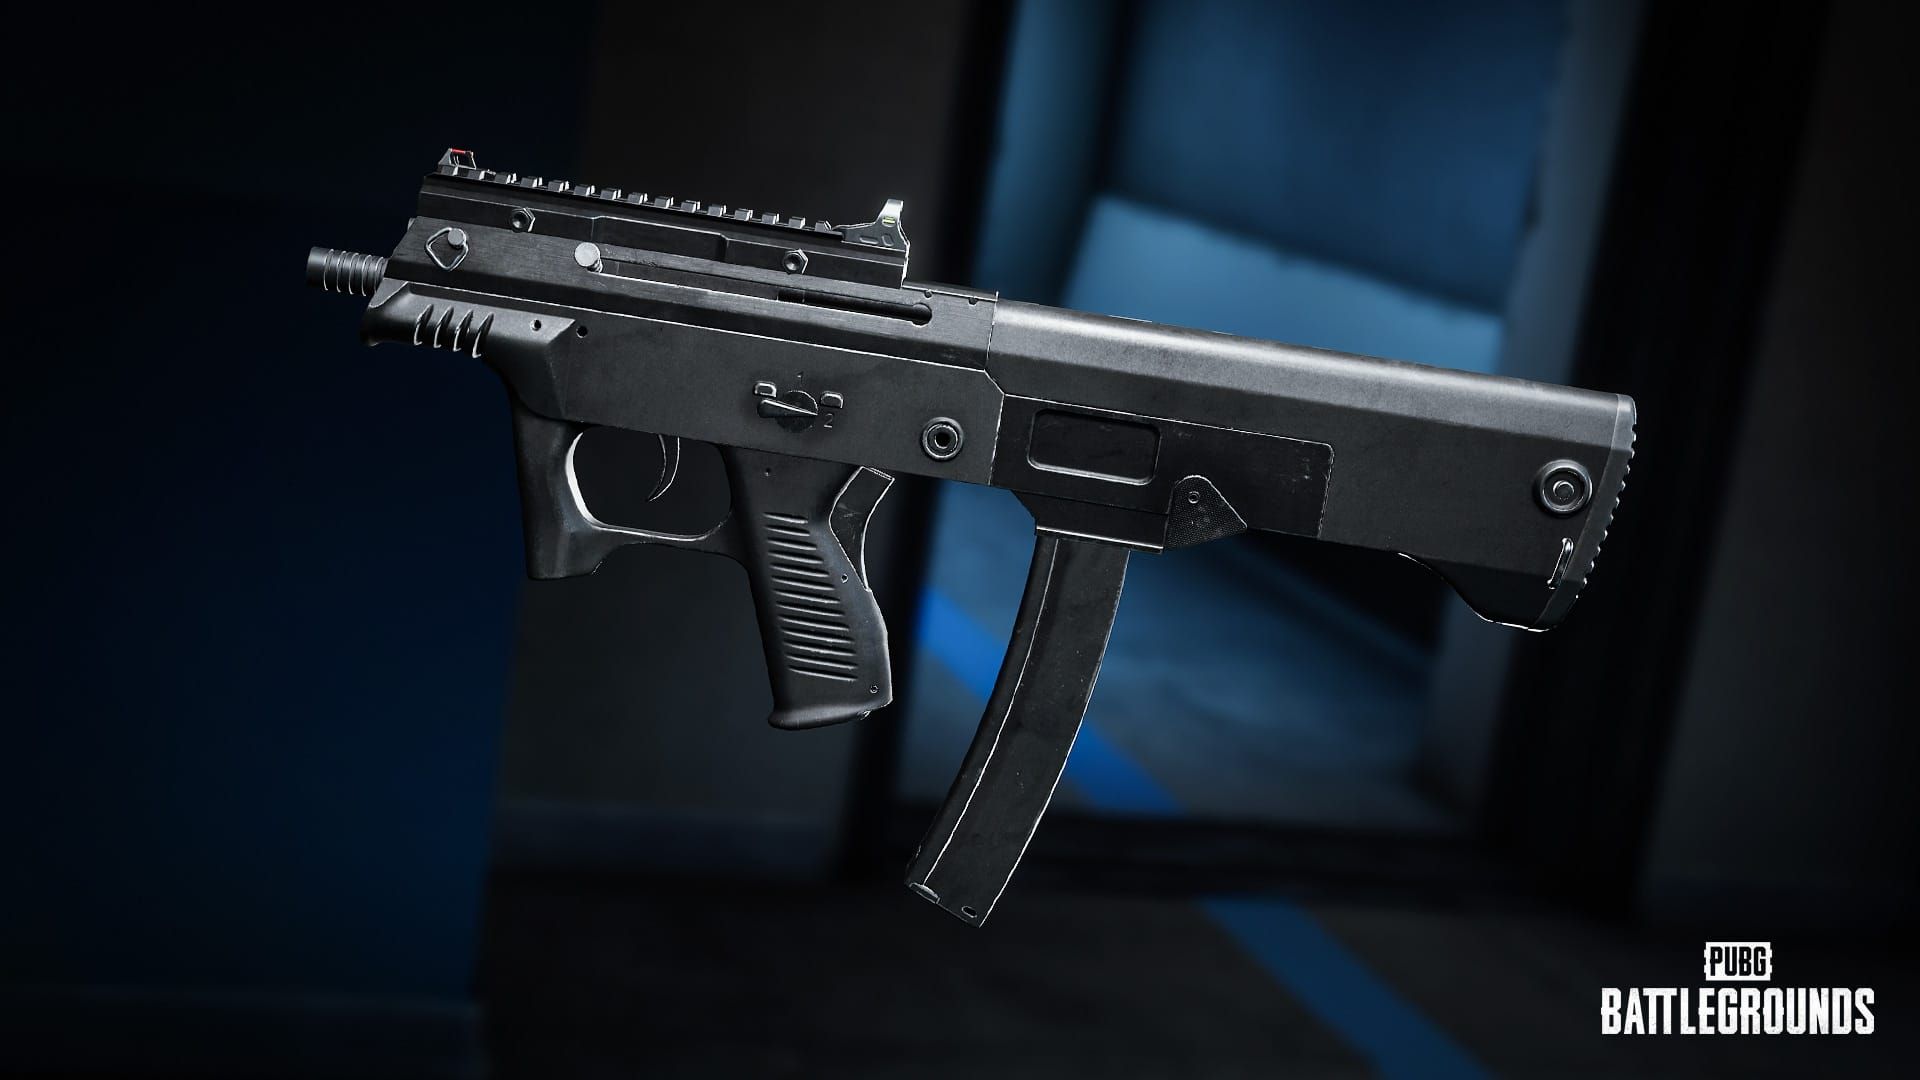
The JS9 SMG becomes your best friend - 9mm, 32 damage, 900 RPM, and it's deadly accurate with iron sights. That 32-round capacity doesn't hurt either. Don't forget your Pickaxe (20 weight) for 60 damage melee attacks and terrain destruction.
Load up on mechanical attachments that'll keep working when everything else fails. Grips, compensators - they're your lifeline during EMP periods.
Essential Items
Emergency Cover Flares are non-negotiable. Red smoke creates dual protective covers in open terrain - absolute lifesaver during forced foot travel. Battle Ready Kits restore 100% health and energy in 8 seconds post-EMP.
Forest Ghillie Suits become incredibly valuable for stealth during those long walks. Keep Signal Jammer backpacks for Blue Zone resistance outside EMP periods, even though they're useless during activation.
Advanced Positioning
Safe Zone Identification
Jadena City's elevated positions offer solid visual advantages within iron sight range. Tin Long Garden's stone mountains and waterfalls provide excellent concealment during foot movements.
Avoid anything dependent on electronic systems - elevators are death traps. Stick to one-way escalators and moving walkways for rapid repositioning when they're working.
Movement Strategies
Calculate foot travel at 5-7 km/h for evacuation planning. Use destructible terrain shortcuts to minimize exposure time. Create custom cover by punching through bamboo and walls with your Pickaxe.
Pre-identify evacuation paths using terrain destruction. Practice the timing to ensure you can complete routes before activation hits.
Team Coordination
Communication Protocols
Voice chat becomes absolutely critical for zone notifications and activation alerts. Assign foot scouts when vehicle recon becomes impossible. Develop standardized callouts for terrain destruction opportunities.
Distribute Emergency Cover Flares among team members for coordinated deployment. Designate Battle Ready Kit carriers for rapid team recovery.
Role Distribution
Someone needs to be the designated Pickaxe operator for terrain modification and escape routes. Establish overwatch positions using superior iron sight accuracy. Coordinate that Stun Gun usage - only 3 uses, so make them count.
Adapt revival strategies for recall tower failures. Use foot travel and terrain destruction for safe access, with Emergency Cover Flares providing protection during extended procedures.
Common Mistakes to Avoid
Equipment Dependency
Never roll into zones with full vehicle formations - you'll be completely immobilized. Don't rely solely on electronic scopes; practice iron sight accuracy during safe periods.
Too many players ignore terrain destruction opportunities for emergency escapes. That Pickaxe isn't just for show - use it to create custom paths.
Timing Errors
Don't use Signal Jammers late-game without considering EMP cycles. Never assume zones end before third Blue Zone completion. Calculate evacuation timing using realistic 5-7 km/h movement speeds.
Splitting teams without predetermined rally points outside EMP boundaries? Recipe for disaster. Establish clear regrouping protocols before activation.
EMP vs Other Zones
Blue Zone Differences
EMP Zones cause zero physical damage compared to Blue Zone's continuous health drain. Signal Jammer backpacks provide 100 damage Blue Zone resistance but become completely useless during EMP activation.
EMP duration is predictable (until third Blue Zone), enabling strategic planning versus Blue Zone's progressive damage requiring constant healing.
Red Zone Contrasts
Unlike Red Zone's explosive bombardment, EMP areas disable functionality without destruction. You can actually stay and fight in EMP zones with adapted tactics rather than running for your life.
EMP promotes skill-based adaptation over equipment dependency. It's refreshing, honestly - mechanical skill becomes more valuable than having the best gear.
FAQ
Do EMP Zones cause damage to players? Nope. Zero physical damage to players or equipment durability. They just shut everything electronic down.
How long do EMP effects last? Until after the third Blue Zone contraction wraps up - typically 15-20 minutes depending on match progression.
Can weapons still function in EMP Zones? Absolutely. Weapons work fine, but electronic scopes go dark. Iron sights only. Mechanical attachments keep functioning normally.
Are EMP Zone locations predictable? Not at all. Random activation, but you get map markers and 30-60 second warnings before everything goes dark.
What's the optimal EMP survival strategy? Monitor maps constantly, park vehicles outside predicted zones, switch to iron sights immediately, travel on foot using terrain destruction, and exploit enemy disorientation during the transition.
How do Signal Jammers work during EMP? They don't. Signal Jammer backpacks lose their Blue Zone resistance completely during EMP activation - totally ineffective until zones end.