

Quick Answer: Low-contest loot routes in PUBG Mobile Erangel prioritize safe landing zones like Stalber, Yasnaya Polyana, and Mylta Power over high-risk hot drops. These routes use the Land Far and Drive strategy, offering 5-7 minutes of uninterrupted looting with 64% higher AR spawn rates after recent updates, ensuring consistent gear acquisition without early-game combat risks.
Understanding Low-Contest vs Hot Drop Strategies in PUBG Mobile
Let's be honest here – hot drops are addictive. There's something undeniably thrilling about diving straight into Pochinki or School, knowing you'll either walk out fully kitted or become someone else's kill feed highlight. But here's the thing I've learned after analyzing thousands of matches: consistency beats adrenaline when you're trying to climb ranks.
Risk-Reward Analysis
Hot drops like Pochinki, School, and Sosnovka Military Base? Sure, they've got the highest loot concentration. They also have elimination rates that'll make your K/D ratio weep. Low-contest routes sacrifice that coveted map center proximity for something far more valuable – actually surviving long enough to use your gear.
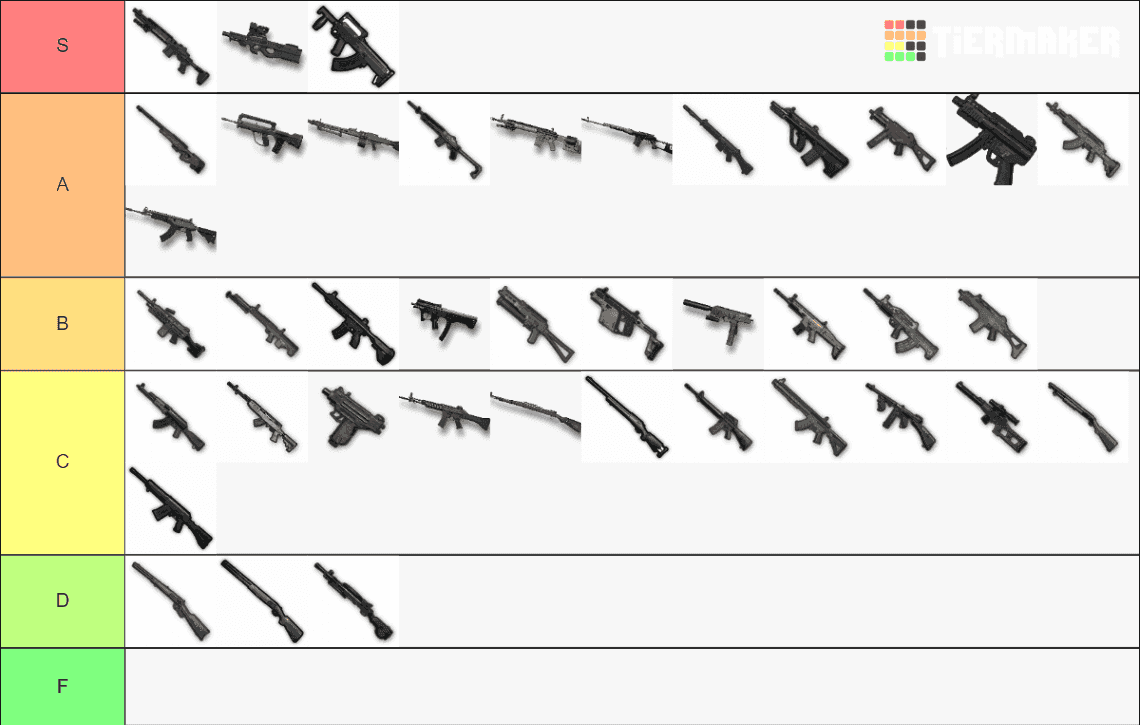
The numbers tell a compelling story. Recent loot rebalancing has dramatically improved low-contest viability across Erangel. We're talking about a 28% increase in total item spawns, AR spawn rates jumping 64%, DMR rates skyrocketing 114%, and sniper rifle rates climbing an impressive 177%. Level 2 armor and healing items? Also increased significantly.
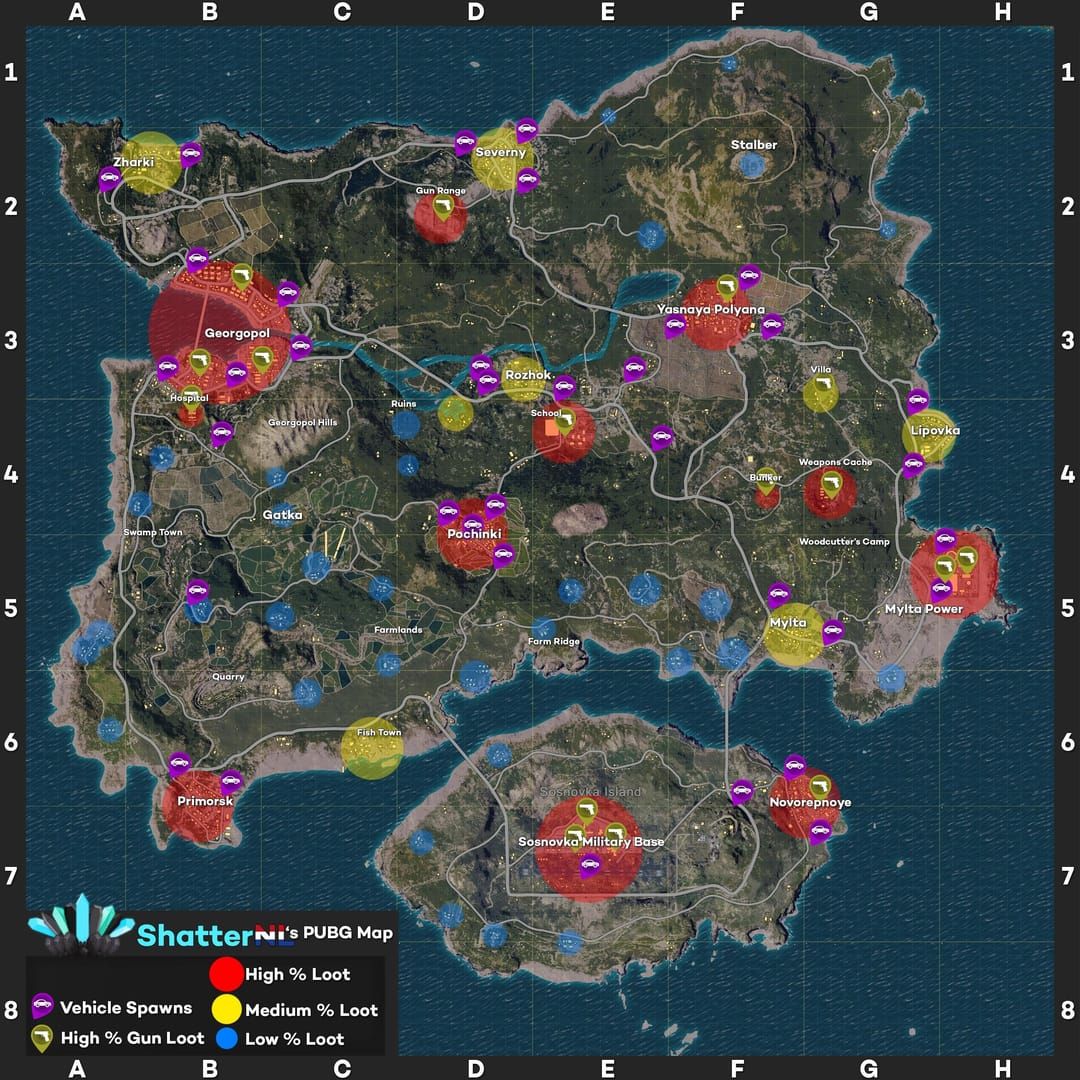
Here's what most players miss: player distribution follows incredibly predictable patterns based on flight path. Most squads – and I mean most – land directly under or near the flight path. This creates these chaotic, overcrowded scenarios in 3-4 major areas while leaving entire map sections completely empty. Those high-tier loot locations far from the flight path? They remain untouched for 5-7 minutes, just waiting for smart players with vehicles.
Top 8 Safe Landing Zones in Erangel with Loot Ratings
Northern Route Compounds
Stalber – and I can't stress this enough – stands as the premier northeastern location that players consistently ignore because it looks remote.
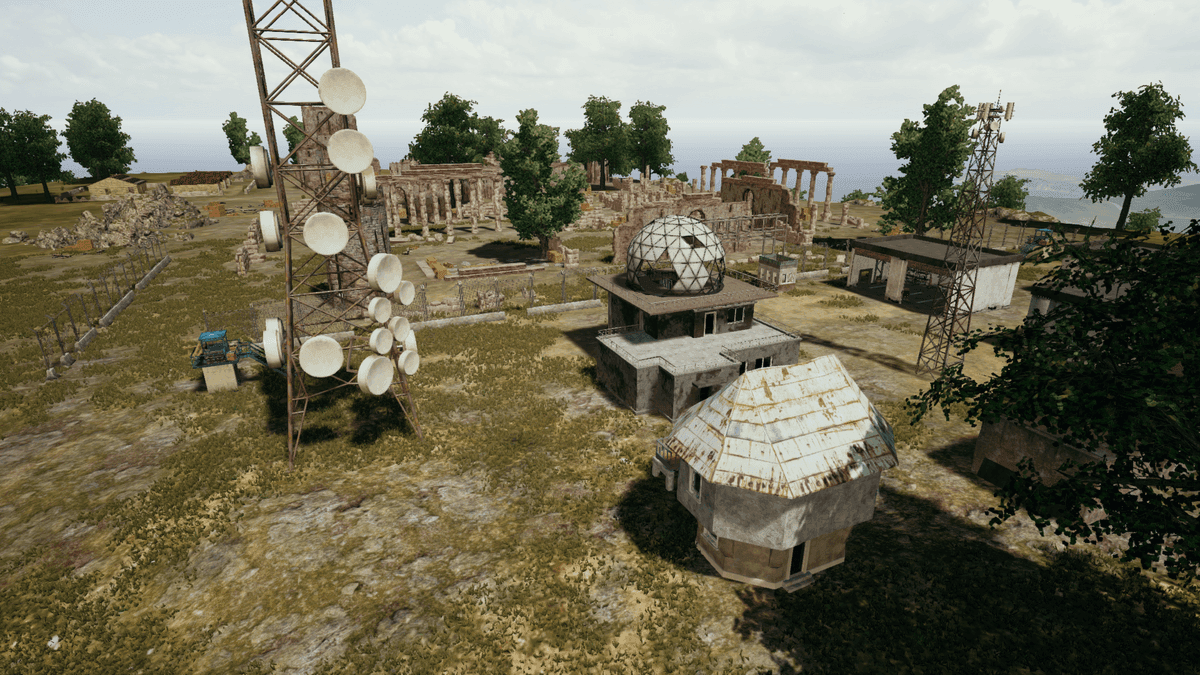
This place consistently delivers Level 2/3 armor, M416/AKM assault rifles, quality attachments, medical supplies, and has a surprisingly high Flare Gun probability. The vehicle spawns at the mountain base? They're your golden ticket to rotating into Kameshki or Severny once you're properly geared.
Kameshki and Zharki work perfectly as secondary northern options. Moderate loot quantities, minimal interference – ideal for duos or solo players who want to avoid the chaos entirely.
Eastern Coastal Areas
Yasnaya Polyana provides squad-level loot quantities with significantly lower risk than traditional hot drops. Pro tip from my testing: those apartment buildings consistently spawn better weapons than the smaller structures. Multiple exit routes make late-game rotations a breeze.
Those small housing clusters northwest of Lipovka? Perfect for solo/duo players. Basic equipment, reliable vehicle access via the nearby road network – sometimes simple is better.
Southern Safe Zones
Mylta Power offers genuinely high-quality loot including rare weapons and armor, mainly because players bypass it for flashier destinations. My recommended approach: land on the outskirts, collect your initial gear, then move inward once you're properly armed.
Small Mylta Power west of the main plant contains very high-quality loot concentrated in a single building. Perfect for solo/duo teams, but don't expect it to kit out a full squad.
Western Border Locations
The Quarry outskirts and surrounding compounds contain these hidden loot crates with frequent SLR and Kar98k spawns plus the appropriate scopes to make them deadly. Those underground bunkers near Shelter (the southeast location) frequently contain Level 3 helmets, vertical grips, extended magazines, and rare long-range weapons. Check each tunnel entrance – loot spawns vary significantly between them.
West of Novorepnoye provides strategic vehicle access with basic gear and those crucial vehicle spawns for the Land Far and Drive strategy we'll dive into next.
For players looking to enhance their PUBG Mobile experience with premium outfits and weapon skins that provide camouflage advantages in Erangel's grassy terrain, Erangel players UC top up offers provide cost-effective solutions for acquiring cosmetic items that improve survival rates in low-contest areas.
Step-by-Step Route Planning Methodology
Flight Path Analysis and Landing
The optimal distance for low-contest drops? 1000-1500 meters from the flight path. This is where the Land Far and Drive methodology becomes your best friend:
1) Identify reliable vehicle spawn locations far from the flight path 2) Secure transportation immediately upon landing 3) Drive to high-tier locations distant from the plane's path
4) Execute 5-7 minutes of uninterrupted looting in premium locations
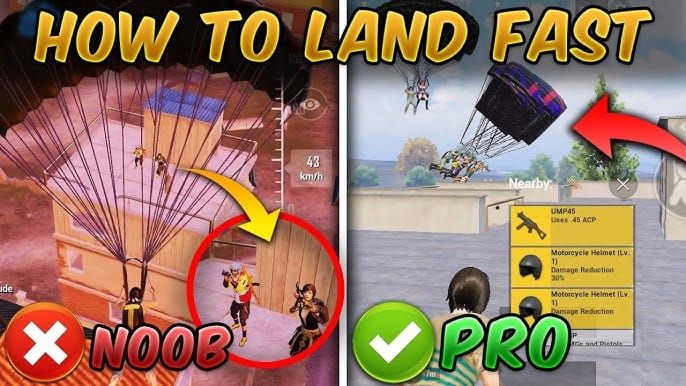
Fast-dropping technique matters here. Jump 750-800 meters from your target, dive straight down to reach that maximum 234 km/h fall speed before parachute deployment. Every second counts when you're racing to secure a vehicle.
Loot Priority Framework and Timing
Here's my priority hierarchy that's served me well:
1) Armor and primary weapon (survival essentials) 2) Medical supplies and boost items (sustained engagement capability)
3) Attachments and secondary equipment (optimization items)
One crucial point – maintain silence during looting. Unnecessary gunfire is like sending up a flare saying fresh loot over here!
Safe zone timings you need to memorize: Initial Blue Zone at 5 minutes, Early Safe Zone 5-10 minutes, Mid Game 10-20 minutes, Late Game 20-30 minutes. Those edge-of-map routes must respect these timelines because blue zone damage increases significantly after Phase 3.
Vehicle Integration and Rotation Strategies
Vehicle Spawn Locations and Bridge Tactics
Sosnovka Military Base vehicle spawns – memorize these:
1) Main road near Factory entrance (highest reliability) 2) Gas station near northern bridge (secondary option) 3) Western bunker garage (backup plan)
Vehicle acquisition takes priority over initial looting. I've seen too many players get caught up grabbing every attachment while the circle closes in.
Bridge counter-strategies that actually work: Early rotation before camps establish, boat utilization with gas cans as alternatives, bridge scouting from distance, and smoke grenade coverage during forced crossings.
Circle prediction tactics: Airdrops often land inside or near the next safe zone. Common Erangel locations include School, Sosnovka Military Base, and Pochinki. Flight path correlation helps predict which map sections will be excluded from future circles.
When you're ready to open premium crates for better equipment and rare items that can give you an edge in these strategic rotations, Midasbuy UC top up for crate spins offers reliable and fast UC delivery to maximize your chances of obtaining game-changing gear.
Loot Efficiency Optimization Techniques
Building Clear Order and Time Management
The Outer-to-Inner methodology has revolutionized how I approach compound clearing.
S
Time allocation that keeps you alive:
Initial gear acquisition: 2-3 minutes
Optimization/attachment hunting: 3-4 minutes
Inventory organization: 1 minute
Rotation preparation: 1 minute
This ensures adequate preparation while maintaining safe zone compliance.
Inventory priorities: Weapon attachments for accuracy and recoil control, medical supplies for multiple engagements, balanced ammunition loads, and utility items like grenades and smoke for tactical advantages.
Common Mistakes and How to Avoid Them
Critical Failure Points
Lacking an exit strategy – especially from edge or island locations. Landing at Sosnovka Military Base without pre-planned escape routes results in blue zone entrapment or bridge camping. Solution: Always prioritize early vehicle acquisition and know boat spawn locations as backup (requiring gas cans).
Late rotations kill more players than you'd think. Underestimating rotation time requirements leads to rushed movements that expose players to ambushes. Solution: Begin rotations with 30-40% safe zone timer remaining, accounting for potential delays and detours.
Route inflexibility – rigid adherence without adapting to flight paths, combat sounds, or vehicle availability. Solution: Develop multiple contingency routes and practice alternatives in custom rooms.
Squad vs Solo Route Adaptations
Team Coordination and Solo Considerations
Squad requirements demand locations with sufficient loot quantity – think Yasnaya Polyana, Mylta Power, or cleared Georgopol sections. Coordination involves designated vehicle acquisition, parallel looting, clear communication protocols, and optimal equipment distribution based on team roles.
Solo advantages let you exploit smaller, more discrete locations like individual bunkers, housing clusters, or Quarry outskirts. Faster decision making, smaller vehicle requirements (motorcycles and buggies become viable), easier stealth maintenance, and flexible personal timing.
Communication protocols that work: Immediate enemy contact callouts with direction and distance, loot sharing priority based on team roles, coordinated rotation timing, and designated driver/passenger responsibilities.
For squads looking to coordinate their loadouts with matching premium outfits and weapon skins that enhance team identity while providing tactical advantages, Buy UC online for outfit sets quickly ensures your team can acquire coordinated gear efficiently for improved performance and visual cohesion.
Advanced Circle Prediction and Positioning
Zone Reading and Rotation Timing
Environmental indicators matter more than most players realize. Circles tend to favor varied terrain that supports diverse combat styles. Areas with moderate player presence often become circle centers to maintain action balance.
Optimal rotation timing breaks down like this:
Initial rotation at 60% zone timer (secure basic positioning)
Secondary positioning at 30% timer (optimize for next circle)
Final adjustments at 10% timer (react to enemy movements)
Positioning principles: Edge positioning minimizes exposure angles, prioritize hard cover over open areas, maintain multiple exit options, and prefer high ground for tactical advantages.
Seasonal Updates and Meta Changes Impact
Map Modifications and Loot Updates
Erangel receives periodic updates that significantly affect loot distribution. The addition of docks at Novorepnoye, Ferry Pier, and coastal locations created new medium-risk opportunities that smart players can exploit.
Recent changes worth noting: Georgopol and Novorepnoye experienced loot reductions, while Yasnaya Polyana and western Georgopol housing clusters became more rewarding.
That 28% item spawn increase with specific weapon category improvements? It's made previously marginal locations viable for competitive play. Meta changes influence player behavior – successful players monitor these shifts and maintain backup routes as certain locations transition from low-contest to medium-contest areas.
FAQ
What are the safest landing spots in Erangel for consistent loot? Stalber, Yasnaya Polyana, and underground bunkers near Shelter top my list. Stalber provides Level 2/3 armor and assault rifles with minimal interference. Yasnaya offers squad-level equipment. Those bunkers contain Level 3 helmets and rare DMRs with virtually no competition.
How do I execute the Land Far and Drive strategy effectively? Identify vehicle spawns 1000+ meters from the flight path, fast-drop at 234 km/h, secure your vehicle immediately, then drive to high-tier locations like Military Base or Georgopol that were far from the plane's path for 5-7 minutes of uninterrupted looting.
What's the biggest mistake with low-contest routes? Failing to secure an exit strategy from edge locations. Always secure transportation early and know boat spawn locations as backup to avoid blue zone entrapment or bridge camping.
How has recent loot rebalancing affected Erangel strategies? The 28% increase in item spawns, AR rates up 64%, DMR rates up 114% – it's made previously marginal locations much more viable. Low-contest strategies are now more rewarding than ever.
When should I rotate to avoid blue zone? Begin rotations with 30-40% safe zone timer remaining. Timeline: Initial Blue Zone at 5 minutes, damage increases significantly after Phase 3, making late rotations extremely dangerous.
What's the difference between squad and solo route selection? Squads need high loot quantity locations like Yasnaya Polyana or Mylta Power. Solo players can use smaller discrete spots like Small Mylta Power, individual bunkers, or Quarry outskirts with sufficient single-player equipment.