

Quick Answer: Master PUBG Mobile bridge combat through positioning fundamentals, proper weapon loadouts (snipers + close-range), squad coordination, and strategic timing. Sosnovka offers high-ground advantages while Novorepnoye provides better flanking opportunities.
Understanding Bridge Combat in PUBG Mobile
Why Bridges Matter in Battle Royale
Here's the thing about bridge fights in PUBG Mobile – they're absolutely brutal, and that's exactly why we love them. These narrow chokepoints on Erangel aren't just random map features; they're psychological warfare zones where one wrong move sends your entire squad back to the lobby.
Sosnovka and Novorepnoye bridges are the only ways to reach Military Base without swimming (and trust me, nobody wants to swim with a full squad shooting at them). The loot on Sosnovka Island? It's god-tier. Level 3 gear, AWMs, the works. But here's the catch – everyone knows this.
What makes bridge fights so intense:
You're trapped. Limited escape routes mean you either fight or die trying to run
The best players gravitate toward Military Base, so you're facing skilled opponents
Vehicles become death traps when caught in the open
Multiple squad eliminations = premium loot bonanza
I've seen teams wipe four squads in a single bridge camp session. The risk-reward ratio is insane.
Mobile-Specific Considerations
Playing on mobile changes everything. Your thumbs aren't as precise as a mouse, so you need to adapt. I always tell players to set up separate sensitivity settings for each scope – what works for red dot absolutely doesn't work for 8x.
Position your fire buttons for lightning-fast weapon switching. During bridge fights, you'll need to go from sniper to close-range in seconds. And please, use gyroscope for fine adjustments. It's a game-changer for those crucial headshots.
Sosnovka Bridge Complete Analysis
Bridge Layout and Strategic Positions
Sosnovka Bridge stretches 200 meters of pure terror. The steel-truss design creates natural cover points, but also deadly exposure zones. Those damaged vehicles scattered across the bridge? They're lifesavers – literally.
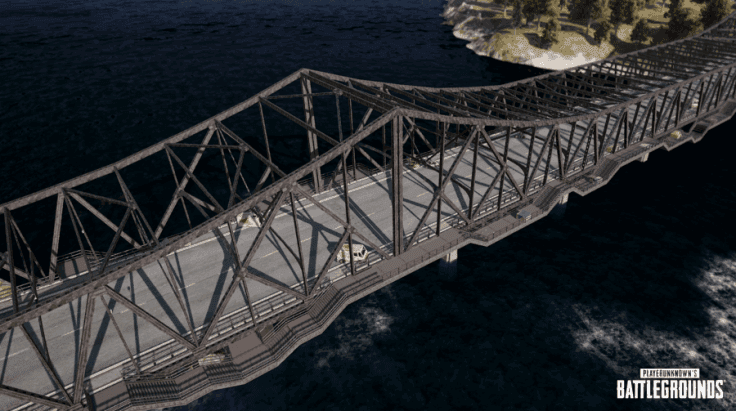
The superstructure is where legends are made. Get up there, go prone, and you've got eyes on both ends of the bridge. It's perfect for solo players who want to control the entire crossing. But here's an editor's note from experience: don't stay too long. Smart teams will flank through water.
Under-bridge positioning is criminally underused. Those massive support pillars provide incredible cover, and you can pick off swimmers trying to bypass your camp. Most players forget to check underneath – use that to your advantage.
Pro tip I learned the hard way: The side perch technique. You can actually crawl along those narrow metal ledges on the bridge sides. Risky? Absolutely. Effective? When executed properly, it's devastating.
Vehicle Crossing Routes
UAZ is your best friend here – 2450 HP means it can tank significant damage while serving as mobile cover. I've seen squads use a damaged UAZ as a permanent roadblock, creating their own fortress.
Motorcycles are pure adrenaline. 151 km/h top speed with minimal profile makes for heart-stopping crossings. But that 1000 HP? One good burst and you're walking. The zigzag pattern works, but timing is everything.
Want to really mess with bridge campers? Destroy vehicles strategically to create permanent roadblocks. Nothing says this is our bridge like a burning UAZ blocking the main route.
Novorepnoye Bridge Mastery Guide
Structure and Advantages
Novorepnoye doesn't get the respect it deserves. While everyone obsesses over Sosnovka, this bridge offers superior tactical flexibility. The mainland integration means you're not stuck on an isolated perch – you can actually retreat and reposition.
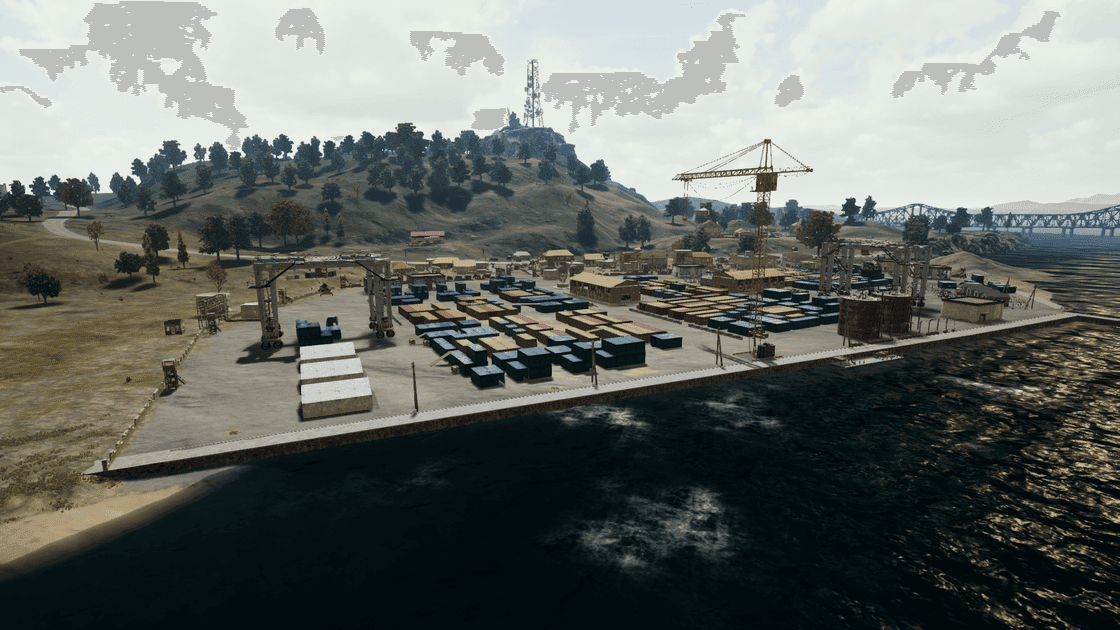
The surrounding terrain is a tactical playground. Multiple elevation changes, nearby buildings for extended firefights, and varied approach angles make this bridge perfect for coordinated squad play.
Water-based flanking works better here than Sosnovka. The shoreline provides multiple insertion points, and the terrain gives you actual cover for unexpected approaches. I've seen teams completely bypass bridge camps using boat insertions around Novorepnoye.
Essential Bridge Crossing Techniques
Vehicle Crossing Strategies
High-speed penetration is an art form. Maximum speed, unpredictable movement, and pure commitment. Hesitation kills. Literally.
For solo crossings, motorcycles are king. For squads, UAZ durability wins every time. But here's where it gets interesting – coordinated vehicle rushes. Multiple vehicles crossing simultaneously overwhelms defensive positions. The lead vehicle draws fire while follow-ups exploit the distraction.
Timing is crucial. One second too early or late, and your perfectly coordinated rush becomes a traffic jam of death.
For enhanced bridge combat effectiveness, Midasbuy UC for vehicle finish skins provides psychological advantages during intense encounters.
On-Foot Movement and Smoke Usage
Cover-to-cover advancement requires identifying every single cover point before moving. Those damaged vehicles and structural elements aren't just decoration – they're your lifeline.
Smoke deployment is science, not luck. Create corridors, not clouds. Understand wind patterns. Deploy for continued movement, not just initial cover. I've watched teams waste smoke grenades by dropping them randomly instead of creating strategic concealment corridors.
Weapon Selection for Bridge Combat
Long-Range Options
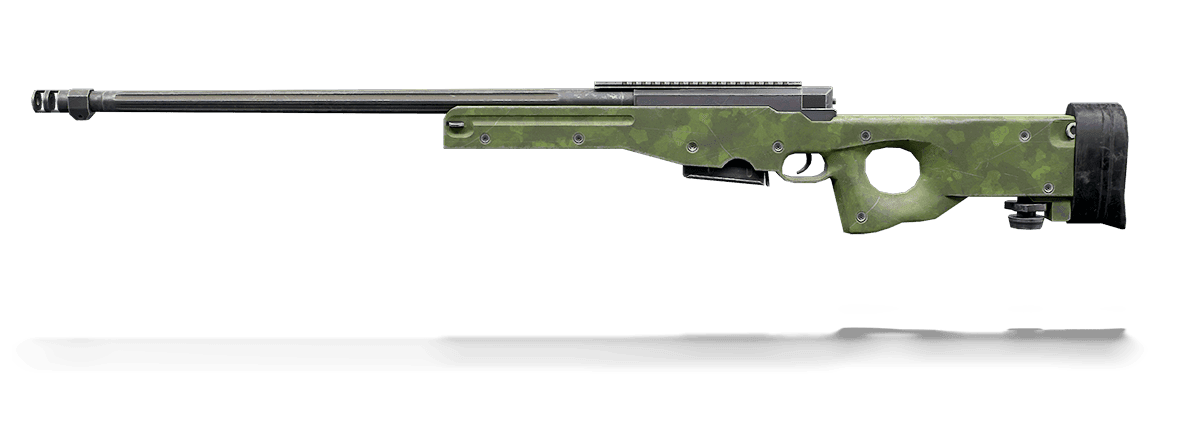
AWM is the bridge king. 300 damage, one-shot headshot capability against any helmet. When you hear that distinctive crack, someone's day just ended. M24 offers similar devastation with better availability.
Mini-14 is criminally underrated for bridge harassment. 990 m/s bullet velocity with manageable recoil means rapid follow-up shots. Perfect for keeping enemies pinned while your squad repositions.
DP-28 for absolute bridge control. 47-round magazine, stable prone recoil, and 51 base damage. It destroys vehicles and suppresses entire squads. The psychological impact of sustained LMG fire cannot be overstated.
Close-Quarter Alternatives
M416 remains the versatile champion. Controllable recoil, flexible attachments, effective up to 100 meters when properly equipped. It's reliable when bridge fights turn into close-quarter chaos.
AKM and Beryl M762 bring devastating 7.62mm power. Two headshots eliminate armored opponents. When enemies rush your position, these weapons end fights quickly.
DBS shotgun for clearing entrenched positions. Dual-shell loading with 14-round capacity makes it perfect for aggressive pushes against camped enemies.
Utility integration matters. Frag grenades with proper cooking techniques dislodge stubborn defenders. Spike traps offer subtle vehicle disabling compared to obvious blockades.
Bridge fight UC top up checklist helps maintain optimal inventory management during extended combat sessions.
Squad Coordination Strategies
Team Positioning and Communication
2-and-2 split formation works beautifully. Two members engage directly while two provide flanking support. Clear role definition prevents confusion during intense firefights.
Overwatch positioning creates layered defense. Designated snipers maintain long-range positions while assault members advance. It's textbook military tactics applied to battle royale.
Communication becomes critical. Use compass bearings and landmark references for accurate target designation. Enemy on bridge means nothing. Enemy 180 degrees, damaged blue car saves lives.
Pincer attacks are devastating when executed properly. Split squads attacking from multiple angles – frontal distraction while flanking through water routes. Timing coordination requires practice, but the results speak for themselves.
Counter-Strategies and Defense
Dealing with Bridge Campers
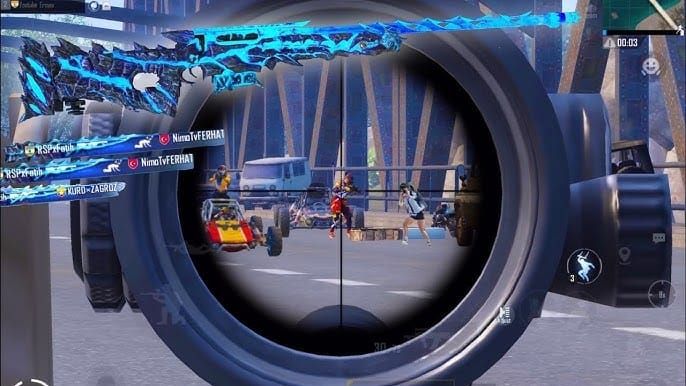
Reconnaissance is everything. Use sniper scopes to identify enemy numbers, positions, and equipment before committing to any approach. Information wins bridge fights.
Alternative routes exist for a reason. Boat crossings provide viable alternatives using shoreline smoke screens and rapid movement. Don't let bridge campers dictate your entire rotation.
BRDM-2 is the ultimate bridge counter. 3600 HP amphibious vehicle callable with flare guns. It's expensive but practically guarantees safe crossing when available.
Swimming tactics require coordination. Synchronized attacks can bypass defenses, but timing and smoke cover are essential. One exposed swimmer alerts the entire enemy squad.
Timing and Zone Management
Early and Late Game Considerations
Rotation planning prevents disaster. Teams looting Military Base should cross by Phase 2, avoiding zone pressure that forces desperate crossings when camps are most likely.
Zone timing calculations become mathematical. Late-game crossings require precise calculations accounting for crossing time, potential combat duration, and healing requirements.
Multi-route contingencies save squads. Maintain bridge routes as primary with water crossings as backup. Equipment preparation includes boat fuel, smoke grenades, and healing items for specific crossing methods.
Buy UC online for mythic progress path provides reliable access to advanced customization enhancing performance and psychological warfare.
Common Mistakes and Pro Tips
Rookie Errors and Advanced Techniques
Premature engagement ruins perfect setups. Shooting too early allows enemy retreat to cover. Optimal timing occurs when enemies pass cover points, leaving them completely exposed.
Static positioning makes teams predictable. Remaining in camps too long allows enemies to plan counters. Maintain mobility and relocate after engagements.
Psychological warfare is real. Visible blockades deter approaches, forcing enemies into predictable alternatives. Sometimes the threat of a camp is more effective than the actual camp.
Bait and switch requires precise timing. Use apparent weaknesses to bait advances before revealing hidden positions. It's high-risk, high-reward tactical play.
Control customization for bridge scenarios. Rapid target acquisition demands optimized layouts. Customize specifically for bridge combat to improve reaction times.
Audio optimization reveals everything. Directional cues identify enemy positions and movements. Essential for detecting flanking attempts and coordinating counter-attacks.
Frequently Asked Questions
What are the best weapons for PUBG Mobile bridge fights? AWM or M24 for one-shot elimination potential, Mini-14 DMR for harassment with 990 m/s velocity, M416 for balanced performance, DP-28 LMG for vehicle destruction and suppression, DBS shotgun for aggressive position clearing.
How do you cross Sosnovka bridge safely in PUBG Mobile? Thorough reconnaissance, strategic smoke deployment, motorcycle speed runs with zigzag patterns, UAZ for squad durability, side perch techniques, and coordinated pincer attacks using water route flanking.
What are the key differences between Sosnovka and Novorepnoye bridges? Sosnovka offers superior elevation through superstructure positioning but creates isolated engagements. Novorepnoye provides mainland integration, diverse terrain, enhanced flanking opportunities, and dynamic cross-fire setups.
How do you counter bridge campers in PUBG Mobile? Comprehensive reconnaissance, coordinated pincer movements, extensive smoke deployment, BRDM-2 bypass tactics, motorcycle speed crossings, and synchronized swimming attacks with proper smoke cover.
What vehicles are best for bridge crossings in PUBG Mobile? Motorcycle for high-speed solo crossings despite fragility, UAZ for squad durability and mobile cover, BRDM-2 for ultimate safety with amphibious capabilities, strategic vehicle destruction for permanent defensive positions.
How do you coordinate squad bridge crossings in PUBG Mobile? 2-and-2 split formations, compass bearing target designation, staggered movement timing, established retreat routes with covering fire, frontal distraction with flanking elements, constant communication protocols, and emergency escape procedures.