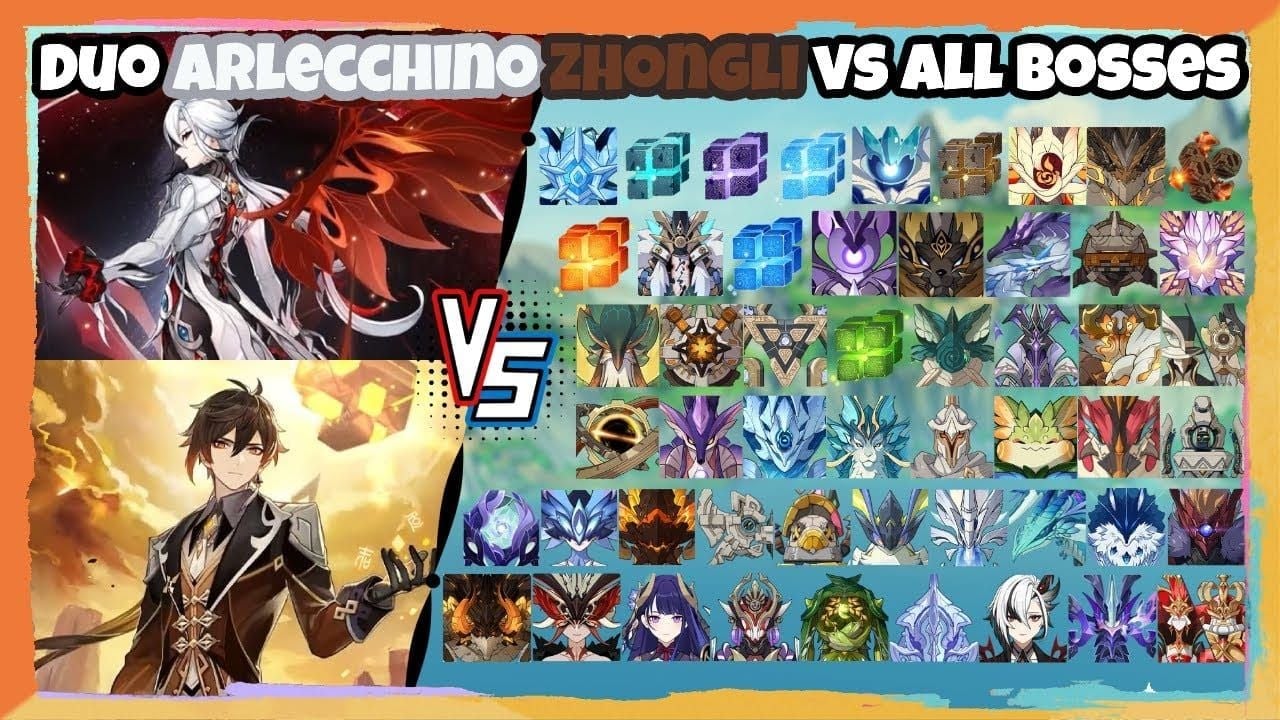
Look, I've been covering Genshin team comps for years, and this pairing? It's something special. You get Arlecchino's absolutely bonkers damage output without the constant fear of getting one-shot during her Bond of Life states. Plus that 20% universal RES shred from Zhongli's shield? Chef's kiss.
Why This Duo Actually Works (And It's Not Just About Shields)
The Core Partnership
Here's the thing about Arlecchino – she's a glass cannon that literally can't be healed when she's in her damage state. Sounds terrifying, right? That's where Zhongli comes in clutch.
His Jade Shields aren't just any shields. We're talking 150% absorption efficiency against ALL damage types, scaling off his Max HP. When Arlecchino hits that sweet spot of ≥30% Bond of Life, her Normal Attack damage jumps by 120%. But here's the kicker – one mistimed dodge and you're toast since external healing is completely blocked.

Zhongli basically says not today to that problem.
The RES Shred Game-Changer
Most people focus on the shield protection (which is huge), but they sleep on the 20% universal RES shred. This isn't some tiny damage bump – we're looking at a legitimate 15-20% DPS increase that stacks multiplicatively with everything else.
And honestly? The psychological benefit of not constantly watching your HP bar is worth its weight in primogems.
Team Comps That Actually Slap
The Meta King: Vaporize Variant
Arlecchino | Yelan | Bennett | Zhongli

This is it. This is the comp that makes Floor 12 feel like a joke. Yelan's Hydro application is consistent enough for those juicy 1.5x Vaporize multipliers, Bennett brings his usual broken ATK buffs (we're talking 1,200+ here), and Zhongli ties it all together with protection and that sweet, sweet RES shred.
The damage amplification reaches 35-40% over unshielded setups. Yeah, you read that right.
For optimal team builds, buy genesis crystals for zhongli and arlecchino synergy team through BitTopup's secure platform, offering competitive pricing and instant delivery for all Genshin Impact needs.
Double Geo: When You Want to Feel Invincible
Arlecchino | Yelan/Xingqiu | Chiori/Albedo | Zhongli
Sure, you're trading some of those Vaporize multipliers, but Geo Resonance is no joke – +15% damage when shielded plus +15% shield strength. This setup achieves about 80-90% of the Vaporize variant's DPS while making you practically unkillable.
Perfect for those high-pressure situations where one mistake costs you the 36-star clear.
Mono-Pyro: The Consistency King
Arlecchino | Xiangling | Bennett | Zhongli
Sometimes you just want reliable damage without worrying about reaction timing. This comp delivers 80-85% effectiveness with way more forgiveness for rotation mistakes. Plus, Pyro Resonance gives everyone +25% ATK.
Building These Characters Right
Zhongli: The Ultimate Support
4-piece Tenacity of the Millelith is non-negotiable here. You get +20% HP for beefier shields AND +20% party ATK when his Skill hits enemies.

Main stats are simple: HP% on everything (Sands/Goblet/Circlet). For substats, prioritize HP% > Flat HP > Energy Recharge. You want 25,000-30,000 HP for those 6,500+ shield absorption numbers.
Energy Recharge targets: 130-150% if he's your only Geo, 120-130% with Geo Resonance.
Arlecchino: The Damage Dealer
4-piece Fragment of Harmonic Whimsy is her best-in-slot, giving +18% ATK and stacking +18% damage per Bond state change. When you maintain 3 stacks (which isn't hard), you're looking at 54% bonus damage uptime.
Stats to aim for:
2,000+ ATK
70-80% CRIT Rate
160%+ CRIT DMG
140-150% Energy Recharge (for emergency Burst healing)
Talent priority: Normal Attack first (this is where her damage lives), then Elemental Skill, then Burst.
Editor's note: I've seen too many people neglect her Normal Attack talents and wonder why their damage feels underwhelming. Don't be that person.
Weapons That Matter
The Premium Options
Arlecchino's Crimson Moon's Semblance is obviously her signature for a reason – 674 Base ATK, 22.1% CRIT Rate, plus that passive that grants +25% Max HP as Bond of Life on Charged Attacks. The damage bonus scaling is just chef's kiss.
Staff of Homa works beautifully on both characters, though Arlecchino gets more offensive value from it.
Budget-Friendly Alternatives
For Zhongli, Black Tassel maximizes shield strength on a shoestring budget. Favonius Lance helps with team energy if you need it.
Arlecchino can make Deathmatch work really well – that CRIT Rate and ATK scaling based on nearby enemies fits her playstyle perfectly. White Tassel is your F2P option with CRIT Rate and Normal Attack bonuses.
Rotations That Don't Suck
The Standard Vaporize Loop
Here's your bread and butter:

Arlecchino Elemental Skill (mark enemies with Blood-Debt Directive)
Yelan Skill/Burst (get that Hydro going)
Bennett Skill/Burst (ATK buff time)
Zhongli Hold Skill (shield up, RES shred active)
Arlecchino Charged Attack (absorb those Directives)
Normal Attack combo with dash cancels for 7-10 seconds
The timing feels natural once you get it down, and you maintain all your buff uptimes without awkward gaps.
Energy Management Reality Check
Arlecchino needs that 140-150% Energy Recharge in two-Pyro teams. Trust me on this – her Burst is your emergency healing when things go sideways. Zhongli's requirements depend on team comp, but 130-150% solo Geo, 120-130% with Geo Resonance keeps his shield rotation smooth.
For enhanced team performance, genshin synergy banner top up primogems through BitTopup ensures sufficient resources for optimal constellation and weapon acquisitions with secure transactions and competitive rates.
Floor 12 Domination Guide
Why This Comp Loves Current Abyss
Floor 12's Pyro damage favoritism makes this team absolutely shine. The enemy positioning lets you maximize Zhongli's RES shred AoE if you're smart about grouping. His Burst petrification? Perfect for repositioning during those scary attack windows.

Vishap Strategy (Because They're Annoying)
Those armor-breaking mechanics that usually spell doom? Zhongli's shields tank the massive damage while his RES shred helps you break through their defensive phases faster. Consistent 180-200 second clear times with proper builds.
The 36-Star Reality
You need 40,000+ DPS throughout chambers for comfortable 36-star clears. This comp delivers that with room to spare – we're talking 8:30+ clear times even with some rotation mistakes.
Pro tip: Skip Arlecchino's Burst unless you absolutely need the healing. The animation time hurts your DPS more than the damage helps.
Advanced Variations & Substitutions
When Hydro Enemies Ruin Your Day
The Mono-Pyro variant (Arlecchino/Xiangling/Bennett/Zhongli) becomes your best friend against Hydro-resistant enemies. You lose some peak damage but gain consistency that matters more in practice.
The Geo Fortress Approach
Double Geo comps excel against enemies with high elemental resistance since Geo damage bypasses most defensive mechanics. Plus, that +15% shield strength from Geo Resonance makes you feel truly invincible.
Don't Make These Mistakes
Rotation Sins I See Constantly
Shield refresh timing: Don't wait until it breaks! Refresh at 15-18 seconds for 100% uptime
Burst spam: Reserve Arlecchino's Burst for emergencies, Zhongli's for crowd control
Positioning fails: Stay close for that RES shred AoE coverage
Build Optimization Traps
Too much Energy Recharge on Arlecchino kills your damage. 140-150% ER maximum, seriously. And please, don't build hybrid damage Zhongli – 25,000-30,000 HP provides way more team value.
The Numbers Game
What Good Looks Like
Optimized teams hit 200K+ Charged Attack damage with proper buff stacking. That 35-40% total damage amplification from Bennett's ATK buff, Zhongli's RES shred, and Vaporize multipliers? It's real, and it's spectacular.
Team DPS consistently exceeds 40,000 per second, which is exactly what you need for those 36-star requirements.
F2P Reality Check
Even with 4-star weapons, you're looking at 80-85% effectiveness. This comp is surprisingly accessible – you don't need whale investments to make it work.
Constellation Priorities
Arlecchino C1 is the big one – +120% Masque damage plus interruption resistance. Zhongli C1 is quality-of-life with dual Stone Steles.
Important: Avoid Zhongli C6 like the plague. The healing interferes with Bond of Life mechanics.
FAQ: The Real Questions
Q: Is Zhongli actually essential, or just nice to have? Essential might be strong, but he offers things no other character can match for Arlecchino specifically. That 20% universal RES shred, unbreakable shields, and petrification crowd control create a perfect storm of benefits.
Q: What's the minimum investment for Floor 12 success? C0 characters with 4-star weapons absolutely work for 36-star clears. Hit 25,000+ HP on Zhongli and 2,000+ ATK with 70% CRIT Rate on Arlecchino, and you're golden.
Q: How does this stack up against other Arlecchino teams? You trade about 10-20% peak DPS for near-immunity to interruption and mistakes. For most players, that's a fantastic trade-off. The consistency factor alone makes it worth considering.
Q: Can I use Xingqiu instead of Yelan? Absolutely. Xingqiu provides similar Hydro application with bonus damage reduction. Yelan edges out with higher personal damage through her A4 passive, but Xingqiu is an excellent F2P alternative.
Q: What if my rotation timing is garbage? Start with 15-20 second cycles and focus on keeping Arlecchino on-field for 7-10 seconds max. The beauty of this comp is its forgiveness – Zhongli's shield gives you room to mess up and learn.
Q: Are constellations mandatory? Not at all. C0 builds achieve full functionality for all content. Arlecchino C1 is the biggest upgrade if you're spending, but it's luxury, not necessity.
Bottom line? This comp turns Arlecchino from a high-risk, high-reward character into a high-reward, low-risk powerhouse. And in a game where one mistake can cost you precious Abyss stars, that peace of mind is invaluable.

