

This comprehensive guide covers Lunar-Bloom team building with Lauma and Nilou, featuring new Nod-Krai artifact sets, optimal rotations, and meta compositions. Learn to maximize Bloom damage through proper character synergy, stat optimization, and strategic team construction for Spiral Abyss dominance.
Understanding Lunar Bloom Mechanics in Genshin Impact
Bloom Reaction Fundamentals
Here's where things get interesting. Lunar-Bloom only triggers when you've got Dendro and Hydro elements dancing together with at least one Nod-Krai character in the mix. But here's the kicker—unlike those sluggish traditional Bloom cores that scale purely with EM and character level, Lunar-Bloom cores actually benefit from CRIT Rate, CRIT DMG, and DMG% bonuses. Game changer, right?
The numbers tell the story. Lunar Cores detonate in just 1.2 seconds versus standard Bloom's leisurely 6-second timer. They pack a 3.5-meter AoE radius compared to the measly 2 meters of regular cores, and they come with a hefty 1.7x base damage multiplier.
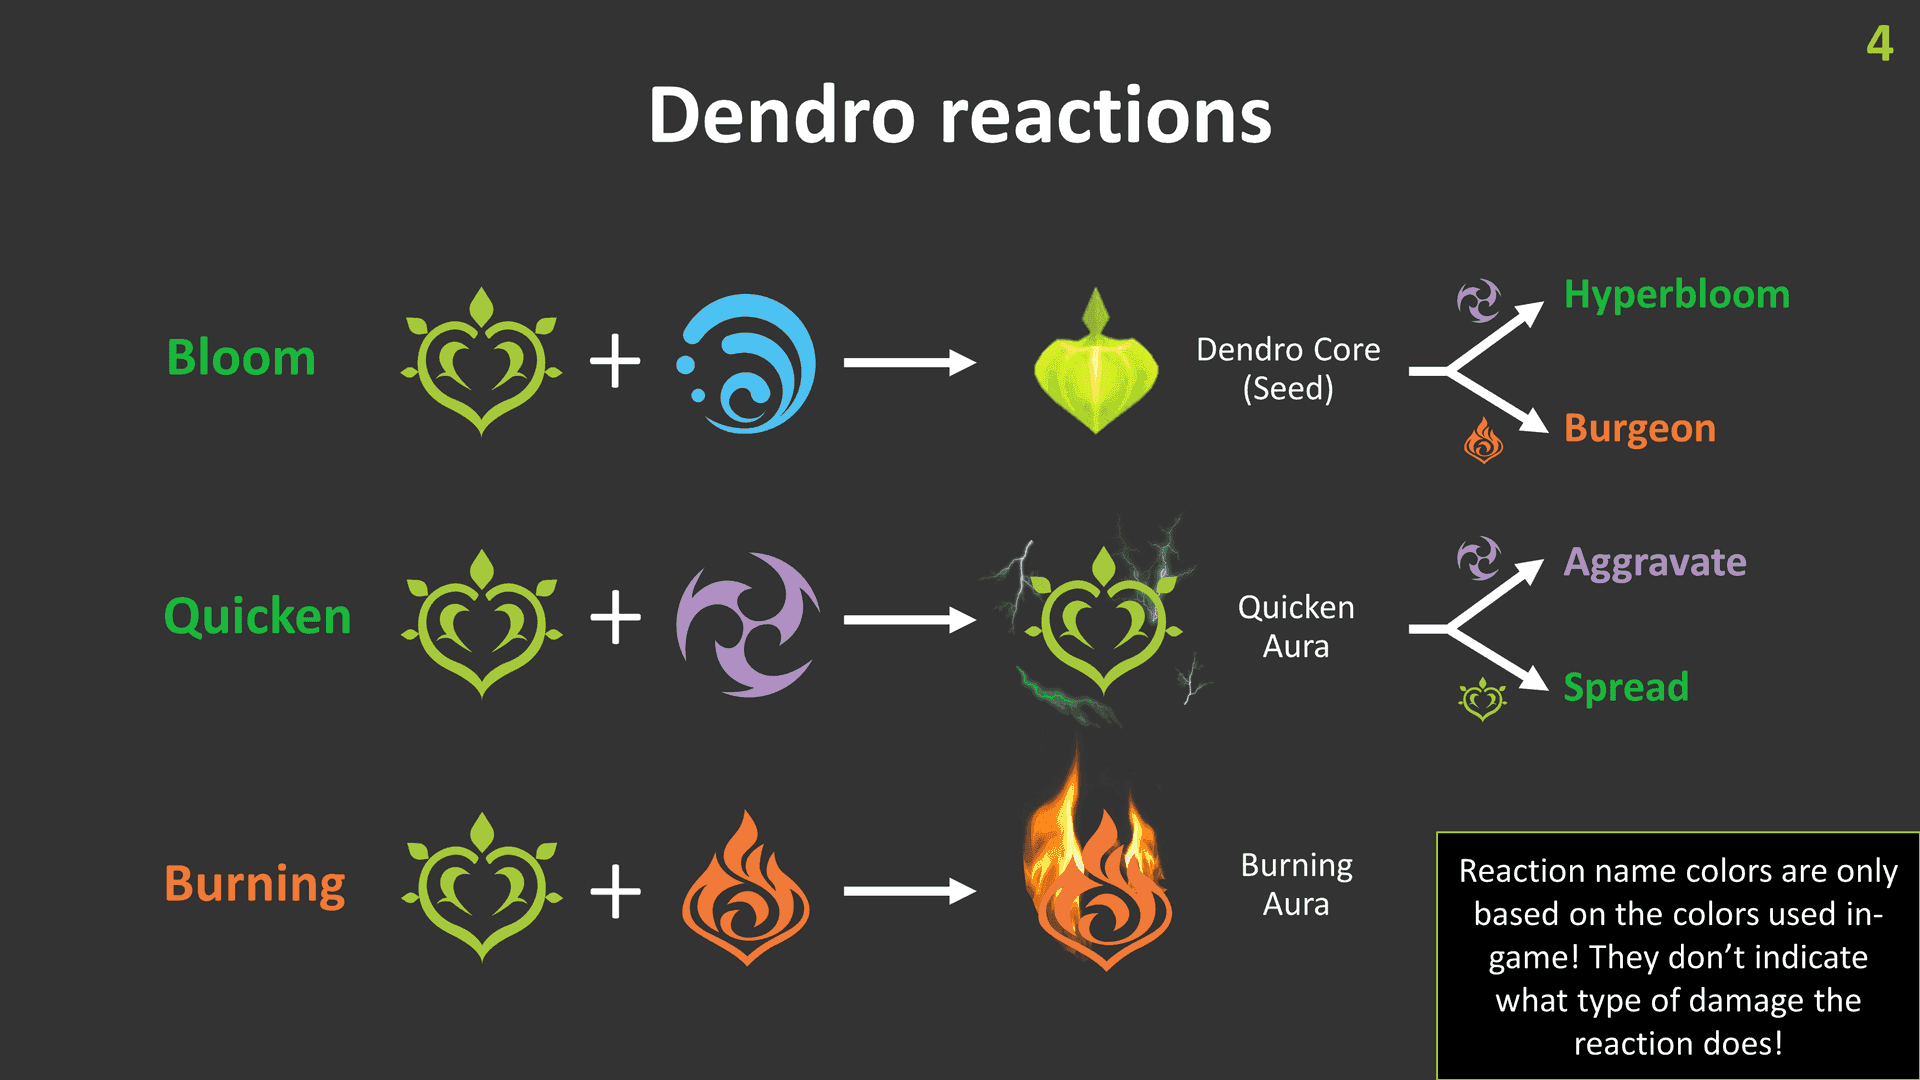
But wait—there's more. (I know, I sound like an infomercial, but bear with me.) Post-detonation Moon Eclipse fields stick around for 2 seconds, dealing continuous Dendro damage that can actually CRIT while completely ignoring enemy DEF. That's just broken in the best possible way.
For players seeking to buy genesis crystals for nod-krai lunar bloom teams, BitTopup offers competitive pricing and instant delivery, ensuring you can quickly access the resources needed for optimal character builds and weapon acquisitions.
Lauma's Role in Bloom Teams
Lauma's passive Moonsign Benediction: Nature's Chorus is basically the magic wand that transforms your entire party's Bloom reactions into Lunar-Bloom variants. No exceptions, no conditions—just pure conversion power.
Her Elemental Skill creates this thing called Frostgrove Sanctuary that lasts 15 seconds with a 12-second cooldown. Pretty solid uptime, honestly. At Talent Level 10, it reduces enemy Dendro and Hydro RES by 25% for 10 seconds while providing consistent off-field Dendro application. The Hold version? That's where things get spicy—it consumes up to 3 Verdant Dew stacks to deal 1404% EM-scaling Lunar-Bloom damage while generating Moon Song stacks.
Her 80-energy Elemental Burst grants 18 Pale Hymn stacks right off the bat. Each Moon Song stack converts to 6 additional Pale Hymn stacks, maxing out at 36 total. The math gets pretty wild when you start stacking these effects.
Nilou's Bountiful Core Enhancement
Now, Nilou's A4 passive has this quirky requirement—your team can only have Hydro and Dendro characters. No exceptions. But when you meet that condition, her Bountiful Cores explode instantly upon creation with a larger AoE radius.
Combine that with Lauma's Lunar-Bloom conversion and you get Bountiful Lunar Cores. The damage potential is absolutely devastating in AoE scenarios. Nilou's C2 constellation sweetens the deal by shredding 35% Dendro RES for 10 seconds after Bloom or Lunar-Bloom reactions. That stacks multiplicatively with Lauma's 25% Dendro/Hydro RES reduction, which is just beautiful math.
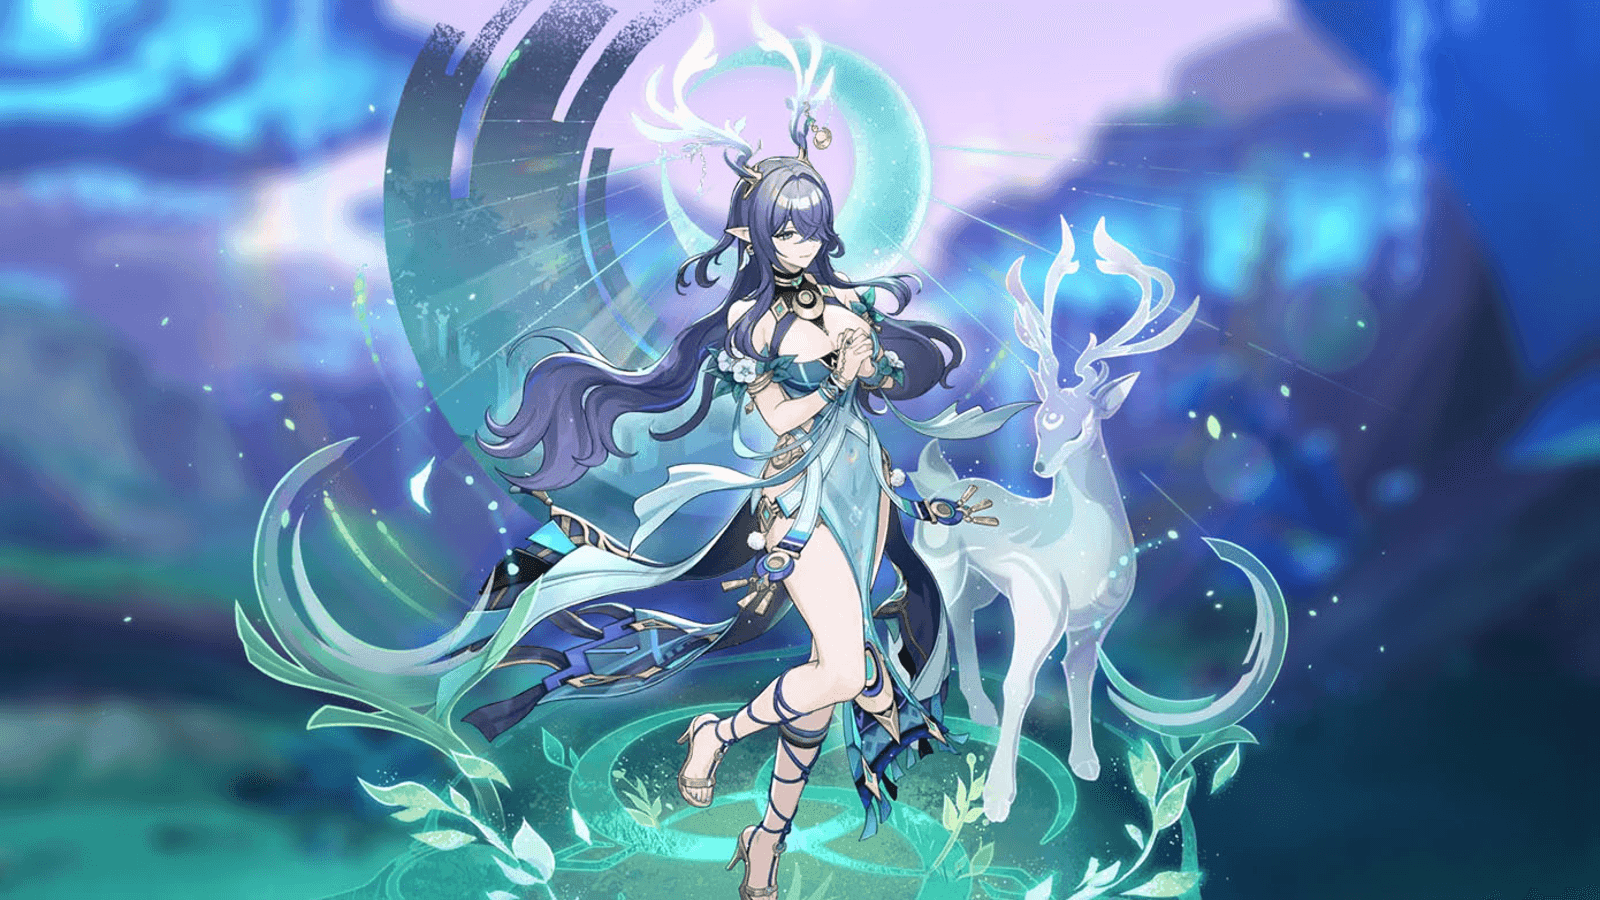
Lauma Character Analysis for Team Building
Lauma's Kit Overview
Lauma's a 5-star Dendro Catalyst user with +115.2 EM ascension stat, reaching +315.2 total EM at level 90. Her base stats are pretty standard: 13,348 HP, 174 ATK, and 463 DEF. Nothing groundbreaking there, but it's the kit synergy that matters.
Her Normal Attack sequence delivers 3 Dendro damage instances, with Charged Attacks featuring this Spirit Envoy form that's honestly more flashy than practical. The real meat is in her Elemental Skill Runo: Dawnless Rest of Karsikko—that Frostgrove Sanctuary attacks every 2 seconds like clockwork.
The Elemental Burst Runo: All Hearts Become the Beating Moon costs 60 energy with a 15-second cooldown. Wait, did I say 60? I meant 80 energy earlier—let me double-check that... Actually, it's 80 energy, immediately granting those 18 Pale Hymn stacks I mentioned.
Optimal Talent Priorities
Elemental Skill first. Always. No debate here.
This provides the foundation for everything—Dendro application, resistance shredding, and Verdant Dew generation. Level 10 Skill achieves that crucial 25% Dendro/Hydro RES reduction and maximizes damage scaling for Hold Skill Lunar-Bloom instances.
Elemental Burst comes second, enhancing those EM-based bonuses applied to Bloom reactions through Pale Hymn stacks. Normal Attack talent investment? Skip it unless you're planning some weird on-field Lauma composition (which, honestly, I wouldn't recommend for most players).
Constellation Investment Guide
C0 Lauma works perfectly fine for Lunar-Bloom teams. Don't let anyone tell you otherwise.
C1 Threads of Life adds healing capability—500% ATK scaling on Lunar-Bloom triggers with a 1.9-second cooldown—plus some Spirit Envoy stamina benefits. Nice to have, not essential.
C2 Enhances Burst is where the money is. This delivers the strongest damage constellation with +500% EM scaling to Bloom/Hyperbloom/Burgeon damage and +400% to Lunar-Bloom. There's an additional +40% Lunar-Bloom bonus under Ascendant Gleam conditions. That's a significant damage spike.
C6 transforms Lauma into a more active damage dealer by adding AoE Dendro instances to Sanctuary—185% EM as Lunar-Bloom damage, up to 8 triggers. Pretty wild, but we're talking whale territory here.
Nilou Integration and Synergy Optimization
Nilou's Bloom Mechanics
Nilou's entire existence revolves around that Bountiful Core passive. Remember—only Hydro and Dendro elements allowed in your team composition. Her Elemental Skill provides two modes: Sword Dance (3 Normal Attacks) and Whirling Steps (direct Skill activation).
The Golden Chalice's Bounty state activates after completing either sequence, lasting 30 seconds and enabling Bountiful Core creation. Nilou scales with HP% for both survivability and damage output. Her Elemental Burst deals Hydro damage based on Max HP while applying strong Hydro aura—pretty straightforward stuff.
Lauma-Nilou Combo Rotations
Here's where timing becomes crucial. Optimal rotation sequences prioritize Lauma's Hold Skill before Burst to maximize Pale Hymn stack generation.
Start with support setup—Kazuha E→Q for VV shred, Furina E for damage buffs. Then Lauma Hold E to consume Verdant Dew and generate Moon Song stacks, immediately followed by Burst to convert Moon Song to Pale Hymn. Nilou activation follows Lauma's setup, using E→Q sequence to establish Golden Chalice's Bounty and apply strong Hydro aura.
The timing window is forgiving, but mess up the sequence and you'll lose significant damage potential.
For enhanced team compositions, genshin lauma and nilou bloom top up resources through BitTopup ensure access to optimal weapons and constellations. BitTopup's secure payment processing and 24/7 customer support make resource acquisition seamless for competitive team building.
Timing and Positioning Tips
That 1.2-second Lunar Core detonation timing allows for aggressive positioning and follow-up reactions. Position characters to maximize the 3.5-meter AoE radius while maintaining safe distance from self-damage effects—because yes, these things can still hurt you.
Energy management requires 160-180% ER for Lauma at C0-C3, dropping to 140-160% at C4+ thanks to constellation energy generation. Verdant Dew generation occurs every 2.5 seconds during Lunar-Bloom reactions, with a maximum 3-stack accumulation. Plan accordingly.
Nod-Krai Artifact Sets Complete Guide
New Artifact Set Bonuses
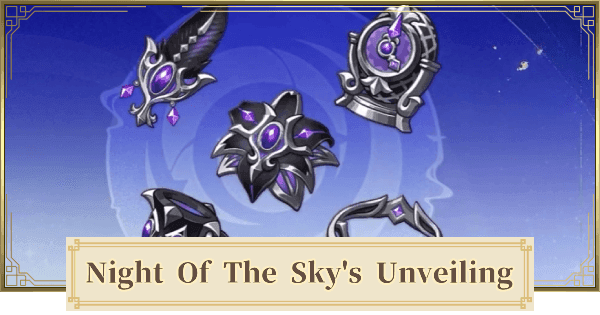
Night of the Sky's Unveiling gives you 2-piece +80 EM and 4-piece Gleaming Moon: Intent effect. This grants 15% CRIT Rate (Nascent Gleam) or 30% (Ascendant Gleam) when triggering Lunar reactions. The additional +10% Lunar DMG per active effect creates party-wide damage amplification that's honestly pretty impressive.
Silken Moon's Serenade offers 2-piece +20% ER and 4-piece Gleaming Moon: Devotion, providing +60 EM (Nascent Gleam) or +120 EM (Ascendant Gleam) to the entire party for 8 seconds after Elemental DMG.
Both sets synergize through their Gleaming Moon effects. Teams running both sets can achieve up to +40% Lunar Reaction damage bonus, which is where the real magic happens.
Stat Priority Rankings
For Lauma builds, prioritize EM Sands, EM or Dendro DMG% Goblet, and CRIT Rate/DMG Circlet. Target stats include 800-1000+ EM, 60-70%+ CRIT Rate, 140-180%+ CRIT DMG, and 160-180% ER for C0-C3 builds.
Substats follow this hierarchy: EM > CRIT Rate/DMG > ER > flat stats. Pretty standard stuff, but the EM emphasis is crucial for Lunar-Bloom scaling.
Nilou builds emphasize HP% scaling with Sands/Goblet/Circlet focusing on HP% or ER as needed. Target 60,000+ HP with 150-170% ER for consistent Burst availability. She's surprisingly tanky when built properly.
Farming Efficiency Strategies
Nod-Krai's Frostladen Machinery Domain provides both artifact sets with guaranteed drops. I'd recommend prioritizing Silken Moon's Serenade pieces for support characters first—the ER bonus and party EM buffs provide immediate team improvements that you'll notice right away.
Night of the Sky's Unveiling pieces benefit on-field DPS characters most. Artifact strongbox options include legacy sets like Gilded Dreams and Deepwood Memories for transitional builds while you're farming optimal pieces. Don't sleep on those transitional builds—they can carry you through most content while you're grinding for perfect artifacts.
Core Team Compositions and Variations
Standard Lauma-Nilou Core
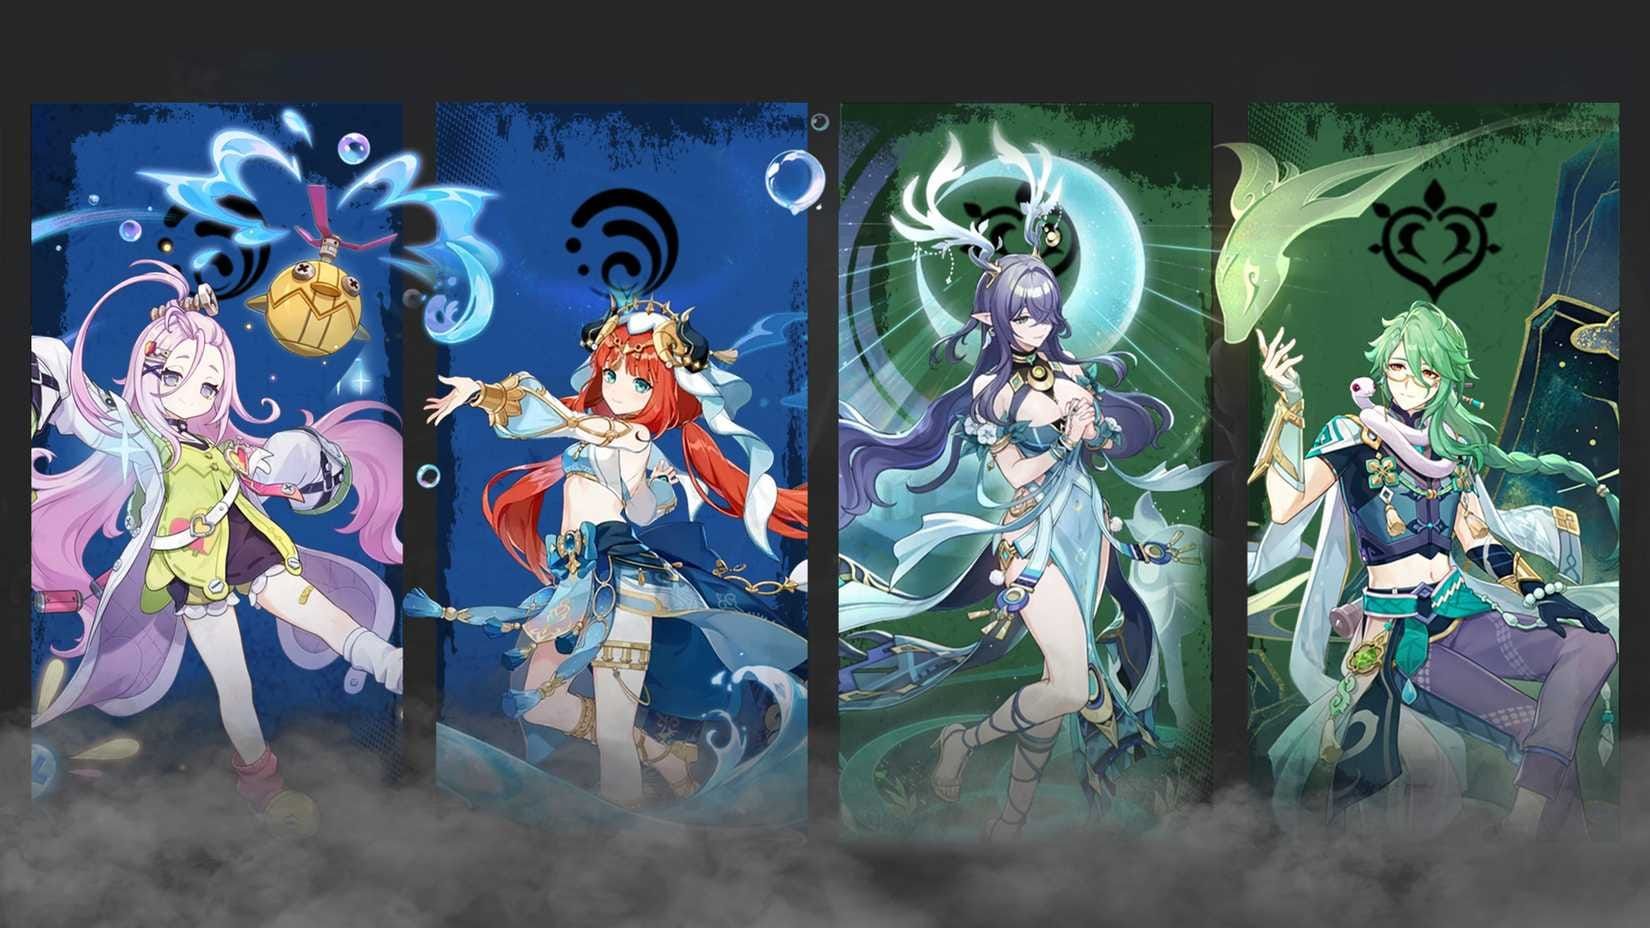
The premium meta composition features Lauma + Aino + Furina + Kazuha. This maximizes Ascendant Gleam benefits through dual Nod-Krai characters while providing optimal buffs and elemental resonance.
Rotation sequence: Kazuha E→Q for grouping and VV shred, Furina E for damage amplification, Lauma Hold E→Q for Lunar-Bloom setup, followed by Aino Hydro sustain. It's smooth when executed properly.
Alternative premium builds utilize Lauma + Aino + Nilou + Baizhu, focusing on Bountiful Lunar Core synergy for instant AoE explosions. The survivability with Baizhu is honestly underrated—those shields make a huge difference in challenging content.
F2P Alternative Builds
Budget-conscious players can utilize Lauma + Aino + Kaveh + Xingqiu for accessible Ascendant Gleam activation. Kaveh serves as on-field driver with self-healing capabilities, while Xingqiu provides that consistent off-field Hydro application we all know and love.
Further F2P options include Lauma + Barbara + Kaveh + Xingqiu. You'll only achieve Nascent Gleam, but it remains viable through CRIT-enabled reactions that outperform standard Bloom compositions. Barbara's healing keeps you alive through the self-damage, which is more important than people realize.
Premium Whale Compositions
High-investment players can explore Lauma + Nilou + Furina + Nahida compositions, combining Bountiful Core mechanics with Nahida's EM sharing and Dendro application consistency.
Constellation-dependent variations include C2 Lauma + C2 Nilou + C2 Nahida + C6 Furina. We're talking maximum damage potential through enhanced EM scaling, resistance shredding, and damage amplification. The numbers get absolutely ridiculous at this investment level.
Character Alternatives and Flex Slots
Dendro Support Options
Nahida remains a strong alternative to Lauma in traditional Bloom compositions. She offers superior Dendro application consistency and EM sharing through her Burst. Her C2 constellation provides similar CRIT enabling for Bloom reactions, though without Lunar-Bloom conversion benefits.
Baizhu provides defensive utility through shields and healing while contributing Dendro application and reaction damage buffs via his A4 passive. Honestly, his survivability contribution is often undervalued in the community.
Dendro Traveler serves as a budget option with area-limited Burst providing strong Dendro application for multi-wave content. Not glamorous, but functional.
Hydro Applicator Alternatives
Kokomi excels in sustained Hydro application with healing capabilities, making her ideal for Bloom compositions requiring survivability. Her jellyfish is just reliable—set it and forget it.
Xingqiu and Yelan offer single-target focused Hydro application with high damage potential, suitable for compositions prioritizing personal damage alongside reaction scaling. Yelan's mobility is particularly nice for positioning.
Furina delivers party-wide damage buffs alongside Hydro application, though her buffs don't directly benefit Bloom damage scaling. Still worth considering for the overall team damage increase.
Utility Character Choices
Kazuha provides irreplaceable VV shred and elemental damage bonuses. His grouping capabilities enhance AoE Bloom effectiveness significantly—there's a reason he's in so many meta teams.
Zhongli offers universal shield protection against Bloom self-damage while providing resistance shredding through his shield. The comfort factor is real, especially for newer players still learning positioning.
Bennett's ATK buffs don't directly benefit Bloom scaling, but his healing and Pyro application can enable Burgeon variants. Not optimal for pure Bloom teams, but worth mentioning.
Optimal Rotations and Combat Strategies
Standard Rotation Sequence
Begin rotations with support character setup to establish buffs and debuffs before Lauma activation. This is crucial—don't rush into Lauma's combo without proper setup.
Kazuha E→Q provides grouping and VV shred, followed by secondary support abilities like Furina E or Baizhu E. Lauma sequence prioritizes Hold E before Burst for optimal stack generation. Hold E consumes Verdant Dew to deal Lunar-Bloom damage and generate Moon Song stacks.
Immediately follow with Burst to convert Moon Song to Pale Hymn stacks—6 per Moon Song, maximum 18 base + 18 from conversion. Hydro character activation follows Lauma setup, with Nilou E→Q establishing Golden Chalice's Bounty and strong Hydro aura.
Emergency Situations
Energy management emergencies require immediate particle generation through Favonius weapon procs or battery character swapping. Lauma's 80-energy cost is no joke—you need consistent particle income.
Self-damage from Bloom reactions necessitates healing or shielding intervention when HP drops below safe thresholds. Don't be a hero; swap to your healer when needed.
Resistance-heavy enemies require multiple shredding sources: Lauma Hold E (25% Dendro/Hydro), VV 4-piece (40% elemental), Nilou C2 (35% Dendro), and Deepwood Memories 4-piece (30% Dendro). Stack them all for maximum effectiveness.
Energy Management
Lauma requires 160-180% ER at C0-C3, reducing to 140-160% at C4+ due to constellation energy generation improvements. Sanctuary generates 1.3 particles every 3.3 seconds—not amazing, but workable.
Utilize Favonius weapons on support characters to generate additional particles during rotation cycles. Team energy generation benefits from Dendro resonance (+50 EM, enhanced reactions) and proper battery character selection.
Weapon Recommendations and Comparisons
Lauma Weapon Tier List
Nightweaver's Looking Glass (Signature) provides 542 ATK and +264.6 EM with R1 effects: +60 EM on Skill (4.5s), +60 EM on Lunar-Bloom (10s), and when both active: +120% team Bloom, +80% Hyperbloom/Burgeon, +40% Lunar-Bloom damage. It's her signature for a reason.

A Thousand Floating Dreams ranks as the premier alternative, offering identical base stats with party EM sharing (+40 EM to other members). Solid choice if you already have it.
4-star options include Blackmarrow Lantern (craftable) with +96% Bloom damage and +48% Lunar-Bloom damage at R5. This achieves approximately 90% of signature weapon performance, which is honestly impressive for a craftable weapon.
Nilou Weapon Options
Key of Khaj-Nisut remains Nilou's optimal weapon, providing HP scaling and EM sharing that benefits both personal damage and team reaction potential. The weapon's passive grants up to 28% HP and shares EM with nearby party members—perfect synergy.
Freedom-Sworn offers team-wide buffs including +20% ATK and +16% Normal/Charged/Plunging Attack damage. Budget options include Iron Sting for pure EM scaling or Favonius Sword for energy generation.
Budget vs Premium Choices
F2P weapon combinations focus on craftable and event options: Blackmarrow Lantern for Lauma, Iron Sting for Nilou, with Favonius weapons on support characters for energy generation. These combinations achieve 80-90% of premium performance with proper artifact investment.
Mid-tier investments should prioritize Lauma's signature weapon first—it provides the largest damage increase for team compositions. The team-wide buffs are just too good to pass up if you're investing in this playstyle.
Performance Analysis and Meta Positioning
Spiral Abyss Performance
Lunar-Bloom teams excel in Floor 12 First Half scenarios featuring grouped enemies, where Nilou's AoE Bountiful Lunar Cores achieve maximum effectiveness. The instant explosion mechanics and enhanced radius provide superior clear times compared to traditional Bloom compositions.
Single-target scenarios favor CRIT Hyperbloom variants for high-HP bosses, though pure Lunar-Bloom maintains competitive performance. Lauma teams demonstrate 200-400% Bloom damage increases over traditional compositions—the numbers speak for themselves.
With proper execution, you're looking at sub-30-second chamber clear times in optimal scenarios. That's competitive with any meta team.
Comparison with Meta Teams
Lunar-Bloom compositions achieve Tier SS performance in AoE scenarios while maintaining Tier S viability in single-target encounters. The versatility and damage scaling place these teams among top-tier options for endgame content.
Traditional meta teams like National variants maintain advantages in specific scenarios, but Lunar-Bloom's reaction scaling and AoE potential provide competitive alternatives. It's not always about being the absolute best—sometimes it's about having options.
Future Patch Considerations
Version 6.1 introduces additional Nod-Krai characters including Nefer (Main DPS) and Flins (Electro Polearm), potentially expanding Lunar-Bloom team options. The meta could shift significantly with these additions.
Artifact set additions or modifications may further optimize Lunar-Bloom scaling. Character banner schedules suggest Lauma reruns may occur within 6-month cycles, providing acquisition opportunities for players who missed initial releases.
Common Mistakes and Troubleshooting
Build Optimization Errors
Energy Recharge underestimation represents the most common building mistake. Players frequently undervalue Lauma's 80-energy Burst cost, leading to rotation inconsistency and damage loss. You need 160-180% ER at C0-C3 for reliable performance—no shortcuts.
Stat priority confusion often results in ATK% focus over EM scaling, reducing reaction damage potential. Remember: EM scales your reactions, ATK% doesn't. Artifact set mixing without understanding synergies can reduce overall team performance.
Rotation Timing Issues
Sequencing errors—particularly using Burst before Hold Skill—result in missed Moon Song conversion opportunities and reduced Pale Hymn stack generation. Always prioritize Hold E before Burst when Verdant Dew stacks are available.
Buff timing misalignment reduces damage potential when 15-second effects don't overlap with reaction windows. Animation canceling opportunities exist between Hold E and Burst casts, enabling faster transitions and improved rotation efficiency.
Investment Priority Mistakes
Constellation prioritization errors often focus on C1 healing over C2 damage amplification, reducing team DPS potential. While C1 provides utility, C2 offers substantial damage increases that are hard to ignore.
Talent level distribution mistakes include Normal Attack investment over Skill/Burst priorities, wasting resources on minimal impact upgrades. Weapon refinement priorities should favor Lauma's signature weapon over support character weapons.
FAQ
Q: How does Lauma work with Nilou in Bloom teams? Lauma converts all Bloom reactions to Lunar-Bloom variants through her passive, while Nilou creates Bountiful Cores that explode instantly. Together, they produce Bountiful Lunar Cores with enhanced damage, CRIT capability, and larger AoE radius.
Q: What are the best artifacts for Lunar Bloom teams? Silken Moon's Serenade 4-piece for Lauma provides +20% ER and party EM buffs, while Night of the Sky's Unveiling 4-piece suits on-field DPS characters. Both sets offer +10% Lunar Reaction damage bonuses that stack across team members.
Q: Is Lauma better than Nahida for Nilou teams? Lauma enables Lunar-Bloom reactions with CRIT scaling and provides 25% Dendro/Hydro resistance shredding, while Nahida offers superior Dendro application consistency and EM sharing. Lauma excels in dedicated Bloom teams, but both have their place.
Q: How to optimize Bloom damage in Genshin Impact? Prioritize EM scaling (800-1000+), CRIT stats for Lunar-Bloom (60-70% Rate, 140-180% Damage), resistance shredding through multiple sources, and proper rotation timing. Use Nod-Krai artifact sets and maintain Ascendant Gleam through dual Nod-Krai characters.
Q: What characters work best with Lauma and Nilou? Aino (free Nod-Krai Hydro) enables Ascendant Gleam, Baizhu provides healing and shields, Kazuha offers VV shred and grouping, while Furina adds damage buffs. Choose based on team needs: sustainability, buffs, or energy generation.
Q: How to build F2P Lunar Bloom teams? Use Lauma + Aino + Kaveh + Xingqiu for accessible Ascendant Gleam activation. Craft Blackmarrow Lantern R5 for Lauma (90% signature performance), focus on EM artifacts with ER substats, and utilize Favonius weapons for energy generation.