

Quick Take: Rosaria's A4 passive dishes out up to 15% CRIT Rate to the whole team (minus herself) for 10 seconds right after her Burst drops. It's a game-changer for Cryo supports in Freeze, Melt, or even Physical setups. Aim for 80-88% on her own CRIT Rate to max it out, and yeah, go with Deathmatch over Wavebreaker's Fin—sims show it pumps team DPS by 10-15% thanks to better CRIT synergy. Core build? 4pc Blizzard Strayer artifacts, 150-200% ER, and prioritize that Burst talent first. Teams like Ayaka's Freeze crew or Xiangling's Reverse Melt shine here, especially with C2 stretching the uptime. Fire up Genshin Optimizer to crunch your own numbers.
Getting a Grip on Rosaria's CRIT Share – How It All Clicks
Unpacking the Regina Probationum Passive
Ever wonder why Rosaria feels like that sneaky ally who buffs everyone but herself? Her A4 Ascension Passive, Shadow Samaritan, kicks in post-Burst with Rites of Termination, sharing 15% of her CRIT Rate to the party (skipping Rosaria) for a solid 10 seconds. Hit 80% CRIT on her, and boom—your team gets the full 15% jolt, turning those Cryo reactions into crit machines.
To make it work: First, stack her to 80%+ CRIT through substats and weapons. Time the Burst off-field right after her Skill to generate particles and overlap that 10-second window with your DPS's big bursts—like Ayaka's (187.2% initial + 273.6% at Lv.10) or Ganyu's. Keep her focused on support damage; no need for her to hog the spotlight.
The Math Behind CRIT Rate Sharing and Snapshots
Let's break down the formula without the headache: Shared CRIT Rate equals 15% of Rosaria's total at Burst cast time—it's a snapshot that locks in her A1 passive (+12% on back hits) and artifacts, but ignores stuff like dynamic buffs. Start with her innate 5% CRIT Rate, toss in A1's 12%, Deathmatch's 36.8%, and Blizzard Strayer's 20%—that's 73.8% right there. Substats push you to 80%. And those snapshots? They stick for the DoT pulses (237.6% every 2s at Lv.10).
How to nail it: Peek at your in-game stat viewer before Burst to confirm 80%+. Land those A1 back hits with her Skill on smaller enemies. Run trials to test how it triggers multi-reactions, like Melt chains—trust me, it's satisfying when it lines up.
Timing the Buff: Duration, Swaps, and Rules of Engagement
The buff hangs around for 10 seconds after Burst, hitting all party members except Rosaria while she's off-field. C2 bumps it to 14 seconds, slipping in two extra DoT hits for a 50% output spike. Cast Burst after Skill to grab that A1 stack, then swap to your DPS—the pulses keep applying Cryo without ICD in double Cryo teams, boosted by the 15% resonance.
Pro tips: Slot her Burst into 15-20 second rotations for 100% uptime. Lean on her Night Walk passive (+10% SPD at night) to position like a pro. Refresh with Skill particles every 6s CD, especially in Abyss floors where every second counts.
Why Bother with CRIT Sharing in Your Team Setup?
Picture this: 15% free CRIT Rate, no strings attached, jacking up team DPS by 15-20% in Freeze comps without sinking extra resources. In Ayaka teams, it layers with BS's 40% and resonance's 15% for a 70%+ team CRIT baseline—way better than generic supports that don't pack this punch.
Build around it: Team her with Shenhe for that +15% Cryo DMG bonus. Stick to mono-Cryo for resonance perks. Scale her ER with the squad to keep Bursts firing every 15s CD—it's all about that seamless flow.
Hitting the Sweet Spot: CRIT Rate Goals for Peak Team Power
Why 100% Team CRIT Is the Holy Grail (and How Rosaria Gets You There)
You don't need Rosaria at 100% CRIT herself—aim for 80-88% total to share the full 15%. Mix her innate 5%, A1's 12%, and gear stats, then let Freeze teams push the squad to 100%+ via BS's 20-40% and resonance's 15%. Going over 100% on her? Total waste, since the share caps at 15%.
Take this example: 70% base + BS's 20% against frozen foes = 90% personal, unlocking the full share. Steps to get there: Slap on a CRIT Rate Circlet (31.1% main stat). Stack substats with Rate over DMG in a 1:2 ratio. Double-check with calculators to hit 80% pre-buffs—I've seen it turn shaky runs into clears.
Crunching the Numbers on Effective Shares
Effective share? It's the minimum of 15% or whatever Rosaria's CRIT Rate snapshots at—added straight to the team. At 88% on her, you get the full 15%. For Ayaka at 50% base + 15% share + 40% BS? That's 105% CRIT, fueled by Deathmatch's 36.8% sub.
Do the math: Sum innate, A1, and gear first. Layer on conditionals like BS and resonance. Simulate the team hit—target 100%+ for real DPS gains. (Editor's note: These calcs are based on KQM data; tweak for your artifacts.)
Diminishing Returns: Don't Overstack, Balance It Out
Push past 88% CRIT, and you're not sharing more—just wasting substats. Balance with 150-200% ER and some ATK%. Sweet spot? 80% CRIT paired with 140% CRIT DMG for hybrid damage potential. Anything over 70% CRIT on substats? Redirect to ER for reliable Burst uptime.
Guidelines: Stick to 1:2 CRIT Rate to DMG. Cap at 88% using tools like the optimizer. In low-CRIT setups like Ganyu, you can creep a bit higher—flexibility is key.
Layering Those Conditional CRIT Boosts (Resonance, BS, and Beyond)
Cryo resonance slaps on 15% CRIT against Cryo-affected enemies; 4pc Blizzard Strayer adds 20% base + another 20% vs. Frozen (40% total). Stack 'em with the 15% share, and you've got a 70% team CRIT floor—rocketing to 100%+ in Freeze.
Make it happen: Double up on Cryo for resonance. Freeze enemies before her Burst lands. Top it with VV shred to slash RES—it's like giving your team a cheat code.
For a seamless experience in Genshin Impact, check out the Genshin Impact top up guide on BitTopup, where you can top up Genesis Crystals quickly and securely with competitive prices, instant delivery, and reliable support for all your in-game needs.
Deathmatch vs. Wavebreaker's Fin: Head-to-Head Breakdown
Stats and Passives Side by Side

Deathmatch, that trusty 4★ Polearm, packs 454 base ATK and a juicy 36.8% CRIT Rate substat. Its passive? +16-32% ATK/DEF with 2+ enemies, or +24-48% ATK solo (R1 to R5). Wavebreaker's Fin counters with 620 base ATK and 13.8% ATK sub, scaling Burst DMG by 0.12-0.24% per 1% party ER—capping at 40-80% if you're over 200% ER (R1-R5). Deathmatch's CRIT focus lets her A4 hit full 15% share; Fin? It skimps, leaving you at 10-12%.
Real talk: Deathmatch gets you to 80% CRIT easy; Fin forces ER Sands, muddying your stats. From my Abyss runs, that CRIT edge feels huge.
How They Stack Up on CRIT Share
Per KQM simulations, Deathmatch pulls ahead by 10-15% team DPS in CRIT-heavy builds, delivering the full 15% share while Fin limps to partial. In Freeze or Melt, Deathmatch + BS nails 100% team CRIT; Fin's ~12% share dings benefits by 3-5%. R1 Deathmatch shines with +48% ATK single-target; Fin matches AoE at 180%+ party ER but fumbles the CRIT game.
Pick wisely: Go Deathmatch for CRIT priority. Refine to R5 for that +32% ATK kick. Optimizer tests confirm the share difference—it's not subtle.
Her Personal Damage: Who Wins?
Deathmatch amps hybrid damage through CRIT and ATK boosts; Fin cranks Burst DMG (+24% at 200% ER) but lags in Sub-DPS roles (maybe 5-10% edge at R5 vs. R1 Deathmatch). With Deathmatch and Bennett, her Burst ticks hit 20k+; Fin piles on 80% DMG but caps the share. Bosses? Deathmatch +15% DPS. Mobs? Fin works if ER's sky-high.
Approach: Favor Deathmatch for bossing. Slot Fin into high-ER Melt. Simulate personal output vs. team—balance is everything.
Energy and Rotation Impacts
Deathmatch lets you run ATK Sands for cleaner substats; Fin begs for ER, hurting CRIT. Rotations-wise, Deathmatch enables quick EQ swaps; Fin thrives with Bennett's particles (120-130% ER). Double Cryo demands 190-200% ER sans C4—Deathmatch frees up space.
Tactics: Funnel particles after her Skill. Target 155-165% ER in Melt. C4 drops needs by 20%—game-changer.
Refinement ROI and Where to Invest
R5 Deathmatch maxes ATK for shares; R5 Fin juices Burst by 80% but trails on CRIT. Verdict? Deathmatch for CRIT mastery, Fin for Burst purists. Grab Deathmatch via Battle Pass; fish for Fin if ER's your jam.
Steps: Refine per team ER. Pour into Deathmatch for meta dominance—it's the safer bet.
Final Call: When to Pick Which
Deathmatch rules CRIT Share in Freeze or Physical (full 15% buff, no contest). Wavebreaker fits high-ER Burst in Melt or AoE where CRIT's optional. Consensus? Deathmatch edges out overall—data backs it.
In the heart of optimizing your Rosaria build, securing the best resources is key—explore the best price Genesis Crystals options at BitTopup for affordable, fast top-ups with top-tier security, broad game support, and excellent customer service to keep your adventure uninterrupted.
Other Weapons Worth Your Pulls, Ranked
F2P Gems: The Catch and Favonius Lance
The Catch (45.9% ER, +16-32% Burst DMG, +6-12% Burst CRIT Rate)—it mirrors R1 Deathmatch, swapping ATK for ER battery duties. 2. Favonius Lance (ER particles on crits)—eases team ER by 15-20%. The Catch lets you share 70% CRIT at 180% ER, solid for budget builds.
How-to: Fish up The Catch. Trigger Favonius procs for extra juice. Pair with BS for that hybrid vibe—I've cleared floors on less.
Solid 4-Stars: Kitain Cross Spear and Prototype Starglitter
Deathmatch (you know the drill). 4. Prototype Starglitter (ER/ATK with healing)—great battery option. Kitain (EM for Melt) falls short on CRIT; Starglitter gives +20% ER and a bit of heal. Kitain: +32 EM after Skill.
Build notes: Craft the Prototype. Lean Kitain into Melt for EM pops. Steer clear of low-CRIT stuff like White Tassel unless you're desperate.
5-Stars That Could Steal the Show
Staff of the Scarlet Sands (44.1% CRIT Rate, +52-104% EM as ATK)—king for Reverse Melt. 2. Staff of Homa (66.2% CRIT DMG, +20-40% HP/ATK). 3. Primordial Jade Winged-Spear (22.1% CRIT Rate, +12-24% DMG stacks). Scarlet Sands + Gilded Dreams? +20% Melt boost.
Pull strategy: Chase CRIT subs. Stack Homa at low HP for pain. Use PJWS if she's on-field more—versatile pick.
Quick Tier List for Weapon Performance
Based on CRIT Share tiers: S: Scarlet Sands, Deathmatch (full 15% share, no compromises). A: Homa, The Catch (strong synergy). B: PJWS, Fin (situational shines). C: Dragon's Bane (Melt EM specialist only).
Rank 'em by team needs. Simulate DPS outputs. Invest in S/A tiers for staying meta—future-proofing matters.
Artifact Sets That Make Rosaria Sing for CRIT Share
Noblesse Oblige: Your Go-To for Team-Wide Buffs
4pc Noblesse Oblige (20% Burst DMG, +20% team ATK for 12s post-Burst)—it supercharges the share since ATK scales those 15% CRIT hits, adding 20% team DPS. Mains: ER/ATK% Sands, Cryo DMG Goblet, CRIT Rate Circlet. Subs: ER first, then CRIT.
Farm it: Hit the Clear Pool domain. Burst first to spread the love. Mix 2pc with BS for flexibility—universal winner.
Blizzard Strayer: Tailored for Freeze Domination
4pc Blizzard Strayer (15% Cryo DMG, 20-40% CRIT vs. Cryo/Frozen)—this set catapults her to 80%+ base CRIT easy. 40% vs. Frozen +15% share = 100% team crits, no sweat.
Execution: Farm Peaks of Time domain. Freeze before Burst. Hunt CRIT pieces relentlessly—it's the Freeze enabler.
Emblem of Severed Fate: For Burst-Heavy Hybrids
4pc Emblem (20% ER, +25% Burst DMG per 100% ER, max 75%)—hits balance at 200% ER. At 300% ER, +75% Burst, but it trades some CRIT.
Tips: ER Sands if you're under 150%. Scale with particle gen. Hybrid it with NO for versatility—solid middle ground.
Main Stats and Sub Priorities, Straight Up
Sands: ER/ATK% (shoot for 150-200%). Goblet: Cryo DMG. Circlet: CRIT Rate. Subs: ER > CRIT Rate/DMG > ATK%. Try 2pc BS + 2pc NO for 20% CRIT +20% Burst DMG.
Routine: Bosses weekly for key pieces. Resin domains on Wed/Sat/Sun. Off-field? 150% ER minimum.
Smart Farming Paths for Resin Savers
Domains lineup: BS from Peaks, Noblesse from Clear Pool, Emblem from Momiji-Dyed Court. Budget: 420k Mora, zero in on CRIT drops. 20 Resin per run—efficient if you plan.
Prioritize BS for Freeze. Use drop-rate food buffs (+20%). Weekly farms keep it steady—patience pays.
Constellations and Talent Roadmap
C0: Solid Foundation, No Gacha Regrets
At C0, Rosaria delivers full 15% share as a B-tier Sub-DPS/Support. Lv.90 base: 12,289 HP, 240 ATK (+24% bonus), 710 DEF. Hit 80% CRIT without cons—viable for meta.
Start here: Build C0 for top teams. Level talents smart. C2's the upgrade if you can snag it—worth the pull.
C1 and C2: Stretching That Share Time
C2 (top pick): +4s to Burst (14s total, +2 DoTs, +50% output/share). C1's just minor ATK SPD. C2 adds 6 procs, easing ER indirectly.
Path: Pull C2 early. Slot it for rotation extensions. Uptime boost feels huge in long fights.
C6: Shredding Physical RES – Niche Power
C6: Burst shreds 20% Phys RES for 10s (stacks to -60% with Superconduct)—perfect for Eula Physical. Nets +30% effective CRIT in those teams.
When: C6 for Eula pairs. Skip unless Physical-focused. Overall? C2 trumps it—broader use.
Talent Priority: Burst Leads the Charge
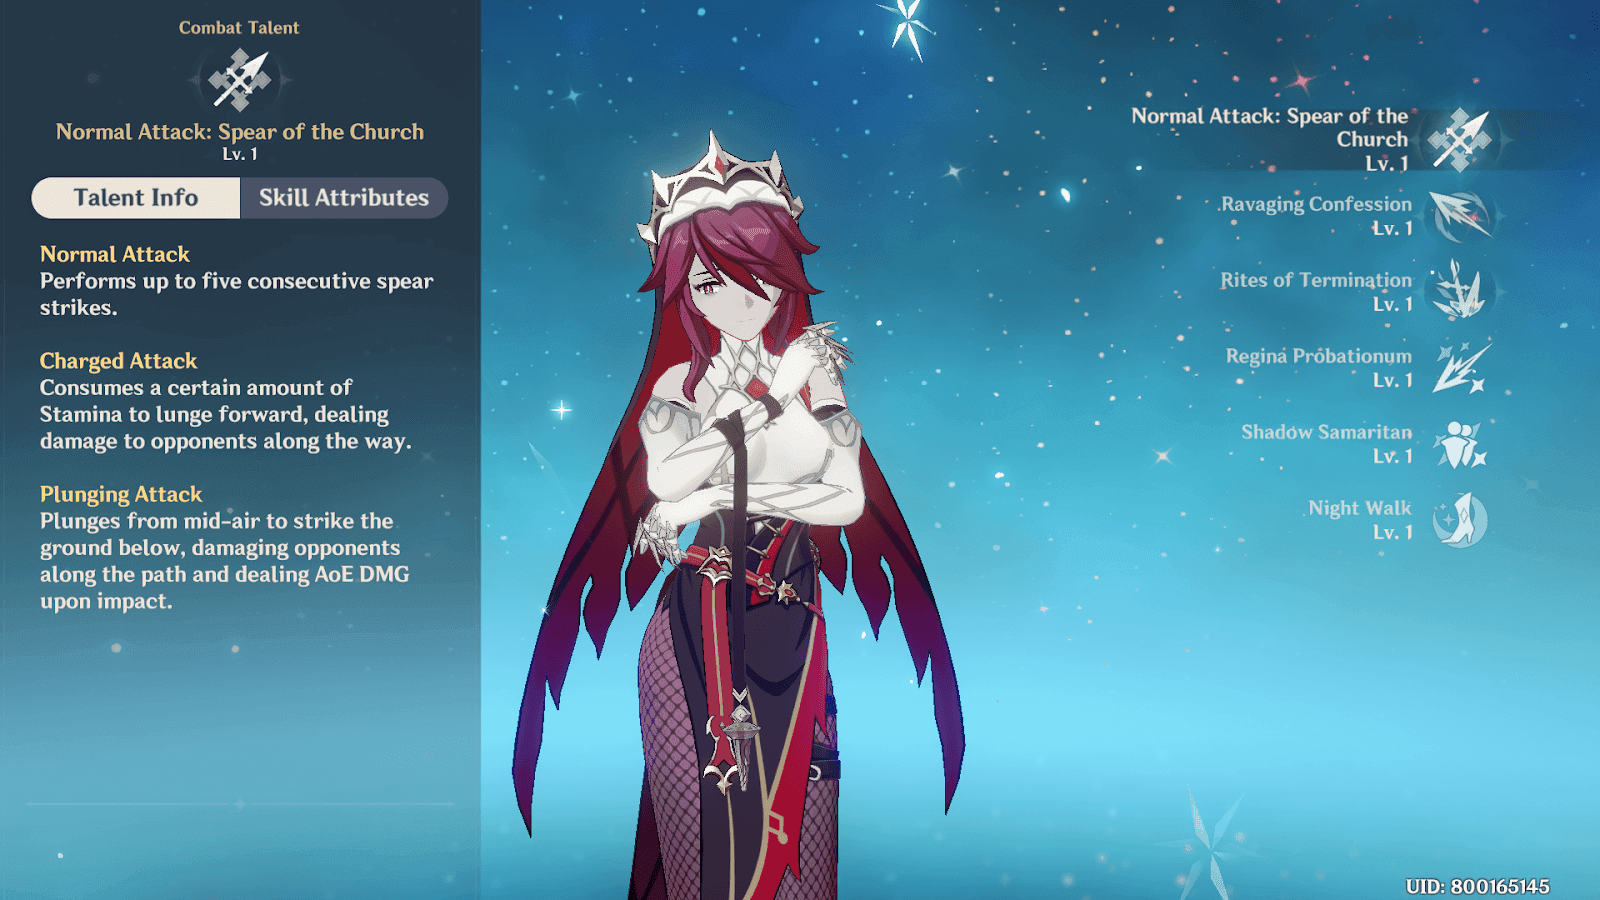
Burst (Lv.9-10: 187.2% initial +273.6% lance +237.6% DoT). 2. Skill (Lv.8-9: 105.12% +244.8% for particles/A1). 3. Normal (low priority, ~300% combo). Costs: 1.65M Mora, 6 Shadows, Ballad books (3/21/38), Insignias (6/22/31), 1 Crown.
Grind: Books from Wed/Sat/Sun domains. Childe weekly for Shadows. Max Burst for share potency—essential.
Key Investment Milestones for Support
Breakpoints: Burst Lv.10 for peak DoT, 150% ER, 80% CRIT. Ascension total: 420k Mora, 46 Cores, 168 Valberry, Shivada Jade, Insignias.
Farm spots: Dragonspine for Valberry. Hilichurls drop Insignias. Lv.90 scales her ATK best—don't skimp.
Team Synergies That Bring Rosaria to Life
Freeze Powerhouses: Ayaka, Ganyu, Hydro Enablers
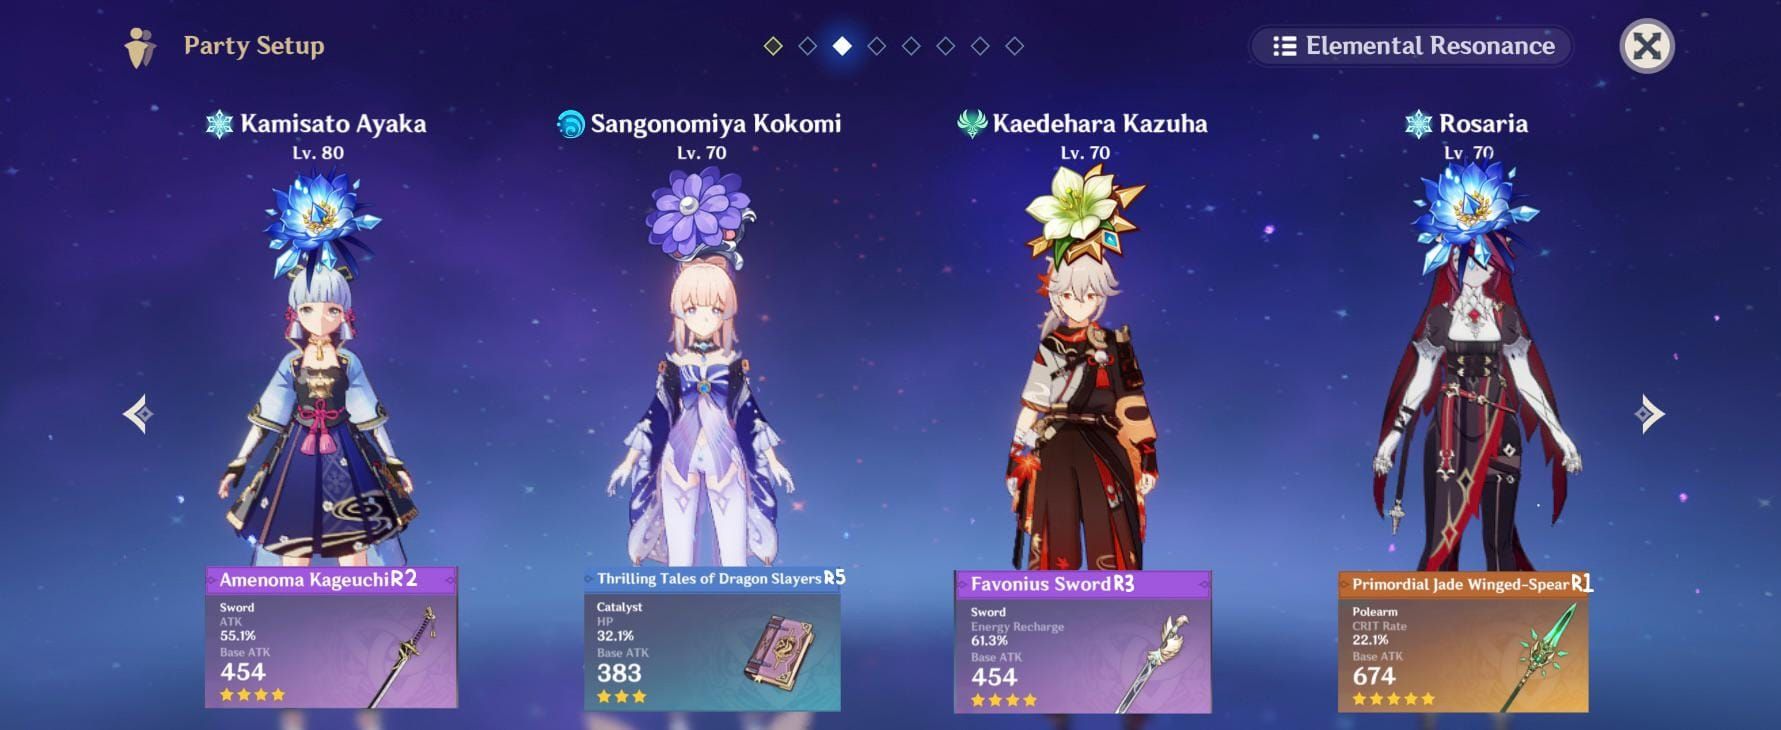
Freeze staple: Rosaria (share queen), Ayaka (DPS), Shenhe (buff/RES shred), Kazuha (VV/grouping). Combo: 15% share +40% BS +15% resonance = 70%+ CRIT. Rotation: Kazuha tEPQ > Rosaria EQ > Ayaka DEQ > Kazuha tEP > Rosaria E.
Nail it: Hydro pre-Freeze. 190-200% ER. F2P swap: Kaeya/Xingqiu—still shreds.
Reverse Melt: Pyro DPS Flames
Reverse Melt: Rosaria (Sub-DPS), Xiangling (Pyro), Bennett (ATK/heal), Kazuha (VV/Pyro swirl). Her Burst pulses trigger 1.5x Melt (no ICD). ER: 155-165%.
Flow: Bennett Q E opener. Rosaria EN1Q. Pyro weave between DoTs—timing's everything.
Physical Teams: Eula's Best Buddy
Physical: Rosaria (C6 shred), Eula (DPS), Fischl (Superconduct), Zhongli (shield). 15% share + -20% Phys RES stacks nicely.
Setup: Superconduct before Burst. Rosaria EQ off-field. C6 hits -60% RES total—brutal.
Mono-Cryo and Cryo-Centric Lines
Mono-Cryo: Rosaria, Shenhe, Ganyu, Kokomi. Perks: Resonance + BS for 100% CRIT, Kokomi for sustain. Double Cryo ER drops to 100-110% with C4.
Build: Chain Bursts. Add Jean for heals. Lock in resonance—pure Cryo joy.
Rosaria vs. Other Buffers: Quick Matchup
Rosaria edges Sara/Faruzan with universal 15% CRIT over Sara's ATK/CRIT DMG in Cryo spots. She's off-field reaction enabler; Sara's on-field Electro specialist.
Choose: Rosaria for Cryo meta. Swap to Sara for Electro—context rules.
ER Needs and Rotation Tweaks for Smooth Plays
ER Targets Per Team Type
Reverse Melt (no C4): 200-210% for dual Skills. Double Cryo: 190-200%. Freeze: 195-205%. C4 cuts 20-30% (125-135% example). Favonius shaves 15-20%; C4 adds +5 ER per Skill crit.
Calc it: Team-specific. ER Sands under 150%. Bennett squads: 120-130%—forgiving.
Rotation Blueprints for Burst and Skill
Freeze: 1. Kazuha tEPQ. 2. Rosaria EQ. 3. Shenhe tEQ. 4. Ayaka DEQ. 5. N1C > Rosaria E. Reverse Melt: 1. Bennett QE. 2. Rosaria EN1Q. 3. Xiangling QE. 4. Kazuha Q.
Essentials: EQ for particles. 15-20s loops. Weave N1 after E—keeps energy flowing.
Particle Funneling and Battery Hacks
She spits 3 particles per Skill; funnel early in rotations. Favonius/The Catch batteries low-gen DPS, cutting team ER by +20%.
Tricks: Skill on small foes. Position her upfront. C4 extras ER—clutch.
Locking 100% Uptime in Abyss
Hit it with 130-180% ER + particles. Quick EQ swaps dodge downtime.
Monitor: Gauge watch. Skip triple Skills (wasteful). Optimizer tests refine it.
Pitfalls to Dodge and Pro Tips
Don't Chase Personal DPS Over Support Magic
Common trap: DPS artifacts ignoring NO/Emblem, shorting the share. Fix: BS for team CRIT trumps solo damage. NO's +20% ATK > personal pops.
Avoid: Cap CRIT at 88%. Emblem for uptime. Go hybrid Sub-DPS—team first.
Messing Up CRIT Rate vs. DMG Balance
Under 70% CRIT? Partial share (<12%). Solution: Rate Circlet/Deathmatch; 1:2 ratio.
Subs: ER > Rate. No DMG overload. Calc to 80%—precision pays.
Snapshot Slip-Ups in Timing
Delay Burst, miss the 10s window. Fix: QE order, snapshot A1/buffs. Back-hit pre-Burst for +12%.
Cast post-Skill. Melt: Pyro between pulses. C2 buffers errors.
Wasted Resin on Artifacts
Low ER = downtime killer. Solution: Weekly BS/NO farms; CRIT hunt. 20 Resin runs.
Buff with food. Mix sets. Focus weekly—efficiency hack.
Skip Rosaria's Share When?
Single-element non-Cryo; no-teleport bosses (ditch Skill). Alt: C6 Physical niche.
Swap: Sara for Electro. Exploration? Her mobility passive shines.
Tools and Resources to Level Up Your Build
Genshin Optimizer: Your Simulation Sidekick
This web tool lets you plug in stats for ER/CRIT sims—export game data easy. Test Deathmatch vs. Fin, aim 80% CRIT/150% ER.
Steps: Import artifacts. Set support mode. Team sims—indispensable.
Spreadsheet Calcs for Damage Deep Dives
KQM Sheets handle ER and rotations—downloadable. Input talents/weapons; check buffed Burst ticks (20k+).
Adjust breakpoints. Verify DPS—data-driven wins.
Community Hubs: KQM, Helper Team, and More
KQM Quick Guide (Jun 2024 update): ER/team deep dives. Game8 for material trackers. Eye v5.3 banner (Jan 2025).
Follow rotations. Track meta evos—stay sharp.
Keeping Tabs on Meta Shifts and Patches
Post-v4.7, she's Cryo strong; C2 future-proofs. Rerun: Jun 25-Jul 16, 2024.
Monitor: Patch notes. Abyss tests. Update for new Cryo like Escoffier—evolving game.
FAQ
How does Rosaria's CRIT rate sharing work?
Rosaria's A4 shares 15% of her CRIT Rate (capped at 15%) with the team for 10 seconds after Burst, excluding herself. Snapshot at cast includes innate 5%, A1 12%, and gear, stacking additively. Target 80-88% personal for full benefit, enabling 100%+ team CRIT in Freeze with BS and resonance. Cast post-Skill for A1 stack in 15s rotations.
What is the best weapon for Rosaria CRIT share build?
Deathmatch ranks top 4★ with 36.8% CRIT Rate sub and +24-48% ATK, enabling full 15% share and 10-15% higher team DPS. For 5★, Staff of the Scarlet Sands (44.1% CRIT Rate, EM scaling) excels in Melt. F2P: The Catch for ER/Burst CRIT. Prioritize CRIT subs to hit 80% without ER sacrifice, refining for ATK in multi-enemy.
Is Deathmatch or Wavebreaker better for Rosaria support?
Deathmatch superior for CRIT Share, providing full 15% buff vs Wavebreaker's 10-12%, with 15-20% team DPS edge in Freeze/Melt per simulations. Wavebreaker's ER-scaling Burst DMG (up to 80%) suits high-ER teams like Bennett Melt but lacks CRIT synergy. Choose Deathmatch for bosses/single-target; Fin for AoE if party ER >180%. R1 Deathmatch > R5 Fin overall.
How much CRIT rate should Rosaria have for support?
Target 80-88% total CRIT Rate (70-80% base from gear + innate 5% + A1 12%) to maximize 15% share without waste. In Freeze, add BS 40% and resonance 15% for 100%+ team. Substats prioritize Rate > DMG (1:2), using Circlet and Deathmatch. Under 70% yields partial share (<12%), reducing team output by 3-5%; verify with calculators.
What artifacts are best for Rosaria CRIT share?
4pc Blizzard Strayer tops for Freeze, granting 20-40% CRIT vs affected for easy 80%+ base and full share, plus 15% Cryo DMG. Noblesse Oblige alternative for universal +20% team ATK post-Burst. Emblem for ER/DMG hybrid at 200%+. Main stats: ER/ATK% Sands, Cryo Goblet, CRIT Rate Circlet. Substats: ER > CRIT; farm domains for CRIT pieces to balance 150-200% ER.
What are the best team comps for Rosaria CRIT share?
Freeze: Rosaria/Ayaka/Shenhe/Kazuha—15% share + BS/resonance for 70%+ CRIT, rotation Kazuha tEPQ > Rosaria EQ > Ayaka DEQ. Reverse Melt: Rosaria/Xiangling/Bennett/Kazuha—Burst pulses Melt 1.5x, ER 155-165%. Physical (C6): Rosaria/Eula/Fischl/Zhongli for -60% RES shred. Synergies: Bennett ATK snapshots, Kazuha VV -40% RES. F2P: Rosaria/Kaeya/Xingqiu/Heizou; ensure double Cryo for resonance.