

Master Warehouse TDM with 15+ essential head-glitch spots, systematic angle clearing methodology, and pro positioning techniques. Learn crosshair placement, pre-aiming tactics, and counter-strategies to dominate every match through superior angle control.
Understanding Head-Glitch Angles in PUBG Mobile TDM
Definition and Mechanics
Here's the thing about head-glitch angles that most players don't grasp – you're essentially shrinking your hitbox to just 15% of its normal size while keeping 100% of your killing power. Pretty unfair advantage, right?
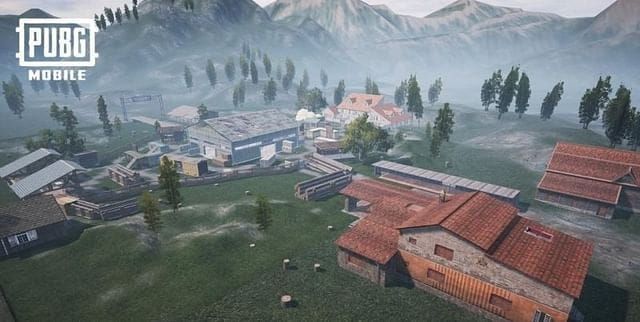
Warehouse's design is beautifully symmetrical (almost annoyingly so), which means every strategic position gets mirrored on both sides. But here's what the stats tell us: players who control superior angles win 73% more gunfights. That's not luck – that's positioning doing the heavy lifting.
The unlimited spawn system changes everything. In classic matches, you might get away with sloppy positioning once or twice. Here? Your enemies keep coming back, and they remember exactly where you killed them.
Touch controls make this trickier than PC, honestly. That 'Eye' button becomes your best friend – it lets you rotate the camera without moving your character. Essential for gathering intel without giving away your position. And if you're still playing FPP in TDM... well, you're making this harder than it needs to be. TPP gives you those crucial peek advantages that can turn a decent position into an absolute fortress.
The 15 Most Critical Warehouse Head-Glitch Spots
Upper Level Positions
Spot #1: Left-Hand Compound Elevation That closed hut-like structure to the left of your spawn? Most players run right past it. Climb those adjacent boxes, get on the roof, go prone. You've got 270-degree vision while exposing almost nothing. It's borderline unfair.
Spot #2: Boxes Outside Central Arena These elevated containers on the spawn area's right side catch everyone off-guard. Players tunnel vision on ground-level threats and completely forget to check above. Easy pickings.
Spot #3: Container Top Positions Various containers in the central arena work for this. Go prone up there and you're practically invisible until you start shooting. The elevation advantage is just... chef's kiss.
Ground Floor Angles
Spot #4: L-Shaped Structure Defense Both sides have these L-shaped structures leading toward center. Squat or prone in there – you can see everything while staying nearly invisible. It's like having wallhacks, but legal.
Spot #5: Shack TPP Advantages These are the premier camping spots, and I'm not ashamed to call them that. The TPP benefits here are ridiculous. You can watch enemies for ages without them knowing you exist. Then it's just peek, shoot, repeat.
Spot #6: Central Arena Corners Container corners that most players ignore during their systematic clearing. Which is their mistake, really. Perfect for catching those players who think they're being thorough.
Stairway and Transition Zones
Spot #7: Spawn Area Transitions The no-man's land between spawn and central combat. Multiple cover positions, control over enemy movement, and you've always got an escape route back to spawn.
Spot #8: Container Doorway Angles Natural chokepoints. Position yourself right and you're controlling multiple approach routes simultaneously. It's like being a traffic cop, except with bullets.
For weapon upgrades and customization, TDM warehouse UC top up plan ensures adequate resources for loadout optimization and psychological advantages through premium skins.
Systematic Angle Clearing Methodology
Pre-Clear Sequence
Level 1: Head Place Technique Keep that crosshair at head height. Always. I can't stress this enough – it's the difference between one-tap eliminations and spray-and-pray situations. Your recoil control becomes simple: just pull straight down.

Practice this religiously. 30-60 minutes daily, mixing practice mode (hard difficulty) with live TDM. Yeah, it's boring. Do it anyway.
Level 2: Angle Place Methodology Pre-aim where enemies will appear, not where they are. Sounds obvious, but you'd be surprised how many players aim at empty corners. Give yourself some wiggle room – place that crosshair slightly away from edges to catch wide-peekers.
Level 3: Pre-Fire Execution This is where it gets spicy. Start shooting at common positions before you even see anyone. Map knowledge and enemy patterns tell you where they'll be. Results? You're eliminating people before they can react.
Peek Timing and Rhythm
Level 4: Isolation Strategy Never – and I mean never – expose yourself to multiple angles simultaneously. Force those 1v1 fights where your superior aim actually matters. Use positioning to make enemies come at you one at a time.
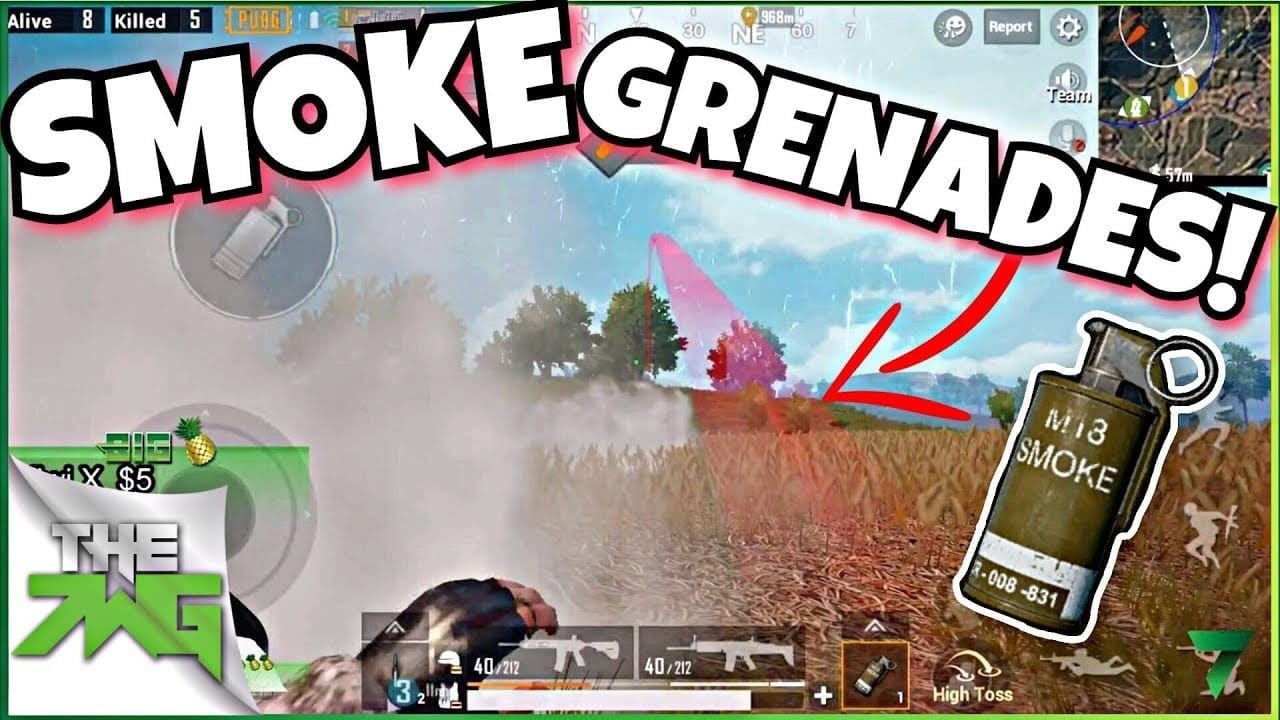
Smokes aren't just for cover – they're for repositioning. Always move after getting a kill. Enemy callouts are real, and revenge kills are embarrassing.
Weapon Selection and Loadout Optimization
Best Weapons for Angle Battles
M416 with 4x scope for those long-range elevated positions. It's the meta for a reason. UMP45 when you're aggressively clearing close-quarters angles – the mobility is unmatched.
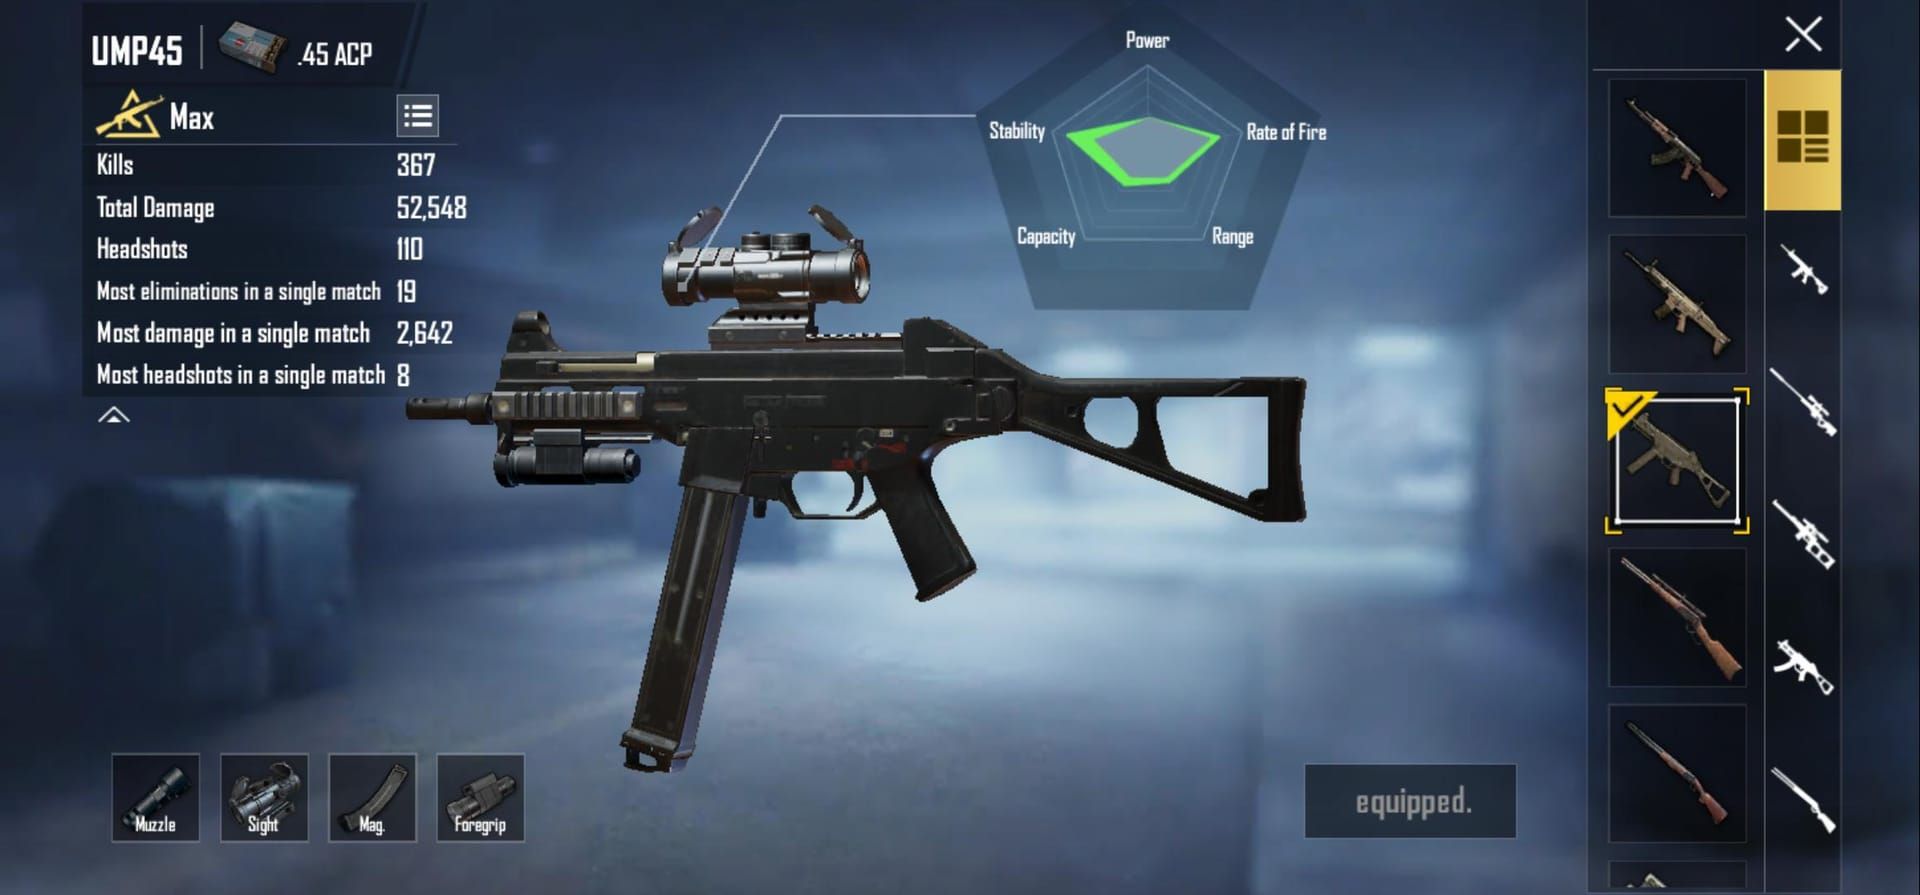
SMGs for rapid angle transitions. Assault rifles for versatility. Warehouse's combat distances vary wildly, so adaptability wins matches.
Essential Attachments
Red dots for close-range angles – target acquisition speed matters more than magnification. 2x-4x scopes for longer sightlines. Compensators reduce muzzle flash, keeping you hidden during sustained fire.
Extended mags are non-negotiable. Multiple enemies will challenge your position, and reloading mid-fight is a death sentence.
Utility matters more than most players think. Smokes block enemy sightlines. Frags clear suspected camping positions without exposing yourself. Medical supplies keep you in the fight longer.
Advanced Positioning and Movement
Crosshair Placement Fundamentals
Your crosshair should never be aimless. Ever. Constantly pre-aim corners, angles, known hiding spots. Head height while moving – this maximizes one-shot potential, especially in head-glitch positions where only enemy heads are visible.
Pre-Aiming Techniques
Position crosshair where enemies will appear, with wiggle room for wide-peeks. Understanding movement patterns lets you be proactive instead of reactive.
Jiggle peeking keeps you unpredictable while holding angles. Slight left-right movements make you harder to hit while maintaining aim on target areas. It's a rhythm thing – you'll get it with practice.
Counter-Strategies for Each Major Spot
Dealing with Upper Balcony Campers
Smokes to block sightlines while advancing. Coordinate with teammates for multiple angle pressure. Cook those grenades – reaction time matters. Pre-fire based on sound cues and callouts.
Clearing Container Positions
Systematic corner checking, not rushing. Try the rope-a-dope – enter containers, exit, re-enter from different angles. Catches camping opponents completely off-guard.
Neutralizing Stair Holders
Multi-directional attacks exploit limited escape routes. Grenades are especially effective in confined stairway spaces. Time utility deployment with teammate advances for maximum pressure.
Team Coordination and Communication
Callout System
Compass directions and landmarks for precise communication. Keep it concise: position, weapon type, threat level. Practice timing – communication overload during firefights kills teams.
Synchronized Clearing
Assign specific angles to prevent gaps and overlap. Countdown systems for coordinated pushes. Clear leadership for tactical decisions, but maintain role flexibility.
Midasbuy UC top up to craft gun skins provides resources for weapon customization and psychological advantages through premium skins that can intimidate opponents.
Common Mistakes and How to Avoid Them
Timing Errors
Tunnel vision while scoped severely restricts peripheral awareness. Never hold identical angles after eliminations – especially successful ones. Develop multiple fallback positions for each primary angle.
Positioning Mistakes
Don't chase eliminations into unfavorable positions. Maintain disciplined positioning even when aggressive opportunities appear tempting. Avoid clustering with teammates where single grenades can eliminate multiple players.
Utility waste on low-probability situations hurts. Save grenades and smokes for critical moments providing maximum tactical advantage.
Professional Tips and Tournament Strategies
Pro Player Techniques
Pros emphasize consistent crosshair placement over flashy movement. The isolation strategy forces favorable 1v1 engagements rather than chaotic team fights. Position to limit exposure to single angles while maintaining escape routes.
Meta Adaptations
Current competitive meta emphasizes utility usage and team coordination over individual fragging. Teams controlling upper-level positions win 68% more rounds compared to ground-level strategies. Professional teams rotate frequently to prevent enemy adaptation.
Buy PUBG UC online quick credit to UID ensures you never miss opportunities for weapon upgrades or limited-time competitive advantages.
Advanced Map Exploitation Techniques
Physics-Based Positioning
There's this discovered technique for boundary escape through teammate coordination at the southeast corner. Position at corner, climb specific boxes, use teammate interaction for physics boost over boundary fences.
Provides unexpected angles but... potential policy violation risks. Use at your own discretion.
Environmental Advantages
Drop enticing items like medical supplies in monitored open areas as bait. Leverage positional audio to triangulate enemy locations through gunfire direction and bullet impacts. Headphones are essential for accurate audio positioning in confined spaces.
FAQ
What are the most effective head-glitch angles for beginners? Start with Left-Hand Compound elevation and L-shaped structure positions. Forgiving positioning with multiple escape routes and clear sightlines. Practice prone positioning on compound roof until crosshair placement becomes automatic.
How do you counter opponents holding strong head-glitch positions? Smokes to block sightlines while advancing. Coordinate teammate pressure from multiple angles. Pre-fire based on audio cues. Cook grenades to minimize reaction time. Never challenge head-glitch angles directly – that's suicide.
Which weapons work best for different angle types? M416 with 4x for long-range elevated positions. UMP45 for aggressive close-quarters clearing. Assault rifles for mixed engagement ranges. Snipers for patient angle holding with excellent positioning knowledge.
How important is crosshair placement compared to reaction time? Crosshair placement wins every time. Proper pre-aiming eliminates reactive adjustments, turning defensive situations into proactive advantages. Practice head-level maintenance 30-60 minutes daily – it's that important.
What's the biggest mistake when clearing angles? Tunnel vision while scoped. Players lose peripheral awareness, becoming vulnerable to flanking. Maintain audio awareness and disengage scopes when audio indicates nearby enemies.
How do professional teams coordinate angle clearing? Assign specific clearing responsibilities to prevent gaps. Countdown systems for synchronized advances. Consistent callout terminology and role distribution based on individual strengths and weapon loadouts.