

Quick Answer: Lunar-Bloom is a revolutionary Dendro reaction in Genshin Impact Version 6.0 that transforms standard Bloom cores into CRIT-capable damage sources. Unlike traditional transformative reactions, Lunar-Bloom scales with both Elemental Mastery and CRIT stats, creating significantly higher damage potential. The reaction requires Nod-Krai region characters like Lauma to activate, but powerful 4-star teams can achieve 68,000+ damage per core explosion with proper builds.
Understanding Lunar-Bloom Reaction Mechanics
Here's the thing about Lunar-Bloom – it completely breaks the rules we've known about Dendro reactions for years. When Version 6.0 drops on September 10, 2025, this'll be the first Bloom-family reaction that can actually crit. Yeah, you read that right.
Core Formation and Trigger Process
The magic happens when you've got a Nod-Krai character on your team. Those standard Bloom cores? They transform into Enhanced Lunar Cores that pack a serious punch. We're talking 1.2-second detonation (goodbye, 6-second timer), 3.5-meter blast radius, and a hefty 1.7x damage multiplier.
But here's where it gets interesting – when these babies explode, they leave behind Moon Eclipse fields that keep dealing Dendro damage for another 2 seconds. It's like getting a bonus DoT effect on top of your already massive explosion.
The CRIT capability comes from something called the Moonsign system. One Nod-Krai character gives you 15% CRIT Rate and 100% CRIT Damage for Lunar-Bloom specifically. Two characters? You're looking at an additional 10% CRIT Rate and 20% CRIT Damage. The math gets pretty wild when you start stacking these bonuses.
For players looking to experience this content immediately, genshin top up deals on BitTopup provide excellent value with competitive pricing and instant delivery for pulling Lauma and building Lunar-Bloom teams.
Best 4-Star Characters for Lunar-Bloom Teams
Dendro Application Specialists
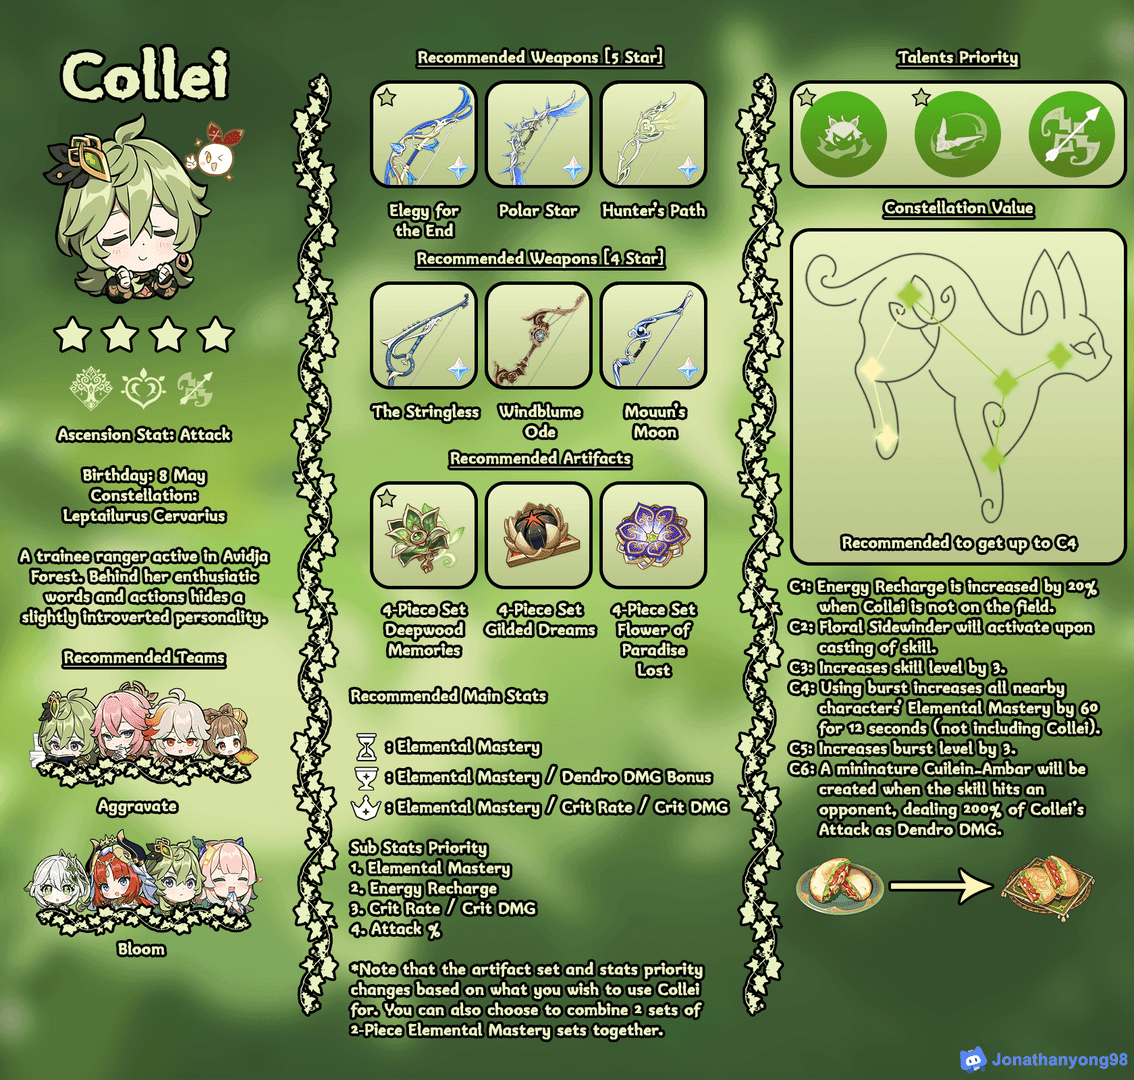
Let's be honest – Collei's been waiting for her moment to shine, and Lunar-Bloom might just be it. Her boomerang Burst hits multiple enemies with consistent Dendro application, and if you're smart about catching that boomerang on return, you'll solve most of her energy issues. Aim for 180-200% Energy Recharge and you're golden.
Dendro Traveler brings something unique to the table with those Lea Lotus Lamps. Here's a pro tip most guides won't tell you: the lamps adapt based on elemental contact. Hydro increases AoE radius, Electro boosts attack speed, and Pyro triggers explosive damage. It's like having a Swiss Army knife for elemental reactions.
Yaoyao's dual functionality as healer and Dendro applicator makes her invaluable for tougher content. Those radish throws from Yuegui might look silly, but they're surprisingly effective at maintaining Dendro uptime while keeping your team alive.
Hydro Enablers and Electro Options
Xingqiu remains the gold standard – no surprises there. Those rain swords trigger on Normal Attacks, giving you reliable Hydro for core generation. You'll want 200-220% Energy Recharge, which is achievable with Sacrificial Sword or some decent ER substats.
Barbara's often overlooked, but her water ring provides continuous Hydro application to nearby enemies. Perfect for budget builds where you need both healing and elemental application in one slot.
For Electro options, Fischl's Oz delivers consistent off-field application that's perfect for hybrid Hyperbloom strategies. Kuki Shinobu's particularly interesting because her Skill follows the active character – meaning you get consistent Electro application wherever you need it, plus healing. Build her with 600-800 EM and watch the magic happen.
Core Lunar-Bloom Team Compositions
Premier F2P Composition
The most accessible powerhouse team? Lauma, Aino (that free 4-star Hydro from Nod-Krai), Collei, and Kuki Shinobu. This setup activates Ascendant Gleam through Lauma and Aino while covering all your bases – consistent elemental application, healing, and optional Hyperbloom triggers when you need them.
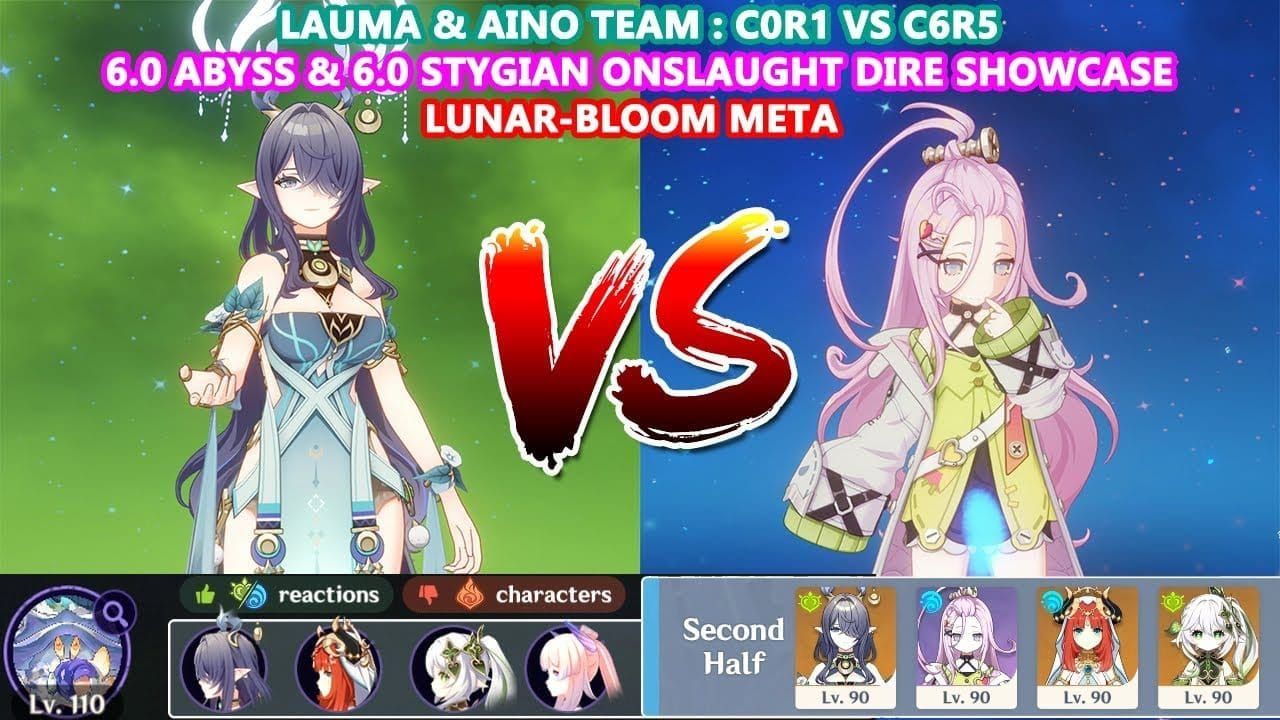
What makes this composition brilliant is the synergy. Collei maintains Dendro uptime during Lauma's downtime, Kuki provides both healing and Electro for flexibility, and Aino's kit is specifically designed to complement Lunar-Bloom mechanics.
For optimal pulls and team composition, buy genesis crystals cheap through BitTopup ensures maximum value with competitive rates and reliable service.
Budget Alternative Teams
Don't have Nod-Krai characters yet? The legacy character updates in Version 6.0 are game-changers. Nahida's C2 now provides additional CRIT Rate specifically for Lunar-Bloom, while Nilou's updated constellations transform cores into instant-detonating variants. Pair them with Xingqiu and Collei for a solid foundation.
For the truly budget-conscious, try Dendro Traveler, Yaoyao, Barbara, and Fischl. It prioritizes sustainability with dual healing, ensuring you can actually survive the increased self-damage from Lunar-Bloom explosions.
Here's an advanced strategy most players miss: Lauma, Xingqiu, Collei, and Beidou creates damage chains where each core contributes both AoE Lunar-Bloom damage and targeted Hyperbloom projectiles. It's chaos, but controlled chaos.
Optimal Rotations and Energy Management
Standard 20-Second Rotation
Start with your off-field setup – this is crucial. Xingqiu's Burst first, then Collei's Burst and Skill. You should see 2-3 Lunar Cores forming already. Switch to Lauma, pop her Burst for those Pale Hymn stacks, then use Hold Skill after consuming at least 3 Verdant Dew stacks.
Those 2-3 Normal Attacks with Lauma aren't just filler – they apply additional Dendro and trigger Xingqiu's rain swords for more core generation. Timing matters here.
Energy requirements are pretty standard: Lauma needs 160-200% ER for her 60-energy Burst, Collei wants 180-200% (less if you're good at catching that boomerang), and Xingqiu typically needs 200-220% unless you've got Sacrificial Sword.
The key insight? Prioritize Lauma's Burst first for maximum Pale Hymn stacks, but don't waste her Hold Skill without at least 3 Verdant Dew stacks. That RES shred duration is too valuable to waste.
Artifact Sets and Stat Optimization
Primary Artifact Choices
Night of the Sky's Unveiling is Lauma's Best-in-Slot, no contest.
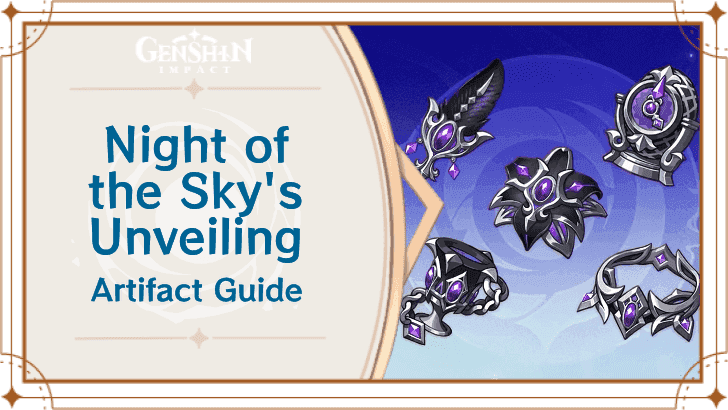
That 30% CRIT Rate when Ascendant Gleam is active, plus the Lunar Reaction damage bonuses? It's tailor-made for this playstyle.
If you don't have access to the new sets yet, Silken Moon's Serenade offers solid alternatives with 20% ER on the 2-piece and party-wide EM buffs on the 4-piece. Gilded Dreams works too, especially if you're running multiple elements for maximum EM stacking.
For supports, someone needs Deepwood Memories for that 30% Dendro RES shred – usually Collei or Dendro Traveler. Everyone else can run Noblesse Oblige for ATK buffs, Instructor for EM sharing, or Ocean-Hued Clam if you need more healing-based damage.
Stat Priority Breakdown
Here's where Lunar-Bloom gets interesting – it's all about balance. Lauma wants 800-1000 Elemental Mastery (her passives cap at 800, so don't go crazy), 60-70% CRIT Rate, 140-180% CRIT Damage, and 160-200% Energy Recharge.
This hybrid approach maximizes both her passive buffs and reaction damage potential. Supporting Dendro characters should aim for 400-600 EM with enough ER for Burst uptime.
Pro tip: A single EM mainstat artifact with strong EM substats often outperforms triple EM builds because of the CRIT scaling benefits. Don't fall into the more EM is always better trap.
Weapon Selection by Investment Level
Free-to-Play Options
R5 Etherlight Spindlelute is absolutely broken for a free weapon – it achieves about 90% of Lauma's signature weapon performance. That 45.9% Energy Recharge substat and 200 EM passive are perfect for hybrid EM/CRIT builds.
Craftable alternatives include Blackmarrow Lantern for EM substats with Bloom damage buffs, or Fruit of Fulfillment for ER with stackable EM bonuses. Both solid choices if you missed the event weapon.
Favonius weapons deserve special mention for their energy generation – they provide team-wide support that's often more valuable than personal damage increases. Sacrificial weapons offer skill reset chances for enhanced elemental application.
Mid-Investment Recommendations
Battle Pass Solar Pearl gives you CRIT substats with skill damage bonuses that support the hybrid scaling perfectly. The Widsith is interesting because those rotating buffs can dramatically boost damage during optimal windows – just pray for the EM or CRIT buffs.
Focus on refining Favonius weapons first for improved energy generation across your team. Sacrificial refinements reduce skill cooldowns, enabling more consistent elemental application. And definitely get that Etherlight Spindlelute to R5 if you have it.
Lunar-Bloom vs Other Dendro Reactions
Performance Comparisons
Traditional Hyperbloom still excels at single-target scenarios with lower investment requirements. You're looking at 30,000-35,000 damage per projectile with pure EM builds, but it's limited by that 2-instance per 0.5-second internal cooldown and single-target nature.
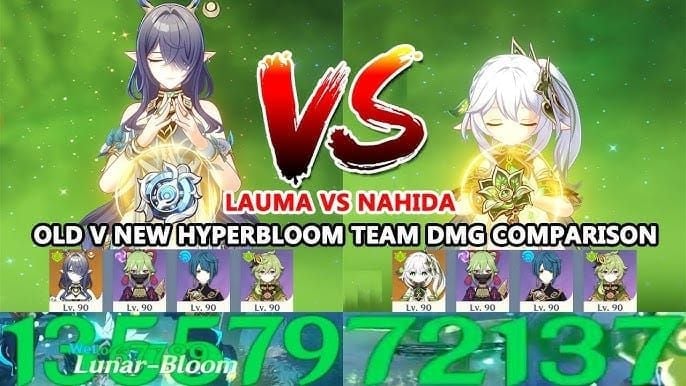
Lunar-Bloom surpasses this with 68,000+ damage per explosion hitting all enemies within that 3.5-meter radius. The trade-off? Higher investment requirements in hybrid EM/CRIT builds and increased self-damage.
Burgeon provides AoE transformative damage that can't CRIT, making it predictable but with a lower ceiling. Lunar-Bloom's CRIT capability and 1.7x base multipliers generally outperform Burgeon, though you'll need to manage that self-damage more carefully – we're talking 1,600 per instance vs Burgeon's ~800.
The real decision comes down to content type. Lunar-Bloom dominates in AoE scenarios with grouped enemies (hello, Spiral Abyss multi-target floors), while Hyperbloom remains superior for single-target boss fights where those homing projectiles ensure consistent damage.
Advanced Optimization Strategies
Internal Cooldown and Energy Management
Here's something most guides gloss over – Dendro Core reactions share a 2-instance per 0.5-second internal cooldown per enemy. This means there's a hard limit on maximum DPS regardless of how fast you generate cores.
The solution? Stagger your elemental applications to maintain steady production throughout rotations rather than front-loading everything simultaneously. It's about rhythm, not speed.
Energy Recharge calculations get complex based on team composition and enemy types. Single-target enemies generate fewer particles, requiring higher ER investment. Use energy generation rotations strategically – catch Collei's boomerang, time Favonius procs properly, and ensure you're funneling particles to the right characters.
Stat Balance Considerations
The sweet spot for EM vs CRIT depends heavily on your available artifacts. Generally, 800-1000 EM provides optimal passive benefits while allowing substantial CRIT investment. But don't forget to factor in team-wide buffs like Kazuha's EM sharing when calculating your builds.
Consider the full team synergy rather than optimizing characters in isolation. Sometimes a slightly suboptimal individual build creates better overall team performance.
FAQ
How does Lunar-Bloom work differently from standard Bloom? Lunar-Bloom transforms Dendro Cores into enhanced Lunar Cores when Nod-Krai characters are present. These detonate faster (1.2s vs 6s), have larger radius (3.5m vs 2m), deal 1.7x damage, and can CRIT. The scaling includes both EM and CRIT stats, unlike traditional transformative reactions.
What are the minimum requirements for effective teams? You need one Nod-Krai character like Lauma as the foundation. Target 800-1000 EM, 60-70% CRIT Rate, and 140-180% CRIT Damage on your main trigger character. Supports should have 400-600 EM with sufficient ER for Burst uptime. The free 4-star Aino provides excellent F2P synergy.
Is Lunar-Bloom better than Hyperbloom for F2P players? It offers higher damage ceiling (68,000+ vs 30,000-35,000) but requires more investment. Choose Lunar-Bloom for AoE scenarios and when you can invest in hybrid builds, stick with Hyperbloom for budget builds and single-target content.
Can my existing Dendro characters work with Lunar-Bloom? Absolutely – Version 6.0 updates many characters specifically for this. Nahida's C2 provides CRIT Rate for Lunar-Bloom, Nilou's constellations create instant-detonating cores, and Baizhu's A4 buffs damage based on Max HP. Your investments aren't wasted.
What artifacts should I prioritize farming? Night of the Sky's Unveiling is Best-in-Slot for Lauma, providing 30% CRIT Rate with Ascendant Gleam active. Alternatives include Silken Moon's Serenade or Gilded Dreams. For supports, use Deepwood Memories, Noblesse Oblige, or Instructor sets based on team needs.
How do I manage the increased self-damage? Lunar-Bloom self-damage can reach 1,600 per instance vs standard 800, so healing becomes crucial. Include healers like Yaoyao, Barbara, or Kuki Shinobu in your teams. Lauma's C1 provides healing based on 500% EM when triggering reactions. You can also use shielders or maintain distance during detonations.