

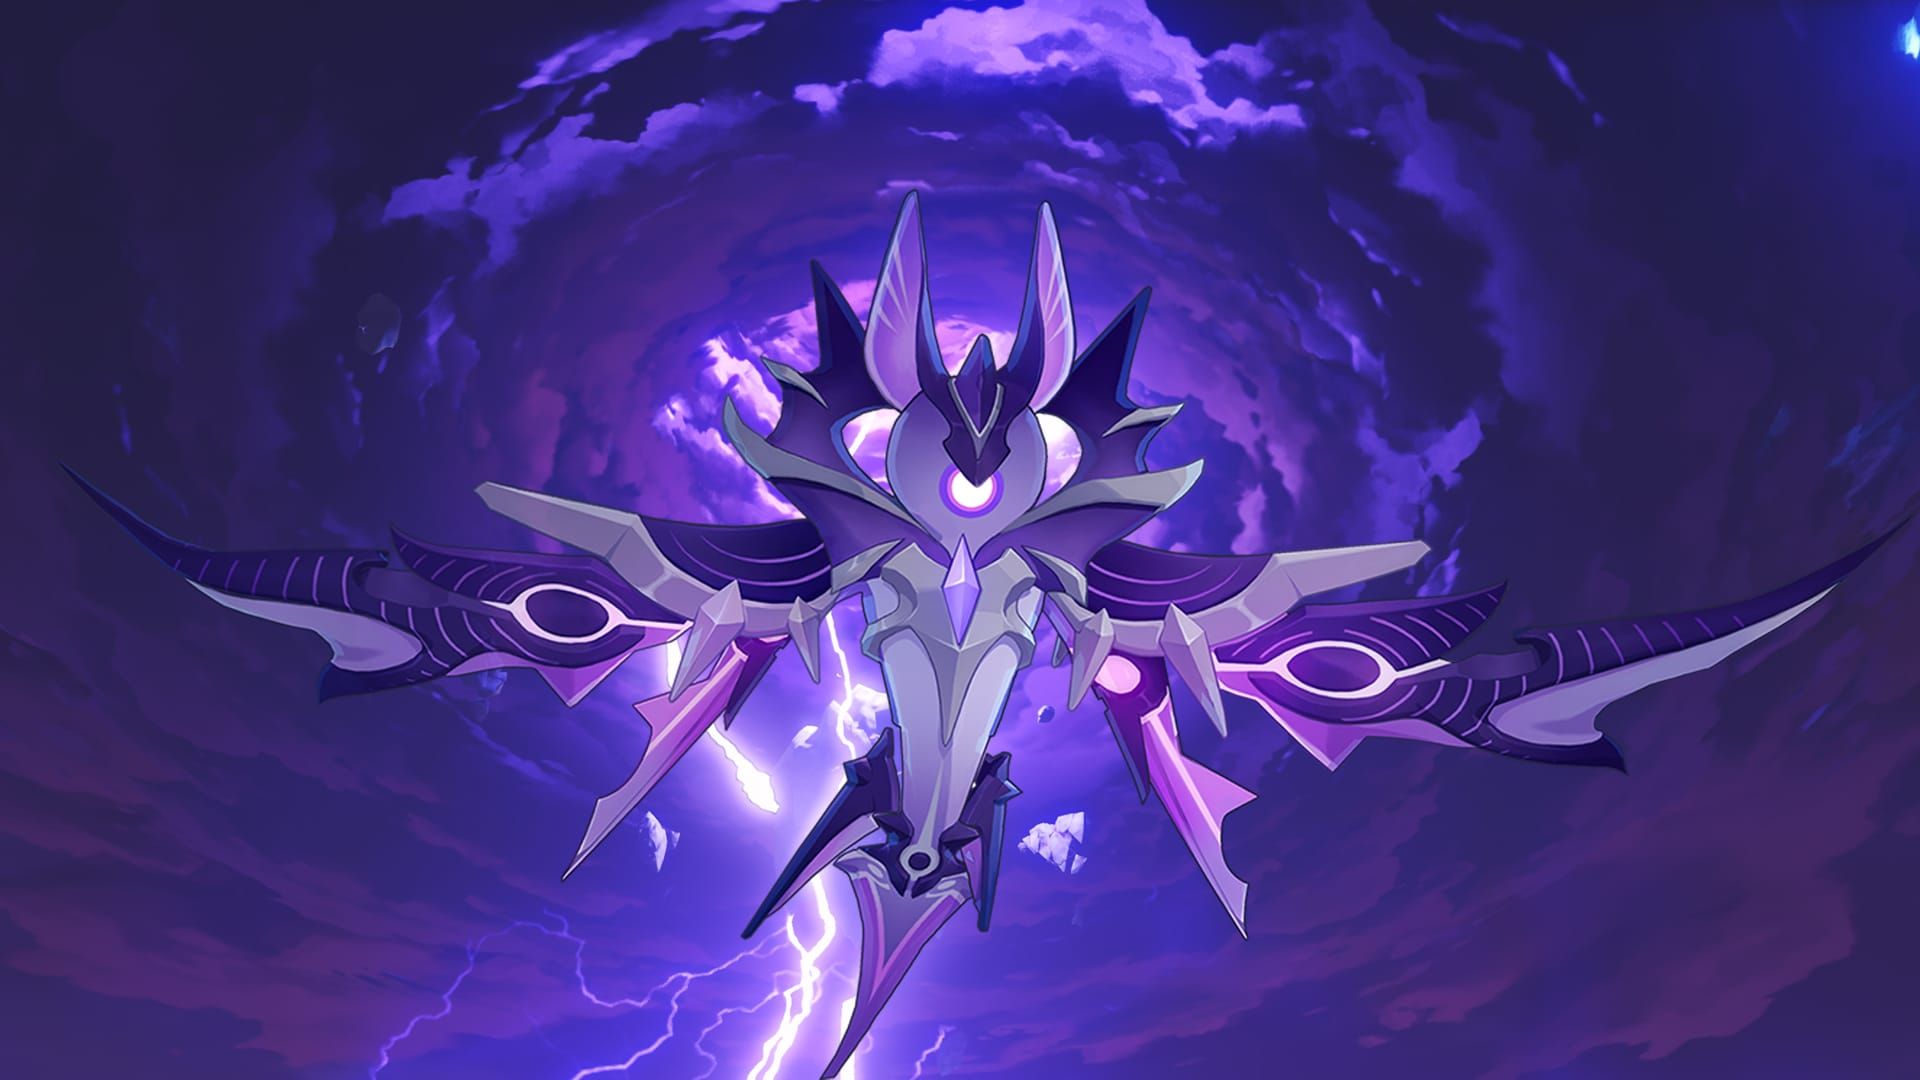
Thunder Manifestation requires completing Seirai Stormchasers quest chain, features Weight value of 150 for moderate interruption resistance. F2P players counter using ranged characters like Amber, shielders like Diona, Pyro/Cryo reactions while avoiding Electro damage due to complete immunity.
Thunder Manifestation Boss Overview and 2025 Meta Changes
So you've made it to Amakumo Peak and you're staring down this floating nightmare of pure electricity. Good news? You're about to learn one of Genshin's most technical fights. Bad news? Well, let's just say this isn't your typical hilichurl camp.
First things first - you can't even access this boss without completing the Seirai Stormchasers World Quest chain through Katheryne at Inazuma's Adventurer's Guild. It's a bit of a slog, honestly, but necessary if you want those Storm Beads for ascending Raiden Shogun and Kujou Sara.
Here's what makes Thunder Manifestation particularly nasty: complete Electro immunity. Not resistance - immunity. That permanent Electro aura it maintains? It's highly reactive to Pyro, Cryo, Hydro, and Dendro applications, which becomes both your biggest advantage and potential downfall if you're not careful.
Genesis Crystal small pack purchase through BitTopup offers competitive pricing and instant delivery for roster enhancement. BitTopup's secure payment system, 24/7 customer support, high user satisfaction ratings and comprehensive regional support make it the preferred choice for Genshin Impact players worldwide.
The boss scales with World Level and starts dropping Storm Beads at Level 30+. I'd recommend Adventure Rank 35-40 for comfortable clears, though I've seen skilled F2P players succeed at lower levels once they understand the anti-stagger mechanics. Recent Version 4.x updates refined attack patterns while keeping the core systems intact - those probe mechanics, Electro cage attacks, and wall-crushing moves that'll make you question your life choices.
Understanding Anti-Stagger Mechanics
This is where things get technical, and honestly, it's knowledge that'll serve you well beyond just this boss fight.
Thunder Manifestation has a Weight value of 150. To put that in perspective, that's the same interruption resistance as Mitachurls, Lawachurls, and Abyss Heralds. Every attack in Genshin carries a Stagger Level: Mute, Shake, Light, Heavy, or Air. With Weight 150, you need Heavy or Air-level attacks for consistent interruption.
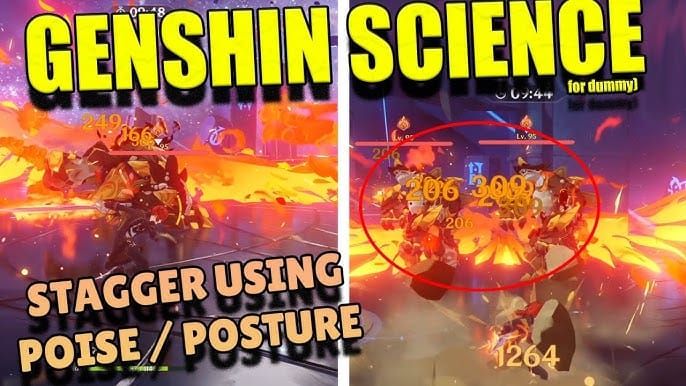
Most standard character attacks? They're only providing Light stagger. The boss will take damage but continue its attack animations like nothing happened - which can be frustrating when you think you've interrupted that devastating combo.
Claymore users become valuable here because their final combo hits provide Heavy stagger. Noelle's particularly useful for this reason. Jean's Elemental Skill is a perfect example of Air stagger - when executed properly, it'll launch even heavy enemies. Certain Elemental Bursts and Skills carry Heavy/Air stagger properties, though it varies by character.
Thunder Manifestation Attack Patterns and Phases
Phase 1: Ground Lightning Strikes
The fight starts deceptively simple. Probe deployment creates those pulsing AoE fields that accumulate rage when you step in them (don't). Small AoE Electro strikes target your position with clear ground indicators - plenty of time to dodge if you're paying attention.
Phase 2: Aerial Bombardment
Once you drop it below 75% health, things get spicy. The Electro Cage manifests as a four-cornered prison that follows your active character with continuous damage. Here's the trick: continuous sprinting until the cage dissipates. Don't try to tank it.
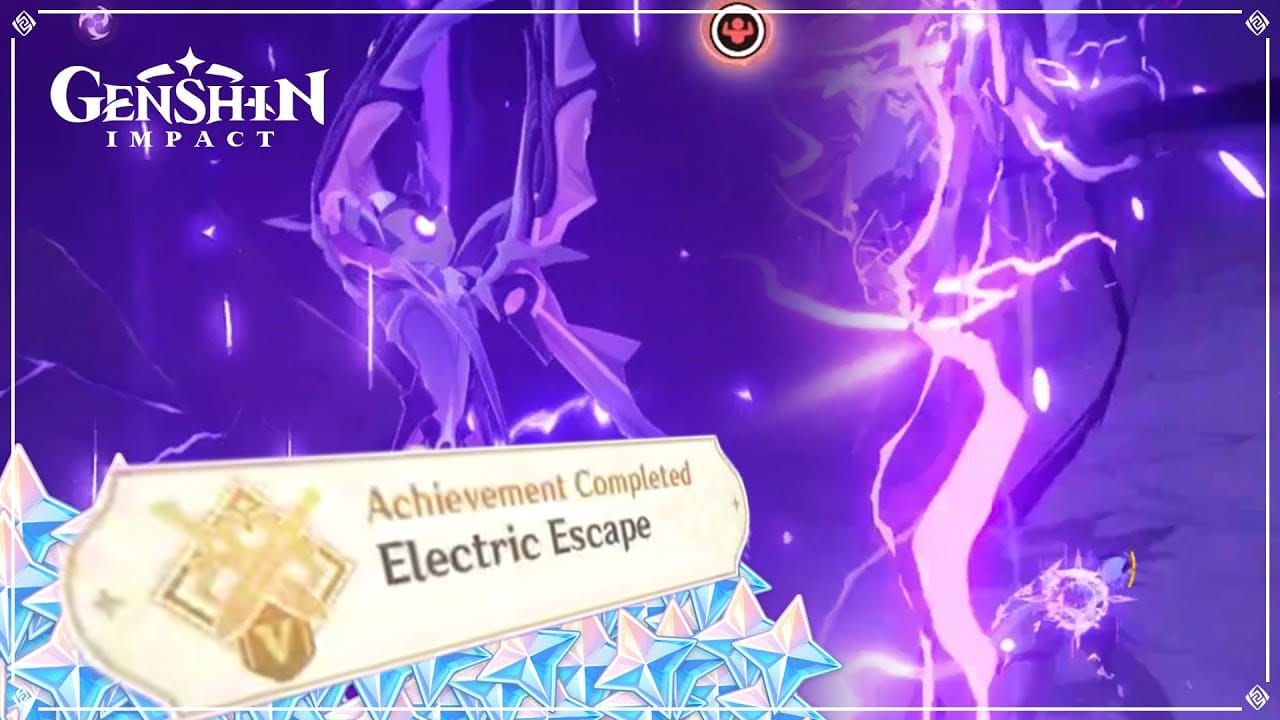
Then there's the Electro Wall - two barriers that summon and close in to crush you. This requires precise dash timing through one wall using invincibility frames. It's all about that i-frame timing.
Phase 3: Electro Storm Finale
Shocking Dash sees the boss dive across the arena twice with purple indicators. Spinning Attack has it curl its wings and rotate toward you. Electro Blades launch five projectiles in spread patterns. The Lightning Storm finale? Widespread electrical strikes that just don't stop.
Best F2P Team Compositions for 2025
National Team Variant
Kaeya, Xiangling, Amber, Noelle - this composition maximizes F2P effectiveness better than anything I've tested. Noelle provides essential shielding, Kaeya and Xiangling trigger Superconduct and Overload reactions, while Amber handles ranged damage during those annoying aerial phases.

Your rotation should look like: Noelle shield → Kaeya Elemental Skill → Xiangling Pyronado → Amber charged shots during vulnerability windows. Simple, effective, and doesn't require any gacha luck.
Alternative Compositions
Want to spice things up? Try Kaeya, Xiangling, Collei, Barbara for Dendro reactions. Just be careful with Barbara - you need to manage her properly to prevent dangerous Electro-Charged reactions that'll hurt you more than the boss.
Amber-focused compositions excel at maintaining safe distance while triggering consistent Overload reactions. Sometimes the simplest approach is the best approach.
Genshin Impact top up for iOS and Android through BitTopup enables access to additional characters and weapons improving team flexibility. BitTopup's competitive exchange rates, instant processing, and robust security measures ensure minimal downtime between purchases and gameplay.
Character-Specific Counter Strategies
Pyro characters should maintain medium range for safe Overload triggers. Remember, that Weight 150 causes stagger rather than knockback, creating vulnerability windows you can exploit. Xiangling's Pyronado provides persistent damage during those mobility phases when the boss won't sit still.
Barbara's self-Hydro application requires careful timing - heal during safe phases to prevent Electro-Charged complications. Trust me on this one.
Kaeya excels at consistent Cryo application through both Skill and Burst. His Burst follows your active character, maintaining Superconduct uptime even during repositioning. Diona provides the safest F2P healing and shielding without that persistent self-element application that causes dangerous reactions.
Anemo characters? They provide Elemental Mastery buffs and Viridescent Venerer resistance reduction, though their crowd control effectiveness is limited here.
F2P Weapon and Artifact Optimization
Prototype Rancour serves Physical DPS characters well, while The Catch provides exceptional Burst support value. Favonius weapons offer crucial energy generation for rotation consistency - and you'll need that consistency. Thrilling Tales provides significant ATK buffs for Catalyst supports.
Thunder Manifestation actually drops some useful 4-star sets: The Exile (+20% Energy Recharge 2-piece), Instructor (+80 Elemental Mastery 2-piece), and Prayers for Wisdom (40% Electro duration reduction).
For F2P builds, prioritize Energy Recharge substats for consistent rotations first, then Elemental Mastery for reaction scaling. ATK% benefits direct dealers, HP% benefits shield providers. Pretty straightforward stuff.
Advanced Combat Techniques
Dash invincibility frames are your best friend against Electro Wall attacks - it's all about that precise timing during wall closure. Extended fights demand careful energy management, so lean on those Favonius weapons and The Exile set.
Start your rotations with shield deployment, then follow with elemental application for reactions. Reserve Elemental Bursts for stationary boss phases and transition vulnerability windows. Coordinating multiple Bursts during these windows maximizes your damage potential significantly.
Keep those Pyro/Cryo auras active to ensure consistent reaction triggers throughout the encounter.
Common Mistakes and How to Avoid Them
Don't stand in Bennett's Burst circle - it creates dangerous Overload reactions when you get struck by Electro attacks. Seems obvious, but you'd be surprised how many players forget this.
Bringing Electro DPS characters? Complete waste of time due to that immunity. Failing to manage energy generation leads to rotation breakdowns and defensive gaps that'll get you killed.
Never try to face-tank Electro Cage and wall attacks. The continuous damage is massive regardless of your defensive investment - you need to actively dodge. Period.
FAQ
How do you counter Thunder Manifestation's anti-stagger mechanics effectively? That Weight value of 150 requires Heavy or Air stagger attacks. Use claymore final hits, specific Elemental Bursts, or Jean's Elemental Skill for reliable interruption. It's all about understanding the stagger system.
What are the best F2P team compositions for Thunder Manifestation in 2025? Kaeya, Xiangling, Amber, Noelle remains king. Noelle shields, Kaeya and Xiangling trigger reactions, Amber handles ranged damage. Alternative option: Kaeya, Xiangling, Collei, Barbara for those Dendro reactions.
Which elements work best against Thunder Manifestation? Pyro triggers Overload for AoE damage, Cryo enables Superconduct reactions, Dendro provides Quicken/Aggravate/Spread options. Just avoid Electro entirely - complete immunity means zero damage.
How do you avoid Thunder Manifestation's most dangerous attacks? Electro Cage requires continuous sprinting until it disappears. For Electro Walls, you need dash timing through one wall using i-frames, or vertical escape if you're distant enough.
What artifacts and weapons should F2P players prioritize? The Exile (+20% Energy Recharge) and Instructor (+80 Elemental Mastery) sets work great. Weapons: Prototype Rancour, The Catch, Favonius series, and Thrilling Tales for those ATK buffs.
Why is Diona the safest F2P support for Thunder Manifestation? Unlike Barbara or Bennett, Diona doesn't apply persistent elements that cause dangerous self-inflicted reactions when the boss hits you. She provides shield and healing utility without the risk.