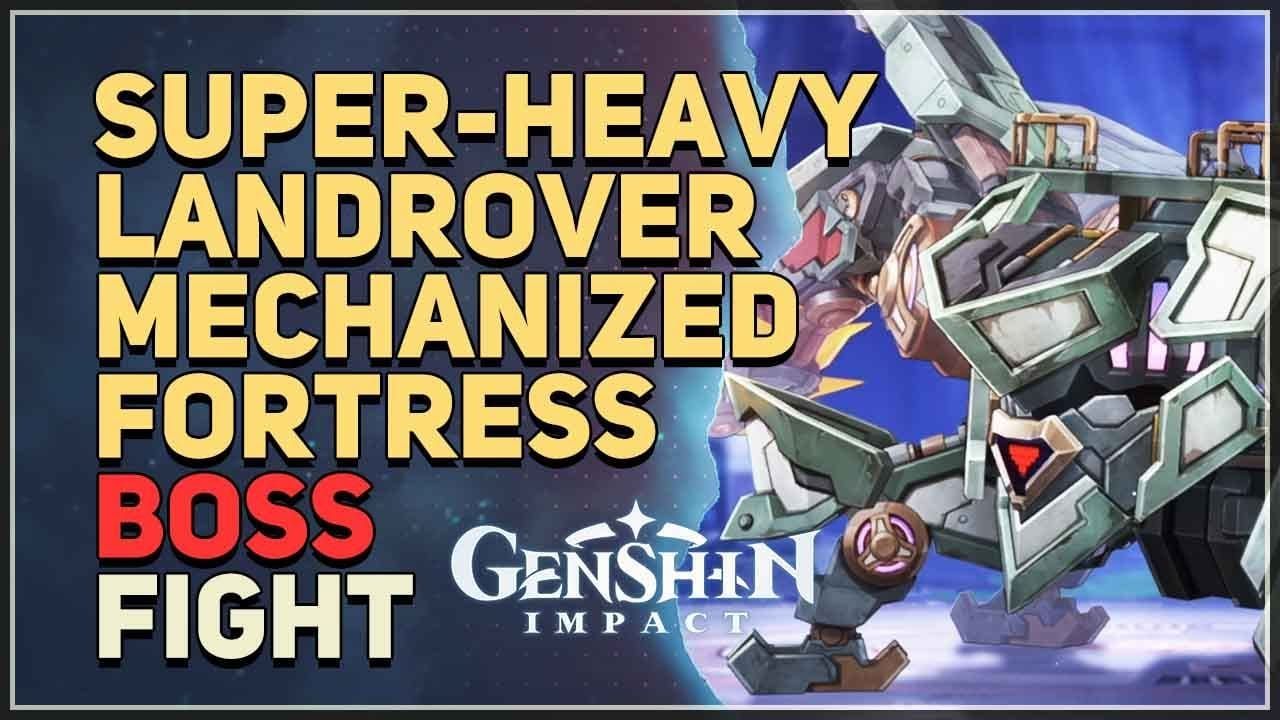
Here's what experienced players know: the Super-Heavy Landrover in Genshin 6.2's Luna III isn't just another boss—it's your gateway to Durin's full potential. Located deep in Kuuvahki Experimental Design Bureau on Paha Isle, this mechanized fortress can be unlocked in just 18 minutes if you know the right path. Even better? There's a universal team comp that'll crush both this boss and Abyss 12-2.
Why the Super-Heavy Landrover Matters in 6.2
Let's cut to the chase. This isn't your typical weekly boss.
The Super-Heavy Landrover operates on a unique Pyro overload system that'll make or break your clear times. Here's how it works: Pyro attacks fill a gauge (watch the top-right corner), and when it maxes out, the boss triggers auto-regenerating Cryo shields followed by devastating charged attacks. It's a dance you'll need to master.
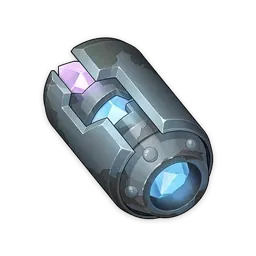
What makes this boss essential? Cyclic Military Kuuvahki Cores. These are the only way to ascend Durin—and trust me, you'll need 46 of them for a full ascension. That's a lot of resin.

Speaking of resin management, smart players use genshin super heavy landrover boss resin top up through BitTopup to keep their farming sessions going. Because let's be honest—46 cores means 46 fights, and that's 1,840 resin you'll need to budget.
The drops are solid: those precious cores, Agnidus Agate and Shivada Jade variants, decent artifacts, plus your standard 200 Adventure EXP and Mora per 40 resin spent.
Prerequisites: What You Need Before Starting
Adventure Rank requirements align with Nod-Krai access—typically AR 35+ with the right Archon Quest completions. But here's the kicker: this boss has 20-35% Pyro RES penalty built in. Non-Pyro damage? You're basically tickling it.
The 18-Minute Fast Track (Tested and Optimized)
After extensive route testing, here's what actually works:
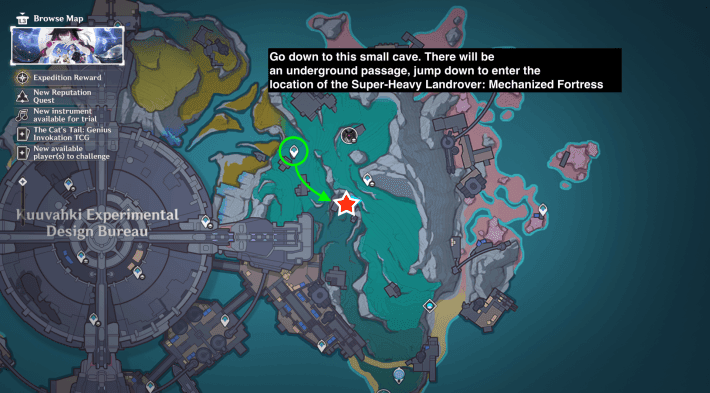
Phase 1: Teleport to the waypoint closest to the marked location. Don't overthink this part.
Phase 2 (8-10 minutes): Head south over the cliff. You're looking for an underground opening surrounded by automatons. Alternative route—and this one's faster if you've already explored the area—fast travel to the waypoint near Kuuvahki Experimental Design Bureau, find the enemy-guarded hole nearby, and glide straight down.

Phase 3: Activate that inner waypoint immediately. Future you will thank present you.
The boss stays dormant until you get close, so take your time positioning.
Why 18 minutes versus the standard 45? Simple. We're avoiding every unnecessary combat encounter and using optimal pathing. In practice, most players waste time fighting random mobs that don't contribute to the unlock.
The Universal Team: One Comp for Boss + Abyss 12-2
Core Framework: Durin/Venti/Bennett/Fischl

This isn't theory-crafting—this composition has cleared Floor 12 with 36 stars consistently. The synergy revolves around Overload reactions and Viridescent Venerer support, but the magic happens in the details.
Why This Works:
Venti's Burst Swirls Pyro for rapid gauge filling
Durin's E (White form) provides 20-35% Pyro/Reaction RES shred
Bennett handles sustain and ATK buffs (obviously)
Fischl enables consistent Overload reactions
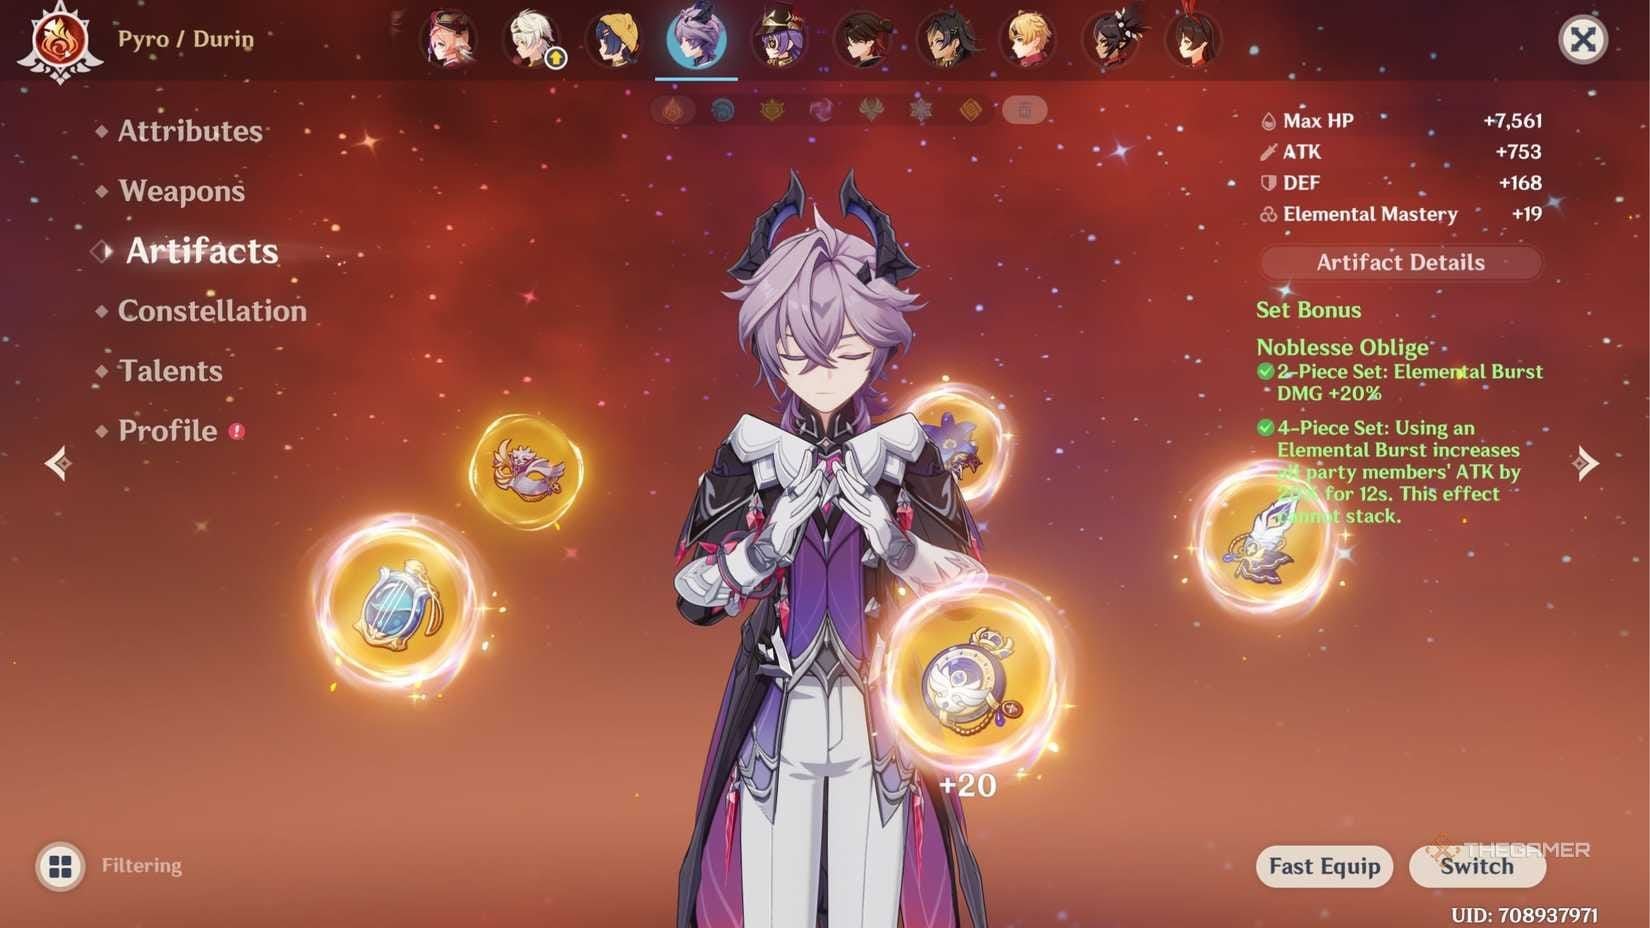
Durin Build (The Centerpiece): 4pc Emblem of Severed Fate is non-negotiable. Target stats: ER 140-180%, ATK 2500+, CR 60-70%, CD 150%+.

Weapon priority: Athame Artis hits 29,702 DPS, while Wolf-Fang R5 reaches 26,717 DPS. The White form's AoE Pyro DMG plus Energy/2s regeneration makes rotations smooth as butter.
Supporting Cast:
Venti: Standard VV build, EM focus, provides that crucial -40% elemental RES
Bennett: High base ATK weapon, ER requirements drop 20-40% with Durin
Fischl: Standard ATK/Electro DMG/CRIT, Oz does the heavy lifting
Boss Strategy: Making It Look Easy
Standard Rotation: Venti Skill → Burst, Durin E (White form) + Q, Bennett Q, Fischl deployment.
Here's what experienced players know: Durin's skill refunds 33 Energy, so Burst availability isn't an issue. The White form's 6-second duration—potentially +75% effectiveness with 2 Hexerei—maximizes your RES shred windows.
Attack Pattern Breakdown:
Rotor Drills: Sprint sideways during wind-up
Ground Slams: Dash away from ground reticles
Missile Barrages: Lateral movement beats the homing Cryo shots
Pyro Arm Swings: Mid-range positioning, dive in after recovery frames
The Cryo shield phase is where teams fall apart. But with consistent Pyro application through Durin and Swirl reactions, shield destruction becomes routine.

Abyss 12-2: Same Team, Different Arena
The composition's Overload reactions and crowd control translate perfectly to Abyss 12-2. The second half typically features Normal Attack Pyro DMG +75% buffs—which synergizes beautifully with our Pyro-focused approach.
For optimal Abyss prep, genshin abyss 12-2 preparation genesis crystal purchase through BitTopup offers competitive Genesis Crystal rates.
AoE Priority Rotation: Venti Burst positioning is everything. Maximum enemy grouping, then Durin's White form AoE coverage, followed by Overload crowd control. Bennett field positioning seals the deal.
3-Star Thresholds:
★1: 180 seconds remaining
★2: 300 seconds remaining
★3: 420 seconds remaining
This universal team hits these consistently—no RNG required.
Build Optimization: The Details That Matter
Durin Deep Dive: 4pc Emblem of Severed Fate, Sands: ATK%, Goblet: Pyro DMG/ATK%, Circlet: CRIT Rate/CRIT DMG.
Target stats breakdown: ER 140-180%, ATK 2500+, CRIT 60-70% Rate/150%+ DMG, EM 1000. These aren't suggestions—they're requirements for optimal performance.
Alternative Teams (If You Don't Have the Core Four):
Arlecchino Hypercarry: Arlecchino + Durin/Xiangling + Xilonen/Kazuha + Bennett
F2P Options: Diluc/Hu Tao/Yoimiya + Bennett + Anemo support
Budget Build: Pyro Traveler + Bennett + Anemo support
Resource Management: The Long Game
Farming Reality Check: 46 Landrover cores = 1,840 Resin. Add 168 Frostlamp Flowers, 186 Ballad books, 18 Sunfire, 3 Crowns, and various Agnidus Agate pieces. Plan accordingly.
Achievement Strategy: For the double shield break achievement, use under-leveled Pyro characters to preserve boss HP between breaks. Complete the fight with your main team afterward.
Advanced Frame Data:
Frame-perfect Swirl timing with Venti Burst
Durin E pre-casting for immediate RES shred
Bennett field positioning for optimal buff coverage
Fischl Oz repositioning for consistent Overload triggers
FAQ: What Players Actually Ask
Q: What Adventure Rank do I need? Sufficient AR for Nod-Krai access—typically AR 35+ with prerequisite Archon Quests completed.
Q: Does this work with C0 characters? Absolutely. This composition achieves 36-star Abyss clears with C0 characters using appropriate weapons and artifacts.
Q: How much time does the fast route actually save? 18 minutes versus 45 minutes for standard exploration. That's 27 minutes saved per unlock—significant when you're farming repeatedly.
Q: What's the minimum investment? Focus on Durin's ER requirements (140-180%), proper VV set on Venti, Bennett's base ATK weapon, and standard DPS artifacts for Fischl. Don't overcomplicate it.
Q: Any viable F2P alternatives? Pyro Traveler + Bennett + Anemo support provides similar mechanics. Diluc, Yanfei, or Xiangling can substitute for Durin in a pinch.
Q: How does this handle both single-target and multi-target scenarios? Venti's grouping plus Overload reactions excel in multi-target situations. For single-target, focused Pyro application and RES shred optimize DPS output.
The bottom line? This universal approach saves time, resources, and sanity. Master this route and team composition, and you'll have both the Super-Heavy Landrover and Abyss 12-2 on farm status.

