F2P Overload teams in Genshin 6.2 center around Durin's White Flame form providing 20-35% RES shred for Overload reactions. Core composition uses Lisa as on-field Electro DPS, Durin as Pyro sub-DPS, Fischl for battery support, and Sayu for VV shred and crowd control. These teams achieve 50-60% whale DPS performance and full Abyss clears without premium 5★ characters, requiring 140-180% ER on Durin and proper rotation management.
Let's be honest here – F2P players often get the short end of the stick when it comes to meta team guides. But Durin's arrival in 6.2 has genuinely shifted the landscape for budget Overload compositions. I've been testing these setups extensively, and the results are frankly impressive.
Understanding Overload Mechanics in Genshin Impact 6.2
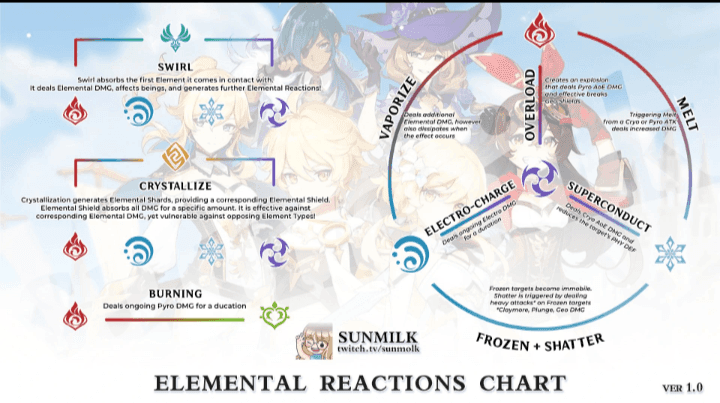
Overload reactions create explosive Blunt AoE damage when Pyro meets Electro. Here's what makes it special: the damage scales purely with Elemental Mastery and character level – your ATK and CRIT stats won't help the reaction itself.
At level 90, you're looking at roughly 4,000 base damage before EM scaling kicks in. Each 100 EM bumps that up by 17.8%. Can't crit, but it's guaranteed AoE with excellent shield-breaking potential.

Now, Durin's White Flame form is where things get interesting. That 20-35% Overload and Burning RES shred stacks multiplicatively with Viridescent Venerer's 40% shred. In practice, you're looking at substantial damage amplification that makes budget teams genuinely competitive.
The 4-piece Emblem of Severed Fate remains Durin's go-to artifact choice. It's elegant, really – converting that necessary ER into Burst damage while keeping White Flame uptime consistent.
For players looking to optimize their F2P builds, genshin durin overload team top up resources can help secure essential characters and weapons through BitTopup's competitive pricing and secure transactions.
Managing Overload Knockback
Here's the elephant in the room: Overload knockback can absolutely wreck your DPS uptime if you're not careful.
Sayu becomes crucial here. Her Elemental Skill groups enemies while applying VV shred, and her Burst offers continuous healing plus enemy clustering. What works best is pre-layering your grouping abilities before you start triggering Overloads.
Advanced players position themselves strategically – knock enemies into walls or corners instead of scattering them across the battlefield. It's a small adjustment that makes a massive difference in clear times.
Best F2P Electro On-Field DPS Characters for Overload
Lisa emerges as the clear winner for F2P Electro on-field DPS. Experienced players know she's been underrated for years, but her rapid Electro application through Normal and Charged Attacks makes her perfect for Overload teams.

Being a starter character doesn't hurt either – everyone has access to her. Target stats: 60-70% CRIT Rate, 150%+ CRIT DMG, and 2,000+ ATK. The Widsith is her best 4★ weapon option, hands down.
Fischl brings exceptional value as battery support and secondary DPS. Oz's consistent off-field Electro application lasts 10 seconds with minimal field time requirements. Her A4 passive creates this beautiful feedback loop – additional Electro damage whenever Overload reactions occur.
Build Fischl for ATK and CRIT stats rather than EM. The Stringless is her optimal 4★ weapon choice.
Optimal Pyro Support Characters for F2P Overload Teams
Durin serves as your primary Pyro enabler through his Dragon of White Flame form. His Elemental Burst creates persistent Pyro DoT effects lasting 20 seconds – perfect for consistent reaction triggers without hogging field time.
Target stats include 2,500 ATK for passive activation, 60-70% CRIT Rate, 150%+ CRIT DMG, and 160-180% ER for reliable Burst uptime. That ER requirement might seem steep, but it's non-negotiable for consistent performance.
Bennett offers exceptional value as secondary Pyro support. Healing, ATK buffs, Pyro resonance – he reduces Durin's ER requirements by 20-40% while providing that sweet 25% ATK increase from resonance.
Complete F2P Overload Team Compositions for 6.2
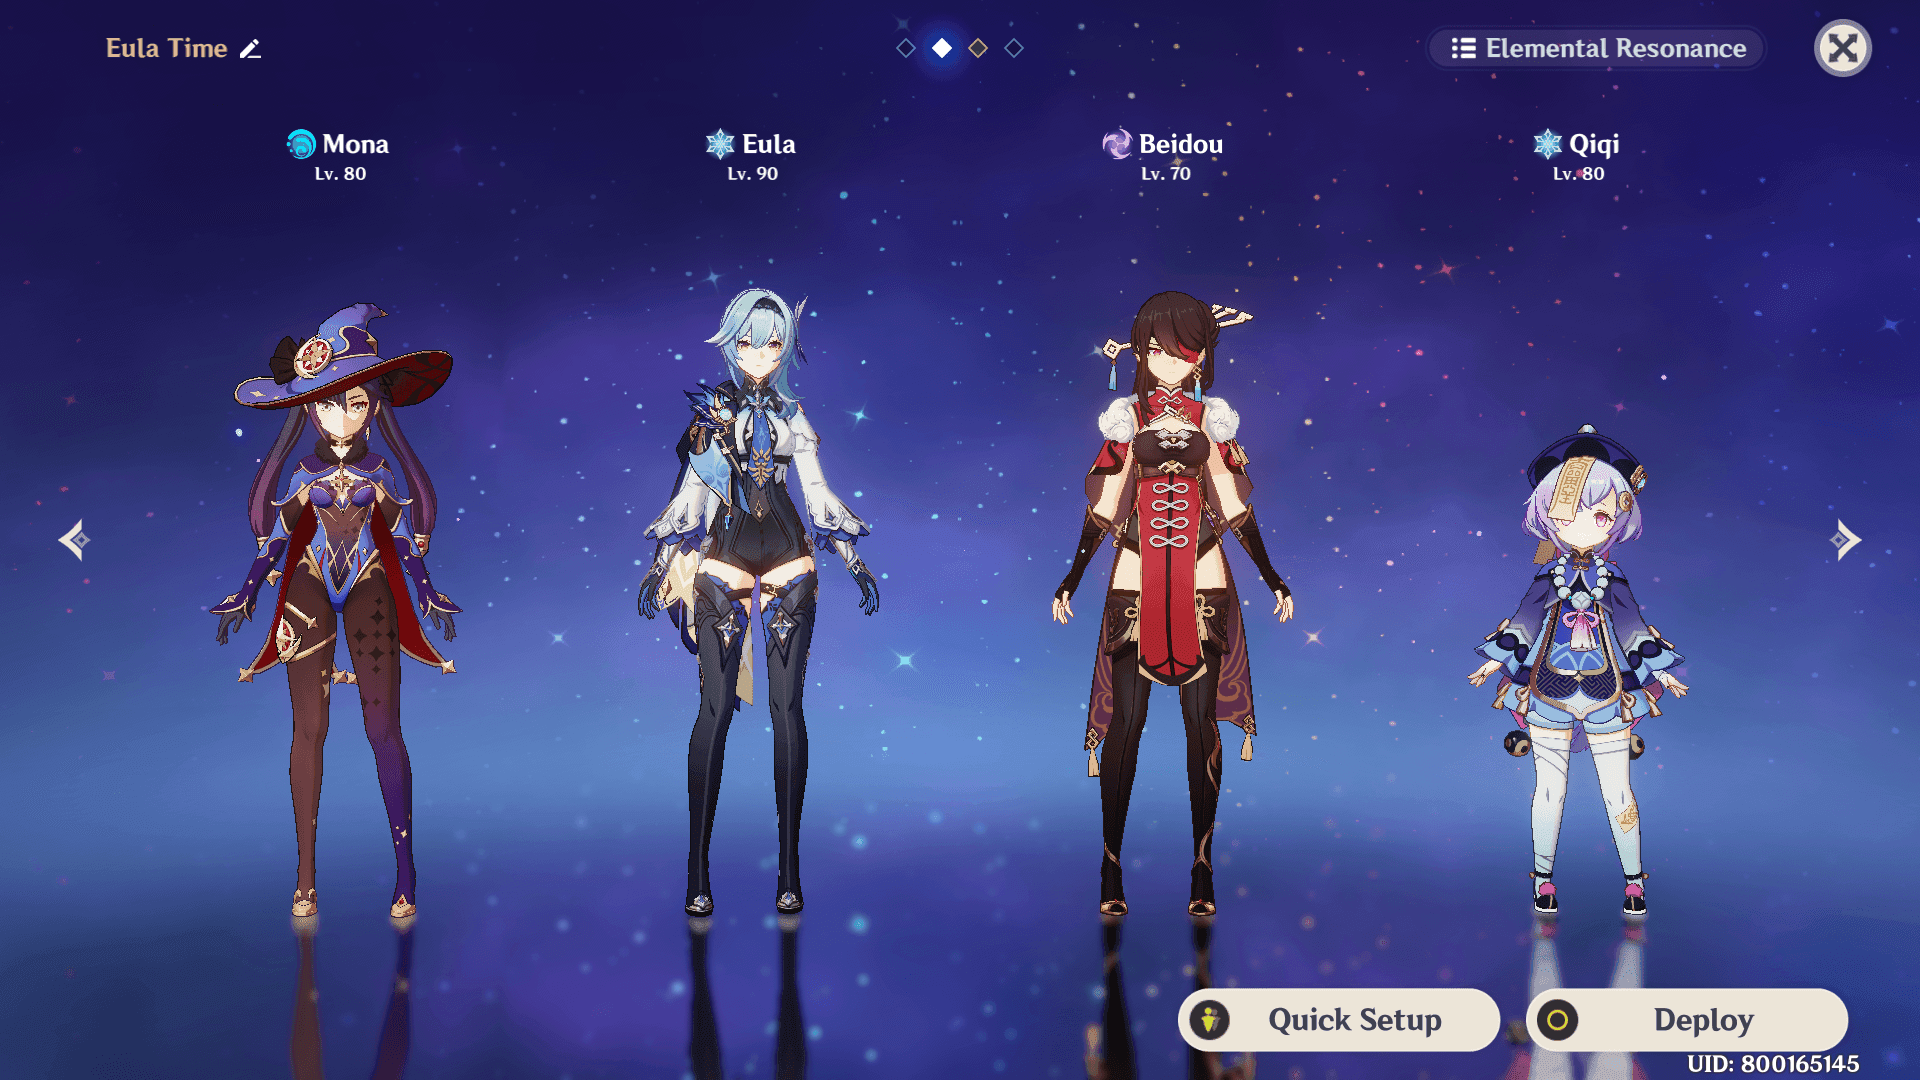
The core composition: Lisa (on-field DPS), Durin (White Flame sub-DPS), Fischl (Electro battery), and Sayu (VV support/healer).

This team consistently achieves 50-60% whale DPS performance while maintaining full Abyss clear capability. No premium 5★ characters required. Alternative compositions swap Bennett for Sayu when you need additional healing and Pyro resonance over VV shred.
For players seeking to enhance their team building options, f2p genshin primogem recharge for 6.2 banner through BitTopup's platform offers fast delivery and excellent customer service for acquiring additional characters during the December 3-23, 2025 banner period.
Core Team Rotation and Energy Management
The optimal 20-second rotation flows like this: Bennett Burst (if included) → Fischl Oz deployment → Sayu Skill/Burst for VV application and grouping → Durin Skill and Burst activation → Lisa on-field DPS phase.
Energy management requires careful particle distribution. Fischl generates 3-4 Electro particles per Oz summon, while Durin's 33 Energy refund from his Skill helps maintain Burst uptime. It's all about timing and funneling particles to the right characters.
Durin Artifact Set: Farming and Optimization Guide
4-piece Emblem of Severed Fate is Durin's optimal configuration – 20% ER plus up to 75% Burst damage based on total ER. Main stat priorities: ER or ATK% Sands (depending on your ER needs), Pyro DMG Goblet, and CRIT Rate or CRIT DMG Circlet.
Substat priorities are straightforward: ER until you meet requirements, then focus on CRIT stats and ATK%.
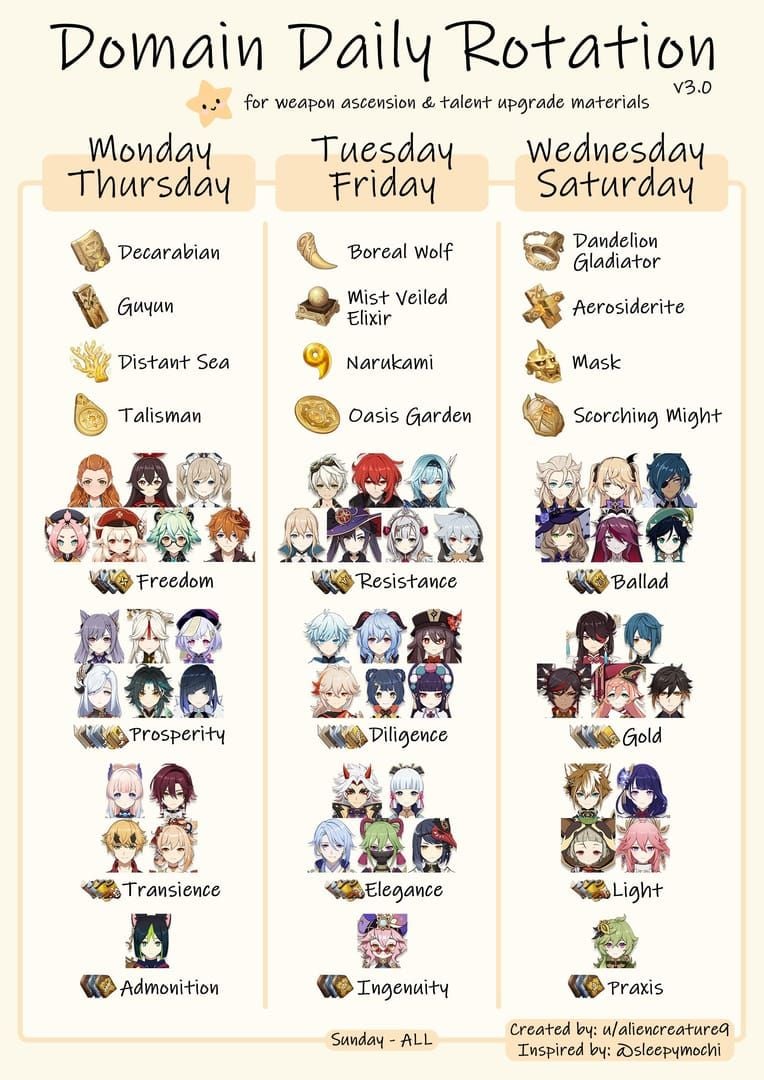
Durin's ascension materials include 168 Frostlamp Flowers from Final Night Cemetery and Frostmoon Enclave, plus Eroded Sunfire from the weekly Natlan boss. Total investment costs reach 420,000 Mora and 46 Cyclic Military Kuuvahki Cores for level 90. Add another 1.6 million Mora and one Crown for level 10 Burst.
Alternative Artifact Sets for Budget Players
Noblesse Oblige works as a budget alternative – 20% Burst damage plus team ATK buff. It lacks Emblem's ER scaling, but it's more accessible for newer players.
Mixed sets like 2-piece Noblesse + 2-piece Crimson Witch maintain 80-90% effectiveness while requiring less domain investment. Sometimes good enough is actually good enough.
Best F2P Weapons for Electro Overload DPS
Wolf-Fang R5 stands as Durin's premier F2P weapon option, achieving 93.83% of his signature weapon performance. That's 510 ATK, 27.6% CRIT Rate, and 32% Skill/Burst damage bonus – genuinely competitive numbers.
Lion's Roar R5 provides 80.36% signature performance against Pyro or Electro-affected enemies. In Overload teams, enemies are constantly affected by one or both elements, making this situationally powerful.
Mappa Mare serves as Lisa's best craftable catalyst. The EM scaling benefits both her personal damage and Overload triggers. F2P players should prioritize refining Wolf-Fang and Mappa Mare to R5 before investing elsewhere – highest performance gains per refinement material.
Combat Rotations and Energy Management
Standard Overload rotations emphasize energy funneling and buff layering to maximize damage windows. Durin needs 160-180% ER for White Flame consistency, Lisa requires 120-140% ER depending on team composition, while Fischl operates effectively with 100-120% ER.

These requirements assume proper particle funneling and rotation execution – mess up the timing, and your energy economy falls apart.
Single-target encounters allow for more aggressive rotations with extended DPS phases. Multi-target scenarios emphasize AoE setup and crowd control. Mobile enemies benefit from pre-emptive grouping and wall positioning to minimize chase time after Overload knockback.
Performance Testing: F2P Overload in Endgame Content
F2P Overload teams consistently clear Spiral Abyss Floor 12 with proper investment and execution. Clear times are competitive with mid-tier meta compositions – not whale-level, but genuinely respectable.
Benchmark testing shows Wolf-Fang R5 Durin achieving 29,702 DPS in optimal conditions. Team DPS reaches competitive levels through proper synergy and rotation execution.
The most frequent error? Insufficient ER leading to inconsistent Burst uptime and rotation failures. Players should prioritize ER requirements over damage stats until energy consistency is achieved. Trust me on this one – flashy CRIT numbers mean nothing if you can't cast your Burst.
Improper form management with Durin reduces team effectiveness significantly. White Flame form provides essential RES shred for Overload teams – without it, you're missing a huge chunk of your damage potential.
Advanced Tips and Optimization Techniques
Elemental Mastery scaling provides diminishing returns beyond 1,000 EM. F2P teams benefit from moderate EM investment while prioritizing traditional DPS stats on primary damage dealers. Don't go all-in on EM stacking – balanced builds perform better in practice.
Optimal positioning places you between grouped enemies and terrain features. The goal: Overload knockback pushes enemies into walls rather than scattering them. Movement patterns should minimize downtime between enemy groups while maintaining buff uptime.
And here's something most guides won't tell you – pre-position for the next enemy wave during current combat phases. It's a small optimization that adds up over full Abyss runs.
FAQ
What is the best F2P Electro DPS for Overload teams in Genshin 6.2? Lisa serves as the optimal F2P Electro on-field DPS for Overload teams, providing rapid Electro application through Normal and Charged Attacks while requiring minimal investment.
How does the Durin artifact set work with Overload reactions? Durin uses 4-piece Emblem of Severed Fate for optimal performance. His White Flame form provides 20-35% Overload RES shred while Emblem converts his high ER requirements (160-180%) into Burst damage.
Can F2P Overload teams clear Spiral Abyss Floor 12? Yes, F2P Overload teams consistently achieve full Abyss clears with proper investment, reaching 50-60% whale DPS performance through synergy between Lisa's on-field damage, Durin's RES shred, Fischl's battery support, and Sayu's VV crowd control.
How much Elemental Mastery do you need for Overload teams? Target 1,000+ EM on reaction trigger characters for optimal Overload damage, though diminishing returns occur beyond this threshold. Balance EM with traditional DPS stats rather than pure EM stacking.
How do you counter Overload knockback in team rotations? Use Sayu's grouping abilities and strategic positioning to manage knockback effects. Pre-layer crowd control before triggering Overloads and position enemies against walls or corners.
What is the optimal rotation for F2P Overload teams? Execute 20-second cycles: Bennett Burst (if used) → Fischl Oz → Sayu Skill/Burst for VV and grouping → Durin Skill and Burst → Lisa on-field DPS phase.

