

Quick Answer: Luna I Spiral Abyss 12 (Version 5.8, August 16 - September 15, 2025) features +75% Electro-Charged/Lunar-Charged damage in first half and +75% Nightsoul damage in second half. Success requires Hydro/Electro teams with Nod-Krai characters like Ineffa for first half and Natlan-based compositions for second half.
Luna I Rotation Overview and Timeline
Rotation Duration and Schedule
Alright, let's talk timing. Luna I rotation runs August 16 - September 15, 2025 (Version 5.8) — and honestly? This one's a doozy. The Abyssal Moon Spire resets monthly on the 16th at 04:00 Server Time, featuring what they're calling the Wavering Moon blessing. What's that mean for you? True DMG shockwaves every 3 seconds during Hydro-related reactions.
For discount Genesis Crystals top up, BitTopup provides competitive pricing and instant delivery for essential character pulls during challenging rotations.
Key Lunar Blessing Mechanics
Here's where things get spicy. First half gives you a 75% damage increase to Electro-Charged and Lunar-Charged reactions — that's not a typo, it's genuinely broken if you know how to exploit it. Second half? 75% boost to Nightsoul-aligned damage. The Blessing of Abyssal Moon releases True DMG shockwaves at opponent positions during Hydro reactions, but there's a 3-second cooldown (because miHoYo isn't completely insane).
Enemy Lineup Analysis
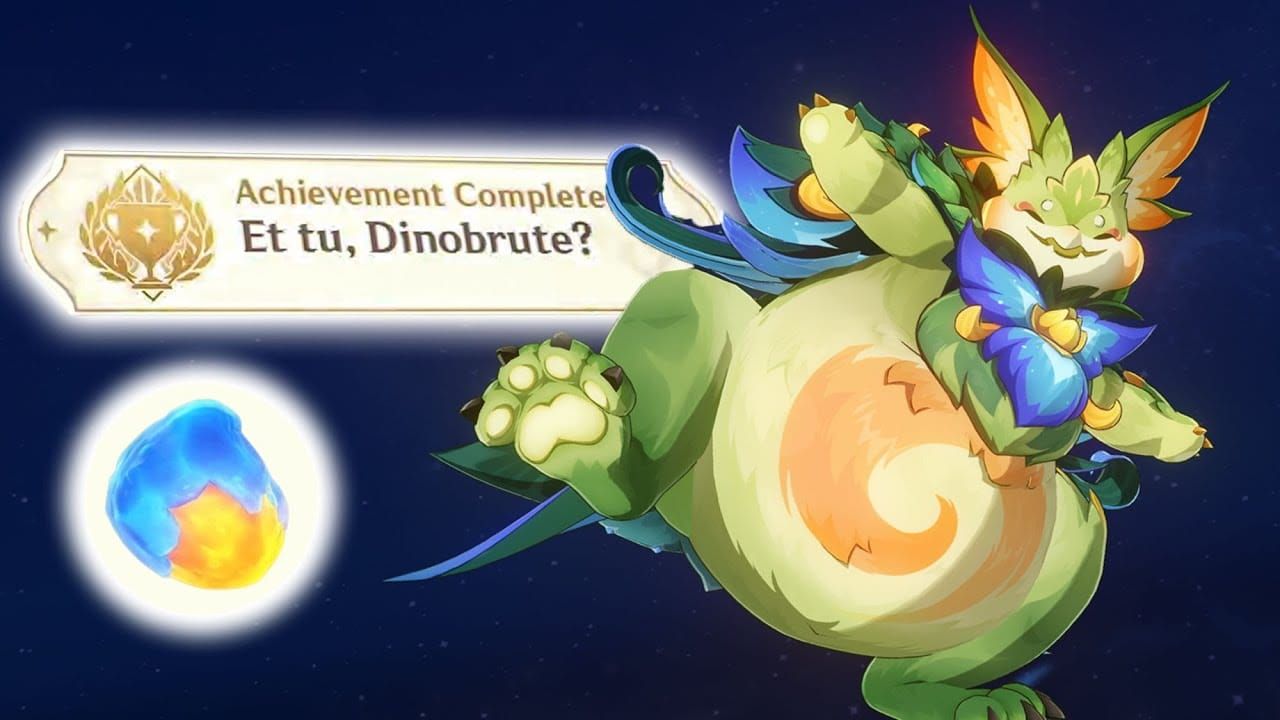
Floor 12 enemies are sitting pretty at Level 95-100 with a 250% HP multiplier. The star of the show? Gluttonous Yumkasaur Mountain King with a whopping 4,599,652 HP. You'll also face the Battle-Hardened Pipilpan Idol and Secret Source Automaton — both absolute menaces in their own right.
3-star completion requires 420 seconds remaining (3-minute clear) per chamber. Doable? Absolutely. Easy? Well...
Understanding Lunar Reaction Mechanics
Lunar Buff Types and Effects
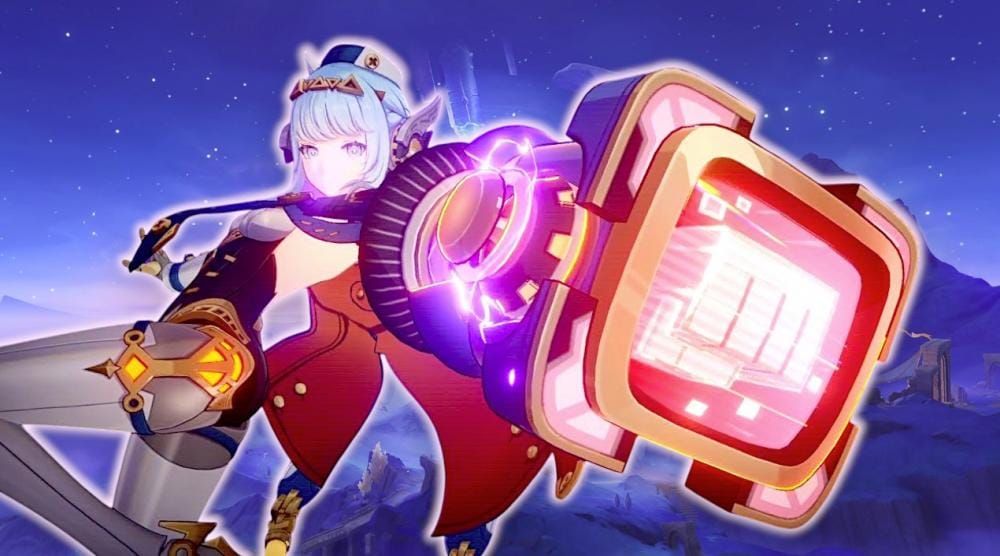
This is where Luna I gets interesting — and where most players mess up. Lunar-Charged (Ineffa/Flins) and Lunar Bloom (Lauma) can actually crit and scale beyond just Elemental Mastery. The Moonsign system works like this:
Nascent Gleam (1 Nod-Krai): Individual skill alterations (Lauma's Bloom gets 15% CR, 100% CD)
Ascendant Gleam (2+ Nod-Krai): Team buffs (Aino provides 60 EM party-wide)
Pro tip from someone who's tested this extensively: always aim for 2+ Nod-Krai if possible.
Elemental Synergy Optimization
Non-Nod-Krai characters can boost Lunar Reaction damage up to 36% — and the scaling varies by element:
Pyro/Electro/Cryo: 0.9% per 100 ATK
Hydro: 0.6% per 1000 Max HP
Anemo/Dendro: 2.25% per 100 EM
The sweet spot? 2 Nod-Krai + 2 non-Nod-Krai for maximum Moonsign and synergy benefits. Trust me on this one.
Damage Calculation Formulas
For the math nerds out there (and honestly, understanding this helps), Lunar-Charged damage = 100% Rank 1 + 50% Rank 2 + 1/12 Rank 3 + 1/12 Rank 4 character contributions.
Individual damage formula: 1.8 × Level Multiplier × (1 + Lunar-Charged Base) × (1 + Reaction + EM Bonus) × (1 + Crit DMG) × Enemy RES. Level 90 multiplier sits around 1447.
Floor 12 Chamber Breakdown
Chamber 1 Strategy Guide
First Half: Multiple Eremite waves — perfect for AoE Lunar-Charged/Swirl reactions. Second Half: The Fluid Avatar of Lava comes with innate Pyro aura, making it vulnerable to Hydro/Cryo applications.
Here's the kicker with Gluttonous Yumkasaur: Apply Pyro to those Fire Pomegranates before it consumes them. Each pomegranate causes 5% max HP loss. Yeah, it's as broken as it sounds.
Chamber 2 Optimization
First Half: Pure DPS check against Ruin Machines. Anemo crowd control isn't optional here — it's mandatory.
Second Half: The Burning-Aflame Wayob forms a white shield (112% Max HP) that drains your energy but grants +120% DMG (+60% for Nightsoul). Counterintuitive? Maybe. Exploitable? Definitely.
The Jadeplume Terrorshroom enters frenzy mode when hit by Electro, reducing its resistance. Sometimes the obvious choice is the right choice.
Chamber 3 Boss Tactics
Pipilpan Idol: Look for the golden trail and visible face to identify the real hat. Hit it with Electro-Charged/Lunar-Charged for +300% damage and paralysis. This isn't just optimization — it's the difference between a 90-second clear and a 3-minute slog.
Secret Source Automaton: Normally sits at 60% all-RES, but enters pillar phase after 40 seconds. Destroy two cores for 90% RES reduction and 15% HP loss. Natlan characters absolutely dominate here thanks to their vertical movement capabilities.
Meta Team Compositions for Luna I
Top-Tier Team Builds
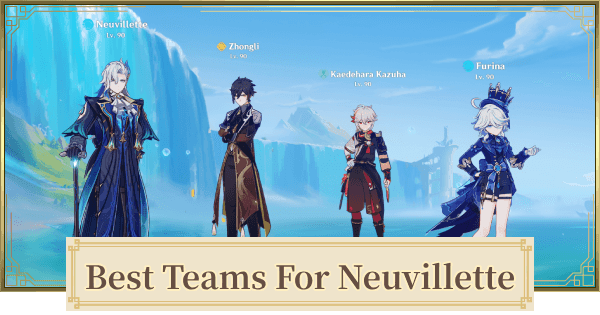
First Half - Ineffa Lunar-Charged: Ineffa, Neuvillette, Furina, Kazuha. This comp exploits the +75% Lunar-Charged buff like nothing else. Ineffa enables reactions and shields, Neuvillette handles primary DPS, Furina provides damage buffs and Hydro application, while Kazuha manages crowd control and VV shred.
For sustained progression, Genshin Impact monthly card buy from BitTopup offers exceptional value with reliable delivery and competitive pricing.
Second Half - Mavuika Melt: Mavuika, Citlali, Xilonen, Bennett leverages that +75% Nightsoul buff perfectly. Mavuika works as quick-swap burst DPS, Xilonen provides Pyro RES shred and Battle Will, Citlali handles Melt reactions and shields, Bennett does Bennett things (ATK buffs and healing).
Budget-Friendly Alternatives
Don't have the meta units? No problem.
First Half: Clorinde/Ineffa/Xilonen/Furina or Sucrose/Kuki/Xingqiu/Ororon work surprisingly well. Second Half: Varesa/Furina/Xianyun/Mavuika or Mualani/Emilie/Xilonen/Mavuika can get the job done.
Character Role Assignments
Night of Sky's Unveiling artifact set provides 30% Critical Rate with Ascendant Gleam (2+ Nod-Krai). This makes 2-Nod-Krai compositions optimal for both Moonsign benefits and artifact synergy — it's almost like they planned it that way.
Optimal Rotation Strategies
Energy Management Techniques
Ineffa Lunar-Charged Rotation: Neuvillette (E) → Furina (E+Q) → Kazuha (E) → Ineffa (E) → Neuvillette (Charged Attack). This ensures maximum buff uptime and consistent Lunar-Charged triggers.
Mavuika Melt Rotation: Mavuika (E) → Xilonen (E+Normal) → Bennett (E+Q) → Citlali (E+Q) → Mavuika (Q+Charged). Focus on Battle Will generation before entering burst phase — timing is everything here.
Timing Optimization
Coordinate skill usage for buff overlap. Furina needs those Fanfare stacks, Kazuha's VV shred lasts 10 seconds. Time all buffs for your primary damage windows, not just whenever they're off cooldown.
Character Build Recommendations
DPS Character Builds
Neuvillette: HP%/Hydro DMG%/Crit stats with 4-piece Marechaussee Hunter or Heart of Depth. Pretty standard stuff.
Mavuika: ATK%/Pyro DMG%/Crit with sufficient ER for burst access. Don't sleep on ER requirements — a Mavuika without burst is just expensive.
Support Character Optimization
Ineffa: EM/ER for Lunar-Charged damage, HP% secondary for shield strength. Balance is key.
Citlali: EM for Melt damage, HP% for shield strength. Similar principle to Ineffa but with different priorities.
Artifact Set Combinations
Night of Sky's Unveiling for 2+ Nod-Krai teams is almost mandatory. Alternatives include 4-piece VV (Anemo), 4-piece Noblesse (ATK buffers), and 4-piece Marechaussee (HP fluctuation characters).
Advanced Lunar Reaction Abuse Techniques
Buff Stacking Methods
Layer that Ley Line Disorder (+75%) with Abyssal Moon shockwaves, character buffs (Furina's Fanfare), and artifact bonuses for multiplicative scaling. Non-Nod-Krai synergy buffs stack additively with reaction damage bonuses — the math gets wild fast.
Reaction Trigger Optimization
Since Lunar-Charged can crit, Crit Rate/Damage becomes valuable for all contributors, not just your main DPS. Time your triggers with vulnerability windows (broken Pipilpan hat, stunned Automaton) for maximum impact.
Damage Window Maximization
Here's something counterintuitive: Wayob's white shield phase provides +120% damage (+60% Nightsoul) despite the energy drain. It's actually the ideal time for major rotations if you can manage the energy cost.
Common Mistakes and Solutions
Rotation Errors to Avoid
Problem: Using Mavuika as main DPS against high Pyro RES enemies. Solution: Use her as sub-DPS for other Natlan hypercarries instead.
Problem: Ignoring enemy grouping mechanics. Solution: Bring Anemo crowd control and position Ruin Cruisers in lines for cleave damage.
Team Composition Pitfalls
Avoid anti-synergy combinations (Ayaka + Beidou creates Shatter, which is usually counterproductive). Pipilpan specifically requires Electro-Charged/Lunar-Charged for efficiency — other reactions just don't cut it.
Focus on mechanical understanding over pure stats. 70% CR/200% CD is typically sufficient if you're playing smart.
Resource Management Issues
From what I've seen in the community, most struggles stem from poor synergy and strategy execution rather than insufficient stats. Prioritize team building and mechanical understanding over artifact grinding.
Performance Tracking and Improvement
DPS Benchmarking Tools
Target 90-second average per chamber half for comfortable 3-star clears. Track reaction frequency and individual damage contributions — you might be surprised where your damage is actually coming from.
Clear Time Optimization
Breaking Pipilpan's correct hat with Lunar-Charged can literally reduce combat time by half. Similarly, utilizing the Yumkasaur pomegranate mechanic beats extended DPS rotations every time.
Star Rating Strategies
3-Star Requirements (420s remaining): Focus on burst damage during vulnerability windows, minimize wave downtime, and optimize buff overlap. Floor 12 yields 200 Primogems, with full Spire providing 800 monthly — definitely worth the effort.
Frequently Asked Questions
What makes Luna I rotation different from previous cycles? Luna I introduces Lunar Reactions with +75% damage bonuses to specific types. It heavily favors Hydro/Electro first half and Natlan characters second half — more specialized than usual.
How do I maximize Lunar-Charged damage? Build multiple characters with balanced stats (not just EM) since scaling varies by character. Use 2+ Nod-Krai for Ascendant Gleam buffs whenever possible.
Which characters are essential for success? First half: Ineffa (enabler), Neuvillette/Furina (Hydro DPS), Kazuha (Anemo support). Second half: Xilonen/Citlali (vertical mobility), any solid Nightsoul damage dealers.
How important are enemy mechanics? Critical. Pipilpan requires Electro-Charged/Lunar-Charged for efficiency. Automaton needs Natlan characters for pillar phase navigation. Ignoring mechanics can easily double your clear times.
What artifact sets should I prioritize? Night of Sky's Unveiling for 2+ Nod-Krai teams (that 30% Crit Rate is huge). Traditional sets work too: VV (Anemo), Marechaussee (HP-scaling), Noblesse (supports).
How do I handle energy drain mechanics? Break Wayob's white shield quickly to restore energy. While it's active, use that +120% damage window (+60% Nightsoul) for your major rotations — it's actually a blessing in disguise.