

The Short Version: Think magnetic attraction meets lunar magic. Red attracts blue, blue repels blue. Grab energy from purple plants and cleaning bots, chain moonlane surfing with mist navigation, and don't let those security lines zap your progress. Once you nail the basics, you'll be flying through puzzles like a pro.
Honestly? When Nod-Krai dropped in Version Luna I back in September, I thought we were getting another standard exploration zone. Boy, was I wrong. This region completely flips Genshin's traversal on its head with Kuuvahki Energy – and after spending weeks figuring out every trick in the book, I can tell you it's both brilliant and occasionally maddening.
This isn't your typical collect Anemo particles and glide situation. We're talking about a full-blown energy manipulation system that'll have you questioning everything you thought you knew about getting around Teyvat.
For those planning extended exploration sessions (trust me, you'll want to), having reliable resources helps. Genshin Impact crystal recharge code through BitTopup keeps you stocked with Genesis Crystals without the usual hassle – competitive pricing, instant delivery, and their customer service actually responds when you need help.
What Exactly IS Kuuvahki Energy?
The Basics (That Aren't Actually Basic)
Picture this: primordial lunar energy that makes machines dance and weather patterns shift. Sounds fancy, right? In practice, it's all about two colors – red and blue – and one simple rule that governs everything.
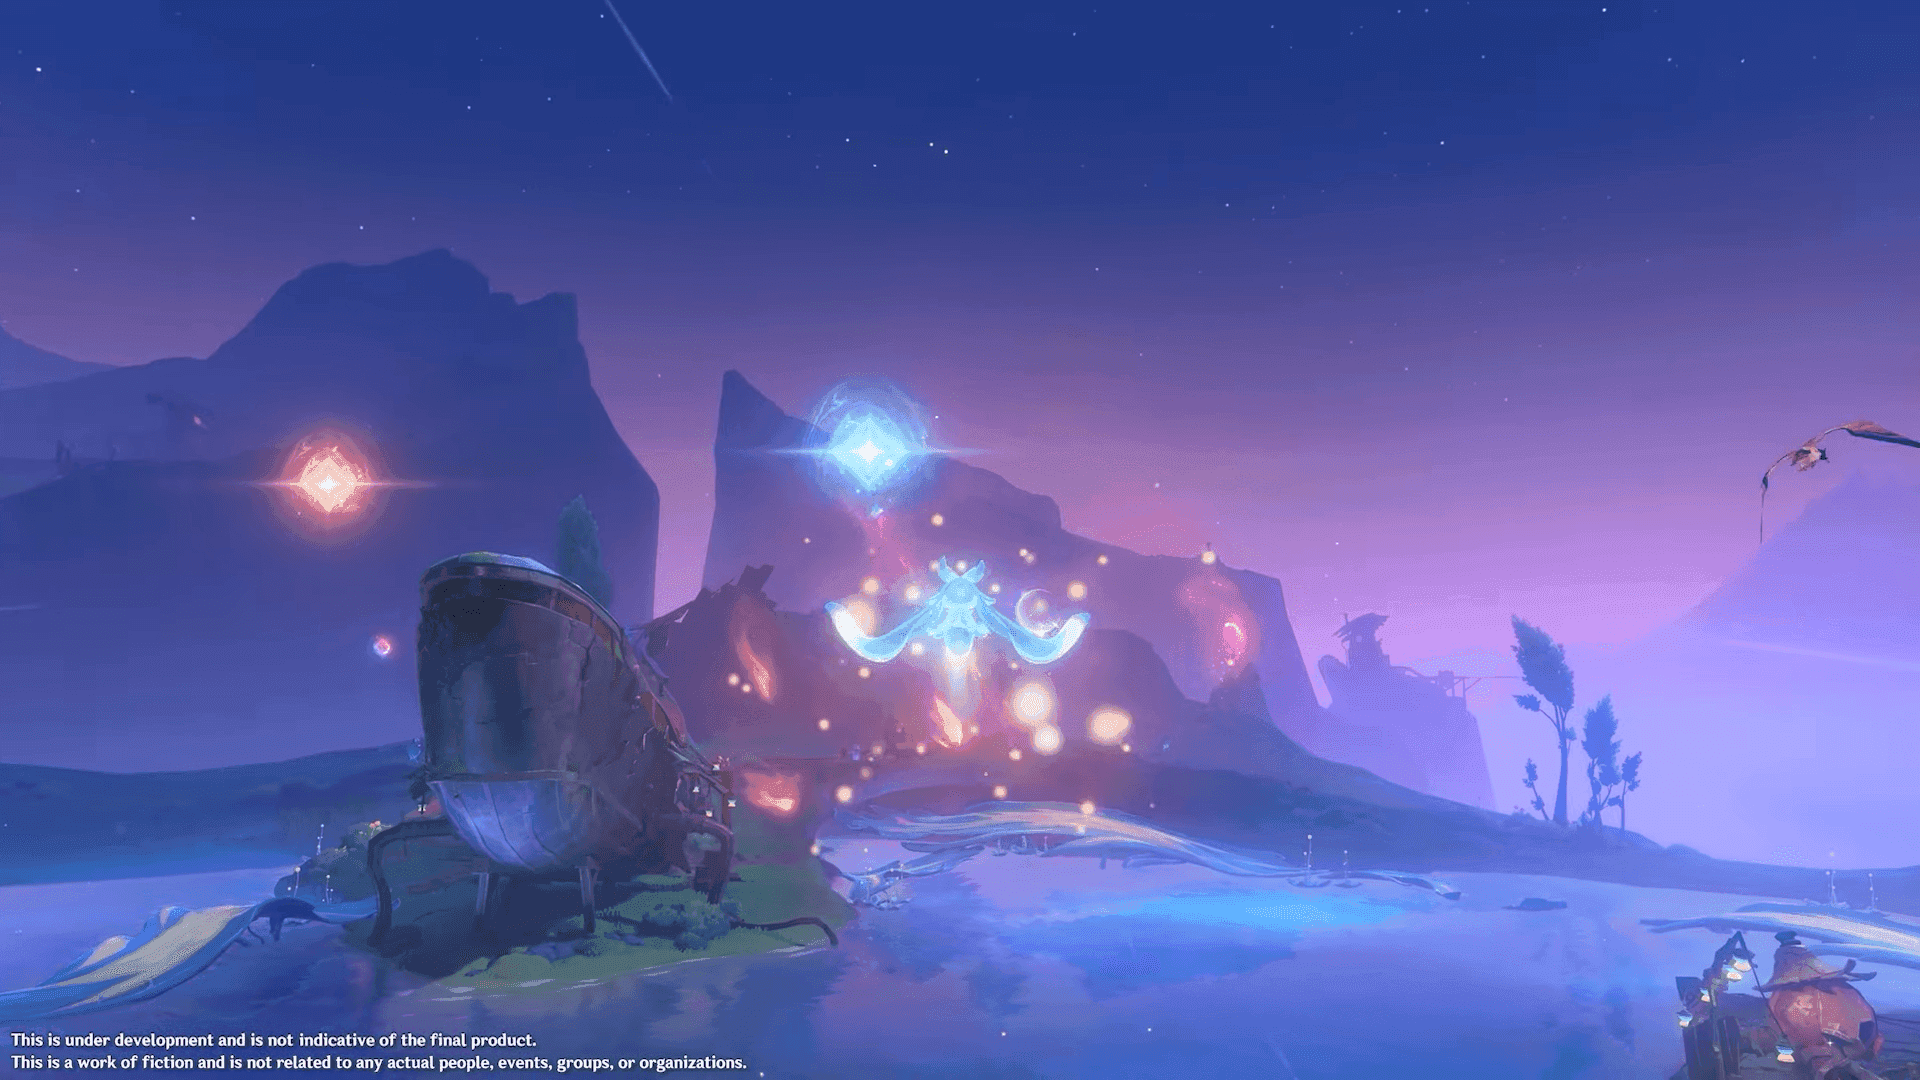
The Golden Rule: Like repels like, opposites attract. Blue energy (that's you, by default) pushes away blue objects and pulls red ones toward you. Simple enough... until you're juggling three Assembly Modules while avoiding security lasers.
You'll know you're in business when that blue aura appears around your character with a little moon icon. That's your Empowered State – basically the game saying okay, now you can mess with the fancy stuff.
Here's where it gets interesting (and where I spent way too many hours experimenting): this system completely replaces elemental reactions in certain scenarios. No Swirl, no Electrocharged – just pure attraction and repulsion physics.
Getting Your Hands on Energy
Four main sources, each with their own quirks:
Moonshine Violet plants are your bread and butter. These purple-glowing beauties give you throwable energy spheres that last until you use them or something goes wrong.

Pro tip: they cluster near Kuuhenki flight paths, so look up when you're hunting for them.
Cleaning Bots – those little mechanical guys patrol specific routes and emit continuous energy fields. Stay close, stay powered. Lose them, lose your juice.
Kuuvahki-affected plants regenerate daily and offer renewable energy. Perfect for farming sessions, though you'll need to remember which ones you've already tapped.
Environmental fields around puzzle mechanisms activate automatically. These are usually your training wheels areas where the game wants you to learn without worrying about energy management.
The tricky part? Energy duration varies wildly. Plant energy sticks around until consumed, but field energy vanishes the moment you step away. I've lost count of how many puzzle attempts I've botched by wandering too far from a Cleaning Bot.
Collection Routes That Actually Work
Northern Powerhouses
After mapping every energy source in Nod-Krai (yes, I'm that thorough), here's what actually matters:
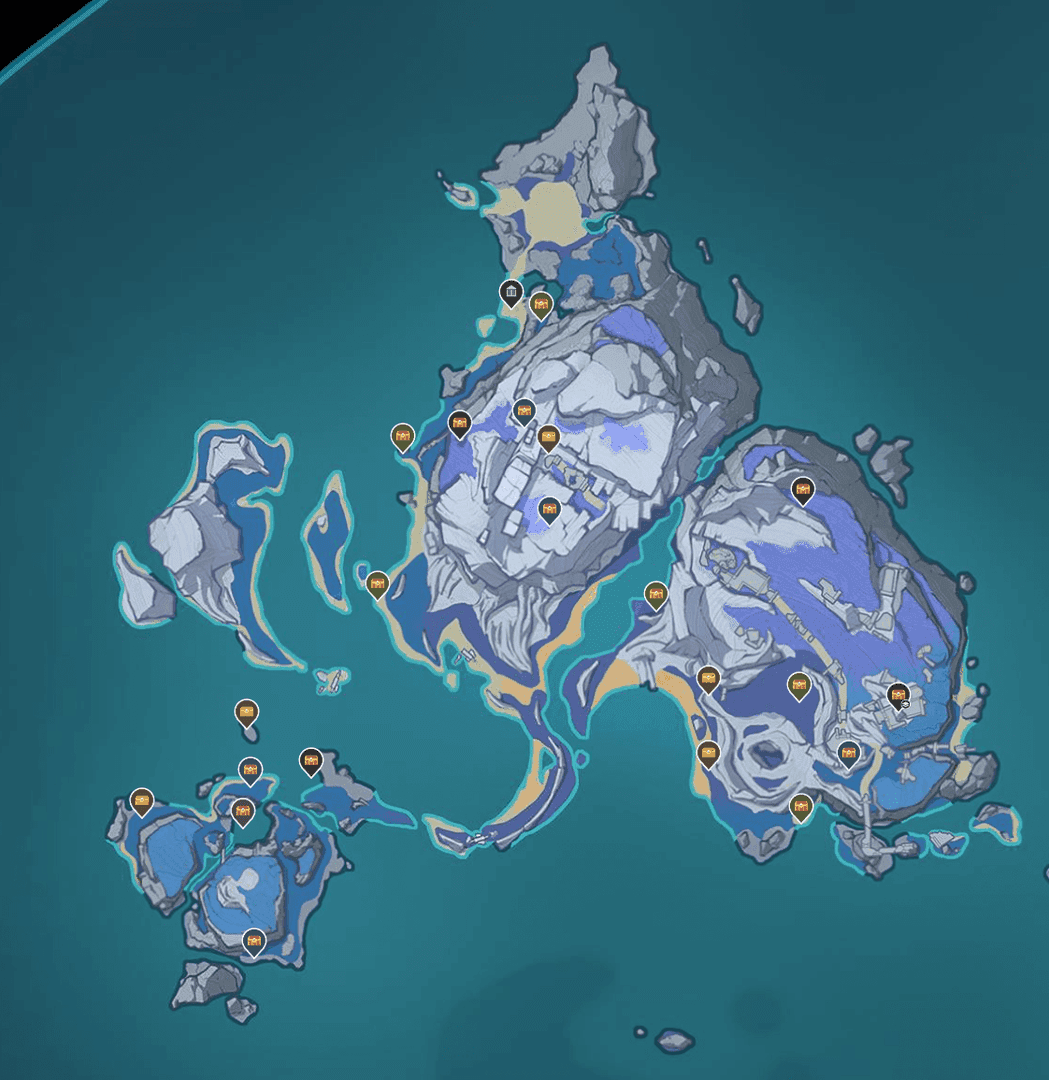
Hishi Island packs 20 chests with heavy Moonshine Violet concentration around central elevations.
The Luxurious chest here requires coordinating three separate plant sources for an Assembly Module sequence – it's basically the game's way of testing whether you've been paying attention.
Lempo Isle focuses on mist drifting challenges through the Nothing Passage subregion. The entire area maintains Strong Kuuvahki Environment status, meaning persistent energy fields. Translation: less time collecting, more time solving.
Central Command
Nasha Town might only have 15 chests, but it's traversal training paradise. Compact layout, multiple energy types, and rooftop networks perfect for practicing momentum conservation. I always send new players here first.
Kuuvahki Experimental Design Bureau on Paha Isle is where things get serious. Integrated Cleaning Bot patrols, static fields, renewable plants – all within one facility. It's overwhelming at first, but master this place and you've mastered the system.
The Hidden Gems
Eye of Kratti underground cave requires five specific Kuuvahki Dewdrops scattered across flowers and landmarks. You'll need throwable spheres to blast through blue walls blocking access. Reward? 40 Primogems and the Fiddler's Green achievement. Worth the headache.
Paha Isle overall contains 50 chests with 3 Luxurious ones. Even with the Luna Treasure Compass maxed out, you won't find everything without understanding advanced traversal. Some locations are just that well-hidden.
Movement That Doesn't Suck
The Fundamentals
Moonlane riding turns those bright light trails from Kuuhenki creatures into highways.
Enter at max speed, ride the momentum, and – here's the crucial part – detach before the lane ends to carry that velocity forward.
Mist drifting provides precision navigation through colored atmospheric patches. Different colors attract, same colors repel. Sounds simple until you're trying to thread the needle between three different mist types while maintaining altitude.
Energy field jumping gives you vertical navigation that actually feels responsive. Time your jumps with field activation for maximum height, then glide within boundaries for complex sequences.
Advanced Combinations (Where the Magic Happens)
The optimal sequence I've developed after countless attempts: Kuuhenki-powered Moonlane for elevation, detach with preserved momentum, transition to mist drifting for precision positioning, finish with energy field jumping for final approach.
Timing is everything. Exit Moonlanes too early and you lose distance. Too late and you lose momentum. The sweet spot takes practice, but once you nail it, you'll be accessing areas that seem impossible.
Editor's note: I probably spent 20 hours just perfecting transition timing. Worth it? Absolutely. Necessary for casual play? Probably not. But if you're going for 100% exploration, these techniques aren't optional.
Puzzle Solutions (Without the Frustration)
Assembly Module Mastery
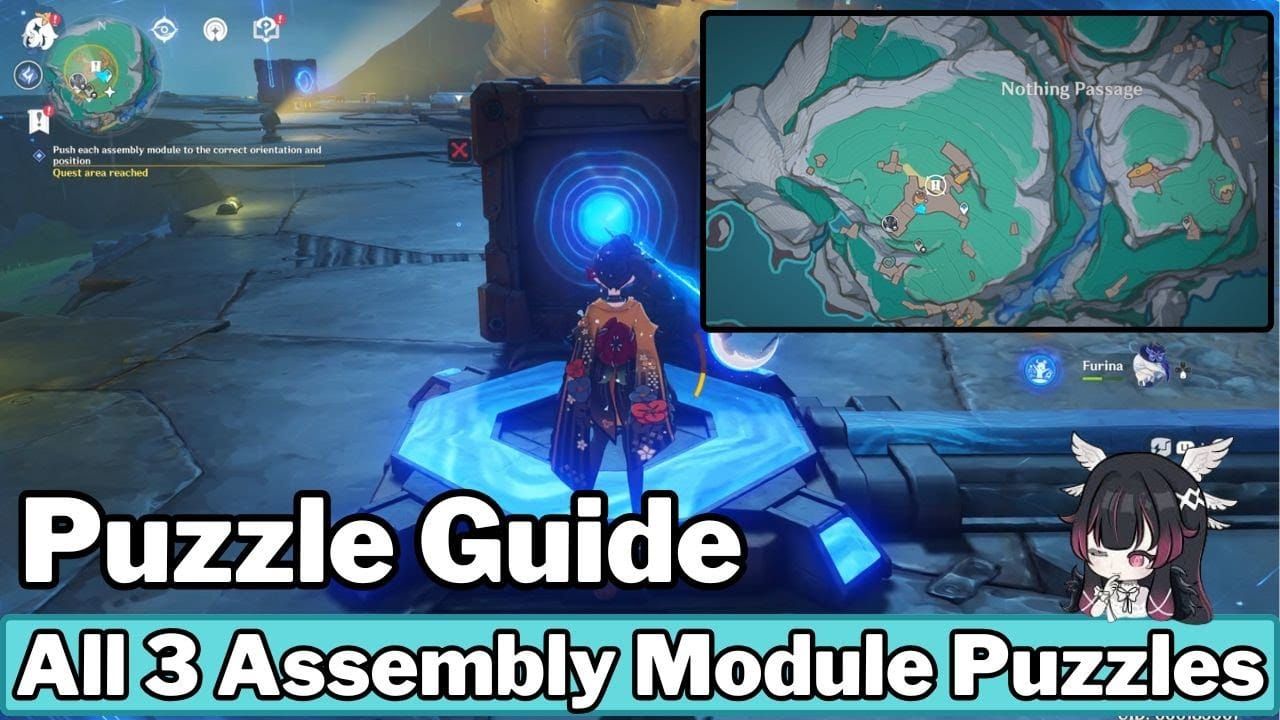
These puzzles test your understanding of push/pull mechanics through predetermined paths. Red and blue charge points respond predictably – the challenge is coordinating multiple modules simultaneously while managing rotation platforms.
The Power of Research serves as your training ground with three progressive rounds. Start simple with single module movement, build up to three-module coordination. When modules get stuck (and they will), those side-mounted reset bots are your best friends.
ID Card Barrier Navigation
Multi-stage challenges requiring sustained energy manipulation. The key insight: climb elevated positions before collecting energy. Ground-level security lines will nullify your cards faster than you can say restart.
Priorities First exemplifies this puzzle type. Maintain Cleaning Bot proximity for sustained power, guide cards through scanners without touching red security lines. One mistake means complete restart – no partial credit here.
Environmental Destruction
Whisper Beneath the Waves requires five Kuuvahki Dewdrops to disable the central energy field. It's less about puzzle-solving and more about thorough exploration and resource management.
Lightning rod data collection combines environmental timing with energy fields. Position near designated rods, wait for strikes creating Unipolar Fields, then glide within boundaries until data collection completes. Patience beats speed here.
Speed Tech for the Ambitious
Momentum Conservation Secrets
Moonlane exit timing determines everything. Optimal detachment occurs just before lane termination – you'll extend travel distance way beyond normal coverage. Combine this with mist drifting momentum manipulation for directional control without velocity loss.
Energy field momentum amplification multiplies your natural speed when you enter fields at high velocity. Master this and you'll cut exploration time dramatically.
Energy Management Strategies
Systematic source chaining eliminates collection delays during extended sessions. My preferred routes connect renewable sources with puzzle locations, ensuring continuous availability without backtracking.
Sphere management allows pre-positioning for anticipated encounters. Strategic placement near puzzle entrances eliminates collection delays and provides immediate solution capabilities when things go sideways.
For extended exploration sessions requiring consistent resource availability, Genshin Impact top up without password through BitTopup ensures seamless resource acquisition with industry-leading security and instant delivery – because running out of resources mid-puzzle is just painful.
Character Synergies Worth Knowing
The Standout Performers
Lauma excels with Lunar-Bloom specialization, converting standard Bloom reactions to CRIT-capable damage.

Her Verdant Dew generation provides exploration advantages, and the Dendro/Hydro RES reduction proves valuable against diverse enemy types.
Flins offers versatility through dual Elemental Burst system. Single encounters or sustained combat – he adapts. Lunar-Charged damage specialization provides consistent performance against Kuuvahki-empowered enemies.
Aino gets special mention for accessibility. Free availability makes her accessible for all players, and her Hydro Claymore combination provides reliable elemental application when you need it.
Team Building Reality Check
Balanced composition addresses diverse challenge types while maintaining exploration efficiency. Include at least one Lunar reaction character for combat advantages, but don't sacrifice traditional elemental coverage for novelty.
Flexibility beats optimization in Nod-Krai. Teams capable of switching between combat-focused and exploration-optimized configurations provide versatility without constant character swapping.
Common Mistakes (That I've Made So You Don't Have To)
The Big Ones
ID card nullification happens when cards contact red security lines. Prevention is simple: climb first, collect second, plan movement paths that avoid ground-level security.
Assembly Module positioning errors create unsolvable states. Understanding restart mechanisms saves time and sanity. Those side-mounted reset bots exist for a reason – use them liberally.
Energy source mismanagement leads to interruption during critical phases. Maintain awareness of source locations, regeneration timers, and consumption requirements.
Performance Considerations
Frame rate matters more than you'd think during complex manipulation sequences. Multiple moving objects plus particle effects can tank performance on older systems. Reduce graphics settings during intensive puzzles for improved responsiveness.
Long play sessions accumulate memory usage affecting energy system responsiveness. Periodic restarts prevent degradation and reduce precision-dependent failure rates.
FAQ: The Questions Everyone Asks
What exactly is Kuuvahki Energy? Primordial lunar energy exclusive to Nod-Krai operating on magnetic-style attraction/repulsion. Blue energy (you) attracts red objects, repels blue objects. Enter Empowered State near energy sources to interact with Unipolar Objects.
How do I collect energy efficiently? Four sources: Moonshine Violet plants (throwable spheres), Kuuvahki-affected plants (renewable), Cleaning Bots (continuous fields), environmental fields (automatic). Prioritize renewable sources and time collection with puzzle requirements.
What's the best traversal approach? Chain systems for maximum efficiency: Moonlane riding for elevation, mist drifting for precision, energy field jumping for vertical access. Maintain momentum through transitions by timing Moonlane exits properly.
How do I avoid puzzle failures? Three main types require different approaches: Assembly Modules (use restart mechanisms), ID card barriers (climb before collecting), environmental destruction (resource management). Practice builds consistency.
Which characters work best? Lauma (Lunar-Bloom reactions), Flins (dual Burst versatility), Aino (accessible Hydro Claymore). Balance Lunar reactions with traditional elemental coverage for versatility.
Where are the hidden locations? Major areas: Hishi Island (20 chests), Lempo Isle (18 chests), Paha Isle (50 chests). Hidden gems: Eye of Kratti cave (5 Dewdrops), various underground locations accessible through advanced traversal. Luna Treasure Compass helps but doesn't guarantee finding everything.
The learning curve is steep, but once Kuuvahki Energy clicks, Nod-Krai transforms from frustrating maze to playground. Take your time with the basics – the advanced techniques will come naturally once you understand the fundamentals.