

Meet Your New 6.0 Powerhouses
What Each Character Actually Does
Lauma hits the scene as a 5-star Dendro Catalyst who’s basically a Lunar-Bloom enabler on steroids.

Her skill? It straight-up deletes 25% of enemy Dendro/Hydro resistance for a solid 10 seconds. That’s huge. Her burst amplifies Bloom damage based on how much Elemental Mastery you’ve crammed onto her, and she naturally gains 115 EM at level 90 through ascension.
Flins is your new Electro Polearm main DPS obsession.
This guy converts 8% of his ATK into Elemental Mastery (capped at 160 – yeah, there’s a ceiling), gains a ridiculous 38.4% CRIT DMG through ascension, and brings stance-switching mechanics that feel surprisingly fluid. His Lunar-Charged reactions scale differently than you’d expect, though – more on that nightmare later.
Aino – the 4-star Hydro Claymore support everyone gets for free through the Archon Quest – deploys a 14-second AoE Hydro zone that costs just 50 energy. Her passive increases burst damage by 50% of her Elemental Mastery, which creates some interesting hybrid build possibilities that actually work.
When You Can Actually Get Them
Version 6.0 Luna I launches September 10, 2025. Here’s the banner breakdown: Phase 1 (Sept 10-30) features Lauma alongside a Nahida rerun – smart pairing for Dendro teams. Phase 2 (Sept 30-Oct 21) brings Flins with Yelan returning. Aino appears on Phase 2 banners but you’ll permanently unlock her through quest completion anyway.
Need wishes? Buy Genesis Crystals Online through BitTopup – their pricing consistently beats most competitors, and delivery is instant.
The Meta Shift Nobody’s Talking About
The Moonsign system fundamentally changes team building. You get scaling buffs based on Nod-Krai character count: Nascent Gleam (1 character) versus Ascendant Gleam (2+ characters). Both Lauma and Flins passives bump your party’s Moonsign level by 1, making dual-character teams extremely attractive.
Lunar-Bloom deals direct damage with 15% base CRIT Rate and 100% CRIT DMG – it scales with character level, CRIT stats, and Elemental Mastery. But here’s where it gets weird: Lunar-Charged scales with ATK, not Elemental Mastery. This distinction will save you months of farming the wrong stats.
Lauma: The Lunar-Bloom Architect
Artifact Sets That Actually Matter
Silken Moon’s Serenade isn’t just best-in-slot – it’s practically mandatory.
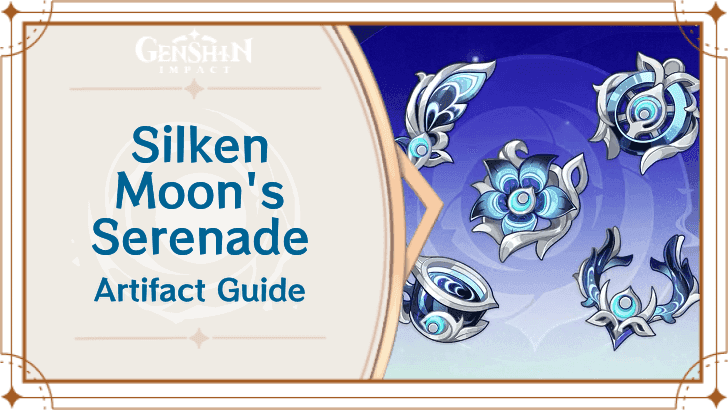
The 2-piece gives 20% Energy Recharge (essential for her 80-energy burst), while the 4-piece grants Gleaming Moon: Devotion. This increases party EM by 60 under Nascent Gleam or 120 under Ascendant Gleam for 8 seconds. Stack it with Night of the Sky’s Unveiling and you’re looking at 10% Lunar reaction damage per unique effect.
Alternatives exist but they’re compromises. Deepwood Memories provides 30% Dendro RES reduction – useful if nobody else carries it. Flower of Paradise Lost offers 40% Bloom damage plus stacking bonuses up to 140%, which sounds impressive until you realize Lunar-Bloom mechanics work differently. Gilded Dreams gives 80 EM plus conditional ATK/EM buffs, but honestly? Just farm the new set.
Main Stats: EM Everything
Sands: Elemental Mastery (only switch to Energy Recharge if you’re below the 160-180% threshold)
Goblet: Elemental Mastery – always over Dendro DMG Bonus, no exceptions
Circlet: Elemental Mastery (CRIT Rate/DMG only makes sense with her signature weapon)
You’re targeting 800-850+ Elemental Mastery with 160-180% Energy Recharge. C4 owners can drop ER requirements to 140-160%.
Weapon Synergies That Change Everything
Nightweaver’s Looking Glass – her signature weapon with 264.6 EM – doesn’t just boost Lauma’s damage. It dramatically amplifies Bloom reactions for your entire party, making CRIT stats suddenly viable for her.
Etherlight Spindlelute achieves 90-95% of signature performance and it’s event-accessible. Honestly? Unless you’re whaling hard, this is your endgame weapon.
A Thousand Floating Dreams remains competitive with its EM main stat and party buffs, but you’re probably using it on someone else already.
Flins: The Lunar-Charged Menace
Night of the Sky’s Unveiling or Bust
Night of the Sky’s Unveiling is optimal for one simple reason: synergy.
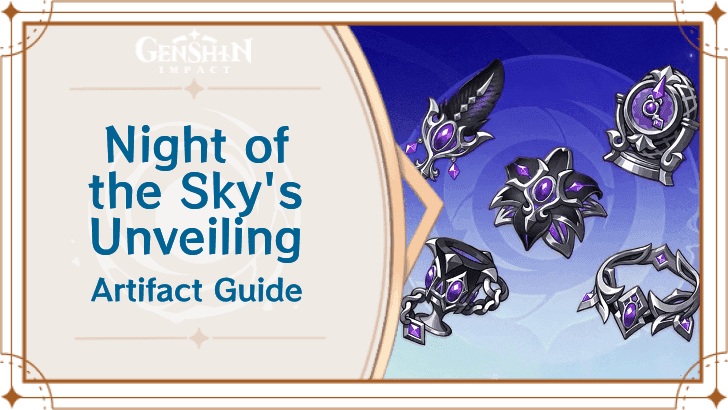
The 2-piece provides 80 EM, while the 4-piece grants Gleaming Moon: Intent – increasing CRIT Rate by 15% (Nascent) or 30% (Ascendant) for 4 seconds. When paired with Silken Moon’s Serenade users, those stacking Lunar damage bonuses become multiplicative.
Gilded Dreams works as a transitional set – 80 EM plus up to 150 EM or 42% ATK depending on team composition. Thundering Fury offers 40% Electro-Charged damage and skill cooldown reduction, but you’re missing out on Lunar-Charged optimization.
Stats That Actually Scale
Target: 2000-2200+ ATK, 60-70% CRIT Rate, 180%+ CRIT DMG, 120-140% Energy Recharge.
Main Stats: ATK% Sands, ATK% Goblet (not Electro DMG – this trips up everyone), CRIT Rate/DMG Circlet.
Substat Priority: CRIT Rate/DMG > ATK% > Energy Recharge > Elemental Mastery.
Why ATK% Goblet? Because Lunar-Charged scales with ATK, not Elemental DMG Bonus. I’ve seen too many players farm perfect Electro DMG goblets only to realize they’re gimping their damage.
Team Synergy Secrets
Core pairing: Flins + Ineffa provides 90% Lunar-Charged damage bonus – it’s practically mandatory for serious damage. For Hydro supports, Aino’s 14-second burst zone offers incredible uptime, while Furina brings damage amplification that stacks beautifully.
Here’s something most guides miss: Anemo supports with VV provide exceptional value because Elemental DMG bonuses don’t enhance Lunar-Charged reactions. That RES shred becomes proportionally more valuable.
Aino: The Underrated Support Queen
Artifact Sets for Every Situation
Silken Moon’s Serenade provides 20% ER plus party-wide 60-120 EM based on Moonsign level. It’s her best option in Nod-Krai teams.
Noblesse Oblige offers the classic 20% ATK party buff after burst – reliable and universally useful.
Instructor gives 120 EM to the party after reactions, but the 4-star limitation hurts her personal damage. Still viable for pure support builds.
The Favonius Strategy
Favonius Greatsword is optimal for team energy generation, but requires ~60% CRIT Rate for reliable passive procs. This creates an interesting stat balance challenge.
Target: 850-900+ EM, 160-180% ER (140-160% with C4). Her C1 provides 80 EM to the party for 15 seconds after skill/burst – making early constellations surprisingly valuable.
Universal Building Framework
Energy Requirements Decoded
Lauma needs 160-180% ER (140-160% with C4) for her 80-energy burst. Flins manages with 120-140% ER thanks to his signature weapon’s energy restoration. Aino requires 160-180% ER (140-160% with C4) for her 50-energy burst.
Scaling Mechanics You Need to Understand
Lunar-Bloom scales with EM, CRIT stats, and character/talent level – straightforward enough. Lunar-Charged scales with ATK, not Elemental DMG Bonus – this distinction is crucial for Flins builds. Moonsign buffs provide enhanced effects with 2+ Nod-Krai characters, making mono-region teams extremely attractive.
Team Compositions That Actually Work
The Meta Teams
Lunar-Bloom Core: Lauma + Nilou + Nahida + Aino creates dual-core Bountiful/Lunar Blooms with incredible reaction density.
Lunar-Charged Maximum: Flins + Ineffa + Aino + Furina maximizes Lunar-Charged potential while maintaining consistent Hydro application.
Hyperbloom Hybrid: Neuvillette + Lauma + Ineffa + Furina uses an on-field driver with reaction conversion – surprisingly effective.
Support Synergies Worth Considering
Anemo supports provide exceptional value through VV RES shred. Kazuha and Sucrose offer EM sharing that stacks with artifact set bonuses. Bennett’s ATK buff significantly benefits Flins due to Lunar-Charged scaling mechanics.
Artifact Farming Reality Check
Domain Efficiency
The new Nod-Krai domain drops both Night of the Sky’s Unveiling and Silken Moon’s Serenade. Expect 3-4 weeks of dedicated farming (3000-4000 resin) for complete sets. Pre-farm Gilded Dreams and Deepwood Memories for transitional builds while you wait for 6.0.
Enhancement Strategy
Enhance to +16 before pushing +20 for resource efficiency. Priority order: Sands/Goblet > Circlet > Flower/Feather. Focus on correct main stats over perfect substats initially – you can always upgrade pieces later.
Mistakes Everyone Makes
Critical Build Errors
Using Electro DMG Goblets on Flins instead of ATK% – the Lunar-Charged scaling difference is massive. Overinvesting in CRIT stats for Lauma without her signature weapon. Prioritizing personal damage over support capabilities for Aino.
Set Misconceptions
Undervaluing new artifact set synergies is the biggest mistake I’m seeing in beta testing. Gleaming Moon effects stack multiplicatively, not additively. Using mixed older sets instead of coordinated 4-piece new sets completely misses the team synergy potential.
For extensive character building, Genshin Top Up Online through BitTopup ensures you’ve got sufficient resources for artifact farming and weapon enhancement – their competitive pricing makes the resin refresh grind less painful.
FAQ
What are the best artifact sets for each 6.0 character?
Lauma wants Silken Moon’s Serenade for ER and team EM buffs. Flins needs Night of the Sky’s Unveiling for CRIT Rate and Lunar bonuses. Aino works with either Silken Moon’s Serenade or Noblesse Oblige. The new sets synergize through Gleaming Moon effects – you get 10% Lunar damage per unique effect, which stacks multiplicatively.
How much Energy Recharge do these characters actually need?
Lauma: 160-180% (140-160% with C4). Flins: 120-140%. Aino: 160-180% (140-160% with C4). These requirements shift based on constellations and weapon choices, but don’t go below the minimums.
Should I prioritize EM or CRIT for Lauma?
Elemental Mastery priority – target 800-850+. CRIT stats only become valuable with her signature weapon Nightweaver’s Looking Glass. Without it, pure EM builds provide superior reaction amplification.
Why does Flins use ATK% Goblets instead of Electro DMG?
Lunar-Charged reactions scale with ATK, not Elemental DMG Bonus. Target 2000-2200+ ATK alongside standard CRIT ratios for maximum damage potential.
What makes the Moonsign system important for team building?
It provides scaling buffs based on Nod-Krai character count. Ascendant Gleam (2+ characters) offers doubled bonuses compared to Nascent Gleam (1 character). The new artifact sets provide enhanced effects under Ascendant Gleam, making dual-character teams significantly stronger.
Are there decent F2P weapon options?
Etherlight Spindlelute achieves 90-95% of Lauma’s signature performance and it’s event-accessible. Favonius Greatsword is optimal for Aino with its team energy generation. Prospector’s Shovel offers a craftable option for Flins with Lunar-Charged bonuses – not amazing, but functional.