

Quick Overview: Dori spits out 2 particles per Skill use (that's 5.4 energy at 200% ER) and her Burst hands back 15 energy over 12 seconds to whoever's tethered. Aim for 200-250% ER if you're rocking Favonius Greatsword—expect around 10 energy from procs each rotation. In 20-second loops, you'll hit 85-90% Burst uptime for those 80-cost heavy hitters like Raiden or Cyno. Her C4 throws in a 30% ER buff for low-energy teammates, bumping efficiency by 20-30%. Fresh for v5.8 passives and her v6.0 rerun from September 30 to October 21, 2025.
Getting a Grip on Dori's Battery Setup in Genshin Impact
So, What Even Makes a Solid Battery?
Ever wonder why some supports just keep the team juiced while others leave you scrambling? Dori nails it by dropping 2 Electro particles every Skill cast and pumping 2.5 energy every 2 seconds through her 80-cost Burst for a full 12 seconds (15 energy total at talent level 10). It all funnels to the tethered active character—super handy at 200% ER, where each particle nets 5.4 energy. In Raiden crews, she covers 25-40 energy per rotation: those Skill particles (5.4 each), her A4 passive kicking in 10 more, and the Burst's 15 flat. Stack to 200% ER with ER% sands and Favonius Greatsword (61.3% ER base). Tether that Burst right to your DPS mid-combo; if you've got C4, it flips on a 30% ER buff when the tether's under 50% energy, slashing recharge times by 30%.
Breaking Down Dori's Elemental Skill: The Spirit-Warding Lamp
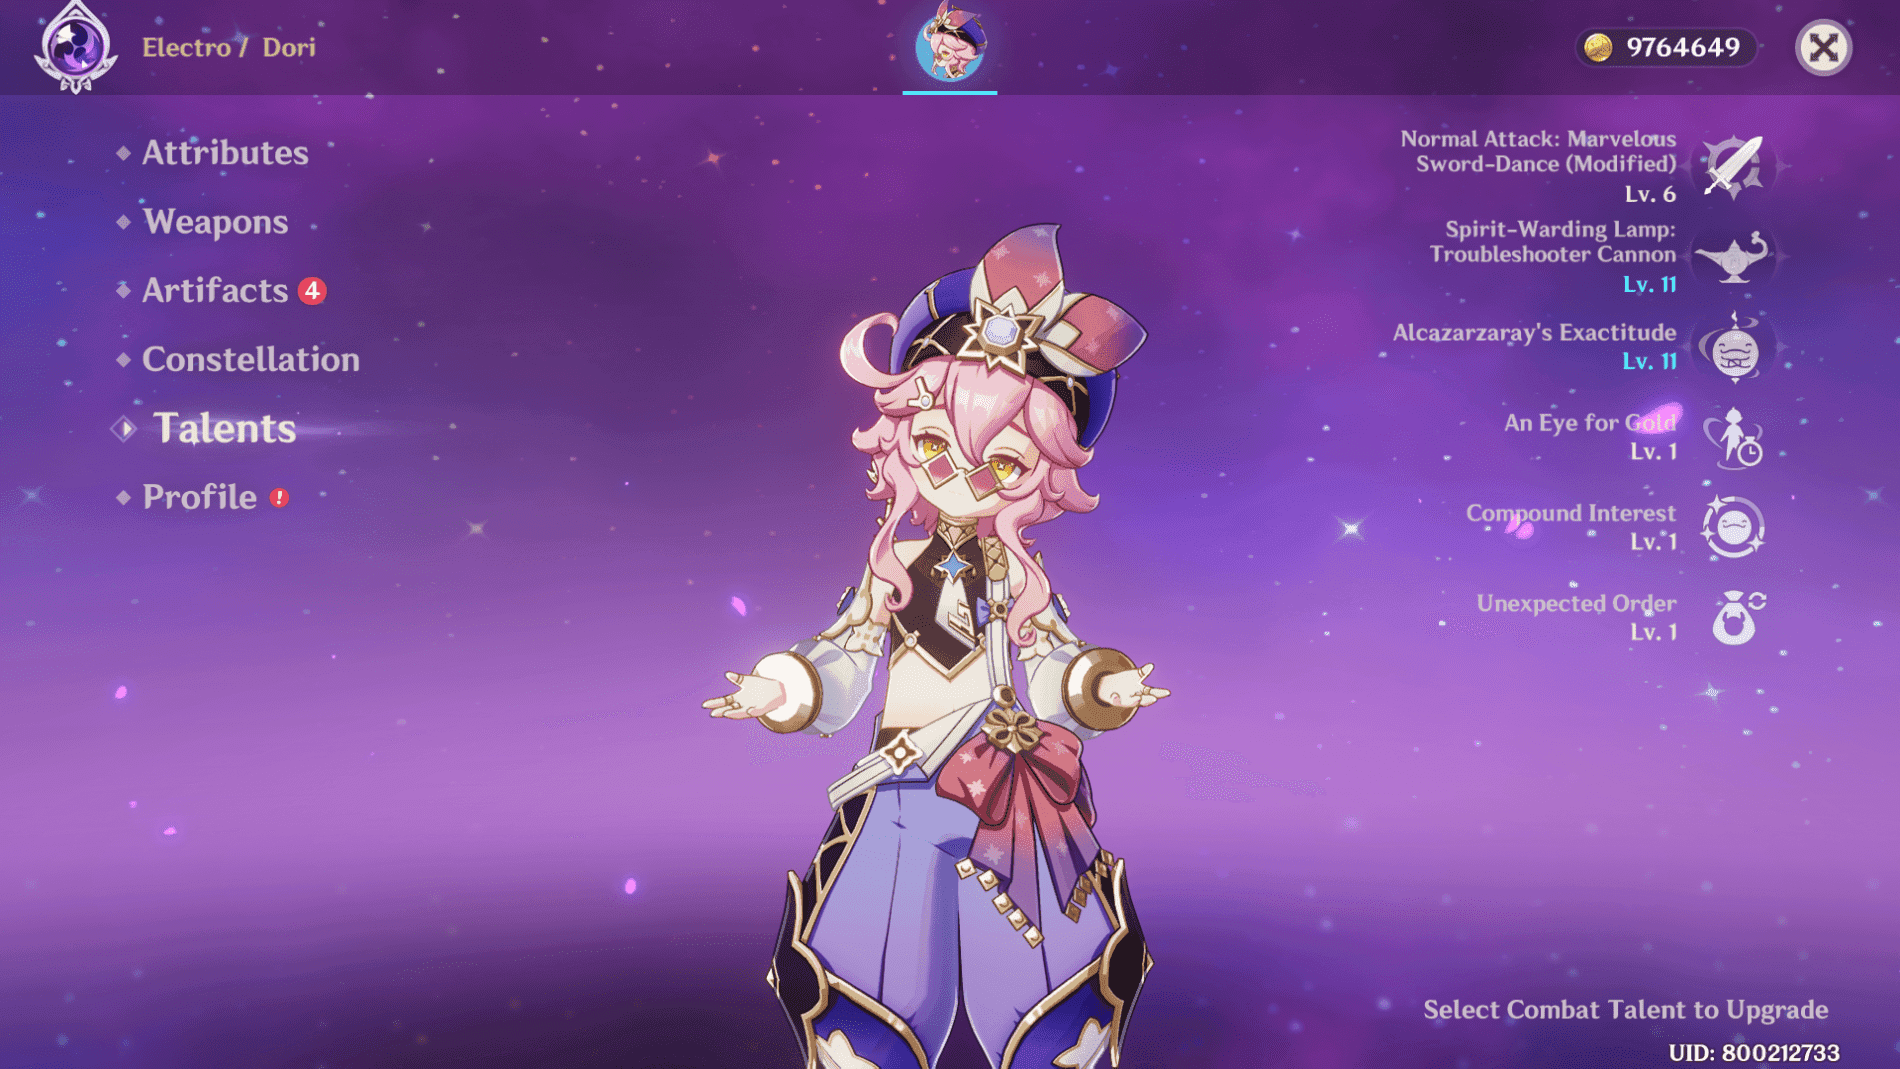
Picture this: You tap her Skill, and bam—2 Electro particles on hit, with a 9-second cooldown. It fires off one main shot (147.3% Electro DMG at level 1) followed by two follow-ups (31.6% each), all auto-collecting within 3 meters for 5.4 energy at 200% ER. Her A1 passive shaves off 1 second per Electro reaction (3-second ICD), so in Hyperbloom setups, you're looking at 6-7 seconds effective CD—about 0.6 particles per second, or 10.8 energy, plus A4's 10. Swap to Dori on entry and fire the Skill right away. Kick off reactions like Quicken with some Dendro; if your ER's dipping low, hang on-field for 2-3 seconds after, then bail.
Particles vs. Straight Energy Regen: What's the Difference?
Particles? They scale with your ER—2.7 base, doubling to 5.4 at 200% when you're on-field. Burst, though? That's a steady 1.6-2.5 energy per second (15 total, fixed). Off-field, you snag 88.4% of what you'd get on-field. Over a 20-second rotation, two Skills give you 10.8 energy each time, A4 piles on 20 (capped at 15 per use if you're at 300% ER), Burst adds 15—totaling around 45 at 200% ER. Fire the Burst first to lock in the tether; Electro resonance can toss in ~1 particle per second on reactions, juicing output by 20%. Oh, and in co-op? Tether multiples for up to 30 energy per cycle. (Editor’s note: Co-op's a game-changer here—I've pulled off some wild energy shares in group runs.)
Why Dori Shines as an Electro Battery
She slaps Electro on with a 2.5-second ICD across her Skill's three hits and heals for 12.01% Max HP +1,412 every 2 seconds at level 10. That shakes out to about 0.9 energy per second (2 particles over 9 seconds + 15 flat over 20 seconds). Stack that against Fischl's Oz at 0.67 particles per second—Dori pulls ~25 energy in a 20-second mono-Electro cycle, all while keeping the team topped up on health. After hitting ER, go HP% on goblet and circlet for 30k HP. Toss her into v5.8 teams with Lunar-Charged for doubled particle rates; at 220% ER, you'll test out 85-90% Burst uptime in high-cost squads.
For players itching to level up their Genshin Impact grind, Genshin web top up on BitTopup delivers competitive rates and instant top-ups, with secure, legit transactions, round-the-clock support, and killer user reviews for smooth sailing.
Dori's Particle Math: Crunching the Numbers
How Many Particles Per Skill, Exactly?
Every Skill cast? Straight-up 2 Electro particles (5.4 energy at 200% ER on-field). C1 sneaks in an extra round (+1.13% DMG, but no particle bump); Overload reactions toss in generic 1.8 energy particles, adding 5-10 per cycle. Land it on clustered foes for reliable hits. Team her with Dendro for Quicken—that nets a 1-second CD cut per Aggravate or Hyperbloom (3-second ICD), so you're aiming for 3 Skills per Burst cycle, or ~16.2 energy from particles alone.
Same-Element vs. Off-Element Energy: The Conversion Scoop
Same-element particles? Full 5.4 energy at 200% ER. Off-element? Just 1.8. Push past 250% ER, and returns start dropping off. Favonius procs layer on 6 particles (~3.24 energy per second at 200% ER with 50% crit rate), backing up the Skill's 0.22 particles per second. Stick to Electro teams for max value; swap right after Skill for that 12.5% DPS bonus. Plug into an ER calculator: At 200%, expect 10.8 per Skill including A4's 10. Funnel same-element to dodge the 66% off-field off-element penalty—it's brutal.
Cooldown and Uptime: The Real Analysis
Base 9-second CD drops to 6.7 seconds with A1 (1 second per reaction, 3-second ICD), hitting 0.6 particles per second. Burst? 20-second CD, recharging in 15-18 seconds at 200% ER. In v5.8's Lunar-Charged or Electro-Charged, you squeeze in 2-3 extra Skills per Burst (15-20 energy). Weave the tether through enemies to trigger it right. Pop back in every 6-9 seconds for 90% uptime; swap after casting to keep on-field time under 5 seconds.
Constellations' Impact on Energy (Focusing C1, C4, C6)
C1? Extra round, no particle gain. C4? Huge—30% ER buff if the tethered buddy's under 50% energy, lifting team ER by 20-30% and speeding up 80-cost recharges by 30%. C6? Meh for battery work. With C4 and 150% base ER on your DPS, it effectively hits 195%, supporting two 80-cost Bursts per cycle; C0 limps to ~20 energy. Grab C4 first if you're chasing 40 energy over 20 seconds. Cap C6 on-field at 3 seconds; snag her in the v6.0 Phase 2 rerun, September 30–October 21, 2025. (As an editor who's theorycrafted a ton, C4 feels like a must for battery Dori—transforms her from okay to essential.)
ER Benchmarks: Tailored for Your Team
How We Crunched These ER Numbers (Assumptions Included)
We start with 200% ER base (Favonius plus ER sands) for 25-40 energy per rotation: particles at 5.4 each, A4's 10, Burst's 15, procs adding 5-10, and team resonances pushing ~180% overall. Over 250%? Wasteful. Cap at 220% for reaction-heavy play. In-game tools are your friend—if Burst takes over 18 seconds, slap on 20-30 ER substats. Quick math: An 80-cost DPS needs 40 energy in 20 seconds; Dori handles 50%. Factor in v5.8 reactions for that +20% output boost.
Cyno + Dori: Hitting the Sweet ER Spot
Dial Dori to 220-250% ER, and she dishes 30+ energy (5.4x2 from Skill +10x2 A4 +15 Burst +5.4 procs) to fuel Cyno's 80-cost in Quicken teams. Rotations net 25.8 base plus 10 from CD cuts for 100% uptime. Slap on 4pc Noblesse for +20% team ATK after her Burst. Flow: Dori Skill > Dendro setup > Cyno Burst (tethered) > reactions. Substats? ER to 220%, CRIT Rate 45-55% for Favonius reliability.
Eula + Dori: Physical Team Energy Flow
In Superconduct at 180% ER, Dori chips in 20 energy plus particles for Eula's 80-cost. 20-second cycle: Skill's 5.4 + Burst's 15 + Favonius 5.4 = 25.8, with reactions tacking on 5-10. Rotation: Dori Skill > Rosaria Skill > Eula Burst (tethered). HP% after ER; Electro resonance ensures Eula's back in 15 seconds.
Hyperbloom Teams: Dori as the Energy Backbone
At 200% ER, Dori pumps 25.8 energy per cycle (5.4 Skill +15 Burst +5.4 proc) +10 from Quicken cuts, perfect for 60-cost like Nahida. With Kokomi and Dendro, tether the triggerer to double up on 0.6 particles per second. Quickbloom style: Dori Skill > Dendro > Hydro > Burst tether. Rock 2pc Emblem +2pc Tenacity for +20% ER; target 25 energy to Dendro DPS, tweak to 210% ER.
Aggravate and Quicken Setups
Hit 210% ER in Aggravate (think Cyno or Yae), and Dori manages 25 energy amid Spread reactions (1-second CD cut), adding 15-20 from 2-3 extra Skills. In mono-Electro with Raiden, High Voltage layers ~1 particle per second, covering 40% of Raiden's 58 energy needs. Tether to DPS during combos. Favonius shines for resonance procs; loop 20-second cycles with TTDS buffer to check 90% Burst.
To stay primed for pulling Dori in her v6.0 rerun, check out purchase Genesis Crystal bundle on BitTopup—blazing-fast top-ups, server-wide support, ironclad security, and top-notch after-sales with glowing user feedback.
Favonius Greatsword: Proc Math and Tweaks
Favonius Basics: How the Proc System Ticks
Favonius Greatsword packs 61.3% ER at level 90, with a 60% shot at R1 to drop 6 particles on CRIT (12-second CD), regenerating 6 energy on-field. R5? 100% every 6 seconds. Skill or Burst crits? ~1.62 energy per second at 100% ER, scaling to 3.24 at 200%. Aim for 40-60% CRIT Rate. Time those crits: Burst connector first, then Skill shots. R1 refine's the sweet spot for ~10 energy over 12 seconds.
CRIT Rate Needs for Steady Procs
50% CRIT Rate on R1? 0.3 particles per second (60%/12s). 45-55% is gold without dipping under 200% ER. In quickswaps, 3-5 seconds on-field nets 5.4 energy per proc at 200% ER. Substats: ER to 200%, then CRIT Rate to 50%. Don't overdo crit—test over 5 rotations; if you're under 0.3 per second, tweak.
Energy Per Rotation: What to Expect
20-second cycles snag 1-2 procs for 5.4-10.8 energy at 200% ER, totaling 35-40 with Skill, A4, and Burst. With C4: 16.2 from 3 Skills +30 A4 (average 10) +15 Burst +10 procs =40 energy. Enter for Burst + Skill +1-2 normals, then swap. On C6, 4pc Thundering Fury forces reaction crits; push procs right after Skill.
Proc Odds by CRIT Rate: The Table Breakdown
At 40% CRIT, effective 48% proc (0.24 particles/second); 60% hits 72% (0.36/second), adding 2-4 energy per second at 200% ER. Compared to Sacrificial's 40% reset (0% ER), Favonius edges +5 energy over 21 seconds with crit investment. 40% CRIT: +8/20s. 50%: +10/20s. 60%: +12/20s. Keep an eye on ER.
Top Weapons for Dori's Battery Gig (Head-to-Head)
Favonius Greatsword: Hits and Misses, Refinement Breakdown

61.3% ER plus procs (~10 energy/12s); lifts team ER 10-15%. Demands 50% CRIT Rate. R1 at 50% CRIT: 0.3 particles/second; R5 pushes 0.5/second for 200% sustain. R1 refine works for most—skip if you're F2P with zero crit. If it's MIA, ER sands cover 40%.
Sacrificial Greatsword: When Double Skills Trump Favonius
40% reset on R1 doubles Skills to 4 particles/9s (0.44/second), but 0% ER means artifact grinding for +40%. +5 energy/21s in low-crit spots vs. Favonius. Effective 18s CD for 21.6 energy—F2P winner without crit. Pick it if ER's over 220%; double-cast on reset. Best in reaction teams for CD synergy.
The Bell and Pure ER Sticks
Forest Regalia (30.6% ER + EM after reactions) fits reaction play; The Bell's low ER? Steer clear. Forest: +5 energy/21s in Hyperbloom vs. Favonius' 10, great for EM builds. F2P go-to: Forest with Dendro. Pair stat sticks with ER sands for 200%; ditch Serpent Spine, ER first.
F2P and 4-Star Options
Forest Regalia edges Sacrificial for F2P (~4-5 particles/21s, 20 energy floor). Sacrificial sans crit: 0.44/second; Forest amps +20% reaction output via EM. Ascend to 90 for peak ER. Test: Swap to Favonius if Burst lags over 20s; early-game, 4pc Exile for +20% ER.
Rotation Blueprints for Peak Energy
Dori's Core Rotation Setup
20-25 second loops: Swap in Dori, Burst (tether up), Skill (particles + A4), swap to DPS; re-enter after 6-9 seconds. Locks Burst every 1-2 cycles, 85-90% uptime at 200% ER—High Voltage auto-adds particles. TTDS buffer > Dori Burst + Skill > tethered DPS. A1 reactions? 1-second cut per type; loop 15-25s, tweak team ER.
Funneling Energy: Nailing Particle Pickup
Auto-collect in 3m; full on-field, 88.4% off-field. Swap post-Skill for 12.5% DPS bonus. Quickswap 2-3 seconds funnels 5.4 energy clean. Cast Skill, linger 2 seconds, swap to low-ER DPS. Tether the active for all 6x2.5 energy ticks; particles linger 6 seconds, so don't overstay >5s on-field.
Skill Order and Swap Beats
Burst if ready, then Skill; 3-5s quickswap. Overload? 4-5 Skills per Burst via reactions, +20 energy. Entry: Burst > Skill >1-2 normals for crits. Swap mid-DPS reactions; tether through Dendro for Quicken cuts.
Rotation Pitfalls That Drain Your Battery
Under 180% ER? Burst downtime. No reactions? Miss A1 cuts. Lingering too long on-field? Waste. Skip tether, lose 10-15 energy—fix with Dendro or Hydro. Confirm 200%+ ER for 80% uptime. React with tether active; build Quicken or Spread. Off-field hits 95% efficiency; limit entries to 3s setups.
Artifact Stats and Build Order for Battery Dori
Main Stats: ER Sands or ATK%? Let's Weigh It
ER% sands lock in 200%+; HP% if your weapon handles ER, since Burst healing scales with HP (12.01% Max HP). ER sands + Favonius = 200%; HP sands for 30k HP sustain. Priority: ER% sands, HP% only if over 220%. Goblet: HP%; Circlet: HP% or Healing Bonus%. No ER ascension—lean on weapons and artifacts.
CRIT Rate Subs for Favonius Setups
After ER (100-150% first), chase 45-55% CRIT Rate > HP% > ATK% > CRIT DMG. 50% adds 10 energy/20s; keep ER ≥200%. Farm to ER breakpoints, then 50% CRIT. 1:1 CRIT ratio if you're dipping into DMG; optimizer for fine-tunes.
Top Sets: Noblesse, Deepwood, Instructor Vibes
4pc Noblesse (+20% Burst DMG, +20% team ATK post-Burst) tops for team play. 2pc Emblem (+20% ER, Burst DMG +25% ER up to 75%—that's 50 DMG at 200%). Emblem buffers ER; Noblesse amps DPS. Noblesse for hypercarry, Emblem for self-heal. 4pc Exile: +20% ER +2 energy/2s x6 post-Burst. Hybrid 2pc Tenacity + Emblem works too.
Stat Sweet Spots and Where Returns Drop
ER: 180% baseline, 200-220% prime, >250% squanders (A4 caps at 15). 200% doubles particles to 5.4; 300% caps the passive. Nail 200% first, cap 220% for reactions. HP next: 30k for heals; halt ER if Burst recharges under 18s.
Dori vs. Other Electro Batteries: Side-by-Side
Dori vs. Fischl: Who Generates More?
Dori clocks ~0.9 energy/second (2/9s +15/20s + healing); Fischl's Oz steady at 0.67/second, no flat regen. Dori: 25/20s vs. Fischl's 13.4—hybrid jumps to 40+. Pick Dori for heal demands, Fischl for consistent application. Physical? Dori + Fischl for Superconduct + particles. Based on data, Dori's mid-tier (C rank), Fischl high-volume queen.
Dori vs. Raiden: Picking Your Poison
Dori off-field: 15 flat +0.75-1/second particles; Raiden on-field: 1.5+ with 20-30 refund. Dori's universal, Raiden mono-focused. She covers 40% of Raiden's needs (30 energy in Thunder teams). Dori for quickswap heals, Raiden as carry. (My take: Dori's the flexible pick for non-mono with C4 buff.) Synergy? Dori batteries Raiden's 80-90 cost.
Team Versatility and Role Mash-Ups
Dori packs battery + heal vs. Sara's 0.3/second + buffs or Beidou's 2-4/15s; she owns single-target. Against Kuki's 0.6/second ring, her tether edges for 25/20s precision. Flexes into Hyperbloom or Physical, skips high-volume needs. C4 tips C0; co-op multi-tethers hit 30 energy/team.
Where Dori Really Pops
Flat ER + heals shine in Overload (25 +5-10 generics) or Quickbloom. Vs. Rosaria's 0.5/second Cryo, Dori's +20-30% ER buff rules Electro. Mono-Electro: +20% resonance output. High-cost DPS? 50% for 80+ Bursts; v5.8 reactions amp it further.
Pro Tips and Fixes for Common Slip-Ups
Dodging ER Overkill (Those Diminishing Returns)
250%? You're wasting post-200% particles; cap at 220%. 300% caps A4 at 15, helps high costs—but 200% is optimal for 35-40 energy. Math it: 40 needed =200% Dori. Track in-game recharge timers, swap substats; Electro resonance indirectly +25% particles.
ICD and Frame Nuances on Particles
Skill ICD: 2.5s over 3 hits; Burst 3s; A1 3s per reaction, skips multi-hits. Normals after Skill refresh application; v5.8 Lunar-Charged tweaks. 3-hit combo: Skill +2 normals bypasses. Watch ICD—don't over-apply; Burst ticks every 0.4s for 6 full over 12s.
Snapshotting Energy: The Mechanics
Snapshots lock at Burst cast; tether works full off-field, ER amps it. Off-field particles: 88.4%; tether delivers 15 to active. Snapshot pre-Burst at high ER. Funnel pickups to active during tether; chain with Raiden for smooth flow.
Rotation Checklist for Optimization
Aim 90% uptime, A1 reactions, <5s on-field, tether active. Mono? High Voltage +1/second; low-Raiden teams add her. Confirm particle grabs. Quicken consistent? Burst every 20s; C4 if under 80%.
Real Team Builds with Energy Breakdowns
Build 1: Cyno Aggravate Squad (Step-by-Step Rotation)
Cyno, Dori (200% ER), Dendro, Kazuha. 20s cycle: 30 energy (5.4x2 Skill +10x2 A4 +15 Burst +5.4 proc). Quicken adds 2 Skills (10.8), total 40.8 for 80-cost. Dori Burst + Skill > Dendro > Cyno Burst (tethered) > Kazuha > reactions. 220% ER if Cyno's at 150%; 100% uptime.
Build 2: Eula Physical Crew (ER Math Included)
Eula, Dori (180% ER), Fischl, Rosaria. 20s: 20 energy (5.4 Skill +15 Burst + partial proc) + Superconduct generics. Tether Eula's Burst: +15 flat, 80-cost in 15s. Dori Skill > Rosaria > Eula Burst (tethered) > Fischl Oz. Drop Dori ER for Physical; 25 total/cycle.
Build 3: Hyperbloom with Dori Powering It
Dori (200% ER), Kokomi, Nahida, Traveler. 20s: 25.8 base +10 cuts =35.8 to triggerer. Quickbloom: Skill > Dendro > Hydro > Burst; covers 60-cost support. Stage Hyperbloom reactions. Emblem for ER; 210% if EM-heavy Dendro.
Tweaking Builds from Your Gear
Low ER? Favonius + sands to 200%. No Noblesse? Exile +20% ER. Farm ER subs first. Balance HP for heals after; test rotations for 85% uptime.
FAQ
How much energy from Dori's Skill?
2 particles (5.4 at 200% ER on-field same-element) + A4's 10 (capped 15 at 300% ER). A1 cuts CD to 6-7 seconds in reactions for 15-20 energy/use, ~0.6 particles/second in Quicken.
Best weapon for battery Dori?
Favonius Greatsword (61.3% ER, 60% proc for 6 particles/12s R1, ~10 energy/rotation at 50% CRIT). F2P: Sacrificial Greatsword (40% reset doubles to 0.44/second, artifact ER for 200%).
ER for Cyno with Dori?
Dori at 220-250% ER gives 30+ /20s (25.8 base +10 Quicken cuts); Cyno 150-180% base for 100% 80-cost. Team ~180% with resonances; Dori min 200% for 25.8 output.
Favonius on Dori?
Yep—procs on Skill shots/Burst connector (6 particles, 5.4 at 200% ER, 60% /12s R1). 45-55% CRIT Rate for 0.3 particles/second, +10-15% total output.
Dori's particle rate?
Base 0.22/second (2/9s Skill); A1 to 0.6/second with reactions (1s cut, 3s ICD). Resonance +1/second High Voltage, ~0.9 energy/second total with 15 flat Burst/20s.
Good battery for Electro DPS?
Mid-tier (C): ~25-40 energy/20s at 200% ER, C4 30% buff for low-energy. Tops for Raiden (40% needs)/Cyno mono; hybrid heal, but Fischl's 0.67/second volume leads in raw output.