

Hiyuki is a 5★ Glacio Sword Main DPS launching in Wuthering Waves 3.3 Phase 1 (around April 29–30, 2026). She's worth pulling if you lack a strong Glacio carry — but only if you go in prepared. Strong S0 multipliers, accessible supports from day one, meaningful team-wide buffs (~20% DMG via outro/skill interactions), and a kit that doesn't collapse without her signature weapon. The mistakes that hurt players aren't about her kit. They're about how people approach the banner.
Who Is Hiyuki? Quick 3.3 Meta Snapshot
Built around Glacio Chafe mechanics and burst-window damage, Hiyuki is the 3.3 anniversary flagship — which means Kuro balanced her with F2P viability in mind. She fills the Glacio DPS gap left by Carlotta and performs competitively in Tower of Adversity (ToA) and Illusive Realm from day one.
One caveat: her kit reaches full stack potential with Lucilla, expected in 3.4. Current teams cap at two Chafe stacks instead of three — still competitive, just not her absolute ceiling. Don't let that stop you. She's strong now and only gets better.
S0 vs higher Resonance Chains: One copy is enough. Community testing consistently shows S0 delivers the full damage loop. Resonance Chains add incremental gains, but that Astrite is better saved for Lucilla.
Mistake #1: Pulling Without Checking Your Pity & 50/50 Status
The most common and most costly error. Players see the splash art and start pulling without knowing if they're at pull 12 or pull 74. That gap changes everything.
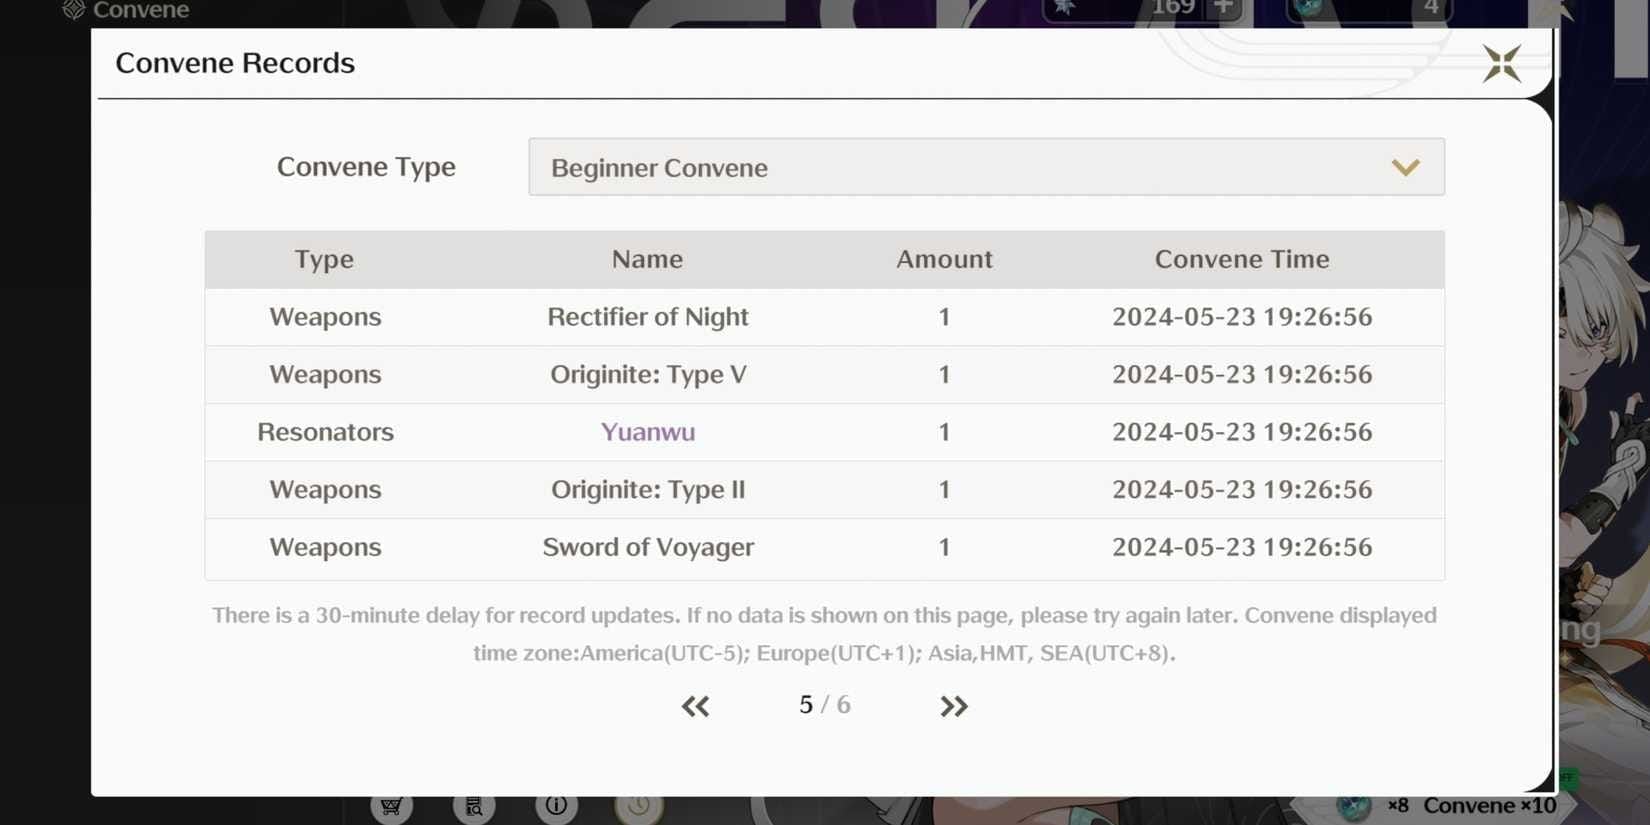
How to check: Convene menu → Featured Resonator Banner → history icon. Count pulls since your last 5★. Do this before 3.3 goes live.
Soft Pity vs Hard Pity
The guarantee carries between all limited character banners.
Real scenario: At pull 55 with a guaranteed 50/50 win, you need ~10–25 more pulls — very achievable on F2P income. At pull 10 with a 50/50 loss, worst case is 160 pulls (12,800–25,600 Astrite). Knowing this number before you start is the difference between a confident pull and a desperate one.
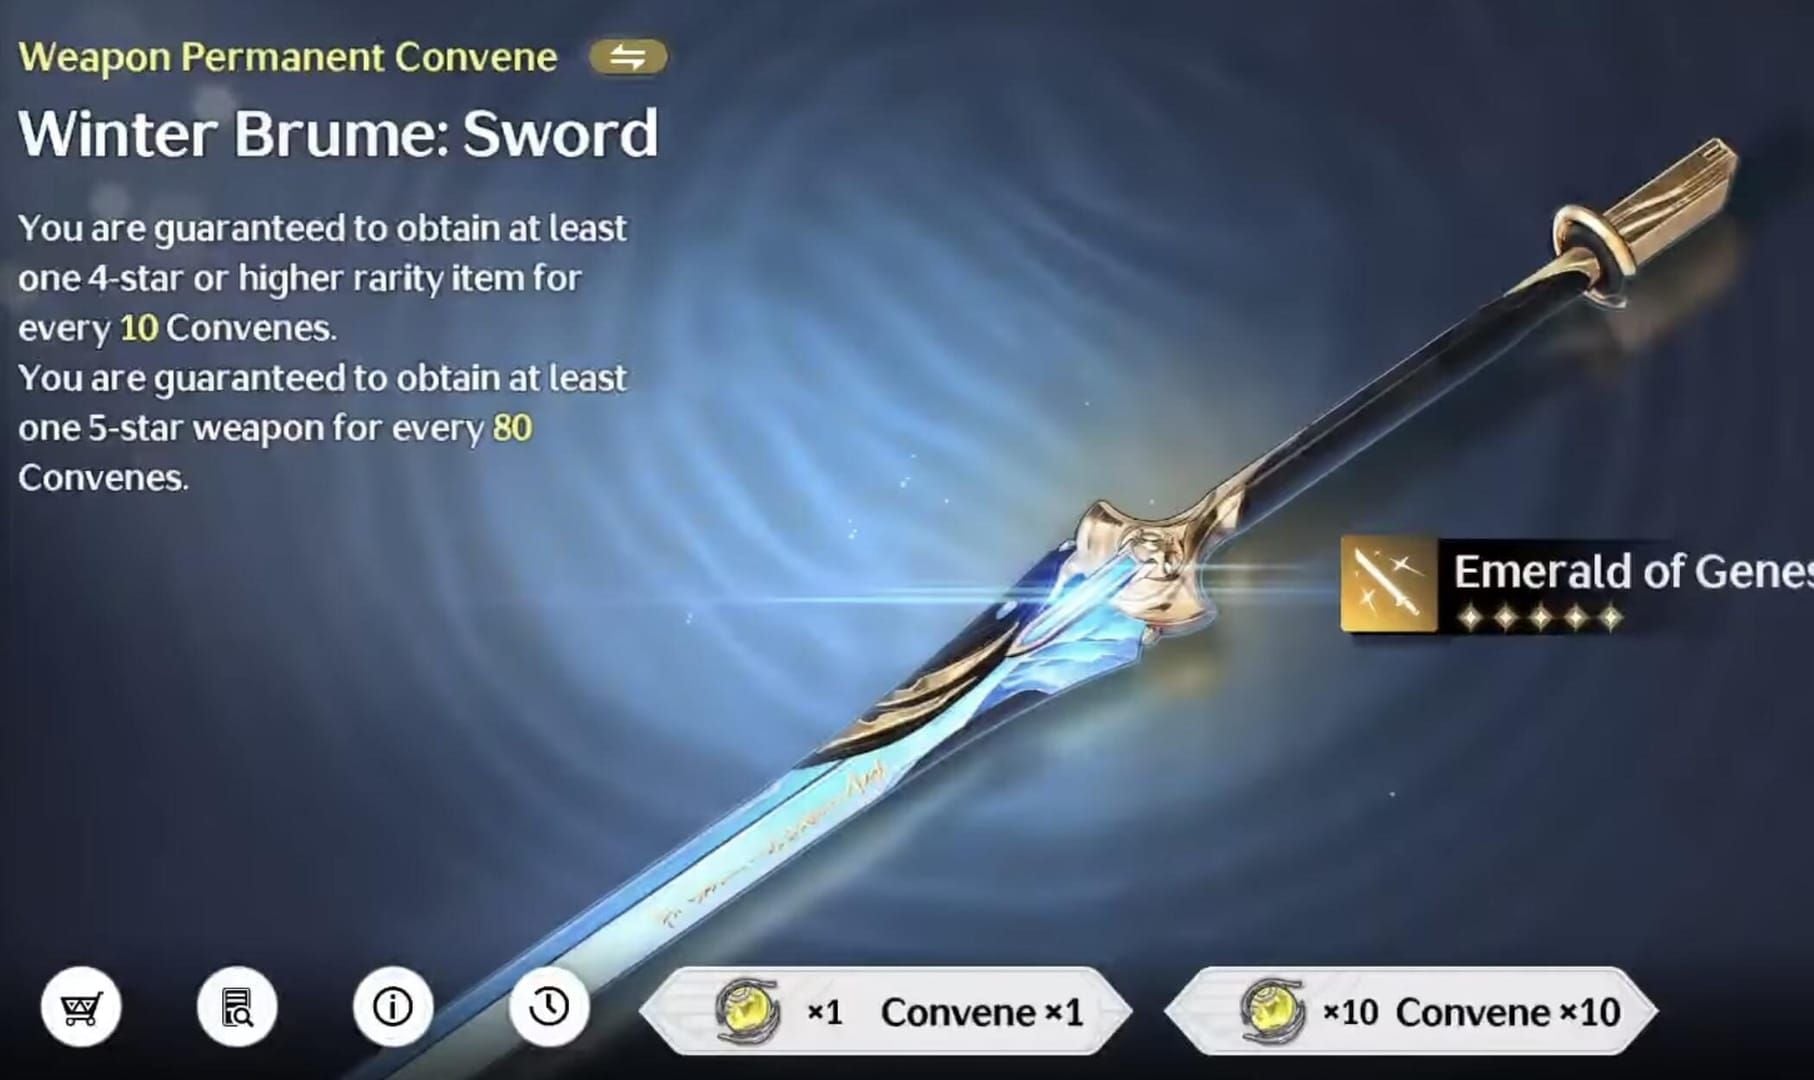
Mistake #2: Getting Trapped by the Weapon Banner
Hiyuki's signature (Frostburn/Scorching Frost) is genuinely strong:
Base ATK 588, Crit Rate 24.3%
~28% Glacio DMG amplification on Chafe
Resonance Liberation DEF ignore 8–20%
Team-wide Chafe amplification bonus
Community estimates put it at roughly 20–30% additional team DPS over F2P alternatives. Meaningful — but the weapon banner runs its own 80-pull hard pity with 75/25 odds (not 50/50). Worst case: 160 weapon pulls. That's a second full character budget.
F2P Weapon Alternatives
The Battle Pass option closes most of the gap — roughly 75–80% of signature performance for zero extra Astrite. That's enough for ToA clears and Illusive Realm.
Honest math: Unless you've saved 160+ weapon pulls specifically for this banner, skip it. Those resources do more work on Lucilla in 3.4, who unlocks Hiyuki's third stack and raises her ceiling more than the signature weapon does.
Mistake #3: Ignoring the Dual-Phase Banner Schedule
Patch 3.3 runs ~42 days. Hiyuki is Phase 1. Denia (Fusion Rectifier) is Phase 2. There's a pull-timing trap here that catches players every patch.
Events, exploration content, and login rewards unlock progressively. Dumping all your Astrite on day one means missing income from week two, week three, and the Phase 2 transition. That mid-patch trickle could be the difference between needing 5 more pulls and having them.
Practical Pull Timeline
Pre-patch (now): Audit pity, count saved Astrite, calculate worst-case pull cost
Day 1–3: Complete story quests for Astrite rewards. Don't pull yet unless you're already in soft pity with a guarantee
Week 1–2: Clear new exploration zones, finish event missions, accumulate mid-patch income
Pull window: Once you've collected the bulk of patch Astrite (~week 2), commit with full information
Phase 2 buffer: If skipping Denia, bank remaining resources for 3.4
Players who pull day one and then watch 2,000 Astrite trickle in from events they hadn't unlocked are the ones posting regret threads.
Mistake #4: Spending Astrite on the Wrong Things First
Less dramatic than the others, but it compounds. Several Astrite sinks feel justified in the moment while actively competing with your Hiyuki budget.
Spend here:
Featured Resonator Banner (Hiyuki) — primary target
Battle Pass if you're using the weapon reward for her
Don't spend here before securing Hiyuki:
Standard Banner (Stagnant Ripple) — pulls here don't contribute to Hiyuki's pity
Limited cosmetic skins or event bundles — zero power gain
Forging Echo (weapon banner) — covered above
The Standard Banner trap is subtle. Some players pull on Stagnant Ripple hoping for a standard 5★ sword for Hiyuki. Those pulls share zero pity with the Featured Resonator Banner. Every Astrite spent there doesn't move you closer to her.
If you're supplementing F2P income to close the gap, finding Wuthering Waves astrite top up best price through a reliable platform means spending efficiently rather than panic-buying at the last minute.
Mistake #5: Underestimating the Post-Pull Grind
Getting Hiyuki is step one. Building her is step two — and step two takes longer than most pull guides acknowledge.
Ascension materials needed (approximate):
~170,000 Shell Credits
Glacio boss drop materials (new weekly boss — time-gated)
Sword forgery materials
Resonator Cores
The weekly boss is the critical bottleneck. Limited attempts per week means even pulling on day one, you're looking at 2–3 weeks before full ascension.
Echo farming: Hiyuki's best-in-slot set is Wishes of Quiet Snowfall (2-piece: Glacio DMG +10%; 5-piece: Frostbite synergy → additional Glacio DMG buff). It's new in 3.3 — no pre-farming possible. Getting double-crit substats across five pieces is a multi-week RNG grind. Expect heavy Waveplate investment for the first two to three weeks.
What you CAN pre-farm right now:
General Glacio echo pieces with good substat rolls (placeholders)
Shell Credits — farm these aggressively before 3.3
Sword ascension materials if the forgeable option shares existing types
Skill upgrade materials from current weekly bosses if they carry over
Going into 3.3 with 150,000+ Shell Credits already banked puts you weeks ahead of players who pull Hiyuki and start from zero.
F2P Astrite Income Projection for Patch 3.3
The anniversary freebies are the wildcard — community estimates suggest 3.3's timing boosts F2P income enough to push players from "might not make it" to "comfortable guarantee."
Key takeaway: Enter 3.3 with a guarantee and past pull 50, and patch income alone likely covers Hiyuki. Starting from pull 0 with a 50/50 loss, you need roughly 6,400–12,800 Astrite banked before 3.3 starts.
Hiyuki's Best F2P Teams in 3.3

Verina and Zani work as universal supports from day one — no need to wait for Glacio-specific units. Hiyuki + Lynae + Chisa is the community's top pick for maximizing Glacio Chafe stacks within 3.3's available roster.
Her burst DPS profile suits ToA's time-limited clear windows well. Community testing confirms she clears comfortably at S0 with F2P weapons. The two-stack limitation doesn't block ToA clears — it just means her ceiling is higher than what you'll see at launch.
Should YOU Pull Hiyuki?
Pull if:
You have no strong Glacio Main DPS
You enjoy burst-style DPS with a clear upgrade path
You have a guarantee (won or carried) and 50+ pulls saved
You plan to pull Lucilla in 3.4 and want to build the Glacio team systematically
Skip if:
Denia fits your roster better and you're invested in Fusion teams
You're below pull 30 with a 50/50 loss and fewer than 8,000 Astrite saved
You already have a strong Glacio carry and the marginal upgrade isn't worth it
You're a newer player still building a functional roster — universal supports first
By player type:
New player (AR 40–, limited roster): Hiyuki rewards an already-functional account. If you're still building your first real team, prioritize universal units.
Veteran F2P (established roster, no Glacio DPS): Pull. Best Glacio investment in 3.3, tuned for S0, clear upgrade path in 3.4.
Hardcore F2P: Pull if the guarantee math is covered. Skip the weapon banner entirely. Save surplus for Lucilla — that's where Hiyuki's real ceiling lives.
To bridge a small gap between saved Astrite and a comfortable guarantee, buy Wuthering Waves lunite recharge cheap through a trusted platform rather than pulling blind and hoping RNG cooperates.
FAQ
Does pity carry over if I miss Hiyuki's banner? Yes. Pity and guarantee status transfer between all Featured Resonator Banners, including reruns. You won't lose progress.
Can Hiyuki work without her signature weapon? Absolutely. Battle Pass 4★ sword or a standard 5★ covers the core damage loop. You lose ~20–30% team DPS ceiling vs the signature, but she's fully viable in ToA and Illusive Realm at S0.
Is she beginner-friendly? Moderately. The pull stage is accessible — S0 works, teams are available. The investment comes post-pull: the new echo set requires dedicated farming and weekly boss materials are time-gated. Plan for 2–3 weeks of active building before she's fully optimized.
I lost my last 50/50 — should I still pull? A 50/50 loss is actually good news. Your next 5★ on any Featured Resonator Banner is guaranteed to be the featured unit. If you have 80+ pulls saved (or can reach that with patch income), you're in one of the safest pull positions possible.
Should I save for Lucilla in 3.4 instead? If you already have a functional Glacio DPS, waiting makes sense — Lucilla unlocks Hiyuki's full three-stack potential. No Glacio carry at all? Pull Hiyuki now, plan for Lucilla next patch. They're designed to work together long-term.
Most important thing to do before 3.3 launches? Audit your pity count and 50/50 status right now. Everything else is secondary to knowing exactly where you stand before the banner opens.