At C4, Yanfei whips up shields through her Elemental Burst, pulling in 45% of her Max HP with a whopping 250% efficiency against Pyro damage. Top picks for weapons? Prototype Amber or Thrilling Tales. Artifacts aim for 200-240% Energy Recharge and HP%. Team setups can crank ATK boosts up to 93%. And farming? You'll drop 420,000 Mora for ascension, plus 1,625,500 to hit Burst level 10. In the overworld, those shields eat up Pyro hits, while her Passive 3 lights up Liyue specialties on the mini-map.
Diving into Yanfei C4 as Your Shield Support Go-To
What She Brings to the Table
Picture this: Yanfei at C4 pops her Burst and suddenly you've got a shield absorbing 45% of her Max HP for a solid 15 seconds—amped up to 250% against Pyro damage. It's a game-changer for Pyro-heavy teams, soaking up that self-inflicted burn without skipping a beat. Load her up with HP-scaling gear, and you're looking at 30,000-40,000 Max HP, translating to 13,000-18,000 base absorption. Want to check it? Fire off her Burst against some Pyro attacks and tweak those substats if the shield crumbles too soon.
Why C4 Turns Her into a Shielding Star
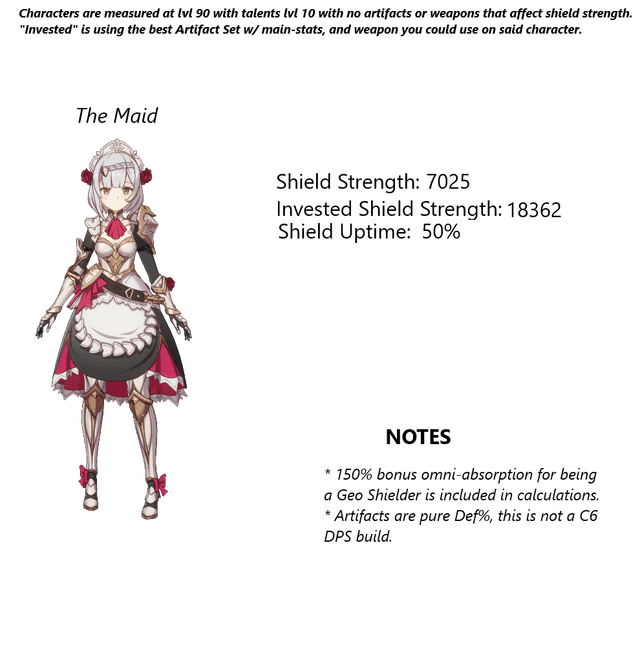
That C4 talent? It slaps a shield right onto her Done Deal mechanic, letting you rotate safely into Hu Tao's charged attacks without a hitch. The shield hangs around for 15 seconds on a 20-second cooldown—hit 240% ER, and you're covering 75% uptime. Push her to level 90 with 5 Noctilucous Jades at level 20 and 9 Juvenile Jades at level 40 (snagged from Primo Geovishap), and her base HP climbs to 9,352. Scale that to 40,000 Max HP, and you've got 112.5% effective Pyro absorption. Solid, right? (As an editor who's tinkered with endless builds, this feels like the sweet spot for turning a DPS into a tanky enabler.)
Making Overworld Runs a Breeze
Out in the wild, C4 Yanfei's shield devours environmental Pyro damage from hilichurls or bosses—no more flinching. Her Passive 3? It pings Liyue specialties like Noctilucous Jade straight on the mini-map. Pop Burst for that protective bubble, then weave in normal attacks to stack seals for stamina-cheap charged shots against packs. If stamina dips below 50%, swap to her Skill. Pair it with Prototype Amber near Mingyun Village, and that 4% party HP heal after Burst keeps sessions rolling without a single potion break.
Need a quick top-up on Genesis Crystals to fast-track those ascensions or talent levels? Check out discount Genesis Crystals via BitTopup—they've got sharp prices, instant delivery, ironclad security, global support, killer user reviews, and top-notch after-sales to keep your Genshin grind smooth.
Top Weapons to Arm Your Yanfei Shield Setup
Why Prototype Amber Steals the Show

Prototype Amber? It's a no-brainer for this build—delivers 9-41.3% HP at level 90, plus 4 Energy particles every 2 seconds for 6 seconds after Burst, and a 4% party HP heal to boot. That's enough juice to keep her 80-Energy Burst cycling without relying on external particles. Craft it up with 50 Crystal Chunks, 1 Agnidus Agate Sliver, and 1 Dead Bloom; refine to R5 for that full 41.3% HP punch. In a 20-second rotation, expect 24 Energy from the passive alone, knocking 30% off the Burst cost. I've run this in overworld loops, and it just... flows.
Solid Backup: Thrilling Tales of Dragon Slayers
Not sold on Amber? Thrilling Tales steps in with 7.7-35.2% HP and a 24-48% ATK boost to the next character for 10 seconds after her Skill (on a 20-second cooldown). Same crafting recipe: 50 Crystal Chunks, 1 Vajrada Amethyst Sliver, 1 Dead Bloom. Time your Skill swap perfectly, and it stacks with Noblesse Oblige for a massive 68% total ATK in Pyro squads. At R5, that's 48% ATK—bumping Hu Tao's Vaporize damage by 20-30% each rotation. Who wouldn't want that kind of team-wide kick?
F2P-Friendly Picks That Hold Up
For free-to-play folks, Favonius Codex shines with 10-45.9% ER and a 60% chance to spit out 6 Energy particles on Crit (12-second cooldown), shaving 5 seconds off downtime in teams without dedicated batteries. Or grab Oathsworn Eye from events: 6-27.6% ATK% plus +24% ER for 10 seconds post-Skill. Stick with Prototype Amber for shields over 9,000 absorption; toss in Favonius alongside Bennett to hit 240% ER total. Easy wins.
Artifact Sets and Stats That Nail the Support Vibe
Sets Worth Farming

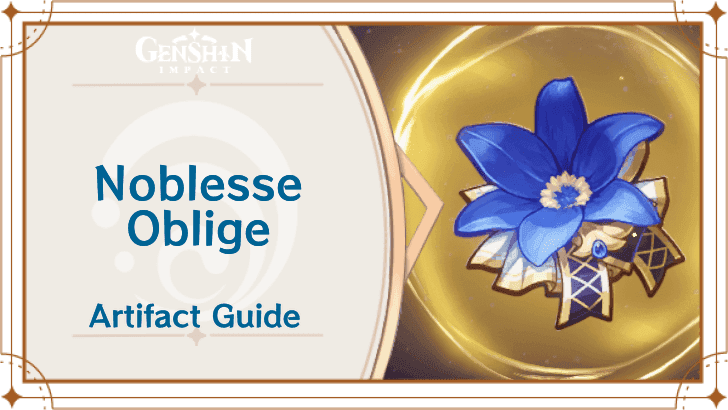
Go 4-piece Noblesse Oblige for that +20% Burst DMG from the 2-piece and +20% team ATK for 12 seconds after Burst (4-piece effect). Mix 2-piece Tenacity of the Millelith (+20% HP) with 2-piece Exile's Tale for extra ER if needed. Noblesse drops from the Pool of Prosperity and Mt. Aozang Peak domains on Tuesdays, Fridays, and Sundays (40 Resin per run). Layer Tenacity with Thrilling Tales, and you're stacking 44% total buffs—Pyro teams eat it up.
Prioritizing Your Main Stats
Sands: ER or HP% to lock in 200-240% ER and 30,000+ HP. Goblet and Circlet? Both HP%. Flower's flat HP, and skip the Plume's ATK—it's irrelevant here. If ER's lagging under 200%, slot that ER Sands; Adeptus' Temptation (+10% HP) is great for verifying 112.5% Pyro absorption in training grounds.
Fine-Tuning Substats
ER first (up to 240%), then HP% and flat HP. Push to 40,000 Max HP for 18,000 base absorption, fueled by 46.9% HP from sets and subs. Strongbox rerolls for ER/HP are your friend; level to +20 with about 2,000,000 Mora. Test in the Abyss—if ER dips below 200%, uptime drops to junk. Adjust accordingly.
Talent Priorities and the Grind to Level Them
Focus on Burst and Skill
Pump Burst to level 10 for the C4 shield and that +33% Charged DMG buff; follow with Normal Attack, then Skill to 6-8 for particle generation. Burst at 10 costs 1,625,500 Mora, 1 Crown of Insight, 6 Bloodjade Branch, 3 Teachings/21 Guide/38 Philosophies of Gold, and 6/22/31 Insignias. Hit Taishan Mansion on Wednesdays, Saturdays, and Sundays (40 Resin per run); snag the Crown from events.
Tweaks Just for C4
With C4, Burst is king for the shield—cap Skill at level 8 to save 500,000 Mora. Shift focus to HP artifacts afterward. Run rotations to test: the shield holds 15 seconds, especially with Bennett funneling ER.
Ascension Breakdown
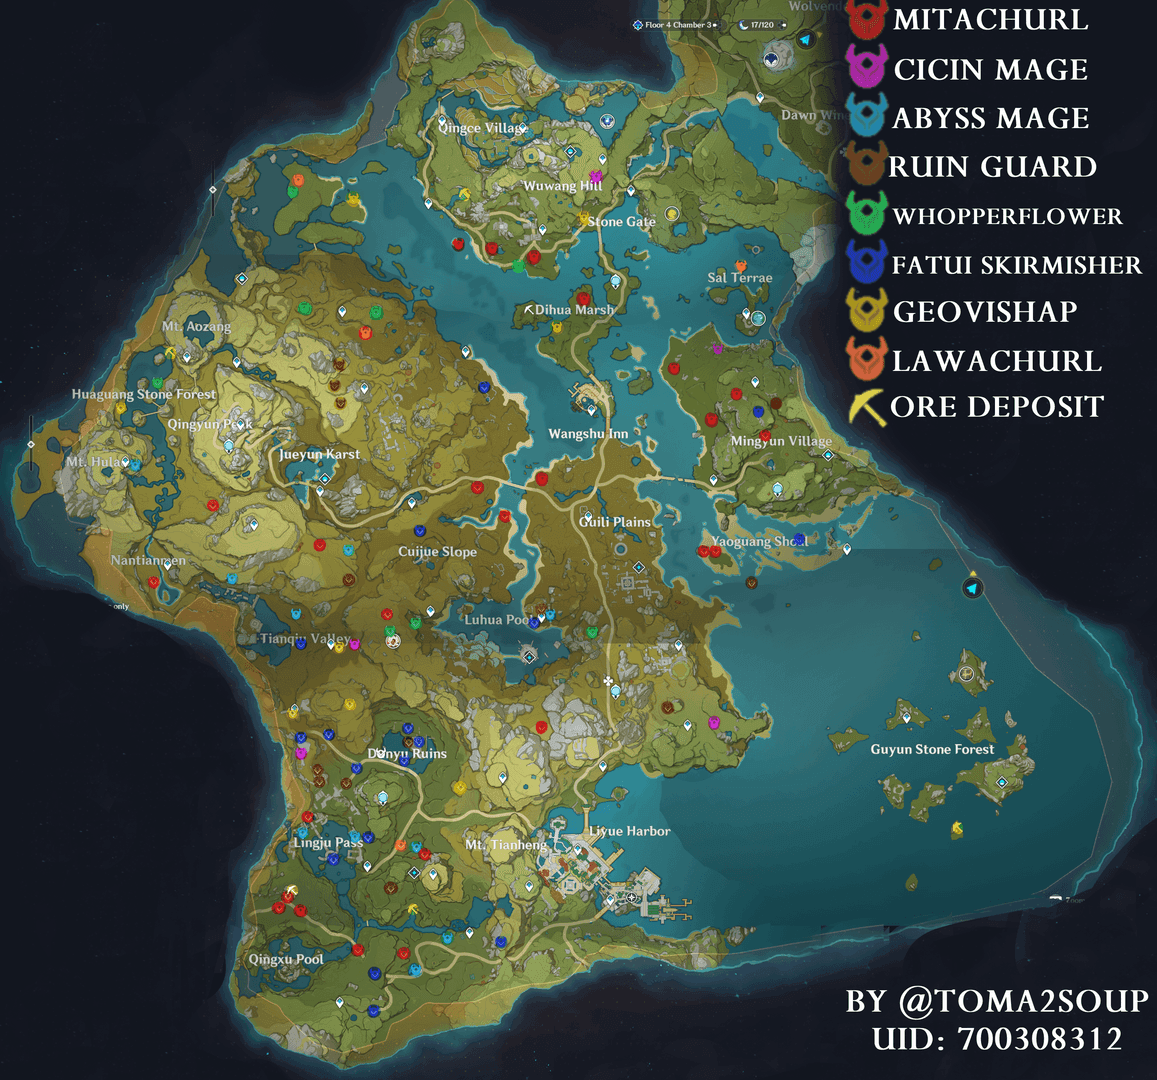
For level 90: 5 Noctilucous Jades at level 20 (168 total) and 9 Juvenile Jades at level 40 (46 total) from Primo Geovishap. All in: 420,000 Mora, 1 Agnidus Agate Sliver/9 Fragment/9 Chunk/6 Gemstone, 18/30/36 Insignias. Unlocks 24% Pyro DMG Bonus at Ascension Phase 2. Farm underwater spots near Mingyun Village; weekly Azhdaha boss for 3 Bloodjade Branch (30 Resin)—wrap it in 1-2 weeks.
Running low on Primogems or Genesis Crystals to fuel the farm? BitTopup's Genshin Impact web recharge has you covered with competitive rates, instant delivery, secure and compliant payments, wide regional access, stellar user ratings, and reliable support.
Team Comps That Make Yanfei Shine
Synergies for Shield Support

Hu Tao on DPS, Yelan sub-DPS, Kazuha support, Yanfei shielding: Yelan's Hydro enables Vaporize, Kazuha shreds with VV, and Yanfei adds the shield plus Pyro resonance (+25% ATK). Rotation? 1. Yelan Skill/Burst; 2. Kazuha Skill/Burst; 3. Yanfei Burst; 4. Hu Tao. It absorbs Hu Tao's self-Pyro, stacking 93% ATK buffs (48% from Thrilling Tales + 20% Noblesse + 25% resonance). Based on player data, this nets 20-30% better Abyss clears.
Overworld Crews for Exploration
Bennett for heals/buffs, Yelan Hydro, Kazuha grouping, Yanfei shielding: Tanks Oceanid fights and reveals Liyue resources. Start with Bennett Burst > Yanfei Burst > ranged attacks. Keeps you going 30 minutes straight; farm 10+ Noctilucous Jades per run using seals for AoE clears.
Endgame Twists
Lyney DPS, Bennett, Kazuha, Yanfei: Shields his charges, Thrilling Tales amps ATK. Rotation: Bennett > Kazuha > Yanfei Burst > Lyney. For Melt teams, try Ayaka/Yelan/Kazuha/Yanfei. Pyro squads love the resonance; in Abyss 9-12, swap Kazuha for Sara in Raiden/Yelan/Sara/Yanfei for Electro-Charged vibes. Experiment—it's flexible.
Overworld Strategies to Keep Things Smooth
Everyday Routines with Yanfei
Burst up for the shield, then charged attacks with seals to mow down hilichurls—absorbs Pyro from Golden Raven Insignia enemies like a champ. Passive spots Silk Flowers too. Kick off at Mt. Tianheng for 18/30/36 Insignias; tank 2-3 mobs in that 15-second window. Prototype Amber's heal means zero downtime, netting 20 Insignias daily. Simple efficiency.
Boosting Puzzles and Fights
Shield blocks Pyro knockback; Skill stacks quick seals on pressure plates. Off-field Burst covers swaps for bold gathering. Sequence: Burst before the fray, 3-5 normals for seals, charged AoE, repeat. B-tier stamina management—way safer than diving in melee. Ever tried it on a hilichurl camp? Transforms the hassle.
Getting Around Faster
Her ranged attacks help with climbing; C4 shield tanks falls or enemy pulls. Pair with C1 for stamina reduction, and Liyue routes stretch to 10 minutes easy.
The Real Costs and Smart Farming Paths
What You'll Need
Ascension: 420,000 Mora, 46 Juvenile Jade, 168 Noctilucous Jade, 25 Agnidus Agate. Talents: 1,625,500 Mora for Burst level 10, 18 Bloodjade Branch, 84 Insignias. Total Resin around 1,000. Grab 6 Bloodjade per talent from Azhdaha (30 Resin per run).
Routes That Save Time

Daily: Hit Treasure Hoarders in Liyue (level 75+ for 36 Golden Raven, 10-15 Insignias); underwater Mingyun for Jade. Weekly: Pyro Regisvine (Thursdays/Sundays) for Agate (40 Resin); Azhdaha for Branch. Domains: Taishan Mansion (Wed/Sat/Sun) for books. Prioritize Hoarders, buy Jade from Shitou—full build in a week if optimized.
Handling Mora Like a Pro
Weapon refines: 50 Crystal Chunks each; +20 artifacts: 2M Mora. Keep total under 3M via commissions. No sweat.
Pitfalls to Dodge and Quick Fixes
Sorting Energy Woes
Under 200% ER? Burst downtime kills rotations. Slot ER Sands, Favonius (45.9% sub, 6 particles on 60% Crit), or Bennett funnel for 240% and 75% uptime. Cycle those 20-second loops; level ER subs or Oathsworn Eye (+24% ER post-Skill).
Timing the Shield Right
Busting Burst late? Interruptions everywhere. Pre-pop in rotations for 15-second coverage; stay off-field after. Burst before mobs notice; recast post-20s CD with Skill particles.
Avoiding Build Blunders
DPS artifacts tank your shields—switch to HP/ER for 20k+ absorption; Noblesse over CRIT sets. Dismantle ATK gear; test against dummies for that 112.5% Pyro efficiency.
Pro Tips and How She Stacks Up
Yanfei C4 vs. Other Shields

Against Zhongli? Her 45% HP shield (weaker than his 20k flat) trades for Pyro resonance and 48% ATK buffs via Thrilling Tales—F2P gold for Pyro teams, per community tests. Beats Diona's Cryo/heals with 250% Pyro efficiency, ideal for Vaporize. 15 seconds vs. Zhongli's 20; perfect for Hu Tao self-damage sans RES shred. (My take: She's niche but shines where Zhongli overlaps elements oddly.)
Constellation Breakdown
C4 outvalues C6 for support (shield over seal damage); turns her into Tankfei with Stella Fortuna pulls. C1 helps stamina. Chase C4 on banners first—support pops from C0-C4.
Keeping Up with Updates
Watch Azhdaha (down right now—hoard event drops). Post-patch Abyss tests might need ER nudges.
FAQ
What's the ultimate weapon for Yanfei C4 Shield Support?
Prototype Amber takes it: 41.3% HP at level 90, 4 Energy every 2s for 6s post-Burst, 4% party heal—scales to 18,000 absorption at 40k HP. Thrilling Tales alternative: 35.2% HP, 48% ATK buff at R5 for DPS amps, crafted with 50 Crystal Chunks.
How does C4 flip Yanfei's support game in Genshin Impact?
It adds a 45% Max HP shield on Burst with 250% Pyro efficiency for 15s, morphing C-tier DPS into Tankfei for Hu Tao/Yelan crews. Off-field utility unlocked; aim 240% ER for 75% uptime.
Artifacts for max shield uptime on Yanfei?
4-piece Noblesse: ER/HP% Sands, HP% Goblet/Circlet for 200-240% ER, 30k+ HP, and frequent 15s shields. Subs ER > HP%; farm Clear Pool on Tue/Fri/Sun, add 2pc Tenacity for +20% HP/team ATK.
Is Yanfei solid for overworld comfort?
Absolutely, B-tier: C4 shield gulps Pyro, ranged attacks rule, Passive 3 flags Noctilucous Jade. Burst for protection, charged seals for AoE; Prototype Amber heals sustain 30-minute Mingyun Village hauls.
Best teams for Yanfei shield support?
Hu Tao/Yelan/Kazuha/Yanfei: Vaporize setup, 93% ATK buffs, self-damage soak. Or Lyney/Bennett/Kazuha/Yanfei for charge safety. Rotation: Supports > Yanfei Burst (+25% resonance) > DPS; Abyss 9-12 sweet spot.
How much ER for C4 Yanfei?
200-240% for 80-cost Burst every 20s, hitting 75% uptime sans heavy funnel. ER Sands + Favonius (45.9% sub, 6 particles on 60% Crit); Bennett tweaks for non-Electro squads.
✅ Official direct recharge, 100% secure
✅ No waiting – top-up arrives in 7 seconds
✅ Big discounts, low prices to save more
✅ 7×24-hour customer service, ready to assist anytime

