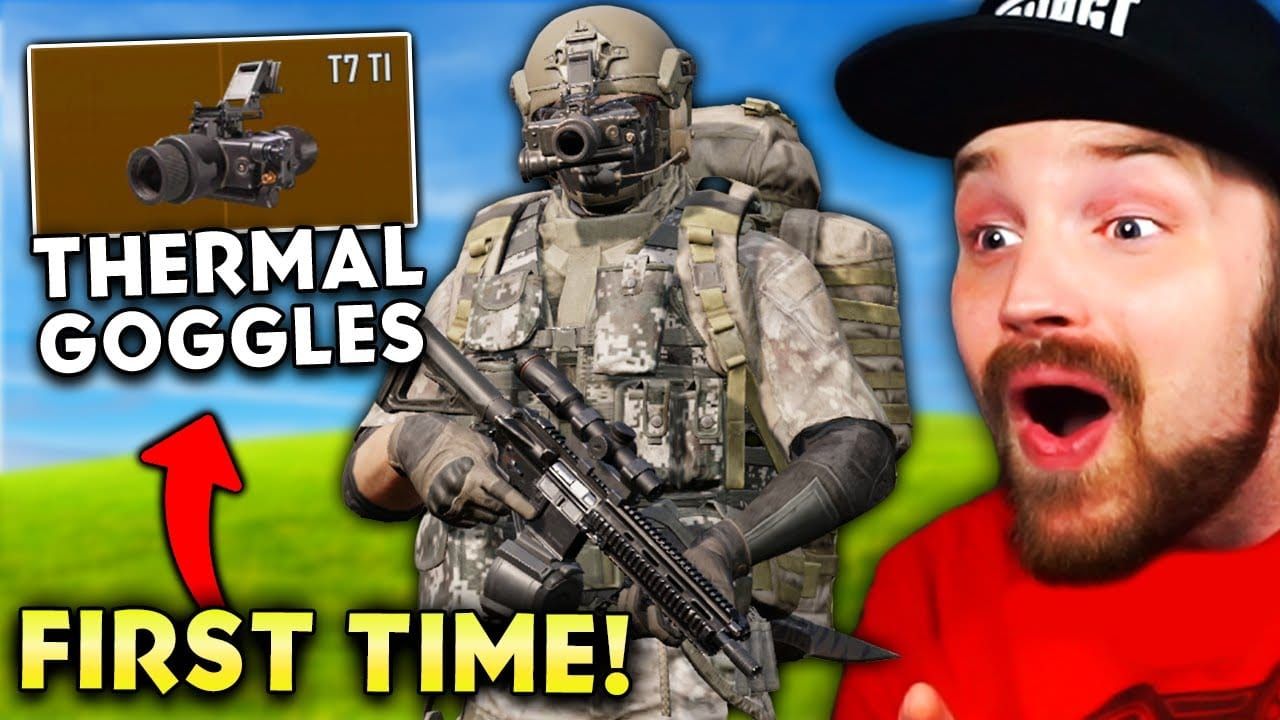
The T7 Thermal scope is Arena Breakout Infinite's most valuable attachment, detecting heat signatures through smoke, foliage, and darkness. This guide maps confirmed spawn locations in Armory, analyzes spawn rates from extensive testing, and delivers optimized farming routes for this high-value optic.
Why T7 Thermal Dominates Arena Breakout Meta
T7 Thermal eliminates visual advantages from concealment, proving invaluable for pushes and defensive holds. Players report higher survival rates in contested zones like Repair Facility and Equipment Storage.
Market Value (Dec 2025): 180,000-250,000 Koen depending on server economy. For sustained farming, use Arena Breakout Bonds recharge through BitTopup to maintain currency reserves for backup gear and secure container upgrades.
Performance vs T5 Thermal: 15-20% faster target acquisition, superior refresh rates and detection range. Critical advantage against Boss Renoir and Elite Rors who carry T5-tier equipment.
Tactical Advantages
Outdoor sections with natural cover become transparent
Bunker corridors benefit from thermal bleed detection around corners
Night raids amplify benefits exponentially—standard optics struggle with limited lighting
Weight/ergonomic penalties minimal (2-3% handling reduction)
Economics
Average price: 215,000 Koen (8-12 mid-tier loot runs)
Functions as portable wealth storage
Price swings: 25-30% between dips (180k) and peaks (250k)
Farming reduces acquisition costs 60-70% vs marketplace purchases
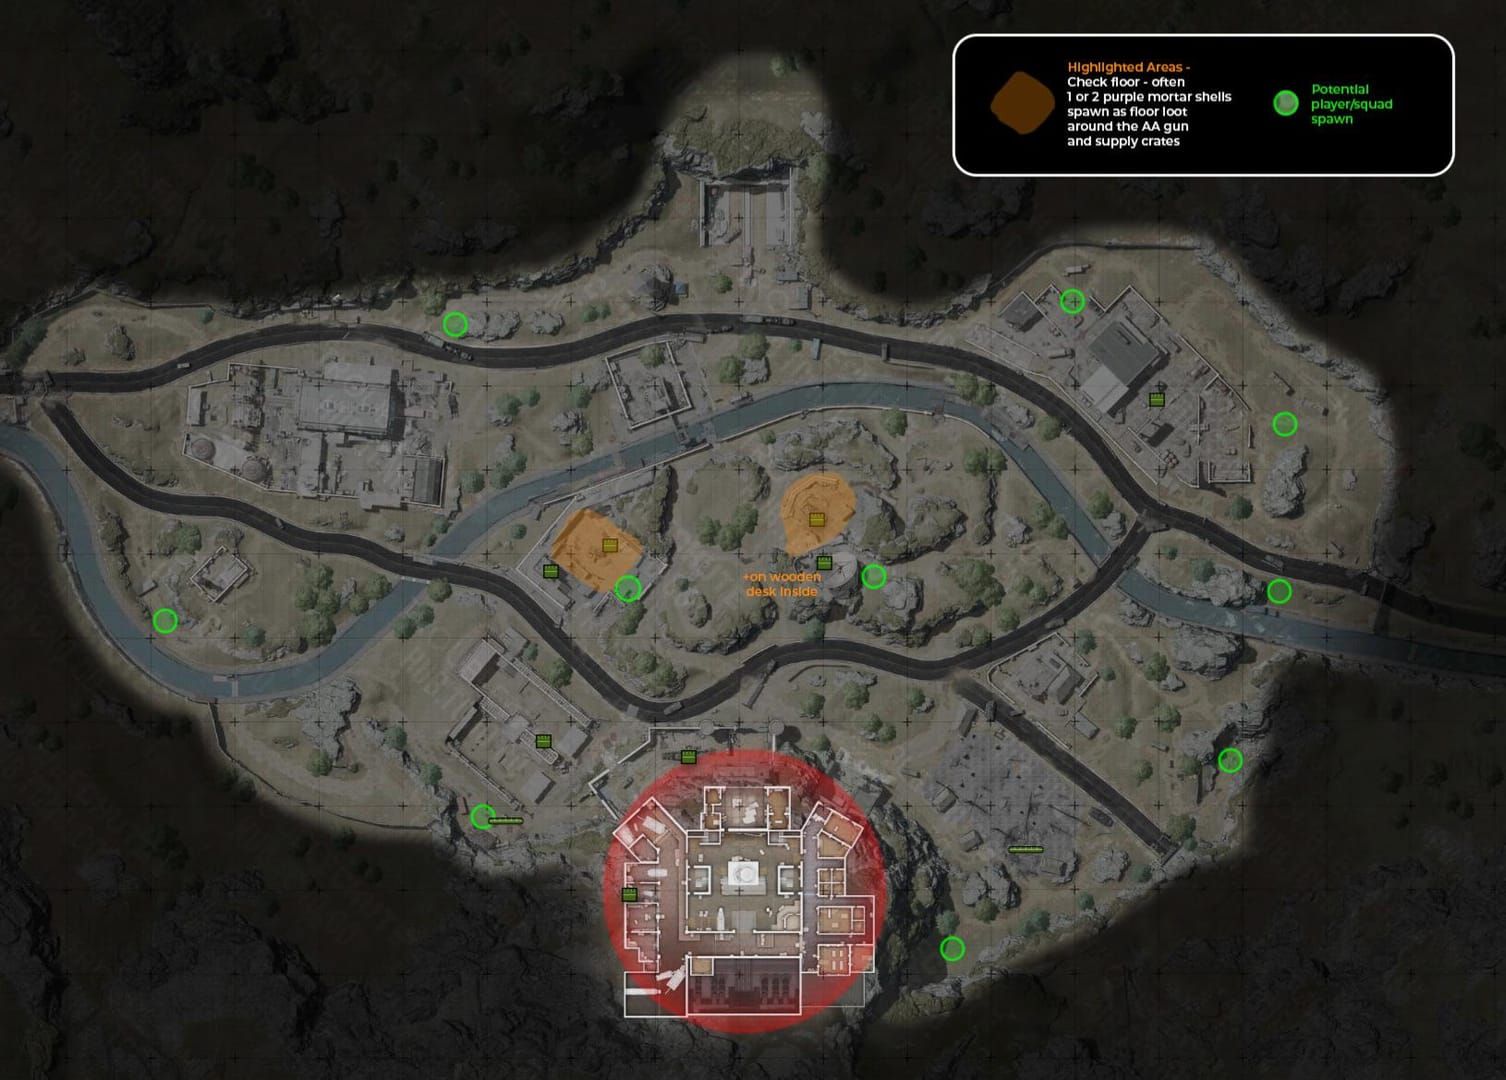
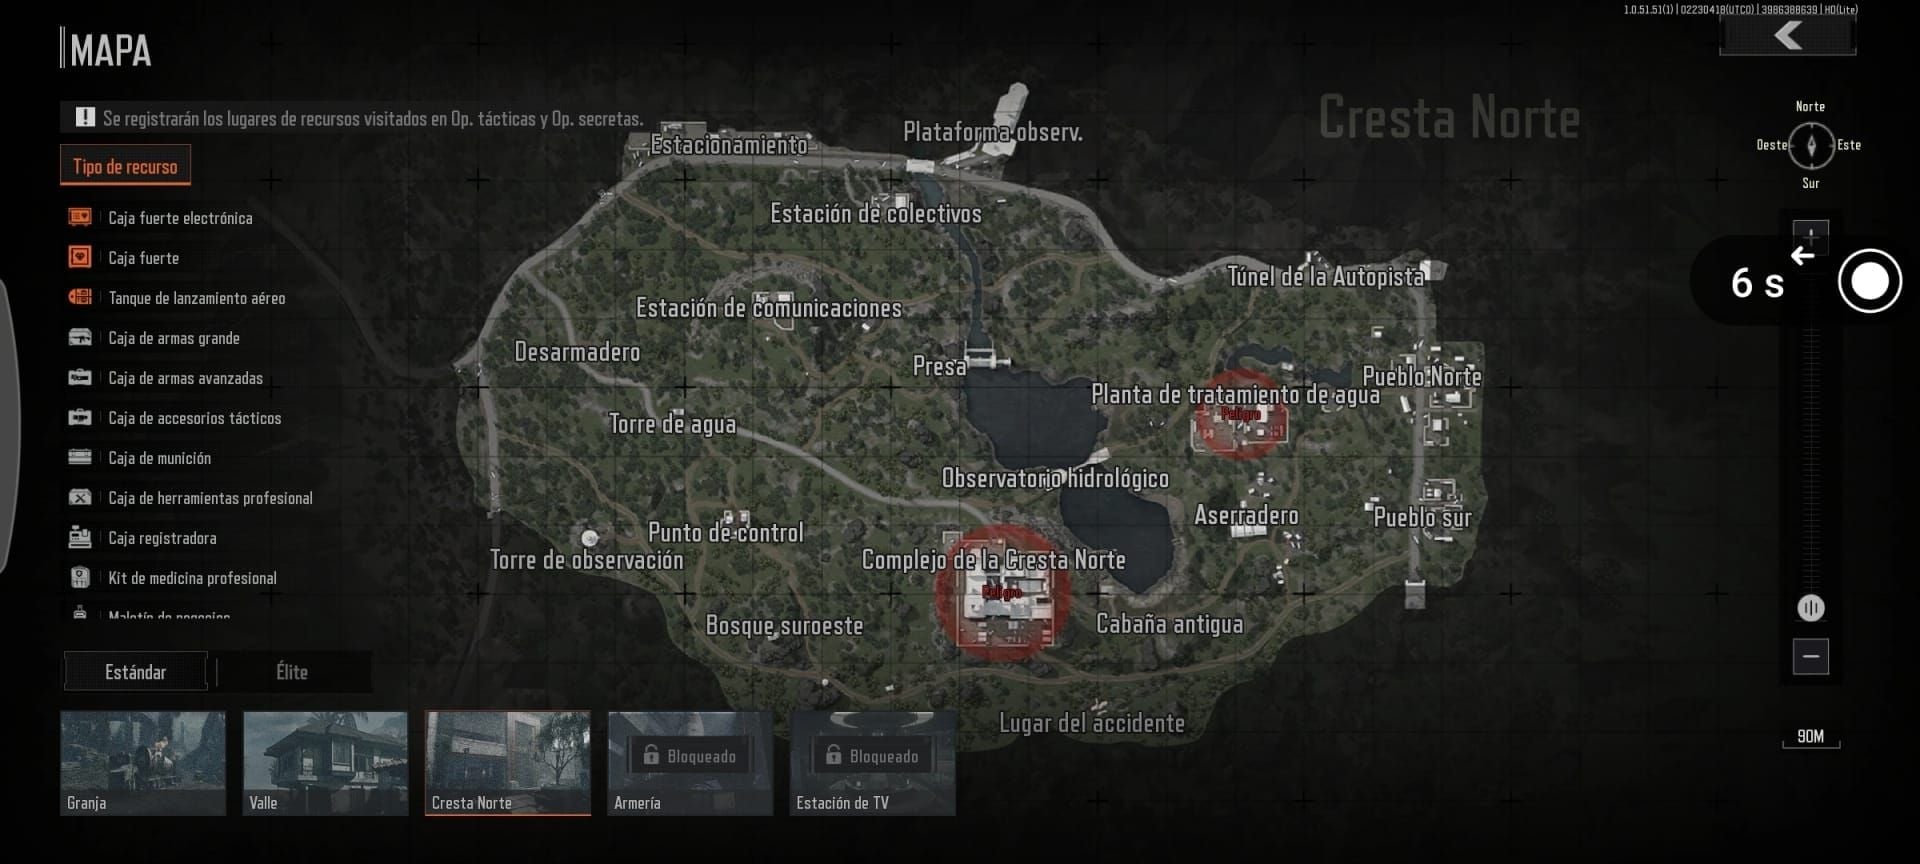
Armory Map Layout

Outdoor sections: Radar Station, Gas Station, Tunnel locations
Bunker access (3 timed entrances):
Hole in the Wall: 1:40 timer
Mid: 1:40 timer
Tank: 1:00 timer
Bunker contains: 4 free safes, 3 locked safes, dedicated weapons room—all potential T7 spawns.
Extraction Mechanics
Canal: Pull switch in bunker basement after 3 min, triggers alarms, spawns bots
Radar Station: Activate switch in midmap building after 2:30, spawns bots
Mine: Available after 5 min when activating Radar Station switch, unlimited use, enter before final 20 sec
No-Backpack: Random outdoor spawn opposite player side, auto-available, limits loot capacity
High-Risk Zones
Repair Facility: Highest-risk zone with advanced weapon crate and air drop platform. Concentrated PvP in first 3-5 min. Contest immediately with premium loadouts or delay until 6-8 min.
Equipment Storage: Natural chokepoints near locked safes. Thermal scopes provide defensive advantages for position holders.
Boss Renoir: T5-geared bunker patrol with elite guards. Requires tier-four armor minimum for Lockdown difficulty. Adds 2-3 min to bunker runs.
Extraction Proximity
Tank spawn: Quick bunker access, longer outdoor extraction distances
Radar Station spawn: Immediate extraction switch access, exposed terrain to bunker
Staging Area: Equidistant from Canal and Radar Station, guaranteed air drop provides backup value (40k-60k Koen minimum)
T7 Thermal Spawn Mechanics
Arena Breakout uses dynamic spawns—high-value items populate specific container types, not fixed coordinates. Each container maintains independent loot tables with varying thermal probabilities.
Container Types & Spawn Rates

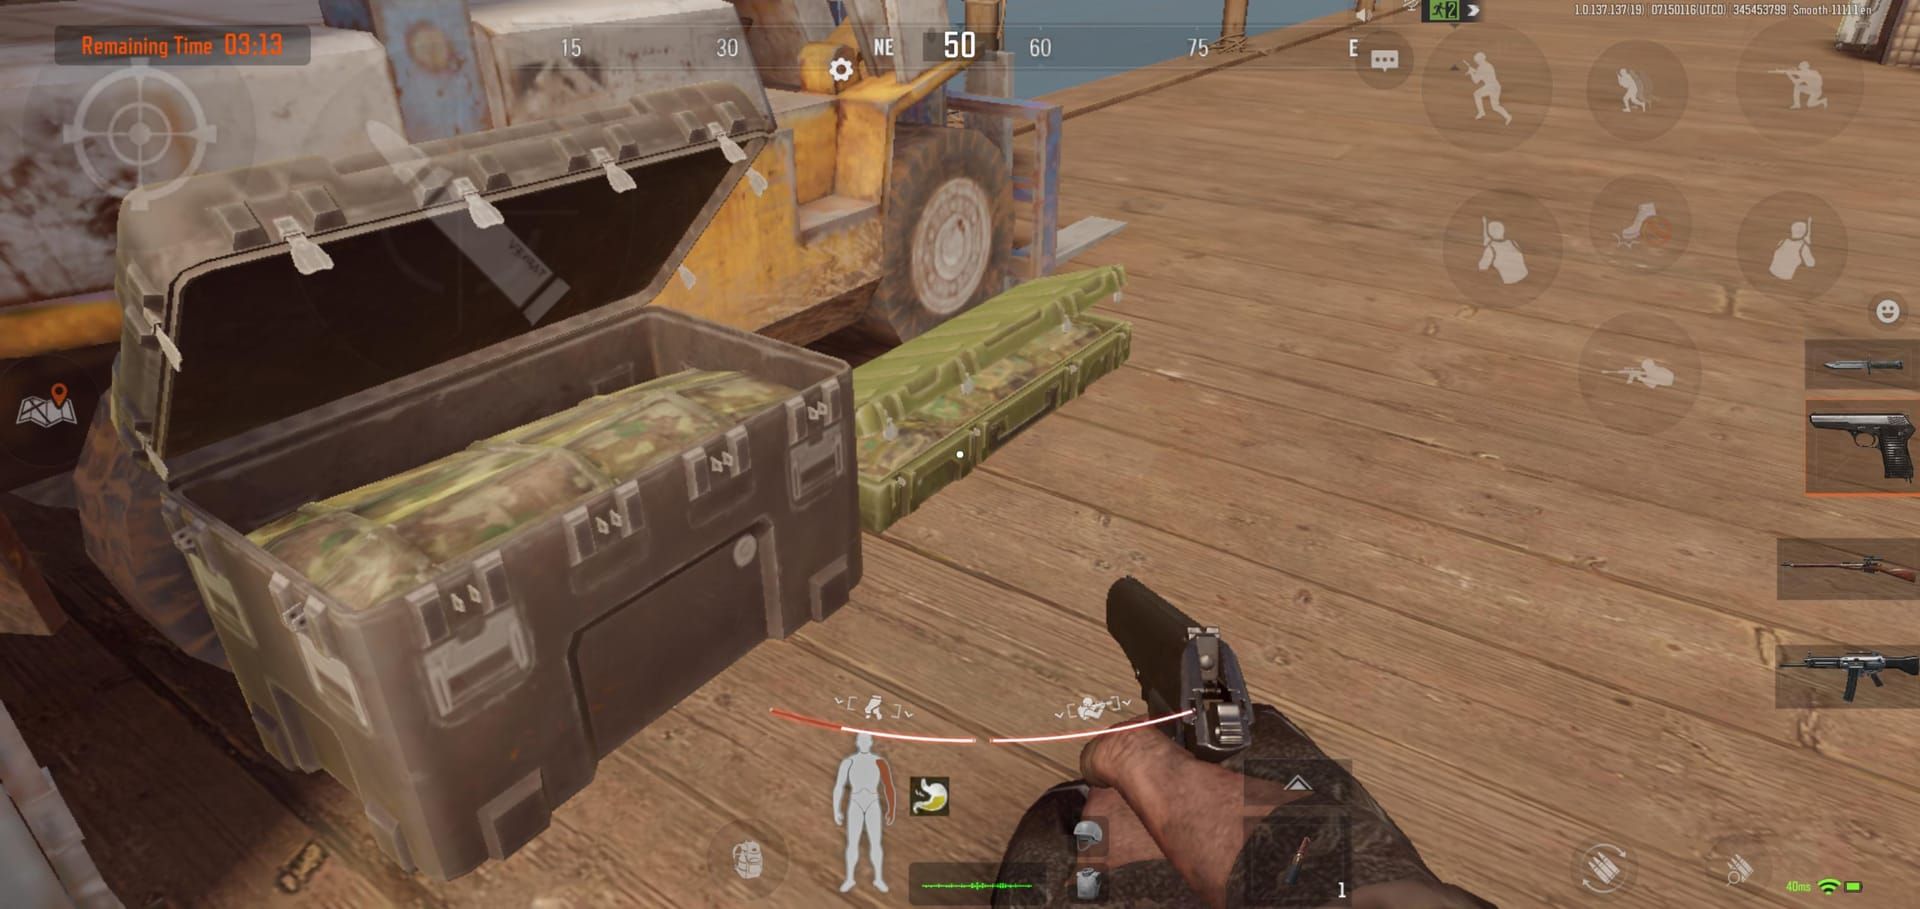
Advanced weapon crates: 8-12% thermal spawn rate
Repair Facility, select bunker locations
8-10 sec search time
Highest probability containers
Standard weapon crates: 2-4% thermal spawn rate
12-15 scattered across Tunnel, Gas Station, peripheral buildings
Volume-based farming targets these for higher total attempts
Locked safes: 5-7% thermal spawn rate
Require keys or lockpicking
Less competition due to acquisition barriers
Elite enemy loot: 3-5% thermal-equipped weapons
Boss Renoir, Elite Rors occasionally carry thermals
Cumulative opportunities during extended raids
Loot Refresh Timing
Loot populates at raid start—no mid-raid respawns
First player to container claims available thermals
Container states persist until looted
Check containers near corpses for overlooked items (5-8% of acquisitions)
Spawn rates consistent across server regions
Optimal Farming Routes
Primary Route (Tunnel Spawn)

Sprint to Repair Facility (arrive 2:15-2:30)
Search advanced weapon crate (8-10 sec)
If contested, abort to Gas Station (3-4 crates, 90 sec total)
Enter bunker via Hole in the Wall if outdoor runs empty
Radar Station Spawn
Secure local weapon crates immediately
Push Repair Facility (high risk/reward) OR rotate Gas Station (moderate risk)
Fastest Radar Station extraction switch access
Tank Spawn
Optimal bunker access
Bunker-focused runs
Accept limited outdoor coverage
Effective on high-population servers
Route Timing (First 3 Minutes)
Tunnel to Repair Facility:
Reach advanced crate by 2:15-2:30
Monitor audio for nearby players
If occupied (gunfire, open doors), redirect to Gas Station
Bunker entry depends on outdoor results—extract immediately if thermal found
Mid-Raid Rotation (4-8 Minutes)
Initial PvP resolves, players spread out
Revisit Repair Facility around min 6 (empty 60% of time)
Boss Renoir occupies central bunker—use Tank entrance for weapon room access
Check Equipment Storage key rooms if keys available
Safe Extraction with Thermals
From bunker: Canal extraction despite alarms—bots more manageable than player ambushes
From outdoor: Mine extraction after 5 min, enter with 25-30 sec remaining
Radar Station: Use smoke grenades crossing open terrain, bot spawn provides audio cover
No-Backpack: Ideal when carrying minimal gear for thermal-only farming
Advanced Contested Strategies
Server Timing
First 10 sec entry: Most aggressive farmers, premium loadouts, immediate Repair Facility contest
30-60 sec delay: Reduced spawn clustering, route selection based on observed movements
Off-peak hours (2-6 AM): Dramatically reduced PvP, higher container access percentage, longer queue times
Counter-Strategies
Delayed entries (60-90 sec) let aggressive teams engage each other first
Audio intelligence: gunfire at Repair Facility = redirect to Gas Station or bunker
Spawn camping awareness: move perpendicular to entrance, not straight ahead
Carry flashbangs for entrance clearing
Inventory Management
Loadout minimums:
Tier-three armor, basic helmet
Primary weapon, 90-120 rounds
Basic medical supplies
Leaves 15-20 slots for loot
Secure containers: Gamma/Epsilon protect thermals even during death. Prioritize container upgrades over premium gear.
Dynamic decisions: When finding thermals early, discard lowest-value items, continue looting with reduced risk tolerance.
Common Misconceptions
Myth: Thermals Only in Weapon Crates
Reality: Thermals spawn in locked safes, equipment storage rooms, elite enemy loot. Ignoring safes misses 15-20% of acquisition opportunities.
Mistake: Ignoring Low-Traffic Spawns
Tunnel area: 4-5 containers, minimal attention, baseline thermal probability
Gas Station: Transitional zone, frequently unlooted even 5-6 min into raids
Peripheral buildings: Zero competition = 100% container access vs 30-40% in contested zones
Statistical advantage: 10 uncontested containers > 3 contested high-value containers
Loadout Recommendations
Budget Setup (28k-35k Koen)
Tier-two armor, basic helmet
Unmodified AKM, 90 rounds
2 bandages, 1 medkit
60-70% survival rate
Profitable through secondary loot
Mid-Tier (95k-120k Koen)
Tier-four armor (Lockdown compatible)
Red dot/holographic sights
75-80% survival rate
Consistent returns
Premium (140k-180k Koen)
Tier-four armor (not tier-five—attracts PvP)
Suppressed weapons, night vision
Stealth over protection
85-90% survival through combat avoidance
Using BitTopup for Sustained Farming
Top up Arena Breakout Infinite through BitTopup for:
Consistent currency for loadout replacement
Secure container upgrades
Competitive pricing, fast delivery
Uninterrupted farming schedules (15-25 raids often needed)
Reliable customer service
Armory vs Other Maps
Armory advantages:
12-15 high-probability containers in 8-10 min raids
Higher attempts-per-hour than sprawling maps
Weather-protected bunker routes
Multiple extraction points (10-15% better survival)
Difficulty scaling (Lockdown vs Forbidden Zone)
Farm: Similar container density, limited extractions, predictable funneling, open sightlines favor thermal-equipped opponents
Northridge: Higher overall loot density, wider thermal distribution, extended travel times reduce attempts per raid
FAQ
Average T7 spawn rate in Armory weapon crates?
Advanced crates: 8-12%. Standard crates: 2-4%. Locked safes: 5-7%. Independent probability per container per raid.
How many raids to find T7 Thermal?
12-18 raids checking 8-10 high-probability containers. Optimized routes: 8-12 raids. Less optimized: 20-25 raids. Variance means 3-5 to 30+ attempts possible.
Best spawn for thermal farming?
Tunnel spawn: fastest Repair Facility access (2:15-2:30). Tank spawn: best bunker access (1-min timer). Radar Station: immediate local containers, quick extraction.
Day vs night raids for thermals?
Spawn rates identical. Night raids reduce player population 20-30% but require night vision equipment to offset visibility disadvantages.
Minimum profitable loadout cost?
28k-35k Koen (tier-two armor, basic helmet, AKM). Profitable through secondary loot. Mid-tier 95k-120k optimizes long-term returns at 75-80% survival.
Safe extraction after finding T7?
Stop looting immediately. Bunker: Canal extraction. Outdoor: Mine (enter 25-30 sec remaining). Radar Station: use smoke grenades. No-Backpack: ideal for minimal gear runs.

