

Quick Answer: Radiant Moonfly requires healers to counter -40% damage debuff. Heal characters to 100% HP for +50% damage buff. Avoid Pyro/Dendro DPS (70% resistance). Use Cryo/Hydro/Electro DPS with 180%+ ER healers for 3-5 minute clears.
Here's the thing about Radiant Moonfly – it's probably the most mechanically demanding world boss we've seen since Version 6.0 dropped on September 10, 2025. Tucked away in those winding caves of Nod-Krai's Hiisi Island, this 3.3 million HP nightmare will test everything you think you know about team coordination.
And honestly? Most players are approaching it completely wrong.
Boss Mechanics and Attack Patterns
Let's cut straight to what makes this boss so frustrating. The debuff system is brutal. We're talking -40% damage, -40% healing effectiveness, your crit rate gets nuked to zero, and your HP just... bleeds away constantly.
The only way out? Heal the affected character back to 100% HP. Do that, and suddenly you're looking at +50% damage and +15% crit rate. It's a high-risk, high-reward dance that punishes sloppy rotations.
Elemental resistances tell the real story here:
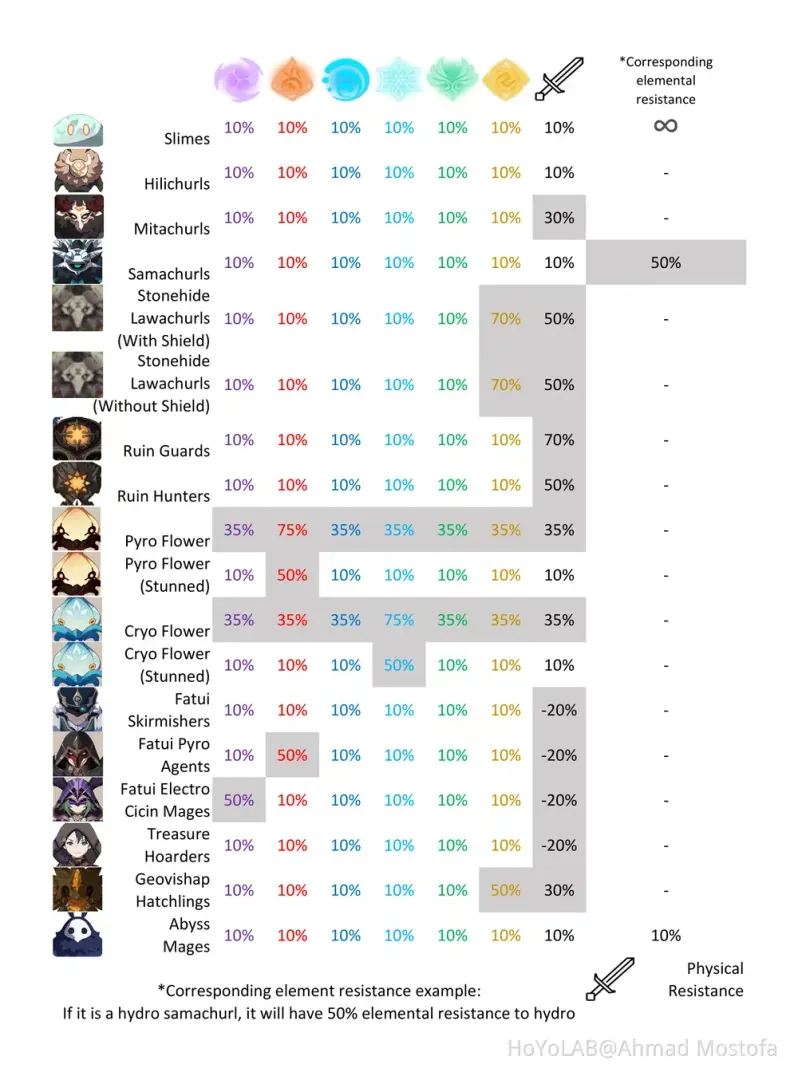
70% resistance: Pyro, Dendro (seriously, don't even think about it)
10% resistance: Hydro, Electro, Cryo, Anemo, Geo, Physical
The fight breaks into three distinct phases, each more aggressive than the last. Melee form hits you with telegraphed kicks and blade slashes – nothing too fancy, but the 0.8-second telegraph on that Flying Kick catches people off guard constantly.
Green Butterfly phase? That's where things get spicy. Diving Wing Smash comes down hard, and the Feather Projectile Barrage (1.5s telegraph, thank god) will shred unprepared teams.
Orange Butterfly is pure chaos. Persistent burning fields plus enhanced AoE attacks. If you're not managing your healing rotations perfectly by this point, you're done.
For reliable resource management during those inevitable farming marathons, buy genesis crystals online through BitTopup's secure platform with competitive pricing and instant delivery.
5-Minute Clear Strategy
Pre-fight prep is everything. I can't stress this enough – if your healer doesn't have 180%+ Energy Recharge, you're setting yourself up for failure. Pre-charge those bursts, position at medium range (not close, not far), and double-check your main DPS element.
When the fight starts:
Debuff hits? Swap to healer immediately. No hesitation.
Heal your main DPS to 100% first – that damage buff activation is your window
Burst rotations during the +50% damage window are non-negotiable
Later phases get messy with increased debuff frequency, so stay sharp
Use those i-frames during transformation attacks for better positioning
The difference between a 3-minute clear and a 10-minute slog? Execution timing.
Optimal Team Compositions
Meta Team: Bennett, Zhongli, Ganyu, Kazuha

This is the gold standard for a reason. Bennett's rapid healing and attack buffs create those crucial damage windows. Ganyu absolutely demolishes with that 10% Cryo resistance. Zhongli prevents interruptions when you need them most. Clear time sits comfortably at 3-4 minutes with proper execution.
F2P Alternative: Barbara, Noelle, Kaeya, Sucrose
Don't let anyone tell you F2P can't handle this boss. Barbara ensures consistent healing and Hydro application. Kaeya exploits that Cryo weakness beautifully. Noelle provides backup healing and shields when things go sideways. You're looking at 5-7 minutes, which is perfectly respectable.
The Hyperbloom Wildcard: Raiden Shogun, Yelan, Nahida, Baizhu
Here's where it gets interesting – Hyperbloom damage actually bypasses those Dendro resistance limitations. Makes this comp viable despite conventional wisdom.
For seamless farming sessions, genshin top up fast with BitTopup's streamlined process ensuring uninterrupted resource availability.
Drops and Rewards
Lauma Ascension Materials are the main event here.
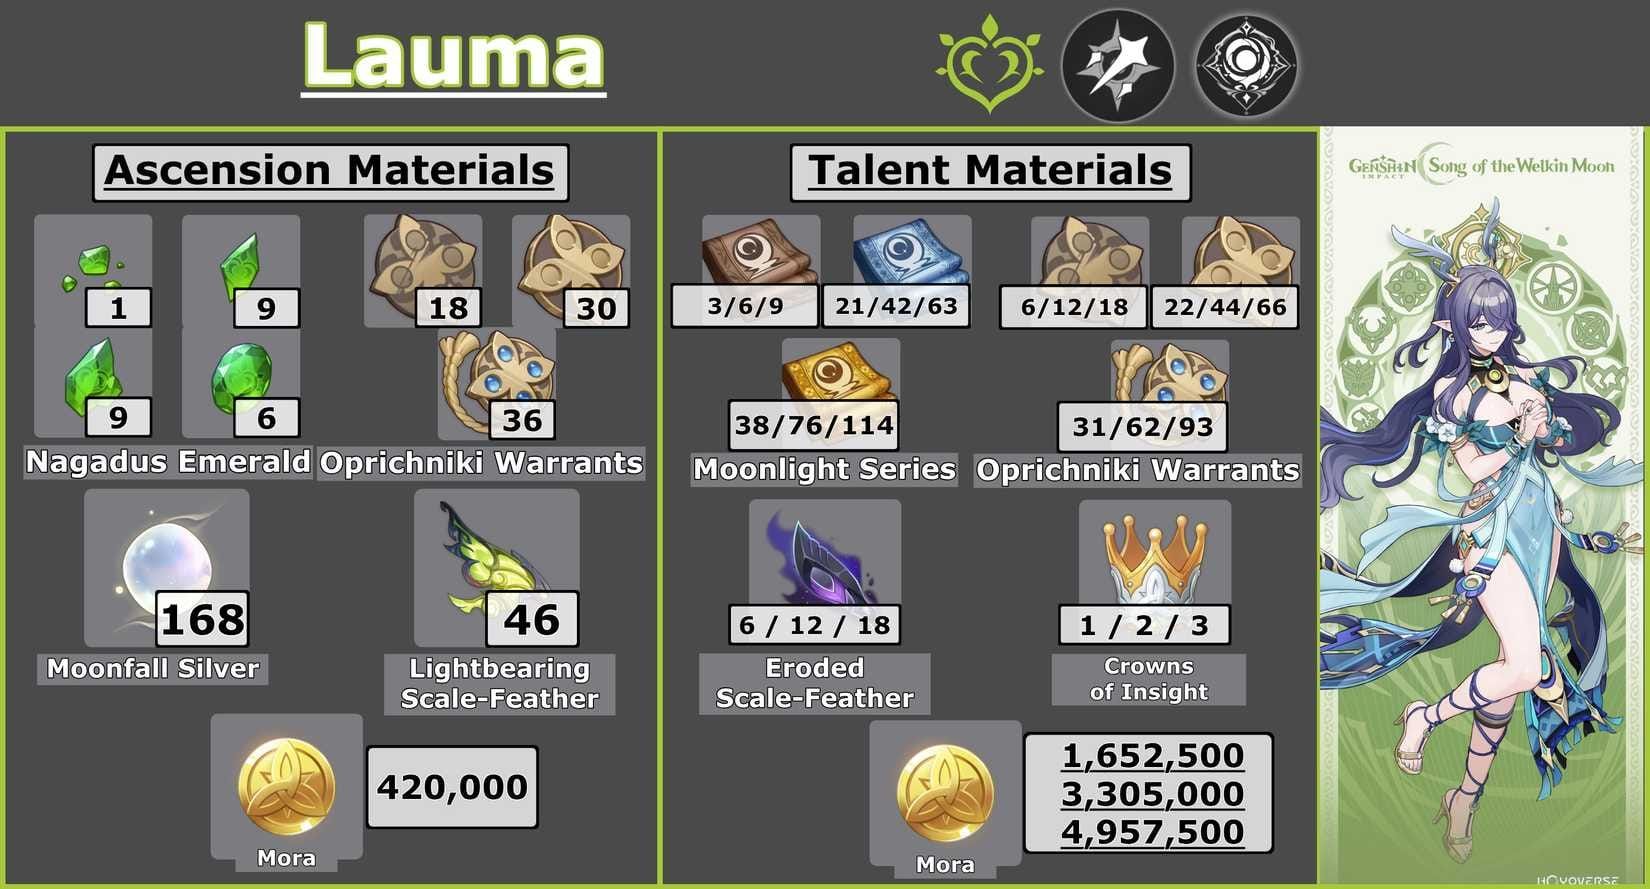
Lightbearing Scale-Feather/Wings – you need 46 total. That's 1,840 Resin if you're counting (and you should be). 40 Original Resin per attempt, but here's the kicker – 10-second respawn after claiming rewards.
Artifact drops include the usual suspects: Gladiator's Finale, Wanderer's Troupe, plus the new sets everyone's talking about. Silken Moon's Serenade (+20% ER, +60/120 party EM) and Night of the Sky's Unveiling. World Level 8 guarantees those optimal 5-star rates you're after.
Adventure EXP, Mora, and gemstones round out the package. Nothing revolutionary, but consistent value.
Character Builds
Healer builds are make-or-break territory.
180% Energy Recharge minimum. Not 170%, not close enough – 180% or you're gambling with your clear times.
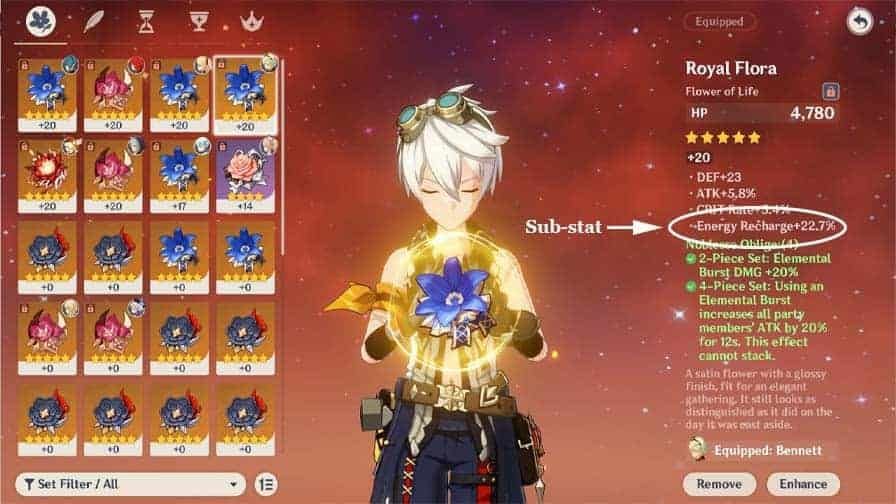
Bennett needs HP%/ER focus with a high base ATK weapon. Kokomi wants HP%/Hydro DMG with Ocean-Hued Clam. Jean performs best with ATK%/Anemo DMG and Viridescent Venerer.
DPS optimization is straightforward once you know the resistances.
Cryo DPS? 4-piece Blizzard Strayer, CRIT Rate/DMG focus. Electro DPS gets standard builds with Elemental Mastery for reactions. Zhongli needs HP% focus for maximum shield strength – you'll thank me later.
Advanced Techniques
Animation canceling during those +50% damage buff windows is crucial. Dash cancels with Hu Tao, jump cancels with Claymore users – maximize that attack frequency when the window opens.
I-frame mastery separates good players from great ones. Perfect timing during transformation sequences (spinning kick, uppercut, shockwave) reduces your healing dependency significantly.
Energy management? Pre-charge before engagement, maintain consistent ER rotation for healers throughout all phases. Simple in theory, demanding in practice.
Common Mistakes (And How to Avoid Them)
Positioning errors kill more runs than anything else. Standing too close during debuff application gives you zero reaction time. Medium range for quick healer swaps – trust me on this.
Team composition mistakes are painful to watch. Using Pyro/Dendro main DPS against 70% resistance? That's just throwing Resin away. Stick with Cryo, Hydro, Electro DPS characters.
Under-invested healers are the silent run-killers. Test your healing output beforehand. Prioritize ER substats. If your healer can't maintain burst availability, you're not ready for consistent clears.
Farming Optimization
Weekly schedule that actually works:
Monday-Wednesday: Radiant Moonfly focus (2-4 kills, 80-160 Resin daily) Thursday-Friday: Alternate Nod-Krai bosses
Weekend: Artifact domains and weekly bosses
That 10-second respawn enables back-to-back farming sessions. Travel time to other Nod-Krai bosses? 45 seconds max. Minimal downtime means maximum efficiency.
FAQ
How long does optimal clear take? 3-5 minutes with meta teams when you've got healers maintaining 180%+ ER and you're avoiding Pyro/Dendro DPS. Consistency beats speed records.
What makes this boss unique? That mandatory debuff-cleansing mechanic. You absolutely must heal to 100% HP to remove the -40% damage debuff and activate the +50% damage buff. Creates very specific damage windows that demand precise timing.
Can F2P players clear efficiently? Absolutely. Barbara, Noelle, Kaeya, Sucrose teams work beautifully. Key requirements remain the same: reliable healer with high ER and avoiding Pyro/Dendro main DPS.
Why avoid Dendro teams? 70% Dendro resistance makes those popular Lauma-Nilou compositions highly inefficient despite community hype. Cryo/Hydro/Electro DPS with 10% resistance provide superior damage output.
Total Resin cost for Lauma? 1,840 Resin for 46 boss drops, plus 168 Moonfall Silver (local specialty) and 18 weekly boss materials from Lord of Eroded Primal Fire. Plan accordingly.
Most important healer stat? 180%+ Energy Recharge, no exceptions. Under-invested healers can't quickly restore 100% HP, which means failed debuff cleanse requirements. Everything else is secondary.