

The Initial D Collab runs March 26 to April 22, 2026 (27–28 days, UTC+8). F2P players can realistically hit T5 (Aventador SVJ at 2,100 gems) with consistent daily play. Base cars like the AE86 and R32 are obtainable without spending — but max-tier blueprints and T7 rewards require either top-up points or hitting the ~70-pull pity. Here's how to maximize every tier without wasting a single ticket.
Event Structure and What's Actually at Stake
This isn't a standard event. The Initial D Collab runs parallel with the game's 1st Anniversary 42-day gem milestone track — two progression systems active simultaneously. Splitting gems between them is the single most expensive mistake you can make.
The collab introduces four Initial D-themed cars with re-engineered anime drift handling, a Tofu Delivery mode on Mount Akina, and the Gum Tape Deathmatch rivalry mode. Community testing confirms the collab variants handle significantly driftier than standard counterparts, reflecting Fifth Stage peak forms with accurate plates.
The anniversary milestone track (T4 at 1,050 gems → T7 at 5,000–6,500 gems) is your primary gem-spending framework. The Initial D event feeds into it. Understanding that relationship is what separates players who hit T5 from those who stall at T3.
Full Reward Breakdown
Featured Cars

The R32 being free is officially confirmed — clearest F2P win in the event. The AE86 and RX-7 require banner pulls, with community-observed pity at ~70 pulls for a guaranteed featured car. That pity does not carry over after April 22, so don't start pulling if you can't finish.
Anniversary Milestones
T5 is the realistic F2P ceiling. Community estimates put total F2P gem accumulation at 3,000–3,500 — landing between T6 and T7.
Cosmetics Worth Prioritizing
Priority order: carbon fiber hood AE86 livery first, then themed decals. The Fujiwara Tofu Shop livery is the most iconic cosmetic in the event and has limited availability — it drops through both Tofu Delivery rewards and AE86 cosmetics. Save diamonds for frames over consumables; frames persist.
The Creator Event (March 26–April 20) offers up to 4,800 diamonds via car reviews or Initial D moment recreations. Free income most players ignore. Do it early — the April 20 cutoff is two days before the main event closes.
How the Currency System Works
Three currencies, and confusing them costs real progress:
Exchange tickets — from banner pulls, used in the event shop for deterministic blueprint purchases
Top-up points — unlock the premium shop tier for max-tier collab blueprints
Character cards — drop from Ranked matches and Tofu Delivery, gate the diamond reward track
There are no explicit daily caps in patch notes, but missed dailies don't carry over. Skip Tuesday's missions and that gem income is gone permanently. The math is unforgiving over 27 days.
Accumulation Rates (Community Testing)
Over the full event: 600–1,200 gems from weeklies (two reset cycles) + 810–1,350 gems from dailies (27 days × 30–50). Add the achievement tree and Creator Event, and the 2,100-gem T5 target is genuinely reachable.
Currency expires April 22. Everything unspent vanishes at server reset — plan your shop spending for the final 48 hours, not the final 5 minutes.
Daily Mission Checklist
Day 1: The Setup You Cannot Skip
Complete the Initial D story stage on Day 1. This unlocks the event currency system, mission board, and Tofu Delivery Mode. Players who delay even one day lose that day's mission income permanently — community reports consistently flag this as the top reason for falling short of T5.
Day 1 sequence:
Log in, claim daily login reward
Complete Initial D story stage immediately
Activate mission board — verify all daily missions are visible
Run Tofu Delivery on Mount Akina (first run unlocks R32 progression)
One Ranked session for character card drops
Daily Recurring Loop (15–20 Minutes)
3 races (any mode counts)
Tune 1 component on any car (10 seconds — don't skip it)
1 Knockout session
Manually claim all rewards
That last point matters more than it sounds. Racing Master SEA does not auto-deposit milestone rewards. Players who assume otherwise regularly discover thousands of gems sitting unclaimed in the milestone UI at event end.
Weekly Missions (Monday and Thursday Resets)
Each reset offers 50–100 gems. Complete them within 24 hours of each reset — don't batch them. If you're running behind, prioritize weeklies over cosmetic farming. The gem value of a single weekly reset outweighs an entire Gum Tape Deathmatch session.
Event Shop Spending Priority
Limited-stock items disappear when inventory runs out. Unlimited items wait. Buy limited first, always.
Tier 1 — Buy immediately:
AE86 and RX-7 limited blueprints (time-gated, limited inventory)
ECU materials (permanent power upgrades that persist post-event)
Chrome badges and limited cosmetics (Fujiwara Tofu Shop livery lives here)
Tier 2 — After Tier 1 is cleared:
Upgrade materials for collab cars
Diamond bundles at favorable rates
Skip until everything else is done:
Fuel and standard materials (farmable outside the event)
Repeatable consumables
Generic upgrade mats for non-limited cars
Spending exchange tickets on fuel before clearing blueprints and ECU materials is the second most common mistake in this event — right after missing Day 1 story activation.
For players targeting max-tier AE86/RX-7 blueprints that require top-up points specifically, Racing Master (SEA) top up discount options through BitTopup can stretch your budget further.
F2P vs. Paid: Honest Numbers
F2P players can realistically get:
R32 GT-R Initial D Ver. (free via Tofu Delivery — confirmed)
Base AE86 and RX-7 via free daily 10-pulls + mission gems
T5 Anniversary milestone (Aventador SVJ) with consistent daily play
3,000–3,500 total gems from all free sources
What requires spending:
Max-tier AE86/RX-7 blueprints (need top-up points for premium shop)
T7 meta car + livery (5,000–6,500 gems — beyond F2P ceiling)
Guaranteed AE86/RX-7 via pity if free pulls run short
Hardcore daily players who complete the achievement tree and Creator Event can push toward T6. T7 is a spending milestone, full stop.
For light spenders, the Monthly Card/Deluxe Pass or the first-recharge 70+4 pack (doubles to 148 gems) offers the best value entry. These target T4–T5 without heavy investment.
Minimum F2P commitment for T5: 15–20 minutes daily, every day, March 26 to April 22. Miss more than 3–4 days without compensating, and T5 becomes a stretch goal.
Car Performance Notes
AE86 Trueno — Built for technical tracks and downhill events. Outperforms the base AE86 at ECU 0 in ranked; the re-engineered drift handling makes it genuinely better on Mount Akina rival stages and Tofu Delivery runs. During the event it receives a temporary full ECU buff. Use it for Tofu Delivery farming and drift events — switch to the NSX-R or RX-7 for standard ranked where consistency matters more than drift angle.
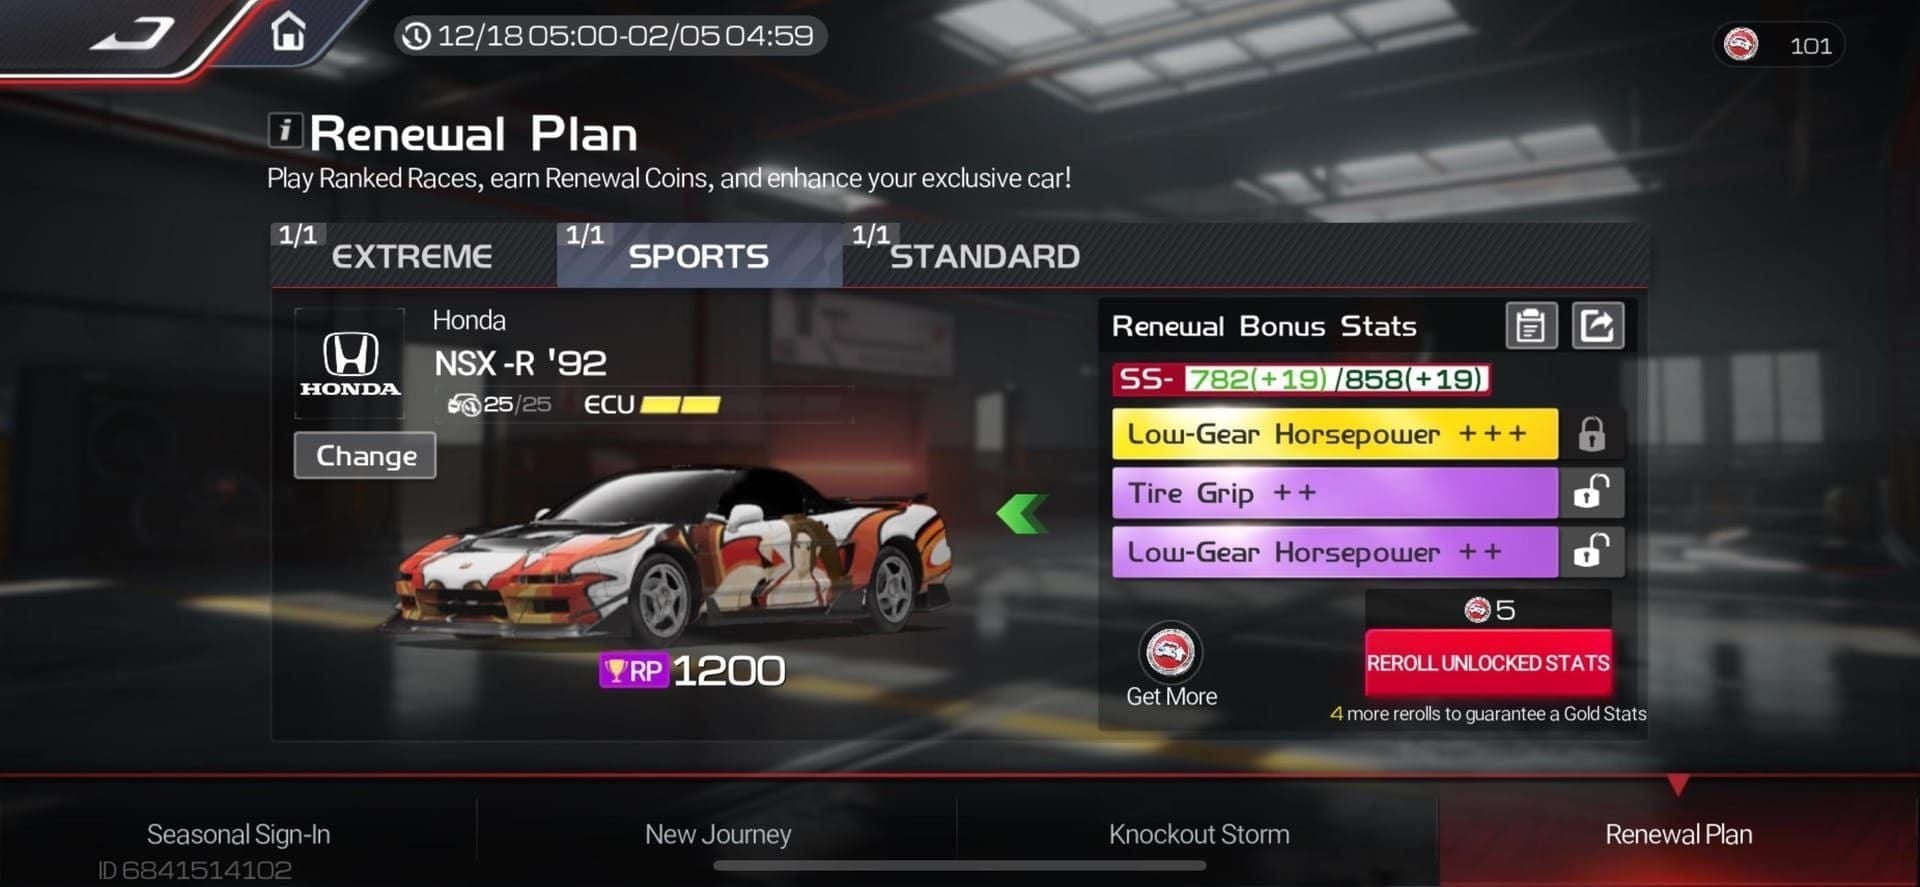
NSX-R — The competitive pick. If you're investing banner pulls beyond free daily 10-pulls, the NSX-R offers the strongest return for standard ranked play.
Post-event viability: All four collab cars outperform their regular counterparts in Standard/Sport class meta at ECU 0. The temporary ECU buff requires shop materials to maintain after April 22 — specifically, the ECU materials from the event shop. Another reason they're Tier 1 priority.
Fastest Farming Routes
Tofu Delivery on Mount Akina is the primary free farm. It drops character cards and diamonds, and rival stages count toward multiple mission objectives simultaneously. Run it first each session.
Ranked matches are the secondary farm for character cards. Don't skip Ranked even when you feel like you've done enough — those cards feed the diamond reward track.
Gum Tape Deathmatch drops cards and advances narrative progress, but it's lower priority than Tofu Delivery for pure currency efficiency. Run it after completing your daily Tofu Delivery quota.
For double-reward windows during collab races: community observation suggests these exist but aren't officially scheduled in advance. Check the event notice board daily — they're worth rearranging your session around when they appear.
Mistakes That Actually Cost Rewards
1. Delaying the Day 1 story stage. Costs mission board activation and that day's currency. Non-recoverable.
2. Splitting gems between the collab banner and anniversary milestones without a plan. Anniversary milestones are where gems go. The collab banner is for exchange tickets specifically.
3. Buying cosmetics before blueprints and ECU materials. The livery will still be there after you've secured your blueprints. Limited ECU materials won't.
4. Not claiming rewards manually. Racing Master SEA does not auto-deposit milestone rewards. Check the milestone UI every session.
5. Assuming banner pity carries post-event. It doesn't. Community confirms pity resets when the banner closes April 22. Sixty pulls at event end means those pulls are gone.
6. Ignoring the Creator Event. Up to 4,800 diamonds for content creation is significant free income that most players leave on the table.
Final 48-Hour Checklist (Before April 22 Reset)
Currency spending:
Spend all remaining exchange tickets on blueprints and ECU materials
Clear remaining top-up points on blueprint boxes
Convert character cards to diamond rewards before expiry
Milestone verification:
Manually claim all unclaimed rewards across every milestone track
Check Creator Event completion (closes April 20 — two days earlier)
Verify weekly mission completion for the final reset cycle
Pending missions:
Complete any unfinished story stages
Finish outstanding Tofu Delivery objectives
Run final Ranked session for last character card drops
Administrative:
If topped up and points haven't reflected, contact support before event close — post-event support for currency issues is significantly slower
If you're still short on gems for that final blueprint box, this is exactly when a quick top-up makes the difference. Racing Master (SEA) cheap recharge through BitTopup offers competitive rates with fast delivery — useful when you're working against a hard deadline.
FAQ
How do I get the AE86 in the Racing Master SEA Initial D Collab? Via the event banner using free daily 10-pulls and mission gems. Community-observed pity is ~70 pulls for a guaranteed featured car. Exchange tickets from pulls can also be used in the event shop for deterministic blueprint purchases — more efficient than relying on gacha RNG.
Can F2P players get all top rewards? Partially. F2P players can get the R32 (free), base AE86/RX-7, and T5 Aventador SVJ with consistent daily play. Max-tier blueprints and T7 require spending. Honest F2P ceiling is T5–T6 depending on achievement tree completion.
What should I buy first in the event shop? Limited AE86/RX-7 blueprints first, then ECU materials, then chrome badges and limited cosmetics. Skip fuel, standard upgrade materials, and consumables until everything else is cleared.
Do event rewards expire after April 22? Yes. All exchange tickets, event tokens, and character cards expire at the April 22 server reset. Unclaimed milestone rewards require manual collection before the deadline. Nothing carries over.
Is the Initial D event pass worth buying? The Monthly Card/Deluxe Pass or first-recharge 70+4 gem pack (doubles to 148 gems) offers better value for most light spenders than a dedicated event pass. These target T4–T5 efficiently without overcommitting.
What happens to banner pity after the event ends? Pity does not carry over. Community confirms it resets when the banner closes April 22. Only start pulling if you can realistically complete the pity within the event window.
Can I still get the AE86 if I miss the first week? Yes, but your margin shrinks significantly. Missing a week of dailies (roughly 210–350 gems) makes the ~70-pull pity harder to reach without spending. Prioritize the achievement tree (2,000–3,000 gems, one-time) to compensate if you start late.
The players who max this event aren't necessarily the biggest spenders. They're the ones who activate the mission board on Day 1, claim every milestone manually, and spend shop currency on blueprints before cosmetics. Follow that sequence, don't split your gems, and T5 is well within reach.