

Quick Answer: Livik's compact 2x2 km battlefield with 52 players delivers the fastest rank progression in PUBG Mobile. Master aggressive early looting (0-4 mins), nail your mid-game rotations (4-8 mins), and position smart for those final circles (8-12 mins). Here's the thing most players miss: survival trumps kills every time for maximum RP gains.
Why Livik's 12-Minute Matches Are a Rank Pusher's Dream
Look, I've been covering PUBG Mobile strategies for years, and Livik changed everything. This 2x2 kilometer pressure cooker with 52 players creates these intense 10-15 minute matches where you can literally squeeze 3-4 games into the time it takes to finish one Erangel round.
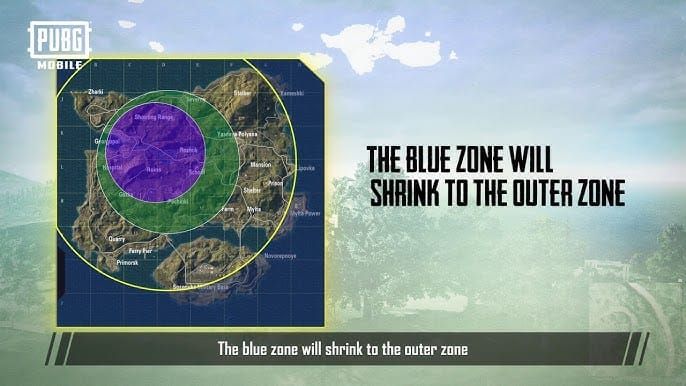
The math is brutal but beautiful: 13 players per square kilometer. That's insane player density. The Blue Zone doesn't mess around either—it starts chomping at you after just 2 minutes (compared to 5 minutes on larger maps) and moves 50% faster throughout the entire match.
Here's what you're dealing with:
Zone warnings? You get 30 seconds. That's it.
Five zone phases, each one nastier than the last
Final zones deal 11% health damage per second (ouch)
The RP system heavily rewards staying alive over getting flashy kills
Pre-Game Setup: Don't Skip This Part
Auto-Pickup Settings That Actually Matter:
AR ammo: Cap it at 200 rounds
SMG ammo: 150 rounds max
Medical supplies: 10 bandages, 5 first aid kits
Throwables: 3 frags, 5 smokes
Turn OFF: Stun grenades and crossbow bolts (trust me on this)
Graphics settings? Smooth with Extreme frame rate. Consistent 60 FPS beats pretty visuals when you're trying to climb ranks. For duo teams—and this is crucial—establish your callout system before you even queue up. Practice that coordinated landing where one secures weapons while the other provides overwatch.
Landing Phase: Your First Make-or-Break Decision
Jump at 400 meters from your target. No exceptions.
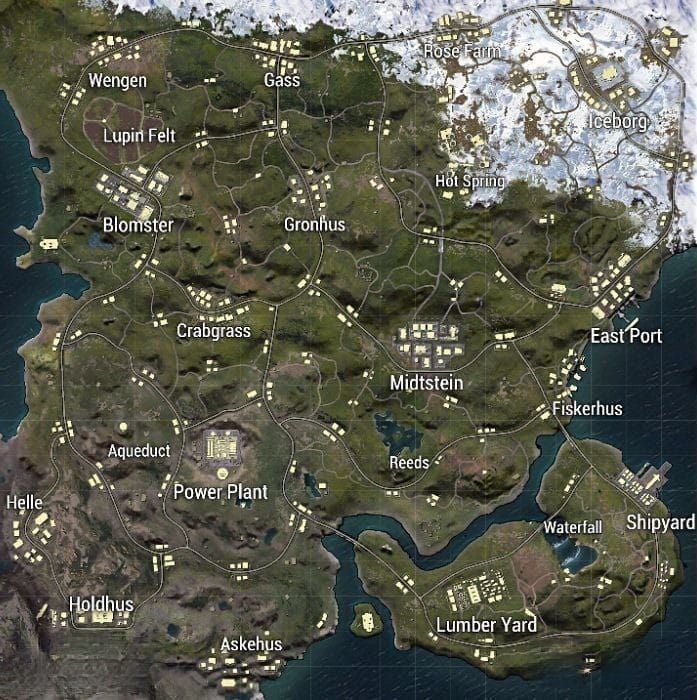
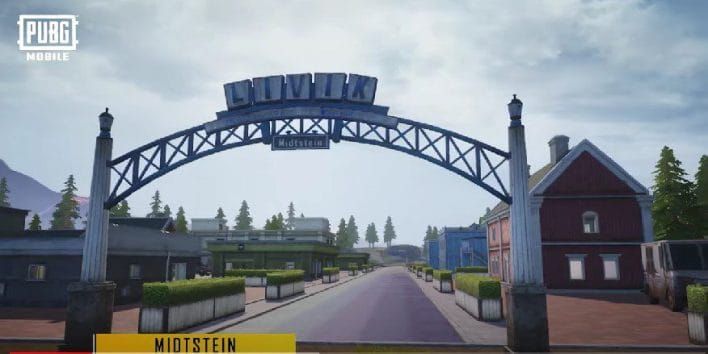
The Aggressive Play (High Risk/High Reward): Midstein and Power Plant are loot paradise with guaranteed immediate action. I've seen players land on Midstein's main building roof for that height advantage—smart move. Power Plant's central tower? Perfect for area control, but expect company.
The Conservative Approach (Steady RP Gains): Iceborg and Hot Springs offer breathing room with solid loot spawns. Hot Springs has this unique healing effect in the water that regenerates health and energy—pretty neat feature that most players ignore. These spots support that survival-focused mindset that actually wins ranks.
The Balanced Route: East Port and Holdhus hit that sweet spot. Medium-tier loot, moderate enemy presence, and you keep your rotation options open.
Early Game Execution (0-4 Minutes): Speed Matters
Your Loot Priority List:
Primary weapon (ARs rule here: M416, SCAR-L)
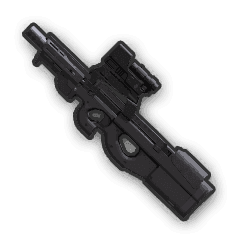
Secondary weapon (SMGs for close quarters: UZI, P90)
Level 2 armor and helmet minimum
Basic meds
Essential attachments (red dot, compensator)
The P90 SMG is exclusive to Livik, and honestly? It's a close-quarters monster with that large magazine. But here's where players mess up—they over-loot death crates. Secure the area first, then quickly assess if there's anything worth grabbing.
That waterfall cave in the southeast corner? Guaranteed high-tier loot including Super Crates with MK12 rifles and Level 3 gear. Just expect a fight for it.
Mid-Game Rotations (4-8 Minutes): The Zone Waits for No One
Start moving toward the safe zone the moment that first circle appears. Seriously. That 50% faster zone movement isn't forgiving.
Vehicle Usage: Avoid unless it's an emergency. The Monster Truck offers the best protection but sounds like a freight train. Most distances on Livik are manageable on foot while keeping you stealthy.
Smart Rotation Tactics:
Use terrain and building compounds for cover
Never cross open fields during peak movement times
Keep your energy boosted for movement speed
Position yourself for cleanup opportunities after nearby fights
For those looking to enhance their gameplay experience, Livik fast games UC top up ensures you've got the resources for premium cosmetics and battle pass progression.
Late Game Positioning (8-12 Minutes): Where Champions Are Made
Your Endgame Checklist:
Secure hard cover (buildings, rocks, terrain features)
Keep that boost meter full for health regen
Save smoke grenades for emergency repositioning
Watch the player count for engagement timing
Stay ready for third-party opportunities
Third-partying is absolutely devastating on Livik. Let the remaining teams duke it out, then swoop in to eliminate the weakened survivors. Go prone to minimize your profile while maintaining sight lines. And here's something most guides won't tell you—prioritize healing items over extra ammo for sustained survival.

Solo vs Duo: Different Games Entirely
Solo Advantages:
Complete control over positioning
Smaller profile for stealth
No coordination headaches
Simplified resource management
Duo Benefits:
Shared intel and callouts
Revive capabilities that extend survival
Coordinated flanking tactics
Resource sharing for optimal loadouts
That revive capability? It fundamentally changes how aggressive you can be. Buy PUBG UC online for RP tasks gives you access to premium communication features that really help team coordination.
Costly Mistakes That Tank Your RP
Timing Errors That Hurt:
Spending over 90 seconds at your landing spot
Looting every death crate during rotations
Delaying zone movement for marginal gear upgrades
Clearing every building in contested areas
Vehicle dependency? That's a trap. Those loud engines act like enemy beacons. Same with unnecessary gunfire—it reveals your location on enemy minimaps. Don't shoot at distant targets you can't actually eliminate.
Quick Note on Rank Decay: You need one ranked match weekly to prevent RP loss. Daily penalties hit Gold (3 RP), Platinum (4 RP), and Diamond (5 RP) during inactive periods.
Advanced Tips for Consistent Ranking
Master those vertical advantages. Building roofs, towers, cliff overlooks—they provide superior scouting and engagement angles. My recommended loadout? AR paired with SMG for varied engagement ranges. Skip two long-range weapons; Livik doesn't offer many extreme-distance opportunities.
Energy Management Pro Tip: Two energy drinks provide significant running speed boosts that are essential for outrunning that aggressive Blue Zone. Zone edge play is advanced positioning but requires precise timing due to increased zone damage.
Professional-Level Tactics:
Predict enemy rotations based on zone announcements
Use audio cues for nearby player tracking
Coordinate smoke grenade usage for team rotations
Maintain situational awareness during combat
Midasbuy UC top up for emote unlocks provides premium features that enhance your competitive experience while keeping the focus on skill development.
FAQ
What's the optimal landing strategy for consistent RP gains on Livik? Conservative spots like Iceberg and Hot Springs provide the most consistent RP gains. Decent loot, minimal early combat, and safe progression into mid-game where placement points really start adding up.
How does Blue Zone timing affect rotation strategies on Livik? It starts at 2 minutes and moves 50% faster than other maps. Start moving toward the safe zone immediately when that first circle appears, regardless of your loot situation.
What weapon combination works best for Livik's engagement ranges? AR paired with SMG covers most scenarios. M416/SCAR-L for mid-range, UZI/P90 for close-quarters building combat. Avoid two long-range weapons on this compact 2x2 km map.
Should solo players use different strategies compared to duo teams? Absolutely. Solo emphasizes stealth and conservative positioning with zone edge play. Duos can coordinate more aggressive strategies with overwatch/looting division, and those revive capabilities completely change your risk assessment.
How important are vehicles for Livik rotations? Avoid them except for emergencies. The noise attracts too much attention. Most rotation distances are totally manageable on foot while maintaining stealth on this 2x2 km map.
What are the most common mistakes that prevent ranking up on Livik? Over-looting while that aggressive Blue Zone approaches, unnecessary vehicle usage that reveals your position, taking avoidable fights that risk elimination, and poor final circle positioning. Focus on survival over kills for those RP gains.