

Master three fastest rotation routes from Arena hot drops to final circles in PUBG Mobile Livik. Covers optimal timing, vehicle management, and shotcaller communication for 2x2 km map's 10-15 minute matches with 52 players and accelerated blue zone mechanics.
Understanding Arena's Strategic Position in Livik
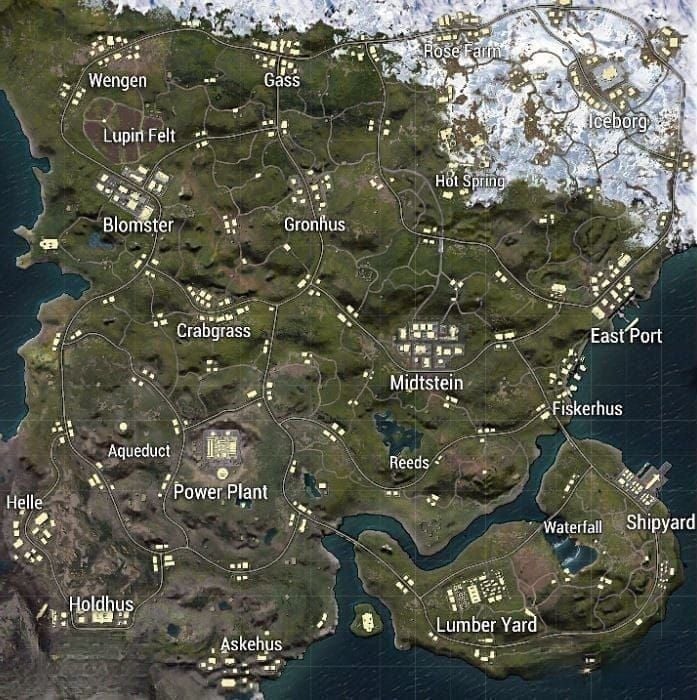
Arena Layout and Key Landmarks
Here's the thing about Livik that catches most players off guard—cramming 52 players into just 2x2 km creates this insane 13 players per km² density. That's why your Arena positioning isn't just important, it's make-or-break.
The central hot drops you'll want to master? Midstein and Power Plant serve as your primary arena zones. Midstein's got these tight apartment complexes and narrow streets that'll turn into absolute chaos for close combat. Power Plant, on the other hand, gives you that stadium structure with elevated sniper positions—perfect if you're comfortable with height advantage plays.

But here's where Livik gets brutal: the blue zone kicks in at just 2 minutes and moves 50% faster than other maps. We're talking five phases that'll deal 11% health damage per second in those final zones. No room for hesitation here—you need your rotation plan locked in before you even finish looting.
Loot Distribution and Priority Items
Arena zones typically dish out tier-1 loot. You're looking at M416 ARs (41 base damage), SCAR-L rifles, and level-3 armor if you're lucky. Power Plant's where things get interesting though—it spawns those Mk12 DMRs (48 base damage, 0.13-second fire rate) and P90 SMGs. Both are Livik exclusives, by the way.
Your priority loadout should look like this: primary AR with 200 rounds, secondary SMG with 150 rounds, level-2+ armor and helmet, basic medical supplies (10 bandages, 5 first aid kits), and utility items (5 smoke grenades, 3 frags). The catch? You need all this completed within 90 seconds for timely rotations. Sounds tight? It is.
Common Enemy Positions and Threats
Arena hot drops typically host 8-12 players initially. The survivors who know what they're doing will position themselves on Midstein rooftops or those Power Plant central towers for height advantages. Teams love controlling doorways and windows for close-quarters combat—classic chokepoint strategy.
When you need reliable UC for competitive loadouts and premium features, buy PUBG UC for fast rotations through BitTopup's secure platform. BitTopup offers competitive pricing with lightning-fast delivery and superior customer support for uninterrupted Livik matches.
The 3 Essential Fast Rotation Routes
Route 1: Northern Path via Midstein
The northern rotation's your bread and butter when you're leveraging Midstein's central position for upper-map circles. You'll move northeast toward Iceborg using that mountain ridge cover—it's a lifesaver when teams are scanning for movement.
We're talking about an 800-meter route that takes 2-3 minutes on foot with full energy. Not exactly a leisurely stroll, but manageable.
Key waypoints include Iceborg church for third-party positioning and Hot Springs elevated positions for zone reading. Pro tip: avoid that main road between Midstein-Iceborg during peak rotation (3-5 minutes) when multiple teams are converging. It becomes a shooting gallery.
Route 2: Eastern Route through Blomster
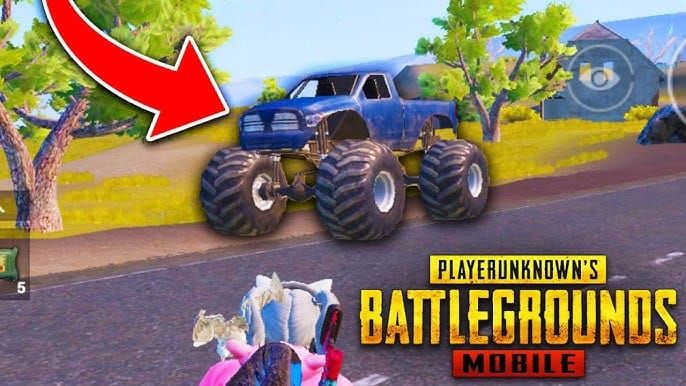
The eastern path's my personal favorite for its flexibility. You're utilizing Blomster's spread buildings and elevated sightlines, heading east through compounds using tree line concealment. Best part? Vehicle access with Monster Truck spawns near the main road.
Blomster provides excellent rooftop overwatch for tracking enemy movements. The route extends to East Port for southeastern circles, offering boat escapes and warehouse cover. Distance averages 600-900 meters—much more forgiving than the northern route.
Route 3: Southern Rotation via Iceborg
Southern rotations target those lower map circles. You'll exit through southeastern paths via the Waterfall area for loot upgrades. Here's a little secret most players miss: there's a hidden cave behind the central waterfall containing Super Crates with 60-70% level-3 helmet spawn rates and Mk12 DMRs.
This route offers jet-ski access for water rotations and connects to Wengen and Askehus compounds. Distance varies 700-1200 meters, but requires careful timing due to limited open-area cover. Risk versus reward at its finest.
Optimal Timing and Zone Reading
Circle Prediction Techniques
Monitor that minimap like your life depends on it—because it does. Use those 30-second warnings for precise movement timing. Livik's five-phase system demands rotation initiation at 2-3 minutes for arena starts. Calculate movement speed using two energy drinks for enhanced velocity.
Zone edge play becomes critical in final circles, positioning along the boundary limits incoming threats to 180 degrees. Use compass callouts to predict enemy flow from opposite zones. It's all about controlling the variables you can.
When to Start Each Rotation
Northern routes require the earliest departure (2:00-2:30) due to elevation changes and limited vehicle access. Eastern rotations offer more flexibility (2:30-3:00) with better vehicle spawns. Southern routes can delay (2:45-3:15) if you're utilizing those Waterfall cave upgrades.
Emergency rotations using Monster Trucks become necessary when you're delayed beyond 3:30, though vehicle noise increases third-party risks significantly. Sometimes you've got to pick your poison.
Reading Enemy Movement Patterns
Audio cues get amplified on this compact map, making footstep detection absolutely crucial. Western zone teams (Blomster, Holdhus) typically favor eastern routes; northern teams (Iceborg, Hot Springs) prefer southern paths. Pattern recognition pays off here.
Use elevated positions during mid-rotation (4-8 minutes) to scout enemies and adjust routes. Prone positioning minimizes detection while maintaining visual contact—basic but effective.
Vehicle Selection and Management
Best Vehicles for Each Route
Monster Trucks provide optimal protection and speed for emergency rotations, especially effective on northern rough terrain. The downside? Noise signature makes them unsuitable for final positioning. Use them only for distance coverage, then abandon 200-300 meters before positioning areas.
Boats at East Port and Waterfall offer unique water-based movement for southern routes. Motorcycles provide speed but minimal protection—suitable only for experienced players who can handle the exposure.
Fuel Management Strategies
The compact size rarely requires full fuel consumption. Prioritize speed over efficiency, using vehicles for rapid zone coverage. Most distances are manageable on foot, making vehicle usage situational rather than essential.
Monitor fuel during extended water rotations as refueling options are limited. Plan abandonment points near cover to prevent enemy acquisition—nothing worse than gifting the enemy team a free ride.
Vehicle Positioning and Abandonment
Position vehicles facing rotation directions for quick escapes. Abandon behind hard cover to prevent enemy usage. Never leave them in open areas signaling your presence like a neon sign.
For consistent UC access for vehicle skins and tactical advantages, recharge PUBG UC lightning delivery ensures uninterrupted gameplay. BitTopup's platform provides instant top-ups with secure payment processing and 24/7 support.
Shotcaller Communication Framework
Essential Callouts During Rotations
Establish compass-based callouts that actually mean something: Enemy team rotating north from Midstein church or Vehicle approaching East Port warehouse. Maintain constant communication during that critical 4-8 minute rotation window when everything can go sideways fast.
Coordinate resource sharing with designated players carrying extra supplies. Assign roles: anchor players maintain overwatch while fraggers scout threats and positioning. Clear roles prevent chaos.
Team Coordination Commands
Implement standardized commands that cut through the noise: Initiate rotation signals immediate movement, Hold position indicates threat assessment, Emergency rotation triggers vehicle usage. Use concise language minimizing delays—every second counts.
Establish flanking protocols when encountering enemies. One player maintains suppressive fire while others reposition for advantageous angles. Textbook stuff, but it works.
Backup Plan Communications
Prepare alternative route callouts: Primary blocked, switching eastern route via Blomster. Practice during casual matches for smooth execution under pressure. Muscle memory saves lives.
Coordinate smoke usage with specific players responsible for deployment timing. Maintain smoke reserves (minimum 3 per player) for rotation emergencies. You'll thank yourself later.
Pre-Rotation Preparation
Loot Prioritization Checklist
Configure auto-pickup: 200 AR rounds, 150 SMG rounds, 10 bandages, 5 first aid kits, 3 frags, 5 smokes. Disable unnecessary items preventing inventory clutter—nothing's worse than a full bag when you need space for essentials.
Prioritize mobility attachments: red dot sights for quick acquisition, compensators for recoil control, extended magazines. Skip dual long-range weapons due to compact size favoring AR + SMG combinations.
Utility and Medical Supplies
Maintain full energy before rotations using energy drinks for enhanced speed. Reserve first aid for emergencies, use bandages during movement. It's all about resource management.
Stock smokes as primary utility for revives and repositioning. Frags serve dual purposes: clearing buildings and denying enemy positions. Versatility wins games.
Team Equipment Distribution
Distribute based on roles: marksmen carry scope attachments and DMR ammo, support focuses on medical/utility. Ensure minimum combat effectiveness (primary weapon + 60 rounds, level-1+ armor, 2+ healing) for every team member.
Coordinate loot sharing during arena phases optimizing team loadouts. Prioritize team survival over individual optimization—ego kills teams faster than enemies do.
Executing Safe Rotations
Smoke and Cover Usage
Deploy smokes strategically during open crossings, creating 15-second concealment windows. Use terrain features as primary cover, reserving smokes for emergencies when you're truly caught in the open.
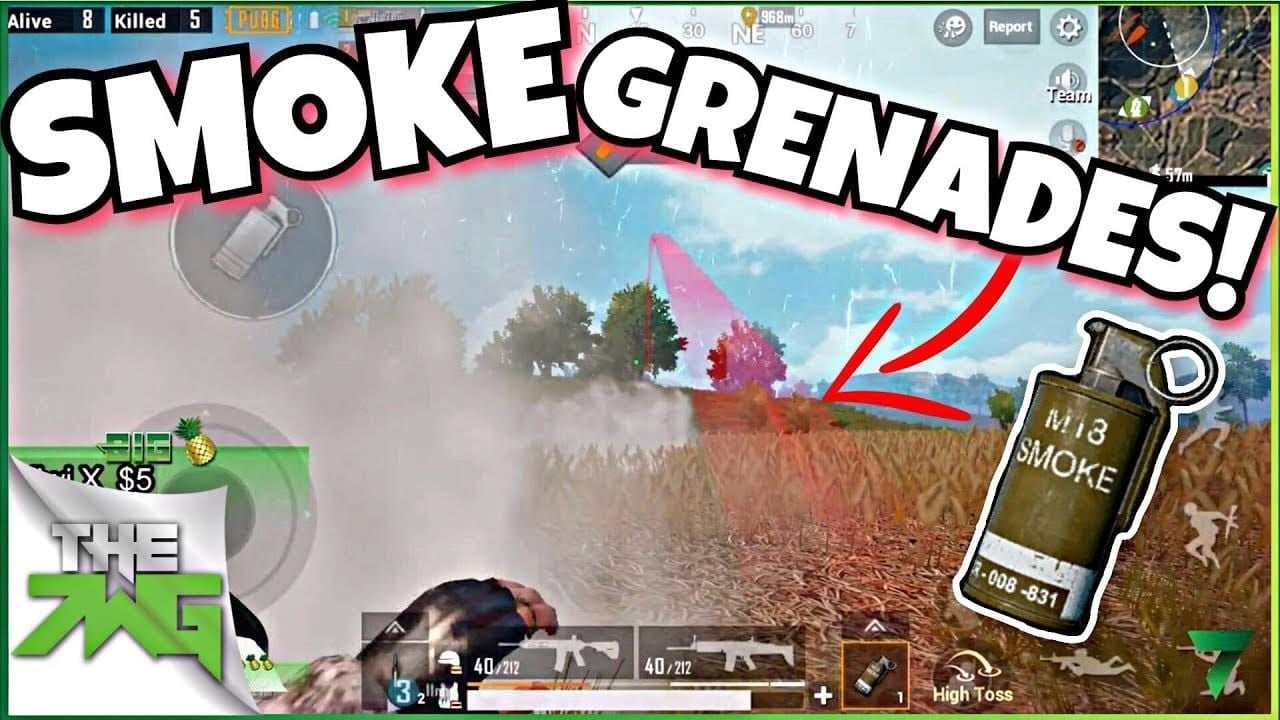
Deploy 2-3 seconds before entering open areas ensuring full coverage. Maintain reserves for final circle positioning—you'll need them when the zone gets tight.
Formation and Movement Patterns
Maintain staggered formations with 20-30 meter spacing preventing area damage. Lead players scout while trailing provide overwatch. It's a dance that requires practice.
Use leapfrog movement in contested areas: alternate between movement and overwatch ensuring continuous coverage. Avoid bunched formations creating easy targets for grenades or spray-downs.
Dealing with Third Parties
Minimize audio signatures avoiding unnecessary gunfire and vehicles. Engage only when paths are blocked or advantageous positioning arises. Sometimes the best fight is the one you don't take.
Position for post-fight cleanups when encountering enemy engagements. Allow teams to weaken each other before engaging survivors—patience pays dividends.
Final Zone Positioning Strategies
Securing Advantageous Positions
Prioritize hard cover (buildings, rocks, elevation) in final circles. Secure positions limiting enemy approach angles while maintaining escape routes for zone pressure.
Control chokepoints and high-traffic areas. Position to intercept rotating enemies while maintaining zone adaptation flexibility. Adaptability wins endgames.
Building and Cover Utilization
Exploit vertical advantages: rooftops provide superior sightlines but balance against exposure risks. Maintain escape routes for zone pressure—getting trapped on a roof is a death sentence.
Use building layouts strategically: control multiple floors preventing infiltration. Coordinate positioning across levels maximizing coverage while avoiding friendly fire incidents.
End Game Team Coordination
Maintain full boost for health regeneration and enhanced movement. Save smokes for final repositioning, use frags denying enemy cover. Resource management becomes critical here.
Monitor player count timing final engagements. Let enemies engage each other when possible, position for cleanup against weakened survivors. Third-party mastery wins games.
Common Mistakes and How to Avoid Them
Timing Errors and Solutions
Never spend more than 90 seconds at landing zones regardless of loot quality. Establish minimum requirements (primary weapon, basic armor, essential healing) before rotating. Greed kills more players than skill gaps do.
Counter poor timing by maintaining zone closure awareness. Use accelerated mechanics (50% faster) as rotation triggers rather than visual indicators. The zone doesn't wait for anyone.
Route Selection Mistakes
Avoid predictable paths funneling into contested chokepoints. Maintain flexibility based on enemy positioning and zones. Predictability gets you killed.
Prevent overcrowding by adjusting landing zones when observing multiple parachutes. Maintain 2-3 backup spots ensuring successful starts. Hot drops aren't worth it if you can't survive them.
Communication Breakdowns
Establish clear role assignments: designate shotcallers and ensure callout understanding. Practice protocols during casual matches—pressure reveals preparation gaps.
Avoid information overload during critical phases. Use concise, actionable callouts providing essential information without cluttering communications. Quality over quantity.
FAQ
What's optimal timing for Arena rotations? Begin at 2-3 minutes. Northern paths need earliest departure (2:00-2:30), eastern routes offer flexibility (2:30-3:00), southern can delay (2:45-3:15) with Waterfall upgrades. Don't push these windows—Livik's unforgiving.
Which vehicles work best? Monster Trucks for emergency rotations but they're loud as hell. Use only for distance, abandon 200-300 meters before positioning. Boats offer water-based advantages for southern routes.
How do I avoid third parties? Minimize audio signatures—avoid unnecessary gunfire and vehicles. Use staggered formations with 20-30 meter spacing. Position for post-fight cleanups rather than engaging fresh teams.
What loot should I prioritize? Minimum: primary AR + 60 rounds, level-1+ armor, 2+ healing items. Optimal: AR with 200 rounds, SMG with 150 rounds, level-2+ gear, 5 smokes, basic medical. Complete within 90 seconds max.
How do I communicate effectively as shotcaller? Use compass callouts with landmarks. Commands: Initiate rotation, Hold position, Emergency rotation. Focus on immediate threats and positioning—save the chatter for after the match.
What are the biggest rotation mistakes? Spending more than 90 seconds looting, delaying past 3:30, using predictable routes, bunched formations. Counter with minimum loadout requirements and flexible route practice. Learn from deaths, not excuses.