

When Lauma is in your party, Lunar-Bloom replaces Bloom: it still spawns standard Dendro Cores (or Bountiful Cores with Nilou) with unchanged timer/AoE/behavior, and it gives your party 1 stack of Verdant Dew (internal cooldown 2.5s, up to 3 stacks). Lauma’s Hold Skill consumes these stacks to deal direct Lunar-Bloom damage that can CRIT and scales with her EM/CRIT stats. Lauma’s Moonsign Benediction also grants up to +14% Lunar-Bloom Base DMG at 800 EM.
Understanding Lunar-Bloom (What It Is—and Isn’t)
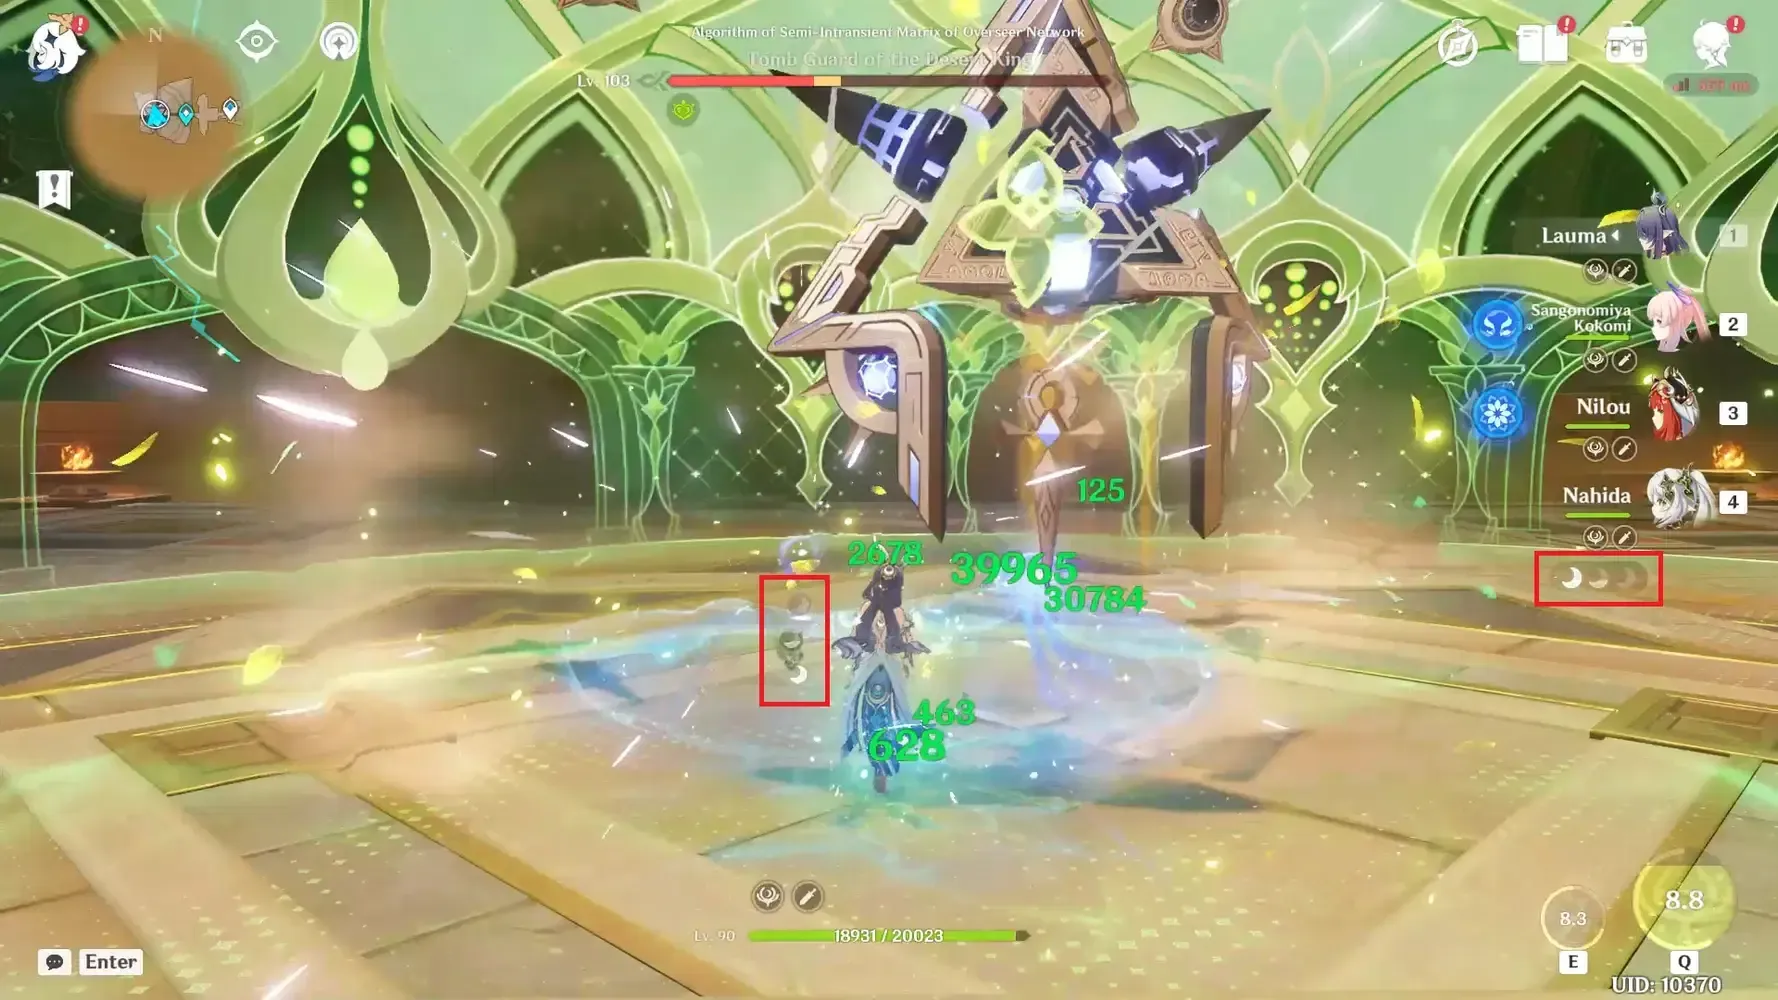
Lunar-Bloom ≠ a stronger/faster Bloom core. Triggering Lunar-Bloom (Hydro + Dendro with Lauma present) creates the same cores as Bloom. The reaction itself deals no damage; its purpose is to accumulate Verdant Dew for Lauma to consume with her Hold Skill, which then fires direct Lunar-Bloom damage that can CRIT and ignores DEF.
For baseline context: regular Dendro Cores last up to 6s and explode in a 5m radius; Bountiful Cores (Nilou) explode after 0.4s in a 6.5m radius. Lunar-Bloom does not change these core properties.

Verdant Dew (Stacks) — Generation & Use
Generation: Each Lunar-Bloom trigger grants the party +1 Verdant Dew with a 2.5s ICD, up to 3 stacks stored.
Persistence: Stacks remain until consumed; if you trigger another Lunar-Bloom during the 2.5s window, the generation window refreshes, letting you cap quickly.
Consumption: Lauma’s Hold Skill consumes all current stacks (max 3) to deal one instance of Dendro Skill damage plus one instance of direct Lunar-Bloom damage, and grants 1 Moon Song per stack for her Burst.
Lauma’s Kit, Cleanly Explained
Elemental Skill — Runo: Dawnless Rest of Karsikko
Tap: Creates Frostgrove Sanctuary after a Dendro hit.
Hold: Consumes all Verdant Dew to deal (1) regular Dendro DMG + (2) direct Lunar-Bloom DMG (this second hit can CRIT and scales on Lauma’s EM/CRIT). Also generates Moon Song (1 per Dew).
Frostgrove Sanctuary follows the active character and hits once every 2s; when Lauma’s Skill or the Sanctuary hit, the target’s Dendro/Hydro RES is reduced for 10s.
Elemental Burst — Runo: All Hearts Become the Beating Moon
On cast, grants 18 Pale Hymn stacks.
Consuming Moon Song (from Hold Skill) adds +6 Pale Hymn per stack (one time per Burst within 15s). Pale Hymn is then consumed by party reactions (Bloom/Hyperbloom/Burgeon/Lunar-Bloom) to increase their damage based on Lauma’s EM.
Moonsign (Team State) & CRIT Rules
Nascent Gleam (1 Nod-Krai in party): Bloom/Hyperbloom/Burgeon can CRIT at fixed 15% CR / 100% CD. This does not affect Lauma’s direct Lunar-Bloom hit.
Ascendant Gleam (2+ Nod-Krai): Direct Lunar-Bloom DMG gains +10% CR / +20% CD (applies to Lauma’s Hold Skill/C6 sources).
Math That Actually Applies
Lunar-Bloom EM Bonus (direct hit): $%EM_Bonus = 6×EM/(EM+2000)$ — applied to direct Lunar-Bloom damage only.
Moonsign Benediction (Lauma A4): +0.0175% Lunar-Bloom Base DMG per EM, capped at +14% at 800 EM. This is a Base DMG bonus to Lunar-Bloom, not a multiplier to core explosions.
Building Lauma for Lunar-Bloom Teams
Artifacts
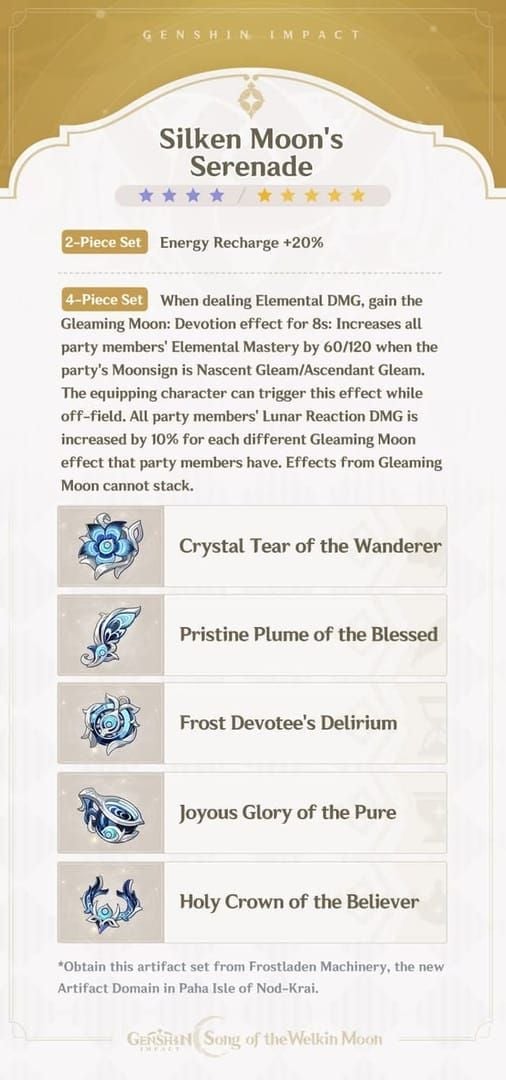
Best-in-Slot: Silken Moon’s Serenade (4-pc) 2-pc: ER +20%. 4-pc: When you deal Elemental DMG, gain Gleaming Moon: Devotion (8s) — party EM +60 / +120 depending on Nascent/Ascendant, and team Lunar-reaction DMG increases by 10% per different Gleaming Moon effect (non-stacking). Works off-field.
Alternative: Deepwood Memories (4-pc) for +15% Dendro DMG and –30% Dendro RES if your team wants a universal Dendro support.
Main stats: EM / EM / EM (Sands/Goblet/Circlet) if focusing on Lunar-Bloom damage; sub-stats CR / CD, EM, then ER to reach your target.
Weapons
5★ Nightweaver’s Looking Glass (Signature BIS): Base ATK 542, +265 EM at 90/90. Passive grants EM when Skill hits (Hydro/Dendro) and when allies trigger Lunar-Bloom; with both effects active at R1, party gains Bloom +120%, Hyperbloom/Burgeon +80%, Lunar-Bloom +40%. Works off-field.
4★ Options: Blackmarrow Lantern (EM + Lunar-Bloom DMG%), or other event/craftable EM weapons depending on availability.
Teams & Roles
Premium Bloom-leaning (Nascent Gleam)
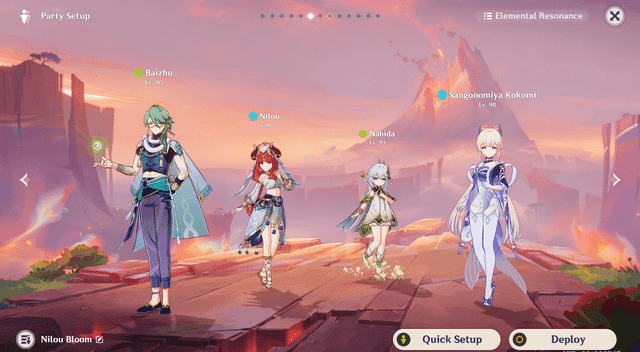
Lauma / Nilou / Hydro applier (Kokomi or Xingqiu/Yelan) / Dendro (Nahida, etc.)
Nilou converts Bloom to Bountiful Cores (faster, larger AoE), which Lunar-Bloom does not change; Lauma buffs reaction damage and supplies sustain/utility.
Lunar-Bloom-leaning (Ascendant Gleam)
Lauma / another Nod-Krai (e.g., Aino) / Hydro applier / Dendro
With 2+ Nod-Krai, Lauma’s direct Lunar-Bloom hit gains CRIT bonuses and set synergies from Silken Moon’s Serenade, shifting more carry weight to Lauma’s Hold Skill.
Rotation (20s Template)
Tap/Place Skill to set Frostgrove Sanctuary (or start with Burst if your team wants buffs first).
Apply Hydro + Dendro to trigger 2–3 Lunar-Blooms and cap Verdant Dew.
Hold Skill to consume Dew → direct Lunar-Bloom hit + Moon Song.
Burst to convert Moon Song → Pale Hymn (18 base +6 per Moon Song, one time per Burst within 15s).
Team damage phase while Frostgrove keeps pulsing (and shredding Hydro/Dendro RES on hit).
Energy Recharge Targets
ER needs vary with team, Dendro count, and C4. Practical ranges for Burst every rotation:
C0, double Dendro (1 Skill/rot): \~175–190%
C0, double Dendro (2 Skill/rot): \~130–160%
Solo Dendro: \~155–210% C4 lowers these requirements notably. Adjust with Favonius support and rotation timing.
FAQ
Does Lunar-Bloom change how cores behave? No. It still spawns standard/Bountiful cores with the same timers/AoE as Bloom. The extra damage comes from Lauma’s Hold Skill (and C6) as direct Lunar-Bloom.
Can Lunar-Bloom damage CRIT? Yes—Lauma’s direct Lunar-Bloom hit can CRIT using her CR/CD. Bloom/Hyperbloom/Burgeon can also CRIT only via special rules (e.g., Nascent 15%/100%).
What EM should I aim for? 800 EM caps +14% Lunar-Bloom Base DMG from Lauma’s passive; more EM still raises the EM Bonus term for her direct Lunar-Bloom per the 6×EM/(EM+2000) function. Balance EM with CRIT for best returns.
Best artifact set? 4-pc Silken Moon’s Serenade in Moonsign teams (ER +20% 2-pc, party EM and Lunar-reaction buffs on 4-pc). Deepwood remains a solid utility alternative.
Best weapon? Nightweaver’s Looking Glass (Lauma’s signature): 542 ATK / 265 EM and a passive that, when fully active at R1, grants party Bloom +120%, Hyperbloom/Burgeon +80%, Lunar-Bloom +40%, plus EM triggers on Skill/Lunar-Bloom events. Works off-field.