

Quick Answer: Kuuhenki are non-aggressive elemental spirits in Nod-Krai that enable high-speed Moonlane traversal through transformation mechanics. Master their red, blue, and white forms alongside advanced movement techniques to optimize speedrun routes through the new region launching September 10, 2025.
Understanding Kuuhenki: Boss Overview and Form Mechanics
Kuuhenki Lore and Background
Here's something fascinating about Nod-Krai's design philosophy—Kuuhenki aren't your typical boss encounters. They emerge from concentrated Kuuvahki energy, embodying primordial forces that actually predate Teyvat's seven-element system. Think of them less as enemies and more as living navigation tools.
These elemental spirits serve as interactive environmental elements throughout Snezhnaya's southernmost region. What makes them particularly interesting for speedrunners? They're the key to accessing Nod-Krai's high-speed Moonlane system. Without mastering Kuuhenki interactions, you're essentially walking everywhere—and trust me, that's not competitive in 2025.

Form Transition Triggers
The transformation mechanics work on magnetic-like principles that'll feel familiar if you've played with actual magnets. Red and blue variants interact with unipolar and bipolar field mechanisms—same colors repel, different colors attract. Simple concept, complex execution.
Transformation requires proximity to Moonshine Violet plants as activation points. You can't just randomly shift forms wherever you want (wouldn't that be nice?). Players must position near these botanical catalysts to initiate form changes, which then enables Moonlane pathway access and those sweet, sweet movement capabilities speedrunners live for.
Unique Abilities per Form
Red and blue forms excel at mechanism interaction—they're your puzzle-solving workhorses. Through magnetic field manipulation, they provide empowered states that offer both puzzle-solving advantages and combat benefits during timed runs.
White Kuuhenki forms? They're the special occasion variant. These only appear during quest sequences, offering specialized abilities for story-critical navigation challenges. For speedrunners, this means you'll encounter them during mandatory traversal segments—no skipping allowed.
Moonlane Traversal System Fundamentals
Basic Moonlane Mechanics
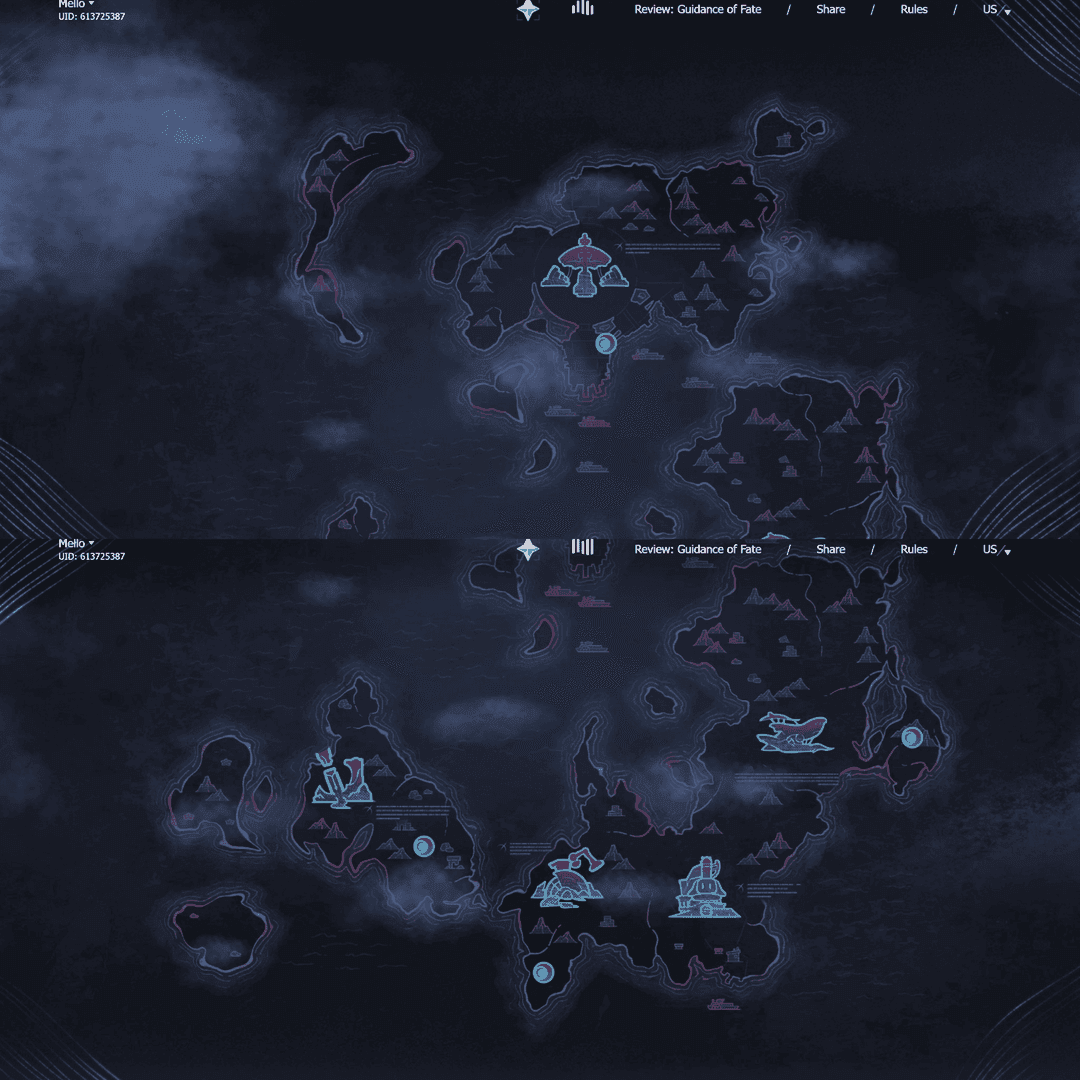
Think of Moonlane traversal as Nod-Krai's answer to fast travel, except it requires skill and timing. These luminous trails connect major points across the region's three islands: Lempo Isle, Hisi Island, and Paha Isle. They link everything important—Domains, Boss locations, Shrines of Depth.

What sets this apart from other traversal systems? Environmental interaction directly enables advanced movement options. No passive fast travel here; you're actively engaging with the world to unlock speed.
Energy Management
Here's where things get strategic. Kuuhenki form maintenance consumes resources over time, forcing route planning around Moonshine Violet refresh points. Environmental factors—terrain types, weather conditions—affect transformation stability and energy consumption rates.
For speedrunners, this creates a resource management mini-game within the larger optimization puzzle. Form duration directly impacts route viability, making energy conservation a critical skill for competitive performance.
Navigation Principles
Advanced Moonlane navigation supports mid-traversal route adjustments and object interaction without breaking momentum. The technical elements include momentum preservation during transitions and optimal entry angle calculations for maximum speed retention.
These aren't casual mechanics—they require dedicated practice for consistent execution in competitive scenarios. But master them? You'll see why the community's so excited about Nod-Krai's speedrunning potential.
Kuuhenki Phase 1: Initial Form Strategy
Attack Pattern Analysis
Kuuhenki spirits follow predictable movement cycles that experienced speedrunners leverage for timing-dependent route segments. When multiple forms occupy the same area, environmental interaction timing becomes crucial—conflicting field effects can derail your run faster than you'd expect.
Understanding these patterns influences optimal interaction windows and traversal initiation timing. It's pattern recognition meets split-second execution.
Optimal DPS Windows
Empowered states from field interaction provide damage bonuses that accelerate obstacle clearing during speedrun attempts. Character positioning relative to Kuuhenki forms affects interaction efficiency—specific angles and distances provide faster activation times.
These micro-optimizations might seem minor, but they accumulate significant time savings across full region completion runs. Every frame counts at the competitive level.
Phase Transition Setup
Moonshine Violet plant locations serve as critical waypoints for maintaining transformation capabilities throughout extended route segments. Speedrunners must memorize these positions for seamless form management during competitive attempts.
Frame-perfect execution reduces transformation downtime, maintaining momentum during critical route segments where every second impacts completion times. No pressure, right?
Advanced Moonlane Traversal Techniques
Speed Optimization Methods
This is where things get technical. Advanced traversal incorporates momentum preservation during path transitions and optimal entry angles for maximum acceleration phases. Dragon Strike execution during Moonlane traversal enables vertical momentum gains, accessing alternative routes that casual players never see.
Bunny Hopping principles apply to form-based movement for stamina-free acceleration. These combinations create powerful strategies that significantly enhance movement speed beyond base capabilities—we're talking about fundamentally different gameplay at the optimization level.
Route Planning
Effective planning requires understanding Nod-Krai's interconnected path network. The six key locations from Pursue and Strike! challenge provide optimal reference points: Nasha Town Outskirts, Clink-Clank Krumkake Craftshop area, Light-Bathed Platform surroundings, Kuuvahki Experimental Design Bureau waters, and Barrowmoss Barrens airspace.
Multiple viable paths between major objectives provide backup strategies for failed execution attempts. Because let's be honest—even the best speedrunners don't nail every trick on every attempt.
Tech Combinations
Master-level traversal combines Double Dashing principles with environmental interaction timing for momentum preservation during complex segments. Character-specific abilities integrate with Moonlane mechanics, particularly Lauma's transformation capabilities that complement the Kuuhenki system.
These synergies enable route options unavailable to standard character compositions. It's not just about individual techniques—it's about how they work together.
Kuuhenki Intermediate Forms: Adaptation Strategies
Form-Specific Weaknesses
Red and blue forms excel at mechanism interaction but lack the white variant's specialized capabilities. This creates situations where form selection impacts route viability—choose wrong, and you might find yourself stuck without the tools needed for the next segment.
Environmental factors can disrupt form stability in areas with conflicting energy fields or adverse weather. Understanding these vulnerabilities allows speedrunners to plan contingency strategies for challenging route segments.
Counter Strategies
Mist patch mechanics provide both obstacles and opportunities through same-color repulsion effects and different-color attraction forces. Advanced players leverage these features for enhanced traversal—using repulsion for momentum gains and attraction for precise positioning.
Environmental interaction efficiency maximizes form duration during critical route segments. It's about working with the environment, not against it.
Speedrunning Route Optimization for Nod-Krai
Primary Route Analysis
Optimal speedrunning routes leverage the three-island structure for maximum efficiency. Lempo Isle serves as the primary hub containing Nasha Town, while Hisi Island and Paha Isle provide specialized objectives.
Key waypoints include three Domains (Lightless Capital, Lost Mooncourt, Frostladen Machinery), two bosses (Radiant Moonfly at Nothing Passage, Knuckle Duckle at Clink-Clank Krumkake Craftshop), and three Borderland Shrines of Depth. That's a lot of ground to cover efficiently.
Time-Saving Shortcuts
Significant time-saving opportunities involve creative Moonlane traversal combined with advanced movement techniques. Specific shortcuts include direct path connections between distant objectives and environmental interaction sequences that bypass traditional navigation.
Community discoveries regularly reveal new possibilities involving Kuuhenki form abilities and interaction timing, constantly updating optimal strategies. The meta's still evolving—exciting times for competitive players.
For enhanced speedrunning capabilities, sufficient resources become crucial for character optimization. Buy Genesis Crystals Online through reliable platforms ensures necessary materials for building optimal teams without interrupting practice sessions.
Character Builds and Team Compositions
DPS Optimization
Here's where speedrunning builds diverge from traditional combat optimization. Optimal builds prioritize movement speed and environmental interaction efficiency over raw damage output. The Moonsign system provides advantages for teams with two or more Nod-Krai characters for Ascendant Gleam activation.
Lauma's transformation abilities complement Kuuhenki mechanics beautifully, while her Lunar-Bloom reactions and resource detection passive offer navigation benefits. Flins brings dual-stance flexibility and Lunar-Charged optimization for mixed combat-traversal segments.
Support Character Selection
Support selection focuses on Lunar Reaction damage enhancement and team utility. Optimal composition: two Nod-Krai characters plus two supporting elements activates Ascendant Gleam while maximizing that sweet 36% Lunar Elemental Reaction damage bonus.
Stat scaling varies by element: Pyro/Electro/Cryo provide 0.9% boost per 100 ATK; Hydro offers 0.6% per 1000 Max HP; Geo contributes 1% per 100 DEF; Anemo/Dendro provide 2.25% per 100 Elemental Mastery. Numbers matter at the optimization level.
F2P Friendly Options
F2P builds benefit from craftable weapons: Prospector's Shovel for polearm Lunar-Charged damage, Blackmarrow Lantern for catalyst Lunar-Bloom capabilities. Aino represents the most accessible option—obtainable through Archon Quest completion rather than gacha luck.
Her Hydro Claymore status and water-spraying mechanism provide valuable F2P utility. Not everyone needs to whale for competitive speedrunning.
Advanced Speedrunning Techniques
Frame-Perfect Inputs
Master-level speedrunning requires precise Dragon Strike execution during Moonlane traversal. We're talking exact timing coordination between hit lag recognition, dash input, and jump activation for optimal vertical momentum.
Bunny Hopping principles apply to form-based movement but require adjustment for Moonlane physics properties. The muscle memory from other games helps, but you'll need to recalibrate for Nod-Krai's specific mechanics.
Community Innovations
Collaborative route discovery and technique refinement drives continuous optimization. Community tools—route mapping applications, timing analysis software—support sophisticated strategy development that would've been impossible just a few years ago.
Shared research on character builds, interaction timing, and route planning creates knowledge bases benefiting all participants. The speedrunning community's collaborative spirit really shines in complex systems like this.
For quick character optimization, Genshin Impact Top Up services provide efficient premium resource access. BitTopup offers competitive pricing and rapid delivery, ensuring minimal practice interruption while maintaining account security.
Performance Metrics and Improvement
Timing Benchmarks
Reliable benchmarks require standardized measurement across major objectives. Key segments include individual island completion times, boss encounter durations, and traversal efficiency for major connections.
The Pursue and Strike! challenge's six-stage structure provides excellent Moonlane proficiency measurement opportunities. It's like a built-in benchmark system.
Progress Measurement
Effective tracking involves multiple metrics beyond completion times. Execution consistency measurements identify practice areas, while technique-specific analysis reveals optimization opportunities.
Advanced players benefit from detailed logging tracking interaction efficiency, transformation timing, and resource management effectiveness. Data-driven improvement is the way forward.
Leaderboard Analysis
Version 6.0 release will establish initial benchmarks, with community competition driving rapid optimization discoveries. Regional and global comparison provides meta strategy insights and technique adoption trends.
The Masterless Stella Fortuna system and level 100 capabilities will significantly impact competitive benchmarks. We're entering uncharted territory for character power levels.
For top-tier performance, consistent premium resource access becomes essential. Cheap Genshin Top Up through BitTopup provides cost-effective solutions with secure payment processing and excellent customer support for serious speedrunning enthusiasts.
Frequently Asked Questions
What are the main differences between Kuuhenki forms and how do they affect speedrunning routes? Red and blue forms interact with mechanisms using magnetic principles—same colors repel, different colors attract, granting empowered states for combat and puzzles. White forms appear only during quests with specialized navigation abilities. Speedrunners must plan routes around form availability and transformation timing.
How does Moonlane traversal work and what techniques optimize its usage? Requires active Kuuhenki transformation for high-speed movement along glowing paths connecting major objectives across three islands. Optimization includes momentum preservation, optimal entry angles, and integration with Dragon Strike and Bunny Hopping techniques.
Which builds work best for Nod-Krai speedrunning? Two Nod-Krai characters activate Ascendant Gleam while two supports provide 36% Lunar Reaction damage bonus. Lauma offers transformation synergy, Flins provides dual-stance flexibility. Support scaling: Anemo/Dendro 2.25% per 100 EM, Hydro 0.6% per 1000 HP.
What environmental factors affect speedrunning performance? Moonshine Violet plants serve as transformation waypoints. Mist patches create repulsion/attraction mechanics for advanced movement. Weather and energy fields can disrupt form stability. Six Pursue and Strike! locations provide optimal route reference points.
How do Lunar Reactions impact speedrunning strategies? Lunar-Charged scales with Attack (0.7% per 100 ATK), Lunar-Bloom enables CRIT hits for Bloom reactions. Moonsign system: Nascent Gleam (1 character) provides individual bonuses, Ascendant Gleam (2+ characters) offers team-wide benefits like 60 Elemental Mastery buffs.
What Version 6.0 improvements affect speedrunning? Upgraded Treasure Compass tracks Nod-Krai Oculi through Joint Meeting Point Construction. Masterless Stella Fortuna enables level 100 upgrades using C6+ pull items, applying retroactively for immediate veteran player access to enhanced capabilities.