

The Patch 1.9.20A1 Ultimate buff is the single biggest reason to revisit Joy right now. Her Ultimate, Ha, Electrifying Beats!, deals 15% more base damage across all 8 pulse hits — and when you factor in on-beat Skill 2 stacking (+25% per perfect dash), the compounding effect on burst output is substantial. Joy has shifted from a high-skill-floor situational pick to a genuine S/A-tier jungle and EXP lane assassin worth serious investment.
What the Patch 1.9.20A1 Buff Actually Changed
The +15% increase applies to the base damage of each pulse. At max rank, each hit officially deals 230–290 (+40% Total Magic Power) Magic Damage — and the buff amplifies that base figure before scaling kicks in. Every on-beat Skill 2 you land (each adding +25% to Ultimate damage) now multiplies off a higher baseline.
Pre-buff, a full 5-on-beat-dash setup was already Joy's identity. Post-buff, the same combo hits noticeably harder because the +15% interacts multiplicatively with on-beat bonus stacks. Against squishy targets in assassination scenarios, you're looking at genuine one-shot territory. The multi-hit reduction (60% when multiple pulses hit the same target) still applies, but single-target burst is meaningfully higher.
The passive (Humph, Joy's Angry!) grants +100% Movement Speed and 16% Damage Reduction for 4 seconds after any skill hits a non-minion enemy. The buff doesn't change the passive directly — but faster kills mean you spend less time in range taking return damage, which makes the damage reduction window more reliable in practice.
The skill loop: Skill 1 slow → five on-beat Skill 2 dashes → Ultimate. Nail the rhythm, and the reward is now greater than it was pre-patch.
Why This Moves Joy from Situational to Meta-Relevant
Joy's Difficulty rating is 90. Before this patch, that steep learning curve didn't always justify the investment at lower ranks. The win rate data tells the real story: 51.38% win rate with a 29.01% ban rate. Players who master her already win consistently, and opponents fear her enough to ban her. The +15% buff pushes damage past the threshold where even imperfect rhythm execution can still secure kills — lowering the effective skill floor slightly while raising the ceiling.
Meta Position: Tier Assessment for March 2026
Joy sits at S/A-tier for jungle and EXP lane. That 29.01% ban rate is your clearest signal — heroes get banned when they're genuinely threatening, not just theoretically strong.
By rank:
Gold–Platinum: Joy is often left open. Her burst overwhelms players who haven't learned to respect her rhythm combos.
Diamond–Legend: Expect occasional bans. Have a secondary pick ready, but prioritize Joy when she's available.
Mythic: She gets banned or first-picked roughly 1 in 3 games. You need a strong secondary.
Hard Counters
Minsitthar (S-tier Fighter) and Khufra (B-tier Tank) are Joy's strongest counters. Minsitthar's Royal Decree prevents dashes entirely — shutting down her entire Skill 2 chain and Ultimate setup. Khufra's Bouncing Ball similarly interrupts dash-based mobility. Chou, Franco, Gusion, and Lunox also create serious problems. Counter-play: use Skill 2's CC immunity during dashes and reposition constantly.
7 Joy Build Strategies for Patch 1.9.20A1
The core truth post-buff: Magic Power scaling is more valuable than ever. Every item that boosts Total Magic Power now contributes more to your Ultimate's output.
Build 1: Full Burst Mage — Mid Lane
Arcane Boots → Genius Wand → Holy Crystal → Blood Wings → Divine Glaive → Winter Crown
Highest damage configuration. Genius Wand reduces enemy Magic Defense on hit, setting up Holy Crystal's spike. Blood Wings provides Magic Power plus a shield that scales with your Magic Power total — the more damage you build, the tankier it makes you. Divine Glaive handles penetration against enemies who respond with Magic Defense items.
Winter Crown is non-negotiable. You can activate its freeze mid-Ultimate without canceling it — the pulses continue while you're frozen.

When you're taking heavy return fire during the 4-second Ultimate window, pop Winter Crown, survive the burst, let the remaining pulses finish the job. Most Joy players don't use this correctly.
Best against: Squishy enemy compositions where you can reliably one-shot priority targets.
Build 2: Hybrid Magic-Fighter — EXP Lane Sustain
Arcane Boots → Concentrated Energy → Divine Glaive → Holy Crystal → Wishing Lantern → Glowing Wand
Concentrated Energy provides spell vamp that stacks with kills and assists. Joy's Ultimate grants additional Spell Vamp on perfect rhythm execution, so the synergy is direct. Glowing Wand adds a burn that counters high HP regeneration and shield heroes — relevant in EXP lane where you're facing fighters and tanks with sustain.
Best against: Durable EXP lane opponents who can outlast your burst window.
Build 3: Magic Penetration Priority — Shredding Tanks
Arcane Boots → Genius Wand → Divine Glaive → Holy Crystal → Glowing Wand → Blood Wings
Lead with penetration instead of raw Magic Power. Genius Wand into Divine Glaive means you're reducing and bypassing Magic Defense before your Holy Crystal spike arrives. Against two or more tanks, this ordering keeps your early damage relevant instead of bouncing off high Magic Defense values. The trade-off: slightly slower power spike than Build 1 until Holy Crystal comes online.
Best against: Tank-heavy drafts.
Build 4: Early Snowball — Jungle Aggression
Arcane Boots → Genius Wand → Holy Crystal → Divine Glaive → Concentrated Energy → Blood Wings
Item order is everything here. Genius Wand first, Holy Crystal second — your damage spike arrives at items 1 and 2. Clear camps fast to level 4, rotate to lanes with low-HP enemies, burst with teammates. At level 4 with all five on-beat Skill 2 dashes, your Ultimate already deletes most heroes. This build falls off slightly in ultra-late games against full builds, but the 8–15 minute snowball window often closes games before that matters.
Best against: Opponents who haven't scaled yet.
Build 5: Late-Game Hypercarry
Arcane Boots → Concentrated Energy → Holy Crystal → Blood Wings → Divine Glaive → Winter Crown
Concentrated Energy first gives you early sustain without early dominance. Your power spike arrives later — Holy Crystal into Blood Wings creates a massive Magic Power total that pushes your Ultimate's +40% Total Magic Power scaling to its ceiling. Blood Wings' shield also scales with that Magic Power, giving you a substantial buffer in late team fights. The +15% buff makes this build's late-game payoff more dramatic than pre-patch.
Best for: Long games where you expect to reach full items.
Build 6: Anti-CC Resilience
Tough Boots → Genius Wand → Holy Crystal → Divine Glaive → Blood Wings → Winter Crown
Tough Boots over Arcane Boots is the defining choice. CC reduction keeps your Skill 2 chain from being interrupted before you build Beat Energy. Joy's Skill 2 grants CC immunity during each dash, but you need to actually start the chain — getting stunned before your first dash prevents everything. The Ultimate cleanses debuffs at a certain Beat Energy threshold, but against Franco + Chou compositions, Tough Boots is the difference between getting your Ultimate off and dying before you cast it.
Best against: Teams with 3+ CC abilities.
Build 7: Off-Meta Utility Hybrid
Arcane Boots → Concentrated Energy → Genius Wand → Glowing Wand → Holy Crystal → Divine Glaive
Genuinely off-meta, but with a specific use case. Glowing Wand's burn stacks with Genius Wand's defense reduction, creating sustained damage over time rather than pure burst. Against teams with high burst resistance — shields, lifesteal, damage reduction — the burn bypasses some of those defenses. Skill 1 also reveals bushes and slows enemies; in coordinated play, using it to set up teammates' CC rather than purely for your own chain creates unexpected utility.
Best against: Shield and lifesteal-heavy compositions.
Build Comparison

Emblem Setup
Mage Emblem with Temporal Reign is the consensus pick for Builds 1, 3, 4, and 5. Temporal Reign reduces other skill cooldowns after casting your Ultimate — enabling multiple combo sequences in a single extended fight. First talent slot: Thrill for adaptive attack, which helps early camp clear and lane engagements.
Second slot by role:
Jungle: Seasoned Hunter — faster camp clear means faster level 4
Lane: Bargain Hunter for item speed, or Festival of Blood for spell vamp that stacks with Concentrated Energy in Build 2
For Builds 6 and 7, Mage Emblem with Tough Boots still outperforms Fighter Emblem in most cases. The CC reduction from boots covers the survivability gap without sacrificing damage.
Battle Spell Selection
Retribution (upgraded to Ice Retribution) for jungle. Ice Retribution's Movement Speed debuff synergizes with Joy's mobility — slowing enemies makes your Skill 2 chain easier to land on moving targets.
Vengeance for EXP and mid lane. It keeps you alive during dives while building Beat Energy. The damage reflection punishes enemies who dive you, and the sustain during the pre-Ultimate window is genuinely valuable. Experienced Joy lane players consistently prefer it over Flicker.
Purify is correct specifically against Minsitthar or other dash-suppression abilities. If Minsitthar isn't banned, Purify lets you break Royal Decree and resume your Skill 2 chain. Without it, he's a near-hard counter.
Flicker works for players still learning rhythm mechanics — the repositioning compensates for missed dashes. As your on-beat timing improves, Vengeance or Retribution becomes more valuable than Flicker's safety net.
Skill Combo Rotations
Use earphones and turn up the volume. The audio cue for on-beat timing is more reliable than watching the visual indicator. The yellow indicator reaching the last bar signals the perfect window — a lightning logo confirms success, a yellow dot means you missed.
Standard Burst Combo
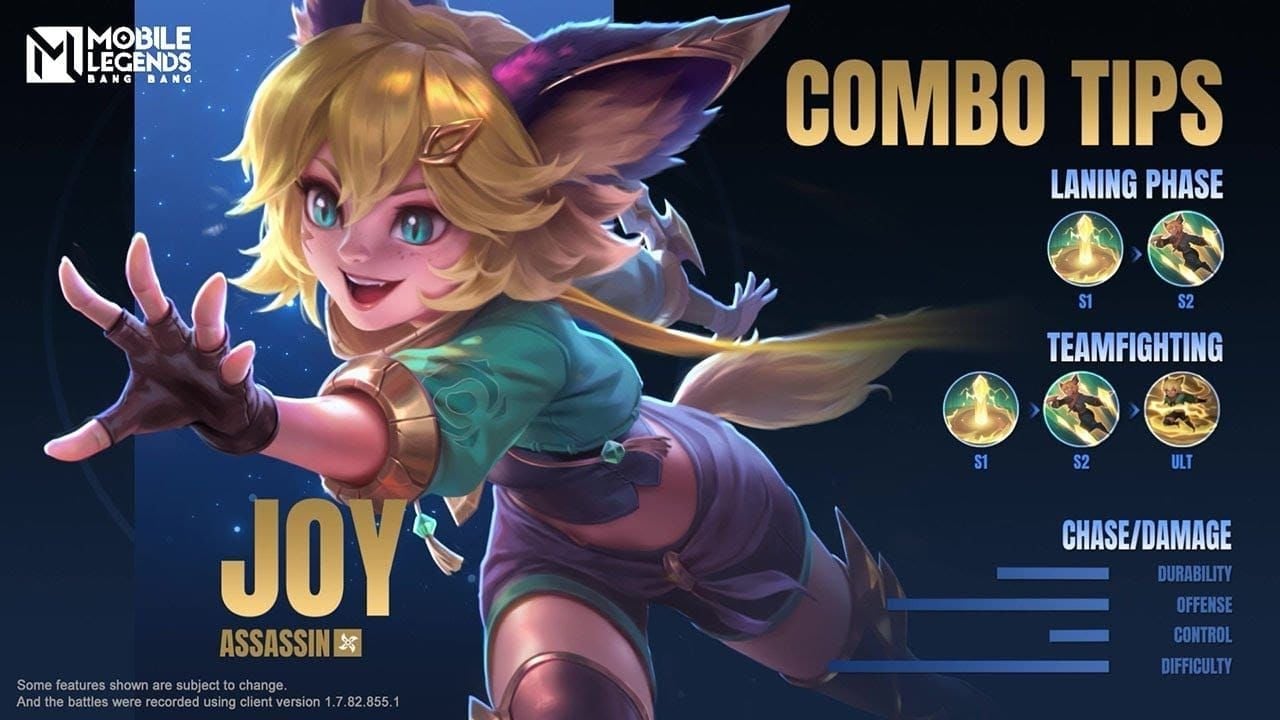
Hide in bush near target
Cast Skill 1 toward the enemy (slow makes Skill 2 dashes easier to land)
Chain Skill 2 five times, hitting on-beat each time
Cast Ultimate immediately after the fifth Skill 2 — Beat Energy is full, all on-beat bonuses stacked
If the enemy Flickers during your Ultimate, cast Skill 1 to slow and continue pulse damage
Against squishy targets, this combo is a one-shot post-buff.
Bush Crystal Setup
Place Skill 1 crystal inside a bush before the enemy reaches it. When they walk past, dash to the crystal with Skill 2 (counts as a hit, starts the chain), then chain four more dashes onto the enemy. The first dash comes from an unexpected angle — less reaction time before you're already on your third or fourth dash.
Defensive Escape
Cast Skill 1 in your escape direction (the crystal is a valid Skill 2 target even without hitting an enemy), dash to it, then chain remaining Skill 2 dashes toward safety. CC immunity during each dash means you can escape through some abilities if you time correctly.
Basic Attack Weaving
Between Skill 2 dashes, weave basic attacks. Joy's basics deal 80 (+30% Total Physical Attack +80% Total Magic Power) Magic Damage and trigger her passive's additional damage once per 4-second window per enemy. In team fights, hit different enemies with basic attacks to maximize passive procs — the per-target cooldown means hitting the same enemy repeatedly wastes procs.
Lane Assignments
Mid lane Joy prioritizes roaming. Clear your wave, then rotate to assist jungle or gank side lanes. Level 4 is your signal to start moving — full Ultimate access is your first major power spike. Your burst can delete a low-HP side lane enemy before they react, creating gold advantages that snowball into item spikes.
EXP lane Joy needs sustain-focused itemization (Build 2 or Build 6) for extended 1v1s against fighters and tanks. The upside: Joy's mobility makes her difficult to gank. Skill 2's CC immunity and repositioning outclass most EXP lane fighters. Against melee fighters without gap-close, poke with Skill 1 and Skill 2 safely while building Beat Energy.
Team composition should ultimately decide your lane. If your team has a strong mid laner (Lunox, Kagura, Vale), Joy is better in EXP lane or jungle. If your team needs a roaming burst threat, mid lane with early rotation timing is the play.
Team Synergies
Joy's burst is most effective when enemies are already slowed, stunned, or displaced:
CC supports (Mathilda, Diggie, Faramis) — chains give Joy time to complete the full five-dash sequence
Displacement tanks (Atlas, Tigreal) — enemy clusters hit by Ultimate pulses still create significant AoE pressure
Jungle partners — Joy's fast clear and level 4 spike pairs well with a support jungler securing objectives while Joy rotates for kills
Against Gusion and Lunox, don't engage when your Ultimate is on cooldown. The 28-second cooldown (reduced by Temporal Reign) is your vulnerable window — play defensively during it.
Diamond Investment: Is Joy Worth It?
Joy's post-buff position makes her a strong investment for players who enjoy high-skill-ceiling assassins. A 29.01% ban rate confirms she's genuinely feared — heroes with that ban rate consistently deliver results for players who master them.
For players looking to buy Mobile Legends diamonds for hero skins without overpaying, BitTopup offers competitive rates with fast delivery. Worth checking current pricing before committing, especially if you're planning to grab both Joy's hero unlock and a skin in the same session.
On skins: Joy is a rhythm-based hero where audio feedback directly affects gameplay. Skins with custom audio effects have genuine gameplay relevance — a skin that changes the rhythm sound can affect your timing calibration. Test any new skin in practice mode before taking it into ranked.
Return on investment: Budget 20–30 games to internalize on-beat timing before evaluating your win rate. The learning curve is real. Players who push through it consistently report Joy becomes one of the most rewarding heroes in the roster. If you're planning to grab her full skin collection alongside build optimization, top up MLBB diamonds with fast delivery through BitTopup before limited-time skin events close — those windows are shorter than most players expect.
Hidden Mechanic Most Guides Miss
Winter Crown mid-Ultimate doesn't cancel it. The Ultimate continues pulsing while you're frozen. When you're taking heavy burst during your 4-second window — an enemy Gusion combo, for example — pop Winter Crown, survive, let the remaining pulses finish. This is why Winter Crown appears across multiple builds despite Joy not being a traditional tank. It's a combo extender, not just a defensive item.
Skill 1 reveals bushes. Placing your crystal in a bush doesn't just set up your first Skill 2 dash — it also reveals enemies hiding there. Obvious applications in late-game objective fights where enemies bush-camp near Lord or Turtle.
Practical Ranked Tips
Early game: prioritize level 4, not kills. Attempting kills before your Ultimate is available is high-risk. Clear camps efficiently, reach level 4, then rotate.
Mid game: After your first successful assassination, immediately rotate to the nearest objective. Joy is one of the fastest rotators in the game — use it. Don't farm lane after a kill when Turtle or a tower is available.
Late game: Hold your Ultimate for high-value targets. The 28-second cooldown is short enough to be selective, but long enough that wasting it on a tank who survives is a significant mistake. Prioritize enemy carries and supports.
Most common post-buff mistake: Players see the increased damage numbers and engage without full Beat Energy or on-beat Skill 2 stacks. The buff doesn't remove the fundamental requirement — you still need all five on-beat dashes to maximize output. Rushing the Ultimate with two or three stacks wastes the buff entirely.
FAQ
What exactly changed in numbers? +15% to Joy's Ultimate base damage. Each of the 8 pulses deals 230–290 (+40% Total Magic Power) Magic Damage, with the +15% applied to the base figure before scaling. On-beat Skill 2 bonuses (+25% per dash) and multi-target reduction (60%) still apply on top.
Does the buff apply at all Ultimate ranks? Yes. It applies to the base damage range across all ranks. The +40% Total Magic Power scaling coefficient is unchanged.
Which build for a new Joy player? Build 4 (Early Snowball) with Mage Emblem and Vengeance. The early Genius Wand + Holy Crystal spike gives clear damage feedback that helps you learn when your burst is sufficient to engage. Avoid Winter Crown until you're comfortable with the basic combo — it requires situational awareness to use correctly.
Can Joy compete at Mythic? Yes, but expect a high ban rate. You need a strong secondary pick for games where she's banned. The mechanical requirements don't change by rank, but enemies punish rhythm mistakes more severely at Mythic.
How does Minsitthar counter Joy, and what's the response? His Royal Decree prevents all dashes, completely shutting down Skill 2 and Beat Energy generation. Responses in order of effectiveness: ban him, pick Purify to break the suppression, or build Tough Boots and play around his Ultimate cooldown. There's no build solution that fully neutralizes this — draft and spell selection are the primary answers.
Is the buff permanent? Balance changes in numbered patches are permanent until reversed by a subsequent patch. No indication this is temporary. Monitor official MLBB patch notes for follow-up tuning — high-impact buffs sometimes get adjusted in minor patches.
Joy in March 2026 is the best she's been in recent memory. The +15% Ultimate buff compounds with her existing on-beat mechanics to push burst output into genuine one-shot territory against squishy targets. The learning curve is real — Difficulty: 90 isn't marketing language. But for players willing to invest time in the rhythm system, the post-buff payoff is substantial. Pick the build that matches your lane and enemy composition, hit level 4 before rotating, and remember: Winter Crown mid-Ultimate is the survival tool that separates good Joy players from great ones.