Quick Answer: Genshin Impact features cleansable elemental debuffs (Slowing Water, Engulfing Storm, Condensed Ice, Smoldering Flames) and non-cleansable effects (Corrosion, Bond of Life). Bennett and Jean are premier team-wide cleansers, using Pyro and Anemo self-application to trigger reactions that remove debuffs safely.
Understanding Genshin Impact's Debuff System (It's More Complex Than You Think)
Let's be honest here – debuffs in Genshin can absolutely ruin your day if you're not prepared. After covering this game for years, I've watched countless players struggle with what should be manageable mechanics.
The Three-Tier Debuff Hierarchy
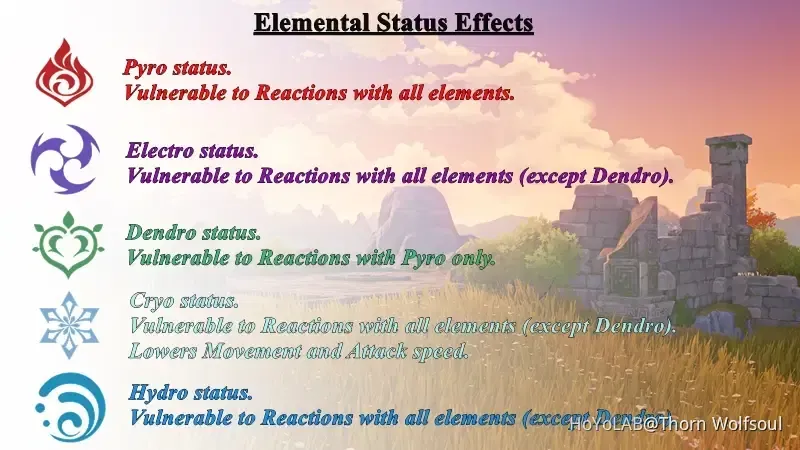
Genshin's debuff system breaks down into distinct categories, and understanding this matters more than most guides let on. Slowing Water cranks up your skill and burst cooldowns by 80-100% (yes, it's as painful as it sounds). Engulfing Storm constantly drains your burst energy – imagine trying to maintain rotations when your energy just... disappears. Condensed Ice makes dodging feel like you're running through molasses. Smoldering Flames burns through your HP with relentless DoT.
These show up as Ley Line Disorders in domains like Cecilia Garden and Hidden Palace of Lianshan Formula. The cleansing mechanism? Apply different elements to trigger reactions that strip away the original debuff auras.
For players serious about optimization, securing adequate status cleanse crystals plan through BitTopup provides the resources needed for proper character development. Their competitive pricing and instant delivery make artifact farming much more manageable.
Now here's where it gets tricky. Corrosion completely ignores shields – every shield in the game – and drains HP from your entire party. Active characters can actually die from this, while inactive ones stop losing HP at 15%. Bond of Life is even nastier: it blocks ALL healing until you absorb damage equal to the Bond's value.
The Math Behind Elemental Resonance (And Why It Actually Matters)
Most players sleep on Elemental Resonance for debuff mitigation, but the numbers don't lie. Fervent Flames (double Pyro) cuts Cryo debuff duration by 40%. Soothing Waters (double Hydro) does the same for Pyro effects. High Voltage and Shattering Ice follow the same pattern for their opposing elements.
Bond of Life caps at 200% Max HP with a 600-second timer. That red cross-hatched overlay on your HP bar? That's your warning. Healing absorption works 1:1 – pump 50,000 HP worth of healing to clear 50,000 HP worth of Bond.
Here's something most guides miss: self-cleansing creates secondary effects you need to anticipate. Hydro cleanse against Cryo? You're getting Frozen. Pyro against Hydro triggers Vaporize. Anemo follows absorption priority: Pyro > Hydro > Electro > Cryo.
Character Analysis: Who Actually Gets the Job Done
Bennett: The Gold Standard (With One Major Caveat)
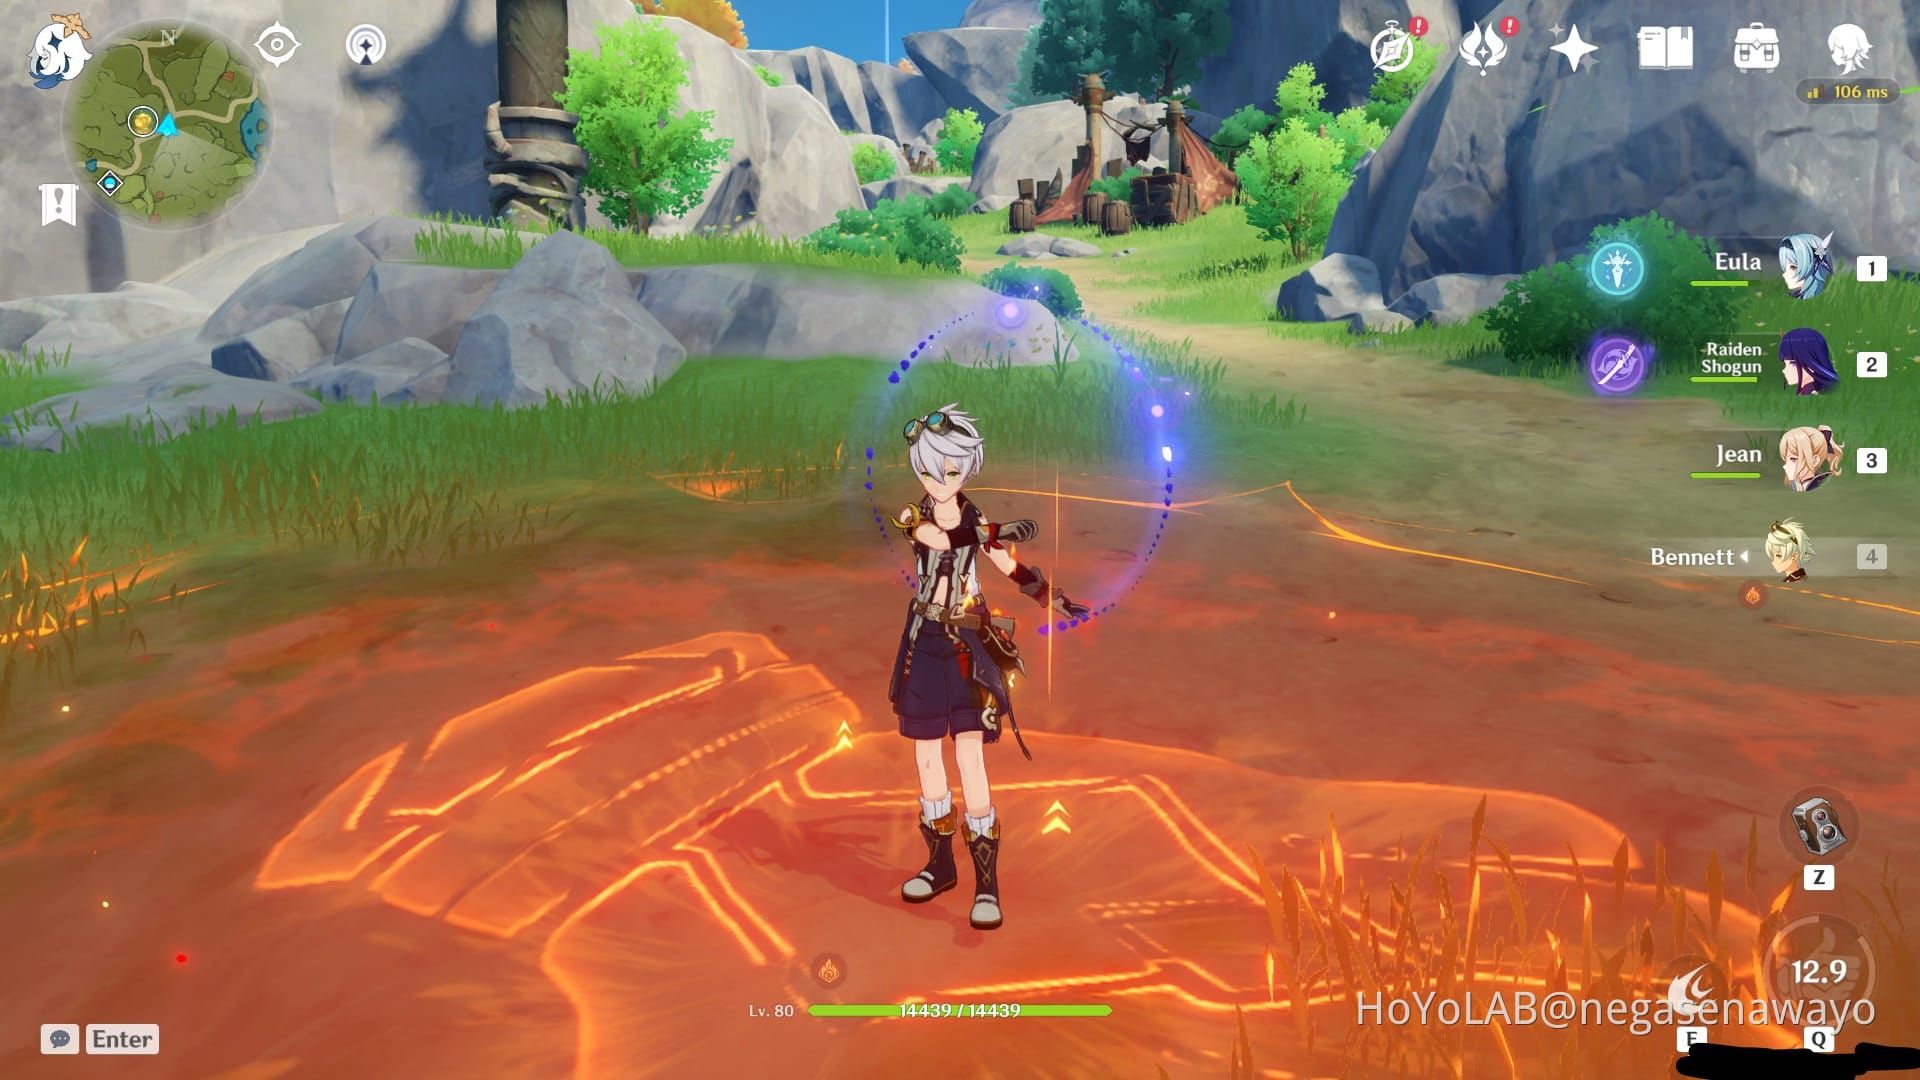
Bennett's burst applies 1U Pyro every second within the field. Period. This cleanses Hydro, Cryo, and Electro debuffs while providing ATK buffs and healing. C1 removes that annoying 70% HP restriction and adds 20% of Bennett's Base ATK to the calculation – it's his most important constellation by far.
But here's the thing about C6 that drives me crazy when I see players activate it without thinking: yes, you get 15% Pyro DMG and Pyro infusion for melee weapons. But this permanently overrides other infusions. Your Eula? Ruined. Physical Razor? Dead. Keqing's Electro infusion? Gone.
The beauty of Bennett's cleansing lies in the reactions. Melt, Vaporize, Overloaded – none of these lock you in place like Freeze does.
Jean: The Swiss Army Knife

Jean's burst creates an Anemo field that applies Anemo aura to your active character, enabling Swirl with literally any elemental debuff. Since Anemo doesn't react with itself and Geo debuffs don't exist (thank Barbatos), Jean's cleanse is universally safe.
C4 provides 40% Anemo RES shred, transforming her from utility support into a legitimate hypercarry enabler.
Sunfire deserves special mention here
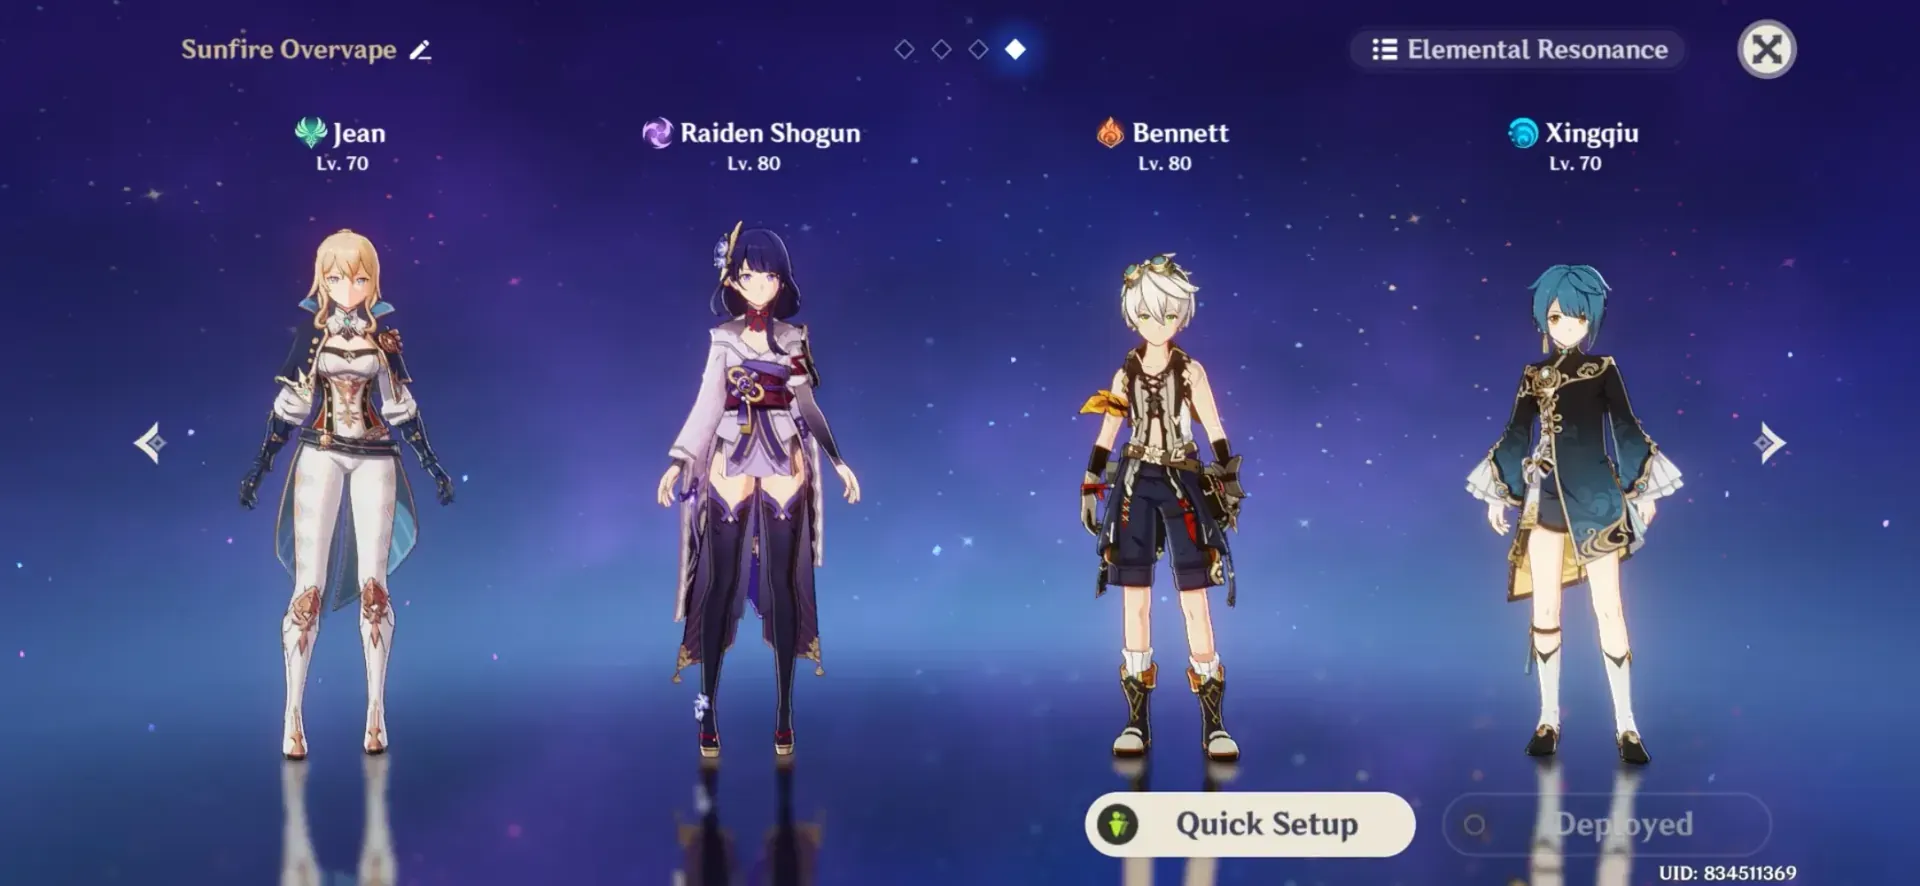
. Combine Jean and Bennett's bursts – Bennett applies Pyro while Jean's field immediately Swirls it off, creating continuous Pyro Swirls every second. Requires high ER on both characters, but the payoff is incredible.
Hydro Healers: Proceed With Caution
Barbara's Melody Loop applies Wet status periodically. Great against Pyro debuffs, absolutely terrifying against Cryo enemies (hello, Freeze). Kokomi offers momentary Hydro self-application – functional for self-cleanse but limited team utility compared to Bennett or Jean.
Advanced Counterplay: Beyond Basic Cleansing
Prevention vs. Reaction
Diona's Hold skill generates 5 Icy Paws versus 2 from Press – that's 75% DMG Absorption Bonus and significantly better energy generation (4 particles average vs 1.6). Her passive directly counters Condensed Ice with 10% decreased stamina consumption.
Xinyan's shield applies Pyro when characters swap in while protected. Underrated for party-wide cleansing.
Crystallize shields from Geo characters provide elemental absorption but won't cleanse existing debuffs. They're preventive, not reactive.
Emergency Protocols (When Everything Goes Wrong)
Corrosion demands burst healing to outpace the DoT. Jean, Barbara, Qiqi, Bennett – these are your lifelines since Corrosion completely bypasses shields.
Engulfing Storm requires Overload or Superconduct reactions. Diona, Bennett, Xinyan, and Thoma facilitate these safely without creating worse problems.
Slowing Water only affects Elemental Skills and Bursts, making Normal Attack-focused characters like Yoimiya and Neuvillette naturally resistant. Sometimes the best counter is just... not using the affected abilities.
The Withering needs mechanical solutions: find Auspicious Branches, summon Dendrograna, use Charged Attacks on three Withering Branches, defeat the Disciple of Decay, then interact with the defenseless Tumor. No shortcuts here.
Spiral Abyss: Where Theory Meets Reality
Current Meta Adaptations
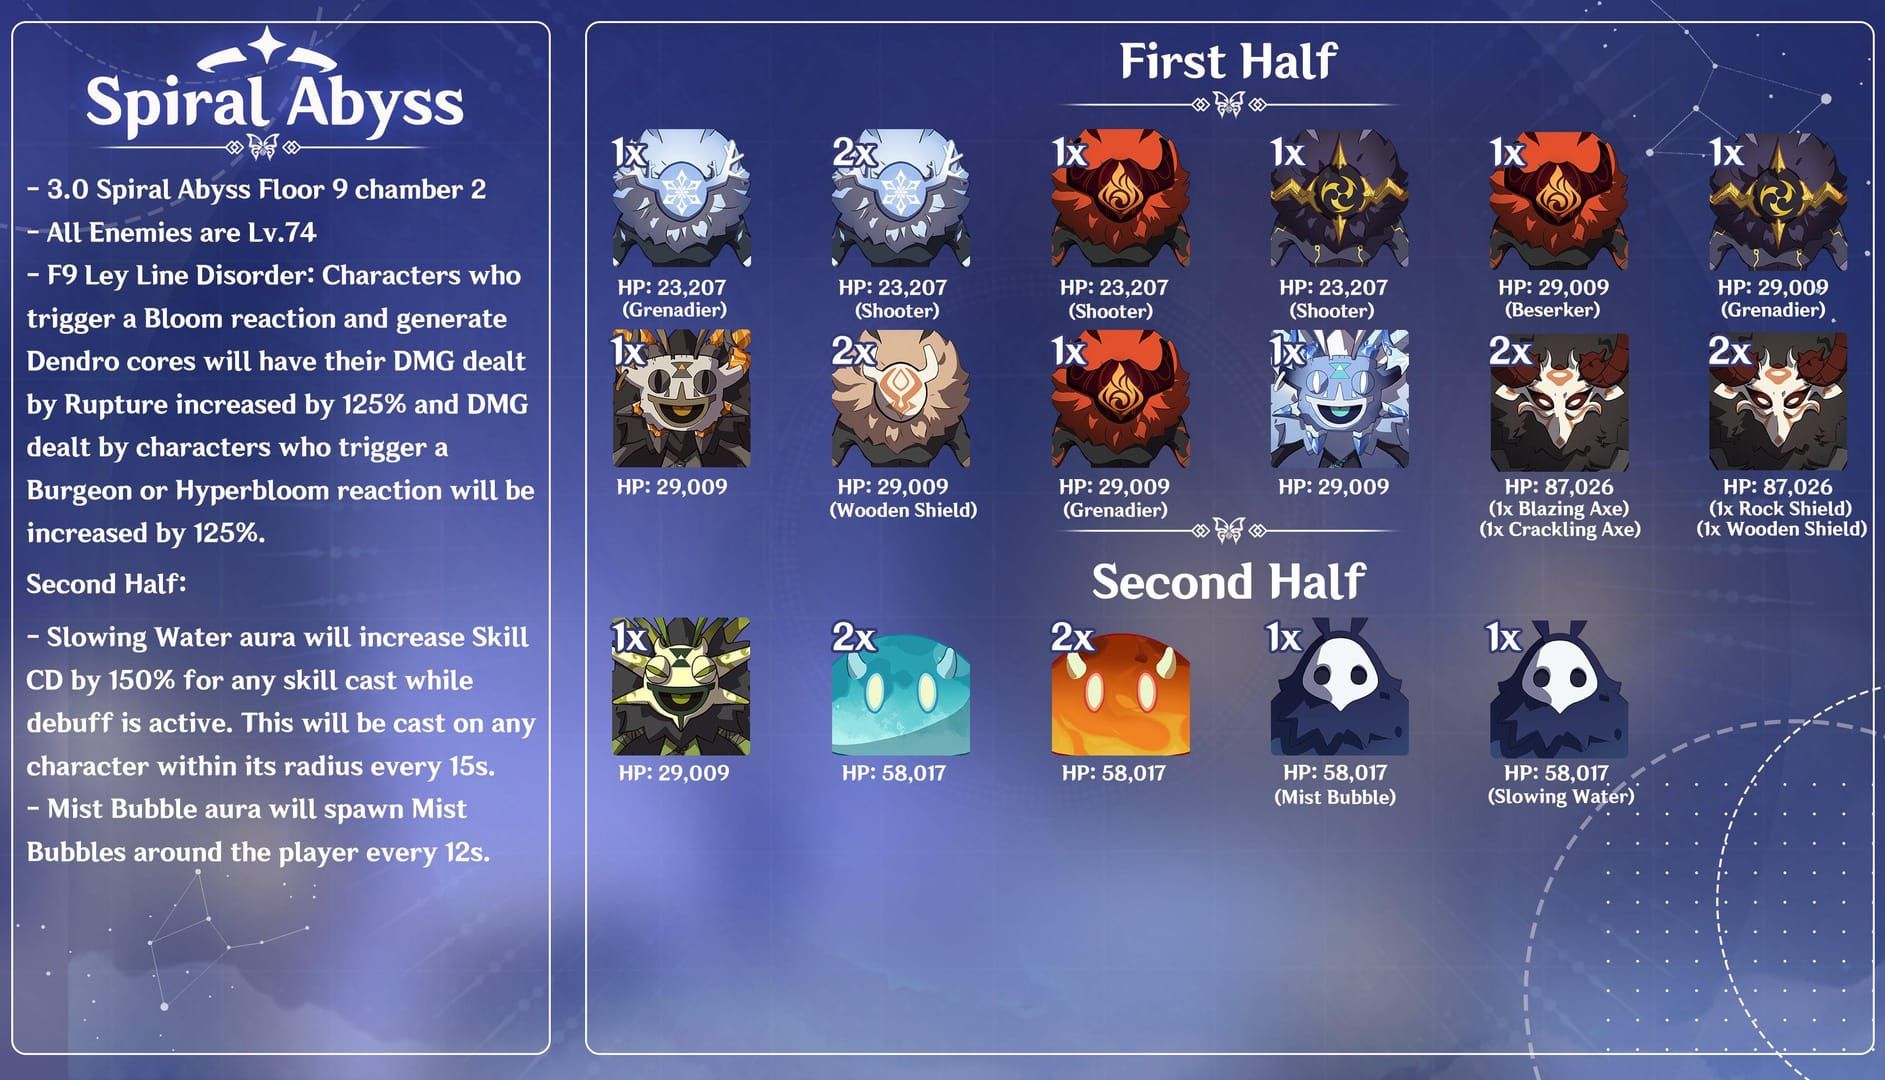
Abyss rotations follow predictable patterns. Rifthound floors guarantee Corrosion – bring dedicated healing. Electro-heavy floors feature Engulfing Storm – manage your energy accordingly. Floor 12 often combines multiple debuff types, testing your comprehensive preparation.
For maximizing Abyss performance, Genesis Crystals secure payment options at BitTopup ensure uninterrupted character building with competitive rates and instant delivery.
National Team variants with Bennett provide consistent Pyro cleansing alongside damage amplification. Morgana offers Cryo cleansing through Diona while maintaining crowd control. Hypercarry teams with Jean include universal cleansing and healing support.
Animation canceling reduces cleanse downtime significantly. Pre-positioning within burst fields before debuff application prevents that crucial delay between acquisition and cleansing.
Team Building: Debuff-Resistant Archetypes
Compositions That Just Work
Mono-Element teams resist opposing elemental debuffs through Resonance duration reduction. Geo-focused compositions avoid most elemental interactions entirely – sometimes the best reaction is no reaction.
Dual Healer setups with Bennett and Jean provide redundant cleansing with complementary buffs. Flex Cleanse slots allow adaptation – swap Diona for Jean against Cryo-heavy content, Barbara for Pyro-focused enemies.
Investment Priorities: Getting Maximum Value
Scaling and Breakpoints
Bennett's effectiveness scales with burst level and Energy Recharge. Level 90 Bennett with 200% ER ensures consistent uptime. Base ATK scaling makes weapon choice crucial – Aquila Favonia or Skyward Blade provide optimal support value.
Jean requires minimal investment beyond basic functionality. Level 60/70 with 160% ER suffices, though healing scales with ATK. 4-piece Viridescent Venerer maximizes support through resistance shred.
Advanced Timing Techniques
Bennett's burst animation cancels through dash or jump immediately after field creation. Pyro aura applies instantly, making early canceling safe.
Pre-cleansing applies elemental auras before debuff acquisition. Sequential Cleansing utilizes multiple cleansers for different debuff types. Energy Funneling optimizes burst uptime through strategic particle generation with Favonius weapons.
Common Pitfalls (I've Seen Them All)
Delayed Cleansing compounds debuff effects – Slowing Water's cooldown increase worsens with duration. Overcleansing wastes resources through redundant applications. Reaction Conflicts create worse secondary effects like Freeze from Barbara's Hydro cleanse against Cryo.
Bennett C6 Conflicts permanently alter team building. Insufficient Energy Recharge prevents consistent availability – Bennett typically needs 180-220% depending on composition. Over-investment beyond functional requirements diverts resources from main DPS development.
FAQ: The Questions I Get Asked Most
Which character provides the safest cleanse? Bennett, hands down. His reactions don't impose hard crowd control unlike Hydro cleansers that can Freeze you against Cryo debuffs.
How do I counter Corrosion? Pure healing strategies. Focus on burst healing rather than gradual regeneration – Corrosion demands immediate HP restoration.
What's the difference between cleansable and non-cleansable debuffs? Cleansable debuffs respond to elemental reactions. Non-cleansable effects like Corrosion and Bond of Life require specific counter-strategies.
How does Bond of Life actually work? It prevents healing by absorbing incoming healing to clear the Bond's value instead. Maximum Bond is 200% Max HP, expires after 600 seconds.
Can I prevent debuffs entirely? Partial prevention through Elemental Resonance reduces duration by 40%. Most reliable approach combines prevention with dedicated cleanse capabilities.
Why is Jean as effective as Bennett? Jean's Anemo triggers Swirl with any elemental debuff, making her universally effective. With Viridescent Venerer, she transforms cleanse into damage amplification.

