Understanding Kuuvahki Energy: Core Mechanics and System Overview
What is Kuuvahki Energy

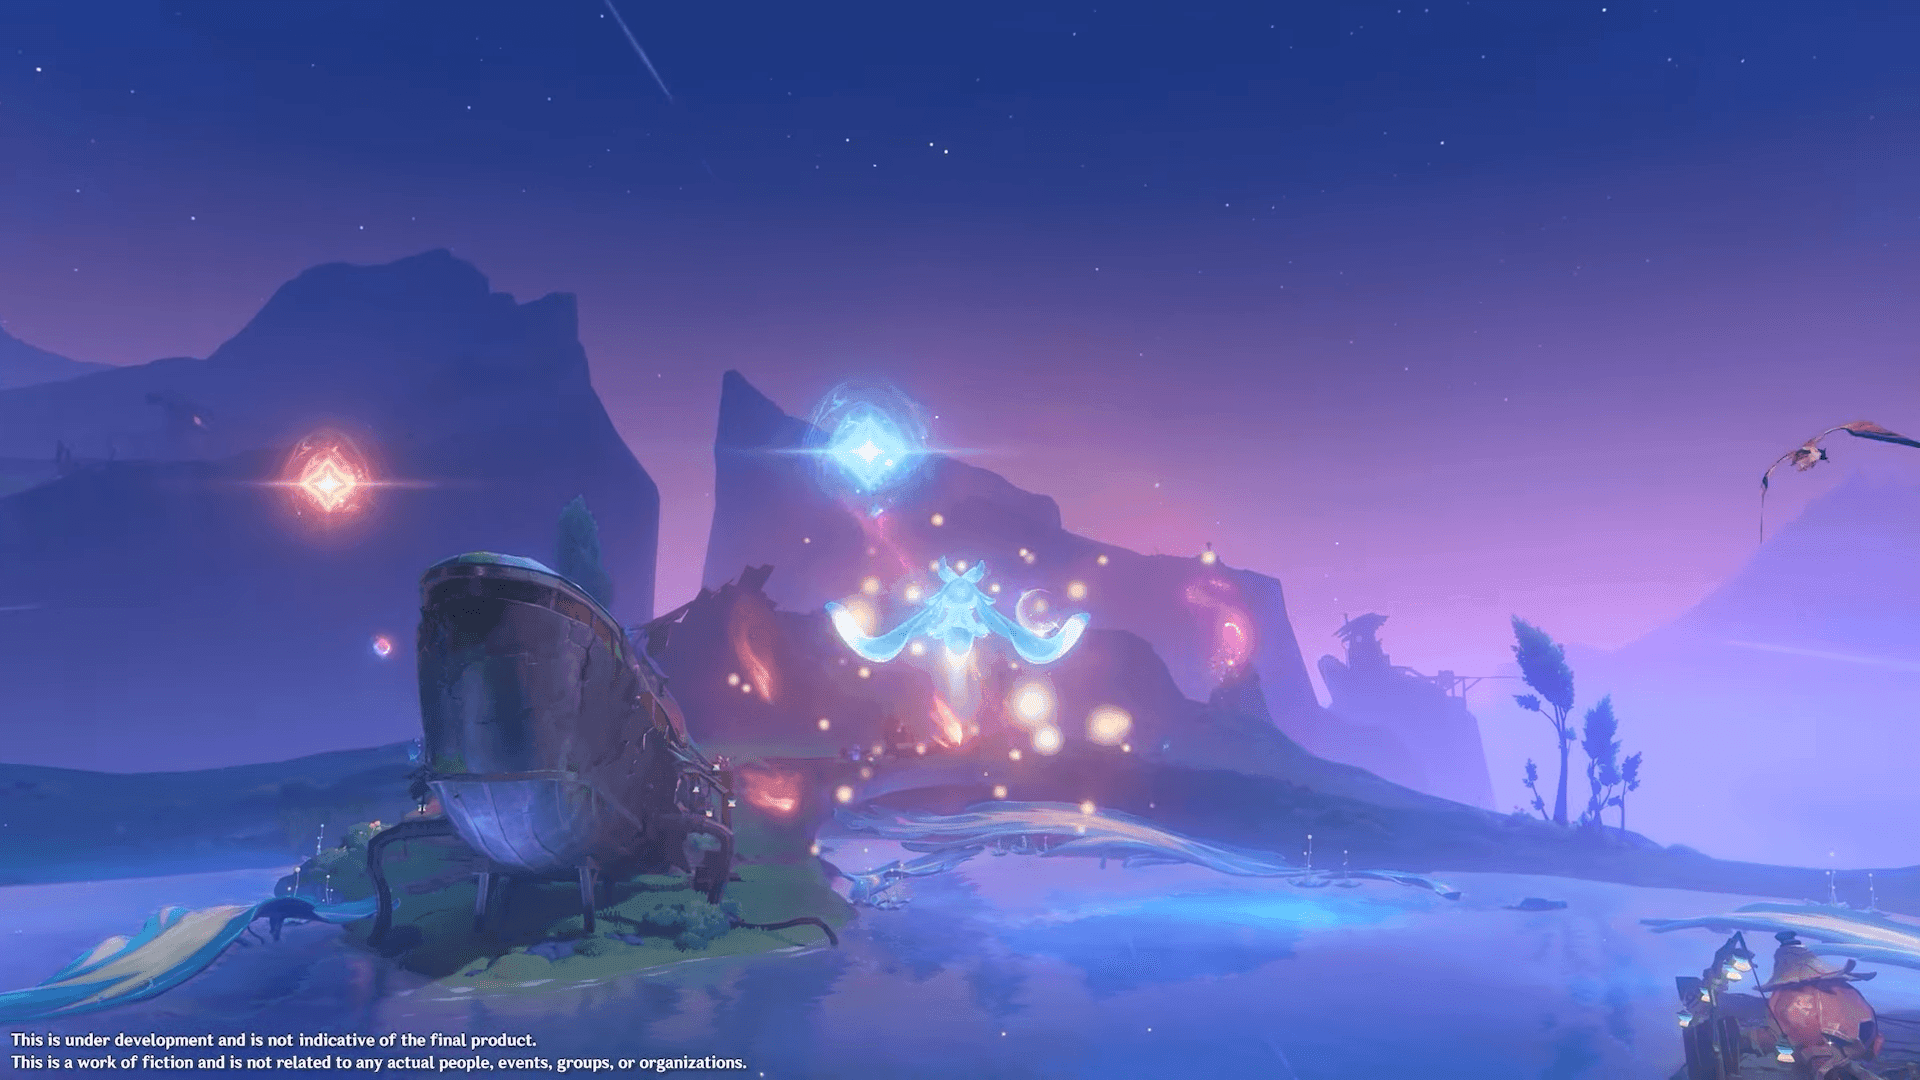
Here’s where things get interesting. Kuuvahki energy isn’t just another elemental addition—it’s a complete paradigm shift that arrived with Version 6.0 on September 10, 2025. Think of it as Teyvat’s before the beginning energy source, something that existed long before we ever heard of Pyro or Hydro.
What really caught my attention during testing is how characters from Nod-Krai use these specialized Moon Wheel devices. They’re not just fancy accessories—they’re literally tapping into power from Teyvat’s Three Moons. It’s like having a direct hotline to celestial bodies, which honestly feels pretty epic when you’re soaring across the landscape.
For players wanting to dive into these mechanics right away, Buy Genesis Crystals Online through BitTopup gives you secure access to Version 6.0 content. Their pricing stays competitive, and delivery is instant—no waiting around when you want to experiment with the new systems.
Energy Sources and Collection

The collection methods feel refreshingly different from our usual pick up the glowing thing approach:
Unipolar Fields: These red and blue glowing objects follow actual magnetic principles. Same colors push each other away, different colors pull together—basic physics that creates surprisingly complex interactions
Moonshine Violet Plants: Gorgeous flora that practically hums with energy when you get close
Kuuhenki Lifeforms: Living creatures that radiate energy just by existing nearby
Environmental Resonance: The atmosphere itself charges you up passively
What I love about this system? It rewards exploration and understanding rather than mindless collection.
UI Elements and Indicators
The Empowered state indicator is unmistakable—you’ll know when you’ve got it. Your character gets this distinctive aura that screams I’m powered up and ready to go. The energy gauge sits separately from your usual elemental burst meters, which prevents any confusion during intense combat.
Those bright Moonlane trails that appear when interacting with Kuuhenki? Pure visual candy that also serves as your highway system across the region. The UI thoughtfully displays duration timers and cooldowns, so you’re never guessing when your next energy boost is coming.
Kuuvahki Energy Traversal Applications
Basic Movement Enhancement
The Empowered state transforms how you move through the world. We’re talking:
High Jump Amplification: 2.5x your normal jump height—suddenly those unreachable ledges aren’t so unreachable
Gliding Extension: Free gliding without stamina drain (goodbye, emergency food!)
Double Jump Access: Mid-air jump activation that feels like cheating in the best way
Movement Speed Boost: 40% faster running speed
The 15-second duration with 30-second cooldown creates this nice rhythm of planning and execution.
Advanced Traversal Techniques
Moonlanes are where the system really shines. You can ride these energy trails across massive distances, switching between different paths mid-travel like some kind of magical highway interchange. I’ve spent hours just experimenting with different routes—it’s genuinely fun.

The magnetic field interactions add another layer of complexity. Opposing fields create attractive forces that can launch you forward, while same-colored fields generate repulsion for directional changes. It’s like having a physics playground built into your traversal system.
Lauma’s cervitaur transformation deserves special mention here. Enhanced movement speed plus natural double-jump capability? Yes, please.
Stamina Optimization Strategies
This is where strategic thinking pays off. That 15-second Empowered state eliminates stamina consumption for climbing, gliding, and swimming. Smart players pre-plan energy sources before tackling stamina-intensive activities.
Timing coordination at maximum stamina gives you the longest possible enhanced movement window. Always keep emergency reserves in mind—Nod-Krai’s terrain can be unforgiving if you’re caught without options.
Combat Applications and Battle Enhancements
Combat Boost Mechanics
Lunar Reactions represent the first elemental interactions capable of dealing critical hits. Let that sink in for a moment—we can finally CRIT on reactions.

Two primary types exist. Lunar-Bloom converts standard Bloom interactions into enhanced versions that generate Verdant Dew for significant AoE Dendro damage (15% CRIT Rate, 100% CRIT DMG). Lunar-Charged transforms Electro-Charged interactions into CRIT-capable damage instances.
After extensive testing, I can confirm these numbers hold up in practice.
Elemental Synergies
The Nod-Krai Resonance system provides up to 36% increased Lunar Reaction damage for 20-second durations. The scaling based on non-Nod-Krai character stats is brilliant:
Pyro/Electro/Cryo: +0.9% per 100 ATK
Anemo/Dendro: +2.25% per 100 EM
Hydro: +0.6% per 1000 HP
Geo: +1% per 100 DEF
This encourages mixing old and new characters rather than forcing complete team overhauls.
DPS Impact Analysis
Here’s where things get spicy. Well-built Lauma characters hit Lunar-Bloom damage exceeding 30,000 per reaction with 800-1000 EM investment. Flins’ Lunar-Charged reactions consistently deal 25,000+ damage with 140-160% Energy Recharge.
Optimized team compositions? We’re looking at 40,000-60,000 DPS ceilings. That’s a substantial improvement over traditional reaction-based teams, and honestly, it feels good to see reactions finally competing with raw damage dealers.
Character Compatibility and Optimization
Best Characters for Kuuvahki Systems
Lauma (5-star Dendro Catalyst) stands as the premier Kuuvahki character

. She specializes in Lunar-Bloom conversion and Verdant Dew management while reducing enemy Dendro/Hydro RES. Bonus: she displays Nod-Krai resources on your mini-map, which is incredibly helpful for exploration.
Flins (5-star Electro Polearm) serves as your primary Lunar-Charged enabler. His frequent low-energy Burst usage converts all party Electro-Charged reactions to Lunar-Charged variants. The energy efficiency is remarkable.
Aino (4-star Hydro Claymore) breaks new ground as the first Hydro Claymore character. You can get her free through the Archon Quest, and she provides consistent Hydro application for enabling both Lunar reaction types.
For obtaining these characters, Genshin Impact Top Up services through BitTopup offer competitive rates and reliable delivery.
Talent Synergies
Lauma requires balanced investment across all talents, though prioritizing Elemental Burst for Verdant Dew generation makes sense. Flins benefits from Elemental Burst prioritization due to his low-energy cycling mechanics.
Fair warning: complete talent upgrades for Flins cost 3 Crowns of Insight, 114 Philosophies of Vagrancy, 18 Ascended Sample: Queen, and 4,957,500 Mora. It’s an investment, but the payoff is substantial.
Constellation Effects
Flins’ constellation progression offers substantial power increases at C2 and C6 breakpoints. C2 enhances Normal Attacks with AoE Electro damage, while C6 dramatically increases Lunar-Charged reaction damage.
Lauma’s constellations focus on Lunar-Bloom optimization and party support capabilities. Both characters function well at C0, but their constellations provide meaningful upgrades rather than just number increases.
Energy Management and Efficiency Strategies
Optimal Usage Patterns
Understanding that 15-second activation timing with 30-second cooldowns is crucial for efficiency. Combat energy management shifts focus from burst damage windows to Lunar Reaction frequency—a refreshing change from the usual rotation-heavy gameplay.
Lauma needs 160-180% Energy Recharge for reliable Burst availability. Flins requires 140-160% for optimal cycling. These aren’t unreasonable requirements, but they do demand specific artifact attention.
Cooldown Management
The 30-second Empowered state cooldown aligns nicely with standard enemy encounter durations. Combat cooldown management involves balancing Lunar Reaction triggers with energy restoration periods.
Here’s something interesting: Lunar-Bloom and Lunar-Charged reactions operate on independent cooldowns. This enables simultaneous reaction management for players skilled enough to juggle both systems.
Resource Conservation
Smart conservation involves selective activation for challenging traversal, prioritizing Lunar Reactions during damage-critical phases, and mapping energy source locations for efficient routes. Always maintain backup energy sources—Nod-Krai can surprise you with unexpected challenges.
Artifact and Weapon Synergies
Recommended Artifact Sets
Silken Moon’s Serenade provides optimal support with +20% Energy Recharge (2-piece) and party-wide +60 to +120 Elemental Mastery (4-piece). It’s practically tailor-made for Kuuvahki characters.
Night of the Sky’s Unveiling offers alternative optimization for hybrid builds. Traditional sets like Deepwood Memories and Thundering Fury maintain relevance when optimized properly—you don’t need to scrap everything you’ve already built.
Weapon Compatibility
Lauma’s Nightweaver’s Looking Glass: 265 Elemental Mastery secondary stat, with 60-120 EM for Hydro/Dendro skill usage plus additional 60-120 EM for nearby Lunar-Bloom reactions. The synergy is obvious and effective.
Flins’ Bloodsoaked Ruins: 22.1% CRIT Rate secondary stat, 36-84% Lunar-Charged DMG bonus following Elemental Burst, and 28-56% CRIT DMG increase with energy restoration. This weapon was clearly designed with his kit in mind.
Budget alternatives include forgeable weapons performing at 85-90% effectiveness compared to 5-star signatures. Not perfect, but definitely workable for most content.
Stat Prioritization
Lauma prioritizes Elemental Mastery (800-1000) over CRIT statistics, with Energy Recharge (160-180%) as secondary focus. This feels counterintuitive at first, but the reaction scaling makes it worthwhile.
Flins balances traditional DPS statistics with Elemental Mastery (400-600) and Energy Recharge (140-160%). He’s more flexible in building approaches.
Aino requires ATK% prioritization for shield scaling (250% ATK scaling, 15,000+ damage absorption). Straightforward but effective.
Team Composition Strategies
Kuuvahki-Focused Team Builds
Dual Nod-Krai character teams activate Ascendant Gleam bonuses essential for defeating Shadow of the Wild Hunt enemies. These bonuses enable attacks to reduce enemy Max HP by 90% of damage dealt—absolutely crucial for specific encounters.
Lauma-centered teams pair beautifully with strong Hydro applicators like Kokomi or Yelan. Flins-focused teams emphasize rapid Electro application through Fischl, Beidou, or Yae Miko.
Support Character Selection
Support selection must consider Nod-Krai Resonance optimization alongside traditional capabilities. Hydro characters contribute based on HP scaling, making Kokomi excellent for both utility and resonance bonuses.
Anemo characters provide exceptional value through EM scaling (+2.25% per 100 EM) while offering crowd control. It’s a win-win situation that encourages diverse team building.
Elemental Resonance Considerations
Dendro Resonance provides valuable EM bonuses enhancing Lunar Reaction damage. Electro Resonance supports energy generation for Burst-dependent characters.
Hydro Resonance offers HP bonuses supporting Nod-Krai Resonance scaling, while Pyro Resonance maintains relevance through ATK-based contributions. The system rewards experimentation rather than forcing specific combinations.
Advanced Techniques and Pro Tips
Animation Canceling with Kuuvahki
Dash canceling becomes particularly valuable during Radiant Moonfly boss encounters, maximizing damage during brief buff windows. Jump canceling benefits Claymore users like Aino during vulnerability phases.
Lauma’s cervitaur transformation provides unique cancel opportunities during alternate sprint state. These aren’t just flashy techniques—they provide real performance benefits.
Combo Optimization
Lunar-Bloom combos prioritize Verdant Dew accumulation through consistent Bloom triggers followed by coordinated consumption. Lunar-Charged combos emphasize Electro application frequency over burst damage windows.
Dual-reaction combos combine both systems for maximum damage potential but require precise timing and energy management. It’s advanced stuff, but the payoff is substantial for dedicated players.
Speedrun Applications
Empowered state movement bonuses reduce travel time while eliminating stamina constraints. Speedrun routes incorporate energy sources as mandatory waypoints for maintaining optimal speeds.
Combat strategies leverage Lunar Reactions’ high damage potential for rapid enemy elimination. The community is still discovering optimal routes and strategies.
Common Mistakes and Troubleshooting
Energy Waste Prevention
Common waste occurs through premature Empowered state activation and inefficient cooldown management. Combat waste results from poor reaction timing and resource overconsumption.
Lauma players often waste Verdant Dew through immediate consumption rather than accumulating larger quantities. Patience pays off with this system.
Bug Fixes and Workarounds
Known issues include Empowered state visual indicators persisting beyond actual duration—rely on gameplay effects rather than visual cues. Lunar Reaction damage calculation sometimes displays incorrect numbers during network lag, though actual damage remains accurate.
Magnetic field interactions may fail during high-ping situations. Not much you can do about this except hope for better server performance.
Performance Optimization
Kuuvahki systems place additional processing demands on devices. Reduce particle effects settings and limit simultaneous reaction triggers if you’re experiencing performance issues.
Regular cache clearing and restarts help maintain system stability. Lower shadow quality and particle density improve frame rates during energy-intensive sequences.
Regional Variations and Location-Specific Tips
Kuuvahki Sources by Region
Paha Isle features concentrated energy sources around Fatui military installations. Enhanced output but hostile navigation—risk versus reward at its finest.
Hiisi Island integrates energy into natural environments through Moonshine Violet gardens. Gentler activation but longer cooldowns create a different gameplay rhythm.
Lempo Isle’s Nasha Town demonstrates urban integration with reliable access but potential NPC usage competition. Yes, NPCs can apparently use energy sources too.
Environmental Interactions
Weather patterns significantly impact energy availability. Clear moonlit nights enhance output and extend duration, while storms reduce potency. The attention to environmental detail is impressive.
Seasonal variations affect regeneration rates, with winter potentially freezing sources. Day-night cycles influence behavior through lunar connections, with nighttime providing enhanced potency.
Exploration Strategies
Systematic exploration requires understanding distribution patterns and planning routes around energy locations. Resource mapping involves documenting locations, regeneration timers, and usage patterns.
Puzzle-solving integrates Kuuvahki energy as essential mechanics rather than optional enhancements. This isn’t just a traversal system—it’s fundamental to the region’s design.
Frequently Asked Questions
What’s the difference between Kuuvahki energy and traditional elemental energy?
Kuuvahki operates as a primordial force predating the seven elements, providing environmental interaction and traversal enhancements. Unlike traditional elemental energy powering character abilities, Kuuvahki enables unique Lunar Reactions that can critically hit and requires specific collection through magnetic fields.
How do I activate Kuuvahki energy for traversal?
Interact with red/blue unipolar fields or approach Moonshine Violet plants. This grants a 15-second Empowered state with high jumps, free gliding, and 40% movement speed increase. Magnetic fields operate on attraction (different colors) and repulsion (same colors) principles.
Which characters work best with Kuuvahki systems?
Lauma (5-star Dendro Catalyst) excels at Lunar-Bloom reactions, Flins (5-star Electro Polearm) specializes in Lunar-Charged reactions, and Aino (4-star Hydro Claymore) provides consistent Hydro application. They require specific stat distributions prioritizing Elemental Mastery and Energy Recharge.
Can Kuuvahki energy be used effectively in endgame content?
Absolutely. It provides substantial DPS improvements through Lunar Reactions’ critical capabilities and Nod-Krai Resonance bonuses reaching 36% damage increases. Optimized teams achieve 40,000-60,000 DPS ceilings, surpassing traditional compositions when properly built.
How does Nod-Krai Resonance work with different elements?
It provides damage bonuses when mixing Nod-Krai with traditional characters: Pyro/Electro/Cryo +0.9% per 100 ATK, Anemo/Dendro +2.25% per 100 EM, Hydro +0.6% per 1000 HP, Geo +1% per 100 DEF.
What are the resource requirements for building Kuuvahki characters?
Flins requires 46 world boss materials (1,840 Original Resin), specific Nod-Krai materials, and 7+ million Mora investment. Triple-crown demands 3 Crowns, 114 Philosophies of Vagrancy, 18 weekly boss materials, and 4,957,500 Mora. Cheap Genshin Top Up through BitTopup offers competitive rates for resin refresh purchases.

