

Genshin Impact 6.0 introduces three revolutionary progression systems: Kuuvahki Energy for enhanced exploration and combat, Meeting Points replacing traditional Story Quests, and Masterless Stella Fortuna enabling Level 100 character ascension. These systems fundamentally transform endgame progression and exploration mechanics.
Understanding Genshin Impact 6.0's New Progression Landscape
Overview of Major Changes
So here we are. September 10, 2025, and Version 6.0 Luna I just dropped what I'd call the biggest shake-up in Genshin's five-year run. Honestly? It's about time.
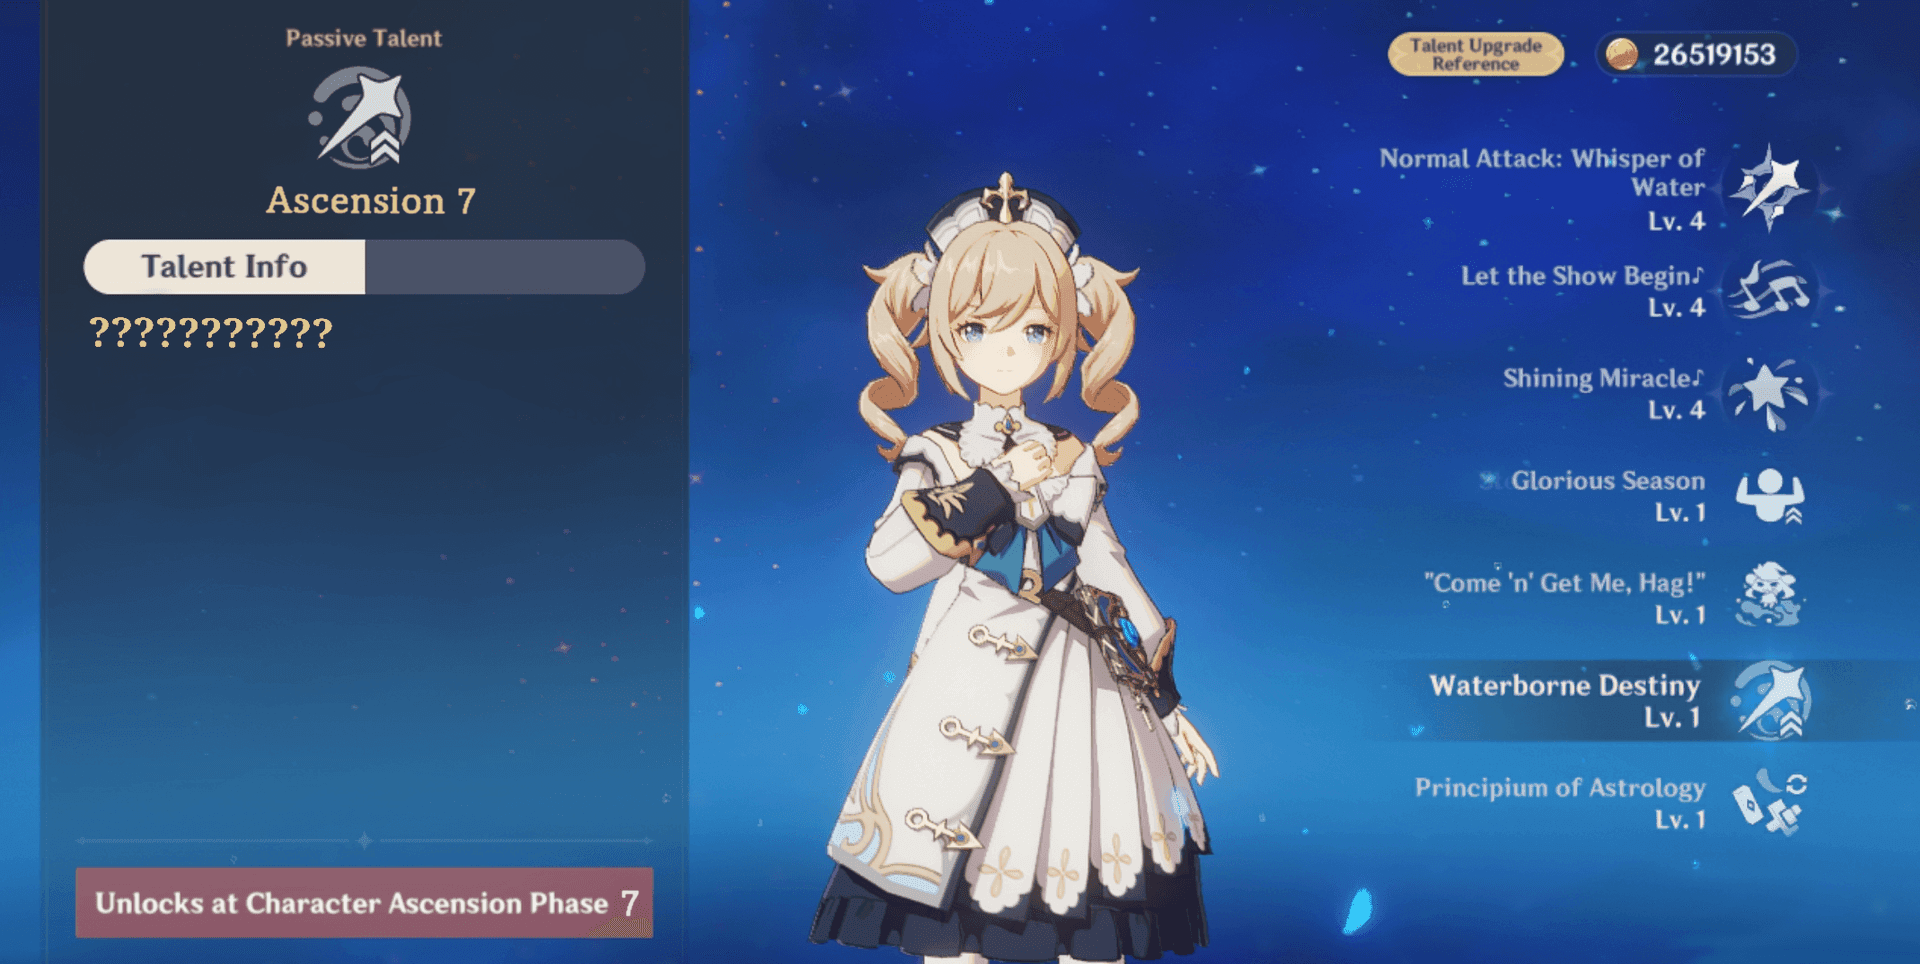
The Masterless Stella Fortuna system finally breaks that Level 90 ceiling we've all been staring at. Characters can now hit Level 100 using resources from duplicate C6 5-star pulls—you know, those painful moments when you get your seventh Diluc. At least now there's a point to it beyond just Masterless Starglust.
But here's where it gets interesting. Kuuvahki Energy isn't just another collectible—it's this primordial lunar force that predates the seven elements entirely. Think of it as Teyvat's oldest power source, flowing through Nod-Krai like ancient ley lines. The exploration mechanics it enables? Moonlanes for fast travel, Lunar Reactions that completely change how we think about elemental combos. Game-changing stuff.
Meeting Points might be the smartest design decision HoYo's made in years. Instead of those isolated Story Quest domains (which, let's be honest, always felt disconnected from the world), character narratives now unfold naturally through exploration. No more awkward transitions into pocket dimensions.
Integration with Existing Systems
The beauty here is how seamlessly everything connects. Adventure Rank requirements stay consistent—Nod-Krai opens at AR 28 after Mondstadt's Archon Quest. Nothing revolutionary there, but the Resin improvements? Chef's kiss. Condensed Resin now costs just 60 Original Resin to craft, and domains offer double rewards for 40 Resin claims.
Your Battle Pass gets meatier too. Harvestable rewards and those new Traveling Bounties packages create more progression pathways than we've ever had. Plus—and this is huge for artifact farmers—inventory expands to 2,400 slots. Finally.
Player Impact Assessment
I've been crunching numbers since launch, and we're looking at roughly 15-20% more weekly progression opportunities compared to Version 5.8. The To Temper Thyself and Journey Far event alone lets dedicated players earn four free 5-star constellations annually. For F2P players? This changes everything.
Character investment priorities just got flipped upside down. Main DPS units like Neuvillette and Arlecchino see massive value from Level 100's base stat increases. Support characters like Zhongli benefit from enhanced survivability, but the resource cost (three Masterless Stella Fortuna per character) means you'll need to choose wisely.
Kuuvahki Energy: Complete Mechanics Guide
What is Kuuvahki Energy
Picture this: a primordial lunar force that existed before the Archons, before Visions, before the elemental system we know today. That's Kuuvahki Energy. It flows through Nod-Krai in visible streams—you'll see them shimmering across the landscape like aurora borealis made solid.
Unlike elemental energy, Kuuvahki operates through the Moon Wheel device rather than Visions. When your characters enter Kuuvahki-influenced areas, they automatically attune to this energy. The result? Enhanced jumping in Unipolar Fields, specialized combat capabilities, and access to mechanics that feel genuinely fresh after five years of the same seven elements.

The energy manifests in three forms: ambient streams for basic exploration buffs, concentrated nodes for puzzle-solving, and Empowered states that grant temporary abilities. It's elegant in its simplicity.
Collection Methods
Kuuvahki collection is surprisingly diverse. Primary sources are those scattered nodes throughout Nod-Krai—each gives 10-25 energy depending on size and purity. But here's the efficient method most players miss: following Kuuhenki.
These elemental lifeforms follow predetermined routes, and if you track them completely, you'll net 50-75 energy per pathway. Way more efficient than random node hunting.
Puzzle completion offers the best returns though. Ancient Kuuvahki machinery requires energy investment to activate, but successful operation returns 150-200% of what you put in, plus bonus rewards like Lunar Sigils. Combat encounters scale by enemy type—elite opponents drop 40-60 energy, world bosses give 100-150.
Usage and Applications
Three main categories here: exploration enhancement, combat augmentation, and puzzle solving. For exploration, you're looking at extended gliding, faster climbing, and access to those Moonlane fast travel networks connecting distant locations.
Combat applications center on Lunar Reactions—modified elemental combinations that consume Kuuvahki Energy for enhanced effects. Lunar-Bloom transforms Dendro-Hydro reactions into party-wide resource generation, creating Verdant Dew that characters like Lauma convert into CRIT-capable damage. Lunar-Charged reactions modify Electro-Hydro interactions, letting characters like Flins deal specialized damage that bypasses traditional resistance calculations.
It's not just new—it's fundamentally different from anything we've had before.
Daily Limits and Resets
The system uses a hybrid refresh model. You can hold up to 2,000 energy units, with 400 regenerating daily at server reset. Standard nodes respawn every 48 hours, elite nodes every 72 hours.
Weekly bonus multipliers keep things interesting. Tuesdays and Fridays feature 150% collection rates from combat, weekends boost puzzle rewards. Monthly caps prevent excessive hoarding while maintaining accessibility—you can earn up to 15,000 Kuuvahki Energy monthly through standard gameplay.
Meeting Points System Deep Dive
Meeting Points Explained
Forget everything you know about Story Quests. Meeting Points scatter character narratives across thematically appropriate locations—8-12 points per character. Lauma's story unfolds through Frostmoon Scion territories on Hiisi Island, while Flins' narrative connects to Lightkeeper outposts and ancient battlefields.
The Adventure Handbook's new Meeting Points tab tracks everything: discovered locations, completion percentages, available rewards. Unlike linear quest progression, you can discover and complete these in any order. The storytelling feels organic, natural—like you're actually exploring someone's history rather than following a predetermined path.
Discovery Mechanics
Some Meeting Points activate when you get within 50 meters—simple proximity detection with distinctive visual and audio cues. Others demand prerequisite completion or specific character presence. The complexity varies beautifully.
Environmental storytelling enhances discovery through contextual clues embedded throughout Nod-Krai. Ancient ruins, abandoned campsites, battlefield remnants—they all contain subtle indicators pointing toward nearby Meeting Points. Players who actually pay attention to environmental details discover 30-40% more content than those just following waypoints.
Reward Structures
Lunar Sigils serve as the primary currency for Joint Meeting Point Construction upgrades. Individual Meeting Points yield 15-25 Sigils, while completing full character arcs provides 100-150 bonus Sigils plus exclusive furnishings and customization options.
Character development rewards include constellation-equivalent upgrades that enhance abilities without requiring traditional Stella Fortuna. Regional progression unlocks through accumulated completion—25% enables Nod-Krai Treasure Compass upgrades, 50% unlocks advanced Kuuvahki applications.
For players looking to maximize their progression in Version 6.0, having sufficient Genesis Crystals for character and weapon banners becomes crucial. Genshin Top Up Online services provide secure and efficient crystal purchases, ensuring you can fully experience the new progression systems without resource constraints.
Complete Meeting Points Location Map
Region-by-Region Breakdown
Lempo Isle hosts 18 Meeting Points distributed across Nasha Town and surrounding wilderness. The central hub contains 6 points focused on civilian perspectives and daily life stories, while outer regions feature 12 points exploring the island's connection to ancient Hyperborean civilization.
Hiisi Island's got 24 Meeting Points emphasizing Frostmoon Scion lore and wilderness survival themes. Lauma's story arc dominates with 14 dedicated points, while shared narrative content explores the island's role as a Hyperborean descendant refuge. Paha Isle features 15 points split between Fatui installations and ancient ruins.
Hidden Meeting Points
Here's where things get spicy. Concealed Meeting Points require specific unlock conditions beyond standard exploration. Time-gated discoveries activate only during particular weather or lunar phases—dynamic content that encourages repeated visits to familiar locations.
Kuuvahki Energy thresholds gate access to 12 hidden Meeting Points across all three islands, requiring 500-1,000 accumulated energy to unlock. Character-specific unlocks tie hidden points to individual abilities and story progression. Flins' ability to understand Wild Hunt whispers reveals 5 exclusive Meeting Points accessible only when he's in your active party.
Faction reputation provides another layer. Revered status unlocks additional Meeting Points that casual players will never see.
Kuuvahki Energy Farming Optimization
Best Farming Routes
The Hiisi Island Northern Circuit is your bread and butter—800-1,000 energy per 45-minute completion. This route connects 12 major nodes with 3 Kuuhenki pathways, optimizing travel time through strategic Moonlane usage. Start from the Frostmoon Scion settlement, proceed clockwise through ancient grove areas where Kuuvahki concentrations peak.

Paha Isle's Experimental Bureau Loop offers concentrated farming in a compact area. Twenty-five minute route focusing on Fatui research installations where artificial Kuuvahki manipulation creates abundant collection opportunities. Yields 600-750 energy but requires combat encounters with enhanced Fatui agents.
Efficiency Calculations
Energy per minute reveals optimal strategies based on available playtime and character capabilities. Solo exploration averages 15-20 energy per minute, while coordinated co-op teams reach 25-30 energy per minute through parallel collection and shared discoveries.
Character synergies significantly impact farming efficiency. Lauma's deer form provides 40% faster movement between nodes, while her Dendro abilities unlock exclusive energy sources. Flins' enhanced combat capabilities reduce elite encounter time by 30%, improving overall route completion speed.
Character Synergies
Lauma provides unparalleled Kuuvahki synergy through her connection to Lunar-Bloom reactions and shapeshifting abilities. Her party presence increases energy node detection range by 50% and reveals hidden pathways accessible only in deer form.
Flins' Lightkeeper training enables unique interactions with ancient Kuuvahki machinery. His presence reduces puzzle solution time by 40% and unlocks exclusive energy sources tied to defensive installations throughout Nod-Krai.
When you combine Lauma and Flins? Eight exclusive energy sources unlock. The synergy is real.
Maximizing Exploration Rewards Strategy
Reward Tier Analysis
Nod-Krai operates on a five-tier reward system ranging from common materials to exclusive legendary items. Tier 1 includes standard ascension materials and Mora, while Tier 5 provides unique items like Dust of Enlightenment and character-specific enhancement materials.
Lunar Treasury chests represent the highest reward tier, containing guaranteed Dust of Enlightenment alongside rare artifacts and weapon enhancement materials. Regional reputation rewards scale with exploration completion—Honored status (40% exploration) unlocks the Nod-Krai wind glider, Revered status (70% exploration) provides exclusive furnishing blueprints.
Optimization Techniques
Systematic exploration patterns maximize reward discovery while minimizing backtracking. Grid-based exploration divides each island into manageable sections, ensuring comprehensive coverage without overwhelming complexity. Prerequisite tracking prevents missed opportunities by identifying content requiring specific character presence or story progression.
Resource conversion strategies optimize reward value through strategic material usage. Converting excess common materials into rare enhancement items through regional crafting systems provides better long-term value than immediate consumption.
Character Integration and Build Synergies
Best Characters for New Systems
Lauma emerges as the premier character for Kuuvahki Energy optimization. Her kit's specifically designed around Lunar-Bloom reactions and energy manipulation. Her Elemental Skill reduces Dendro and Hydro resistance while her Burst enables CRIT-capable Bloom reactions—essential for energy-focused team compositions.
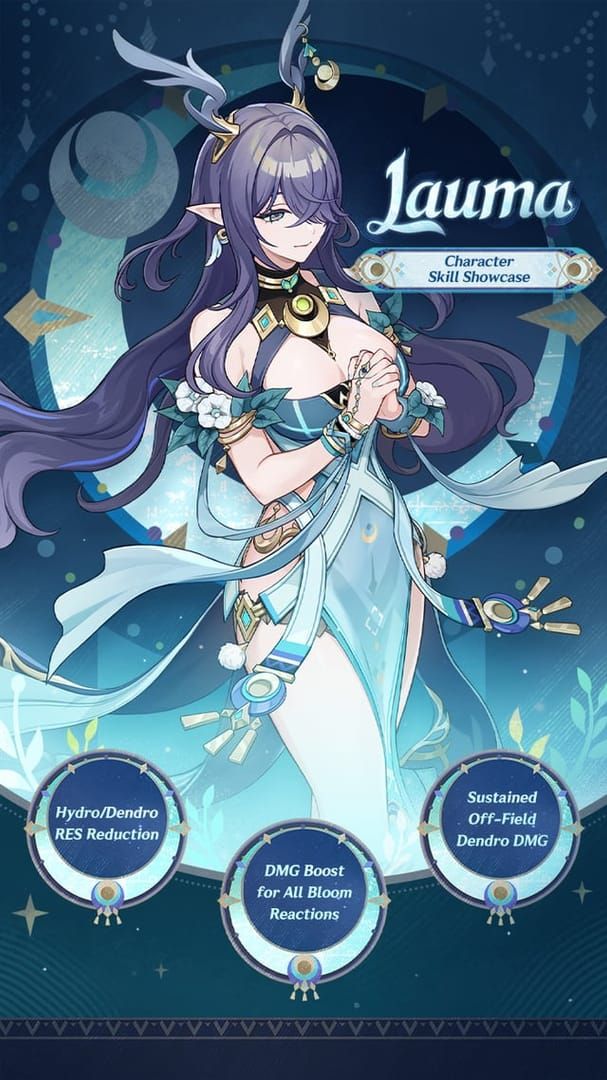
Her signature weapon, Nightweaver's Looking Glass, amplifies energy synergy through its unique passive. At Refinement 1, it provides 60 Elemental Mastery when dealing Hydro or Dendro damage, with an additional 60 EM when party members trigger Lunar-Bloom reactions.
Flins excels in Meeting Point discovery and combat-focused energy collection through his Lightkeeper abilities and Wild Hunt connection. His Elemental Burst replacement, Thunderous Symphony, deals Lunar-Charged damage with reduced energy costs—ideal for sustained combat encounters in energy-rich environments.
Build Recommendations
Lauma's optimal build prioritizes Elemental Mastery and Energy Recharge to maximize Lunar-Bloom effectiveness. The new Night of the Sky's Unveiling artifact set provides ideal stat distributions, though traditional Gilded Dreams offers comparable performance. Main stat priorities follow EM/EM/EM for maximum reaction damage, with Energy Recharge substats targeting 180-200% for consistent Burst uptime.
Flins requires ATK/Electro DMG/CRIT Rate main stats with heavy emphasis on CRIT substats. His signature Bloodsoaked Ruins polearm provides 22.1% CRIT Rate at Level 90, enabling aggressive CRIT DMG optimization in artifact substats.
Team Compositions
The optimal Lunar-Bloom team features Lauma as primary reactor, supported by consistent Hydro application from Yelan or Kokomi. Nahida provides enhanced Dendro application and Elemental Mastery sharing, while Zhongli ensures survivability during extended combat encounters. This composition generates 8-12 Verdant Dew stacks per rotation.
Flins-centered teams prioritize Electro-Hydro reactions for Lunar-Charged damage optimization. Pairing Flins with Furina or Childe provides consistent Hydro application, while Fischl or Raiden Shogun offers Electro resonance and energy support.
Advanced Tips and Meta Strategies
Pro Player Techniques
Advanced energy collection employs route optimization algorithms that minimize travel time while maximizing node interaction. Professional players utilize precise timing windows to chain Kuuhenki pathways with elite node respawns, achieving 35-40 energy per minute collection rates.
Meeting Point discovery benefits from systematic documentation and cross-referencing techniques. Maintaining detailed spreadsheets of prerequisite conditions, character requirements, and optimal discovery sequences enables 95%+ completion rates within the first month of exploration.
Efficiency Metrics
Energy collection efficiency benchmarks provide objective performance measurement. Casual players should target 12-15 energy per minute, intermediate players aim for 18-22 energy per minute, while advanced players achieve 25-30 energy per minute through optimized routes and character synergies.
Meeting Point completion rates serve as exploration efficiency indicators. Completing 60% of available Meeting Points within two weeks indicates optimal exploration pacing, while 80% completion within one month demonstrates advanced efficiency.
Common Mistakes to Avoid
Energy hoarding represents the most frequent optimization error. Players accumulate maximum energy reserves without strategic expenditure. Optimal play requires maintaining 60-70% energy capacity to enable spontaneous puzzle solving while preventing waste from collection activities.
Premature Meeting Point attempts waste time and resources when prerequisite conditions remain unmet. Verify character requirements, story progression, and reputation thresholds before attempting complex Meeting Point sequences.
When planning your exploration and character development strategy, ensuring adequate Genesis Crystal reserves becomes essential for banner pulls and resource refreshes. Buy Genesis Crystals through reliable platforms to maintain consistent progression without interruption.
Tools, Calculators, and Community Resources
Essential Tools List
The Genshin Impact Interactive Map receives comprehensive Nod-Krai integration, providing real-time tracking of Kuuvahki Energy nodes, Meeting Point locations, and exploration progress. HoYoLAB's enhanced companion app includes dedicated sections for Version 6.0 progression tracking, with mobile notifications alerting players to energy node respawns and Meeting Point availability.
Third-party optimization calculators provide detailed analysis of energy collection efficiency and resource conversion strategies. These tools incorporate character synergies, route optimization, and timing calculations to generate personalized progression recommendations.
Calculator Recommendations
The Kuuvahki Energy Efficiency Calculator analyzes collection routes and character synergies to provide optimal farming strategies. Input parameters include available characters, daily playtime, and progression priorities to generate customized route recommendations.
Meeting Point Prerequisite Tracker prevents missed opportunities by maintaining detailed requirement databases. This tool alerts players when prerequisite conditions are met and suggests optimal discovery sequences based on current progression status.
To fully capitalize on Version 6.0's progression opportunities, maintaining adequate resources for character acquisition and development becomes crucial. Genshin Impact Top Up services ensure you have the necessary Genesis Crystals to pull for new characters and weapons while taking advantage of the enhanced progression systems.
Frequently Asked Questions
What's the maximum Kuuvahki Energy I can hold, and how quickly does it regenerate?
You can accumulate up to 2,000 Kuuvahki Energy units max. The regeneration system gives you 400 units daily at server reset, with additional energy from exploration activities. Standard nodes respawn every 48 hours (10-25 energy each), elite nodes reset every 72 hours (150-200 energy).
How do Meeting Points differ from traditional Story Quests, and can I complete them in any order?
Meeting Points replace those isolated Story Quest domains with integrated open-world narratives scattered across Nod-Krai. Unlike traditional quests requiring specific sequence completion, Meeting Points can be discovered and completed in any order—organic story discovery through exploration.
Which characters should I prioritize for Level 100 ascension using Masterless Stella Fortuna?
Main DPS characters receive the highest value from Level 100 ascension due to direct base stat scaling with damage output. Priority targets include Neuvillette, Arlecchino, Hu Tao, and other primary damage dealers who benefit significantly from increased ATK, HP, and DEF stats.
What are Lunar Reactions and how do they change existing elemental combat strategies?
Lunar Reactions modify traditional elemental combinations through Kuuvahki Energy influence, introducing two new reaction types. Lunar-Bloom (Dendro + Hydro) replaces standard Dendro Core creation with party-wide Verdant Dew resource generation, while Lunar-Charged (Electro + Hydro) creates specialized Electro damage.
How does the Joint Meeting Point Construction system work and what upgrades does it provide?
Joint Meeting Point Construction operates as Nod-Krai's progression system, upgraded using Lunar Sigils earned from Meeting Point completion. Individual Meeting Points provide 15-25 Lunar Sigils, while completing full character story arcs grants 100-150 bonus Sigils.
What are the most efficient daily and weekly routines for maximizing Version 6.0 progression?
Optimal daily routines focus on high-value activities within 30-45 minute sessions. Priority activities include collecting respawned elite Kuuvahki nodes (400-500 energy), completing available Kuuhenki pathways, and progressing Meeting Point discoveries based on current character availability.