

Banner Summary: Genshin Impact 6.0 drops September 10, 2025, bringing Lauma + Nahida in Phase 1 (Sep 10-30) and Flins + Yelan in Phase 2 (Sep 30 - Oct 21). Both phases pack serious value with fresh Lunar reaction mechanics and anniversary goodies including 120+ free pulls.
Genshin Impact 6.0 Banner Schedule Overview
Phase 1 Timeline: Lauma + Nahida
Version 6.0 Luna I hits September 10, 2025 — perfectly timed with Genshin's fifth anniversary.
Phase 1 runs through September 30, showcasing two Dendro Catalyst powerhouses.
Moonsong of the Groves introduces Lauma, a 5-star Dendro Catalyst support hailing from Nod-Krai's mysterious Frostmoon Scions. Meanwhile, The Moongrass Enlightenment brings back Nahida with some seriously enhanced synergies for those new Lunar-Bloom reactions.
The 4-star lineup? Barbara (Hydro Catalyst), Kuki Shinobu (Electro Sword), and Kaveh (Dendro Claymore). Solid picks, honestly.
Phase 2 Timeline: Flins + Yelan
Phase 2 kicks off September 30 and stretches until October 21, 2025. Flins — a 5-star Electro Polearm hypercarry who's all about those Lunar-Charged reactions — headlines The Lone Light Knocks at Night. Yelan makes her return on Discerner of Enigmas.
Here's where it gets interesting: this phase debuts Aino, a free 4-star Hydro Claymore character you'll snag from completing the Archon Quest. Free characters are always welcome in my book.
Anniversary celebrations aren't messing around either. We're talking 20 free pulls from login events, your pick of any Standard 5-star character, and up to 120 additional Intertwined Wishes from exploring Nod-Krai. That's... actually pretty generous.
Phase 1 Analysis: Lauma + Nahida Banner
Lauma Character Guide and Kit Analysis
Lauma's shaking up the Dendro game as an off-field support who specializes in Lunar-Bloom mechanics.
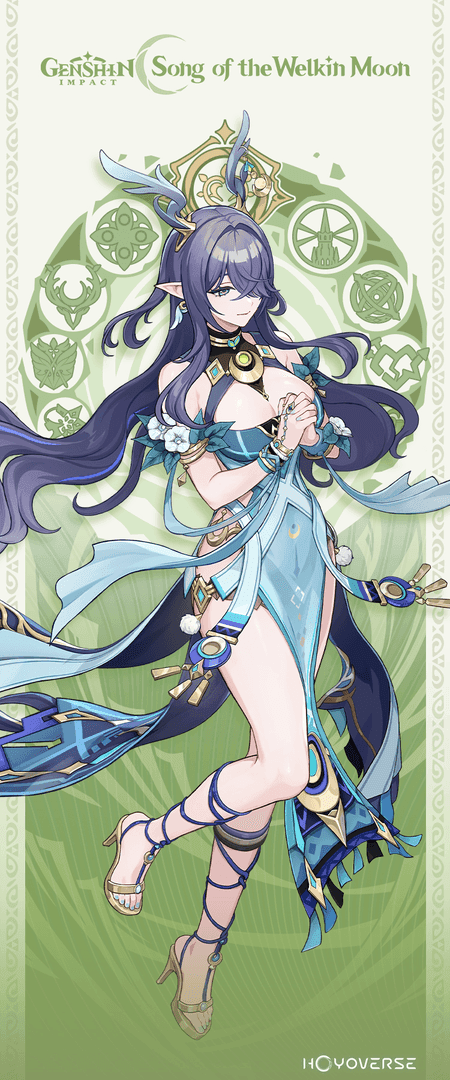
What makes her special? She converts standard Bloom reactions into Lunar-Bloom variants that can actually CRIT. Yeah, you read that right.
Elemental Skill: Runo: Dawnless Rest of Karsikko delivers AoE Dendro damage while building Verdant Dew stacks. Hold it down to consume those stacks for beefier Lunar-Bloom damage and Moon Song accumulation. As a bonus, it shreds both Dendro and Hydro resistance simultaneously.
Elemental Burst: Runo: All Hearts Become the Beating Moon grants 18 Pale Hymn stacks. When your party triggers Bloom, Hyperbloom, Burgeon, or Lunar-Bloom reactions, these stacks get consumed to boost reaction damage based on Lauma's Elemental Mastery.
Her 1st Ascension Passive introduces the Moonsign system — and this is where things get spicy. Nascent Gleam gives Bloom reactions 15% CRIT Rate and 100% CRIT Damage. Ascendant Gleam bumps that to +10% CRIT Rate and +20% CRIT Damage, stacking beautifully with Nahida's C2.
Build-wise, you're targeting 800-1000 Elemental Mastery. Nightweaver's Looking Glass is her signature weapon and provides massive reaction damage bonuses. The Silken Moon's Serenade artifact set offers Energy Recharge plus team-wide EM buffs.
Nahida Rerun Value Assessment
Let's be real — Nahida's still the undisputed queen of Dendro application. Her off-field coverage remains unmatched, and her C2 constellation now plays even nicer with Lunar-Bloom reactions, adding extra CRIT Rate and CRIT Damage bonuses that mesh perfectly with Lauma's kit.
She's not a one-trick pony either. Quicken, Aggravate, Spread compositions — she enables them all. Build recommendations haven't changed much: focus on Elemental Mastery with enough Energy Recharge to keep her burst flowing. A Thousand Floating Dreams remains her signature weapon, though Sacrificial Fragments still delivers excellent value at C0.
Phase 1 Weapon Banner Analysis
Nightweaver's Looking Glass serves as Lauma's signature: 542 Base ATK, 264.6 Elemental Mastery. The passive grants Prayer of the Far North (+60 EM) from Hydro/Dendro damage, plus New Moon Verse (+60 EM) when triggering Lunar-Bloom.
Combined effects are honestly ridiculous: +120% Bloom damage, +80% Hyperbloom/Burgeon damage, +40% Lunar-Bloom damage. A Thousand Floating Dreams offers broader utility if you've got multiple EM-focused characters.
Phase 2 Analysis: Flins + Yelan Banner
Flins Character Overview and Role
Flins brings stance-change hypercarry gameplay centered on Lunar-Charged reactions.
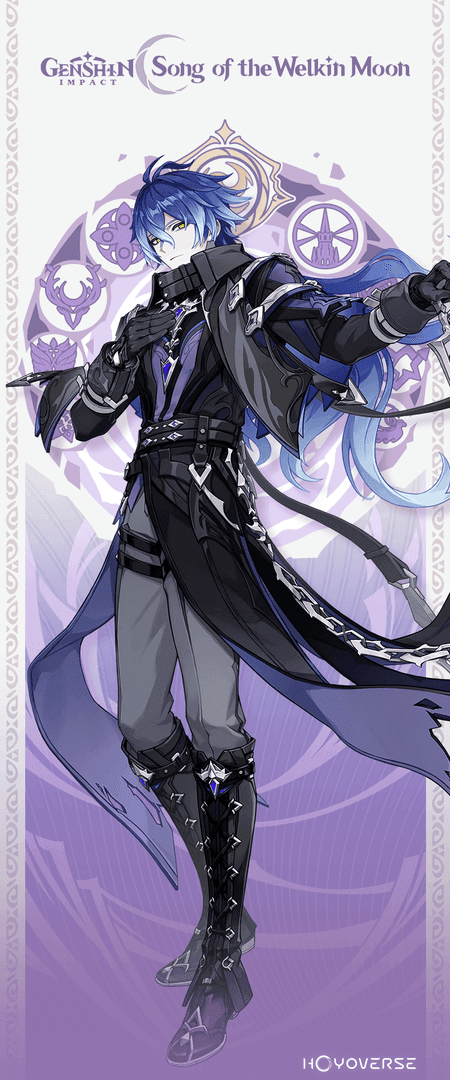
Think enhanced Electro-Charged variants that can CRIT while scaling with both ATK and Elemental Mastery. Interesting design choice, honestly.
Elemental Skill: Ancient Rite: Arcane Light transforms him into Manifest Flame form, infusing attacks with unoverridable Electro damage. The skill becomes Northland Spearstorm with AoE Electro damage, unlocking a special burst window for 6 seconds.
2nd Passive: Whispering Flame converts 8% ATK into Elemental Mastery (capped at 160 EM). His 3rd Passive converts party Electro-Charged into Lunar-Charged variants, increasing base damage by 0.7% per 100 ATK Flins possesses.
C1 reduces special skill cooldown to 4 seconds and provides 8 Energy when party members trigger Lunar-Charged. C2 adds damage instances plus 25% Electro RES shred. Pretty solid constellation value.
Yelan Rerun and Constellation Guide
Yelan's timing couldn't be better for Flins's needs. Her Elemental Burst provides consistent Hydro application for Lunar-Charged reactions while granting ramping damage bonuses up to 50%.
C1: Enter the Plotters adds an extra skill charge and increases team movement speed. C2: Taking All Comers extends burst duration and provides Energy Recharge when Exquisite Throw connects with opponents.
HP-scaling damage keeps building simple: prioritize HP%, Hydro Damage, CRIT Rate/Damage. Aqua Simulacra remains her signature weapon, while Favonius Warbow provides a solid Energy Recharge alternative.
Phase 2 Weapon Banner Evaluation
Bloodsoaked Ruins (Flins signature): 674 Base ATK, 22.1% CRIT Rate. The passive increases Lunar-Charged damage by 36% for 3.5 seconds after Elemental Burst, while triggering Lunar-Charged grants 28% CRIT Damage and 12 Energy recovery.
Aqua Simulacra offers universal value for HP-scaling characters with its CRIT Damage substat and damage bonus passive. Solid weapon banner overall.
Character Comparison and Meta Impact
Lauma vs Current DPS Meta
Here's the thing about Lauma — she provides multiplicative scaling through CRIT-enabled reactions rather than direct damage. Team DPS calculations show 30-40% higher reaction damage compared to standard Bloom compositions. Unlike hypercarries hogging field time, Lauma operates entirely off-field.
Investment requirements focus on EM and Energy Recharge rather than expensive CRIT artifacts. Makes her pretty accessible if you're working with limited artifact resources.
Flins Support Capabilities
Flins provides team support through his Lunar-Charged conversion passive, benefiting characters like Fischl, Beidou, and future Electro units. Energy generation from C1 supports energy-hungry compositions, while C2's Electro RES shred amplifies team damage.
That ATK-to-EM conversion creates some interesting building possibilities where traditional DPS artifacts provide both personal damage and reaction scaling. Smart design.
For reliable Genesis Crystal top-ups to secure these characters, Genshin Impact Top Up services provide secure, fast transactions with competitive pricing and excellent customer support.
Team Composition Guides
Best Teams for Lauma
Lunar-Bloom Core: Lauma + Nahida + Kokomi + Kazuha forms the premium composition.
Nahida handles Dendro application and EM buffs, Kokomi enables reliable Hydro, Kazuha amplifies reaction damage through EM sharing.
Hyperbloom Variant: Lauma + Nahida + Xingqiu + Kuki Shinobu transforms standard Hyperbloom into Lunar-enhanced versions.
Budget Alternative: Lauma + Collei + Barbara + Sucrose offers accessible gameplay without breaking the bank.
Optimal Flins Team Comps
Lunar-Charged Hypercarry: Flins + Yelan + Nahida + Zhongli maximizes reaction frequency with defensive utility. Yelan's single-target Hydro perfectly matches Flins's requirements.
Electro-Charged Focus: Flins + Kokomi + Fischl + Kazuha emphasizes both traditional and Lunar-Charged reactions.
Quickswap Variant: Flins + Xingqiu + Beidou + Bennett creates a rotation-heavy composition that keeps everyone busy.
Pull Priority and Planning Strategy
F2P Pull Recommendations
New Player Strategy: If you're under AR45, Nahida offers the most bang for your buck with broad applicability and EM scaling that requires less artifact investment.
Established Account Considerations: Really evaluate whether Lunar mechanics align with your preferred playstyles. Don't pull just because it's new.
Anniversary Rewards provide 140+ free pulls through exploration, events, and login bonuses. F2P players can guarantee at least one featured 5-star without spending a dime.
Primogem Calculation Methods
Daily Income: 60 primogems from commissions plus 20 from Katheryne equals 2,400 monthly. Spiral Abyss: 600 primogems per reset (1,200 monthly). Exploration Estimates: Nod-Krai should provide 8,000-12,000 primogems (50-75 pulls).
When planning pulls, consider Buy Genesis Crystals services offering competitive rates, instant delivery, and secure payment processing.
Artifact and Weapon Recommendations
Lauma Build Guide
Silken Moon's Serenade (4-piece): 20% Energy Recharge and team-wide EM buffs.
The 4-piece grants 60-120 EM to your party based on Moonsign level, increasing Lunar reaction damage by 10% per Gleaming Moon effect.
Main Stats: EM Sands/Goblet/Circlet for maximum reaction enhancement. Target 800-1000 EM, then consider CRIT circlets if you're feeling fancy.
Substats: EM > CRIT Rate/Damage > Energy Recharge > ATK%. Target 160-180% ER.
Weapons: Nightweaver's Looking Glass > A Thousand Floating Dreams > Sacrificial Fragments > Blackmarrow Lantern > Mappa Mare.
Flins Artifact Sets
Night of the Sky's Unveiling (4-piece): 80 EM and CRIT Rate bonuses when triggering Lunar reactions. Grants 15-30% CRIT Rate based on Moonsign level.
Main Stats: ATK% Sands, ATK%/Electro Goblet, CRIT circlet.
Substats: CRIT Rate/Damage > ATK% > Energy Recharge > EM. Target 70%+ CRIT Rate, 140%+ CRIT Damage, 130-150% ER.
Weapons: Bloodsoaked Ruins > Staff of Scarlet Sands > Staff of Homa > Primordial Jade > Deathmatch.
Common Mistakes and Optimization Tips
Banner Pulling Mistakes to Avoid
Impulse Pulling during anniversary celebrations. Seriously, establish clear goals before launches hit. Ignoring Pity Counts: Track character and weapon banner pity separately — they don't share. Weapon Banner Misconceptions: Only pull when both featured weapons provide value to your account.
Pity System Optimization
Soft Pity: Character banners reach soft pity at 74 pulls with increased rates through 90. 50/50 Management: Lost 50/50s guarantee your next featured character. Banner Transition Timing: Pity carries between same-type banners but resets between character/weapon banners.
For convenient, secure transactions, Genshin Top Up Online platforms provide instant delivery and comprehensive customer support.
6.0 Banner Verdict and Final Recommendations
Phase 1 vs Phase 2 Value
Phase 1 Advantages: Most universally valuable characters with Nahida's proven versatility and Lauma's innovative mechanics. Dendro synergy creates immediately powerful compositions with clear building paths.
Phase 2 Strengths: Specialized hypercarry gameplay through Flins and Yelan's exceptional sub-DPS capabilities. Appeals to players seeking a new main DPS or missing premier Hydro enablers.
Account-Specific Recommendations
New Players (AR 1-45): Prioritize Nahida for broad applicability and easy building. Mid-Game (AR 45-55): Evaluate team gaps and playstyles honestly. Endgame (AR 55+): Focus on new gameplay experiences or specific team needs.
Frequently Asked Questions
Should I pull for Lauma or save for Flins in Genshin Impact 6.0?
Depends entirely on your playstyle preferences. Lauma functions as off-field support enhancing existing Bloom teams through Lunar-Bloom conversion — minimal field time required. Flins operates as on-field hypercarry with stance-change mechanics requiring dedicated team building. Choose Lauma for reaction-based gameplay improvements, Flins for fresh main DPS experiences.
Is Nahida rerun worth it in 6.0 if I already have Dendro characters?
Absolutely. Nahida remains the premier Dendro applicator with unmatched versatility. Her C2 now buffs Lunar-Bloom reactions with additional CRIT Rate/Damage, stacking beautifully with Lauma's effects. Her EM scaling and broad compatibility make her valuable for current and future Dendro content.
How many primogems do I need for Genshin Impact 6.0 banners?
Budget 14,400 primogems (90 pulls) for guaranteed character, though soft pity typically kicks in around 11,840 primogems (74 pulls). Anniversary provides 19,200+ primogems worth of free pulls. F2P players can guarantee at least one featured 5-star without spending.
What are Lauma's best team compositions?
Premium: Lauma + Nahida + Kokomi + Kazuha for consistent Dendro application and Hydro generation. Budget: Lauma + Collei + Barbara + Sucrose. Hyperbloom: Lauma + Nahida + Xingqiu + Kuki Shinobu. All benefit from Lauma's off-field operation style.
Is Yelan C1 worth pulling on her rerun banner?
Provides significant quality-of-life improvements: extra skill charge doubling particle generation, 20% movement speed for 5 seconds. High-value constellation for regular Yelan users, improving energy economy and reducing rotation constraints.
Which phase has better value in Genshin Impact 6.0 banners?
Phase 1 offers superior universal value through Nahida's versatility and Lauma's support capabilities — requires less artifact investment too. Phase 2 provides specialized value for hypercarry enthusiasts and advanced mechanics. New players benefit more from Phase 1's accessibility, experienced players might prefer Phase 2's specialized offerings.