

Delta Force Season 8 Morphosis (launched February 3, 2026) introduces Vlinder—a support operator with a 55-meter automated revive drone that changes medic gameplay. Space City 2.0's underwater zones and Aftershock's 95% destructible environments demand new tactical approaches. This guide covers positioning, cooldown optimization, and team coordination for competitive Vlinder play.
Morphosis Aftershock Overview: What's New
Season 8 dropped February 3, 2026 (28.6 GB PC update, 02:00 UTC). Vlinder (Lina van der Meer, G.T.C. Europe) unlocks at Season Pass level 15 (150-tier system, 150 Bonds per tier).
Aftershock Map Features:
95% destructible buildings (550 unique object types)
Destruction dust clouds obscure vision 15-20 seconds
Earthquakes every 8-12 minutes (minimum 6-minute cooldown)
Single C4 collapses wooden structures; 2-3 C4 penetrate concrete
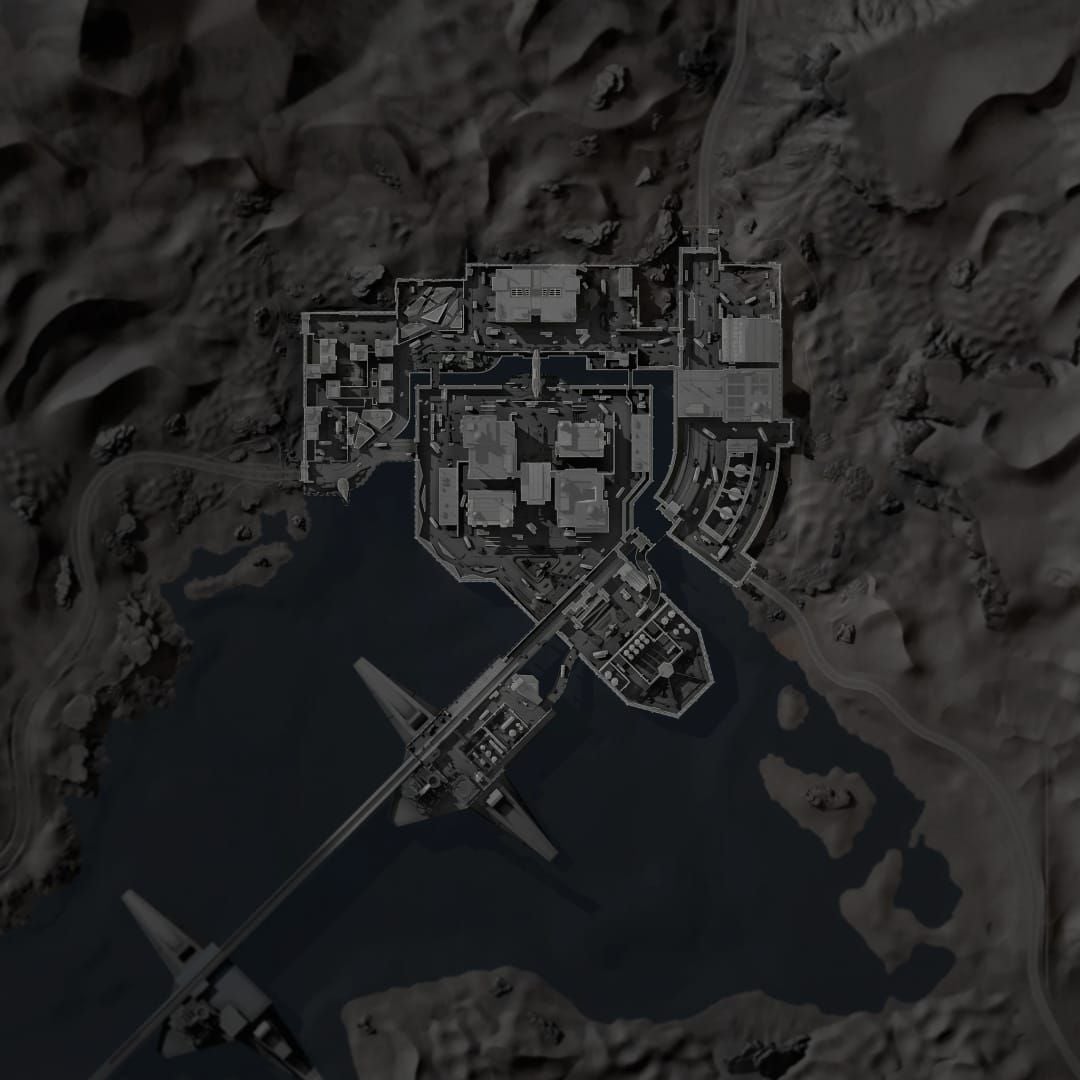
Space City 2.0 Additions:
Swimmable Dock areas with Macro Sharks (attracted by wound debuffs)
Hudson boss arrives at Dock 7 minutes in via boat escort
Buoyancy Lab controls dynamic water levels
Unlock Vlinder fast with Delta Force recharge discount through BitTopup—secure transactions, competitive pricing, instant delivery.
Vlinder Ability Kit
Nano Medical Dust:
Short-press: heals teammates in line-of-sight
Long-press: self-heal
Auto-activates when teammates drop below 60% HP or Vlinder hits 40% HP
Deploys tracking drone that follows targeted ally
Remote-Controlled Smoke Grenade:
25-30 second cooldown
12-15 second duration
Steerable mid-flight (hold skill button)
Butterfly Rescue Drone System (Signature):
55-meter radius automated revive
Plasma injection revival + intercepts one explosive
120-second base cooldown
Reduces by 10-15 seconds per successful revive (any method)
Vital Signs Monitoring (Passive):
Extends downed timers for all squad members
Highlights ally silhouettes and health through walls
Meta Shifts
Traditional safe revive spots become death traps in destructible environments. Press 6 to equip C4 (3-second arming sequence). Track earthquake timers to anticipate position compromises—maintain secondary fallback locations within drone's 55-meter radius.
Vlinder Core Mechanics
Operator Stats:
167cm, 57kg (high-mobility class)
Born March 4, 2008
Mid-range support role
Standard Revive Process:
Hold W to approach downed ally
Go prone next to player
Hold F to initiate (5-6 second animation)
Butterfly Rescue Drone eliminates physical contact requirement, letting you maintain defensive positions during automated revivals.
Positioning Requirements
Optimal Spacing: 5-10 meters from teammates
Maximizes 55-meter drone radius coverage
Prevents single explosives downing multiple operators
Space City 2.0 Dock Positioning:
Elevated platforms or bridge access routes (not swimmable zones)
Avoid areas that may flood mid-revive
Monitor Buoyancy Lab water level indicators
Hudson boss escort carries ballistic shields (requires access keycards)—Vlinder's cover-based revives provide decisive advantages in contested zones.
Underwater Revive Mechanics
Underwater revives follow standard process (approach, prone, hold F) but add oxygen management. Vulnerability window extends 30-40% longer due to movement speed penalties.
Butterfly Rescue Drone Advantages:
Functions identically underwater
Water distortion obscures plasma injection visuals
Harder for enemies to identify active revives from distance
Animation Timing
Standard revive: 5-6 seconds (both players vulnerable)
Revived player: 2-3 second recovery before full mobility
Remote-Controlled Smoke: 12-15 second duration (covers one revive cycle)
Smoke cooldown: 25-30 seconds (available every other revive)
Pro tip: Position drone deployments to revive allies behind cover, not in open water where they'll be immediately re-downed.
Emergency Protocols
Cancelling revives (release F) resets progress. In underwater environments, reduced mobility makes cancelling often fatal. Instead:
Commit to Butterfly Rescue Drone in contested situations
Use drone's explosive interception to absorb grenades/rockets
Vital Signs Monitoring extends bleed-out timers 15-20%
Clear immediate threats before attempting revives
Prioritize revives based on remaining time (wall-hack shows ally health)
Optimal Vlinder Loadouts
Primary: MCX LT Assault Rifle

36 base damage
798 RPM
30-round magazines
Mid-range versatility for suppression while repositioning
Secondary: FS-12 Shotgun
18x8 base damage
12-meter effective range
87% hip-fire accuracy
Handles Macro Sharks and enemy rushes
Tactical Equipment
Equip C4 (press 6):
Creates emergency escape routes through destructible structures
3-second arming sequence (requires predictive placement)
Collapse walls onto pursuing enemies
Avoid flashbangs/frags—Vlinder already has Remote-Controlled Smoke. Prioritize medical supplies and oxygen reserves for underwater ops.
Armor Balance
Medium armor with mobility attachments provides ideal balance:
Allows rapid response to downed allies
Survives incidental explosive damage from structural collapses
Maintains 5-10 meter spacing capability
Butterfly Rescue Drone's explosive interception covers direct hits
Advanced Space City 2.0 Positioning
Bridge Access Routes:
Elevated sightlines over Dock areas
Butterfly Rescue Drone covers water-level and platform combat
Primary positions during mid-game rotations
Swimmable Water Zones:
Macro Sharks ignore healthy operators, threaten injured players
Vlinder can safely position in water while using drone for surface-level revives
Enemies hesitate to pursue into shark-infested waters (natural defensive perimeter)
Cover Utilization in Aftershock
Don't rely on static cover—95% destructible environment fails within minutes.
Dust Cloud Tactics:
Time manual revives with major structural collapses nearby
15-20 second vision obscurement = natural smoke screen
Doesn't consume Remote-Controlled Smoke cooldown
Bait-and-Switch:
Position obviously in wooden buildings to draw C4 usage
Relocate to concrete positions requiring 2-3 charges
Forces enemies to expend multiple explosives or commit to direct assaults
Rotation Paths
Hudson Boss Timing:
Avoid Dock during 6-8 minute window (squad convergence)
Maintain positions in adjacent sectors
Respond to squad callouts without being caught in initial chaos
Buoyancy Lab Monitoring:
Watch control panel indicators for flooding events
Pre-position on elevated terrain before water rises
Squads caught in rising water = easy targets
Deploy Butterfly Rescue Drone from high ground to extract allies from flooded killzones
Team Coordination Framework
Communication Protocols:
Establish revive priority based on operator roles
Prioritize primary fraggers and objective specialists
Vital Signs Monitoring shows all ally health (proactive priority calls)
Squad Positioning:
Vlinder = secondary or tertiary entry fragger (never point)
Maintain 5-10 meter trailing distance behind primary fraggers
Close enough for immediate drone deployment
Distant enough to avoid shared explosive casualties
Crossfire Setup
When using manual revives (preserving 120-second cooldown for critical situations):
Assign one teammate to revive security
Security role: suppress enemies during animation (don't seek kills)
Deploy Remote-Controlled Smoke between enemy positions and revive location
Communicate steering adjustments so squad understands exposed vs. concealed angles
Resource Sharing
Oxygen Management:
Nano Medical Dust heals but doesn't replenish oxygen
Establish rotation schedules: teammates alternate surfacing
Vlinder maintains submerged overwatch positions
Medical Supply Distribution:
Keep Vlinder above 40% HP (self-heal activation threshold)
Teammates share medkits/bandages
Prevents Vlinder consuming Nano Medical Dust on self-healing
Extends overall squad survivability
Common Mistakes to Avoid
Threat Assessment Failures:
Don't panic-revive into active crossfire
Vital Signs Monitoring shows downed timers (use extended bleed-out time)
10-second delay before reviving > creating second casualty
Eliminate immediate threats first
Oxygen Miscalculation:
Maintain 30-40% oxygen reserves above revive animation requirement
Buffer for unexpected combat extensions or emergency repositioning
Prevents medic drowning mid-revive (double casualties)
Poor Timing
Earthquake System:
Track timers using 6-minute minimum cooldown
Don't revive 30 seconds before anticipated earthquakes
Structural collapse mid-animation risks both players
Buoyancy Lab Water Levels:
Animation lock prevents movement during revives
Rising water traps players in shark-infested zones
Monitor indicators, delay revives 15-20 seconds if flooding imminent
Survival Over Heroics
Vlinder's value compounds across match duration—each successful revive reduces drone cooldown 10-15 seconds (exponential value in extended engagements). Trading your life for single early-game revive eliminates scaling potential.
Maximize Drone Range:
55-meter radius provides enormous flexibility
Position in hard cover 40-50 meters away
Don't expose yourself to same threats that caused initial casualty
Counter-Strategies: Interrupting Enemy Revives
Identify Butterfly Rescue Drone:
Distinctive plasma injection visual effects
Small aerial unit moving toward downed players
Focus fire to destroy before revival completes
Each destruction forces 120-second cooldown without reduction benefit
Manual Revive Exploitation:
5-6 second vulnerability window
Call downed enemy position, push aggressively
Animation lock prevents defensive responses
Optimal Engagement Ranges
Close Quarters (FS-12 Shotgun):
12-meter effective range ideal for interruption
Rush downed enemies to force unfavorable engagement distances
Shotgun dominates likely assault rifle loadouts
Open Areas:
Maintain 30-40 meter distances (assault rifle accuracy advantage)
Close enough to push if revive animations begin
Smoke Penetration:
Remote-Controlled Smoke conceals but doesn't block damage
Spray fire through smoke at known revive positions
12-15 second duration—sustained suppression outlasts concealment
Equipment for Denial
Frag Grenades:
Cook 2-3 seconds before throwing (minimize reaction time)
Explosion during revive animation window (neither player can evade)
Butterfly Rescue Drone intercepts one explosive—follow up with secondary grenades
Incendiaries:
8-10 second area denial (longer than single explosives)
Deploy on downed enemies in high-traffic areas
Forces medics to abandon revive or take guaranteed damage
Performance Metrics
Revive Efficiency Ratio:
Successful revives ÷ total attempts
Elite players: 75-80% success rate
Below 60%: overly aggressive without proper security
Above 90%: excessive caution (allies bleeding out unnecessarily)
Average Butterfly Rescue Drone Cooldown:
Base: 120 seconds
Reduces 10-15 seconds per successful revive
Aggressive medics (6-8 revives/match): effective 60-75 second cooldowns
Directly correlates with squad survivability and match performance
Survival Rate Optimization
Personal Survival Rate:
Should exceed squad average by 15-20%
You're the force multiplier—dying early eliminates scaling value
If matching/below squad average: positioning too aggressively or failing to prioritize personal safety
Death Analysis:
Revive-related deaths should be <30% of total casualties
Exceeding 30%: poor threat assessment or inadequate drone range usage
Shift toward drone-based revives in contested situations
Reserve manual revives for secured areas
Resource Acquisition
Unlocking Vlinder:
Season Pass level 15 = 2,250 Bonds (15 tiers × 150 Bonds)
150 total tiers with premium equipment, weapon skins, operator customization
Buy Delta Force credits online cheap through BitTopup for efficient progression:
Instant delivery
Competitive pricing
Excellent customer service
Access Morphosis Aftershock content immediately
Focus on mastering mechanics vs. resource farming
MCX LT and FS-12 require specific unlocks and attachment investments. Premium currency accelerates access to meta-optimized configurations during critical early-season period.
FAQ
How does Vlinder's revive ability work? Butterfly Rescue Drone deploys within 55-meter radius to automatically revive downed allies. 120-second base cooldown reduces by 10-15 seconds per successful revive (any method). Intercepts one explosive damage instance.
Best loadouts for Underwater Space City 2.0? MCX LT Assault Rifle (36 damage, 798 RPM) + FS-12 Shotgun (18x8 damage, 12m range). Equip C4 for escape routes. Medium armor for mobility-survivability balance.
Can you revive underwater? Yes. Standard mechanics function in Dock areas (approach, prone, hold F). Butterfly Rescue Drone operates identically underwater. Water distortion obscures plasma visuals, providing better concealment.
How long is Vlinder's revive cooldown? Butterfly Rescue Drone: 120-second base, reduces 10-15 seconds per successful revive. Aggressive play (6-8 revives/match) = effective 60-75 seconds. Remote-Controlled Smoke: 25-30 seconds.
Is Vlinder the best medic in Morphosis Aftershock? Excels in sustained engagements where 55-meter drone radius and cooldown reduction provide scaling value. Vital Signs Monitoring extends downed timers and provides wall-hack health visibility. Optimal for squad-based play in destructible Aftershock and underwater Space City 2.0 environments.
Safest revive spots in Space City 2.0? Bridge access routes (elevated positions, sightlines over Dock). Submerged positions in shark-infested waters (natural defensive perimeters). Maintain 5-10 meter spacing. Avoid Dock during 6-8 minute Hudson boss window.
Dominate Morphosis Aftershock with optimized loadouts! Get Delta Force currency instantly at BitTopup—unlock Vlinder, premium equipment, and battle passes faster. Secure, instant delivery, best rates guaranteed. Power up now!