

Delta Force Season 8 Morphosis introduces Vlinder, a support operator unlocked at Battle Pass level 15 who transforms team survivability through Nano Medical Dust healing, Remote-Controlled Smoke Grenades, and the Butterfly Rescue Drone System. This guide covers tested loadouts, weapon stats, and tactics that maximize her 55-meter radius ultimate while fixing grenade launcher mechanics and AAV turret optimization.
Understanding Vlinder's Role in Season 8 Meta
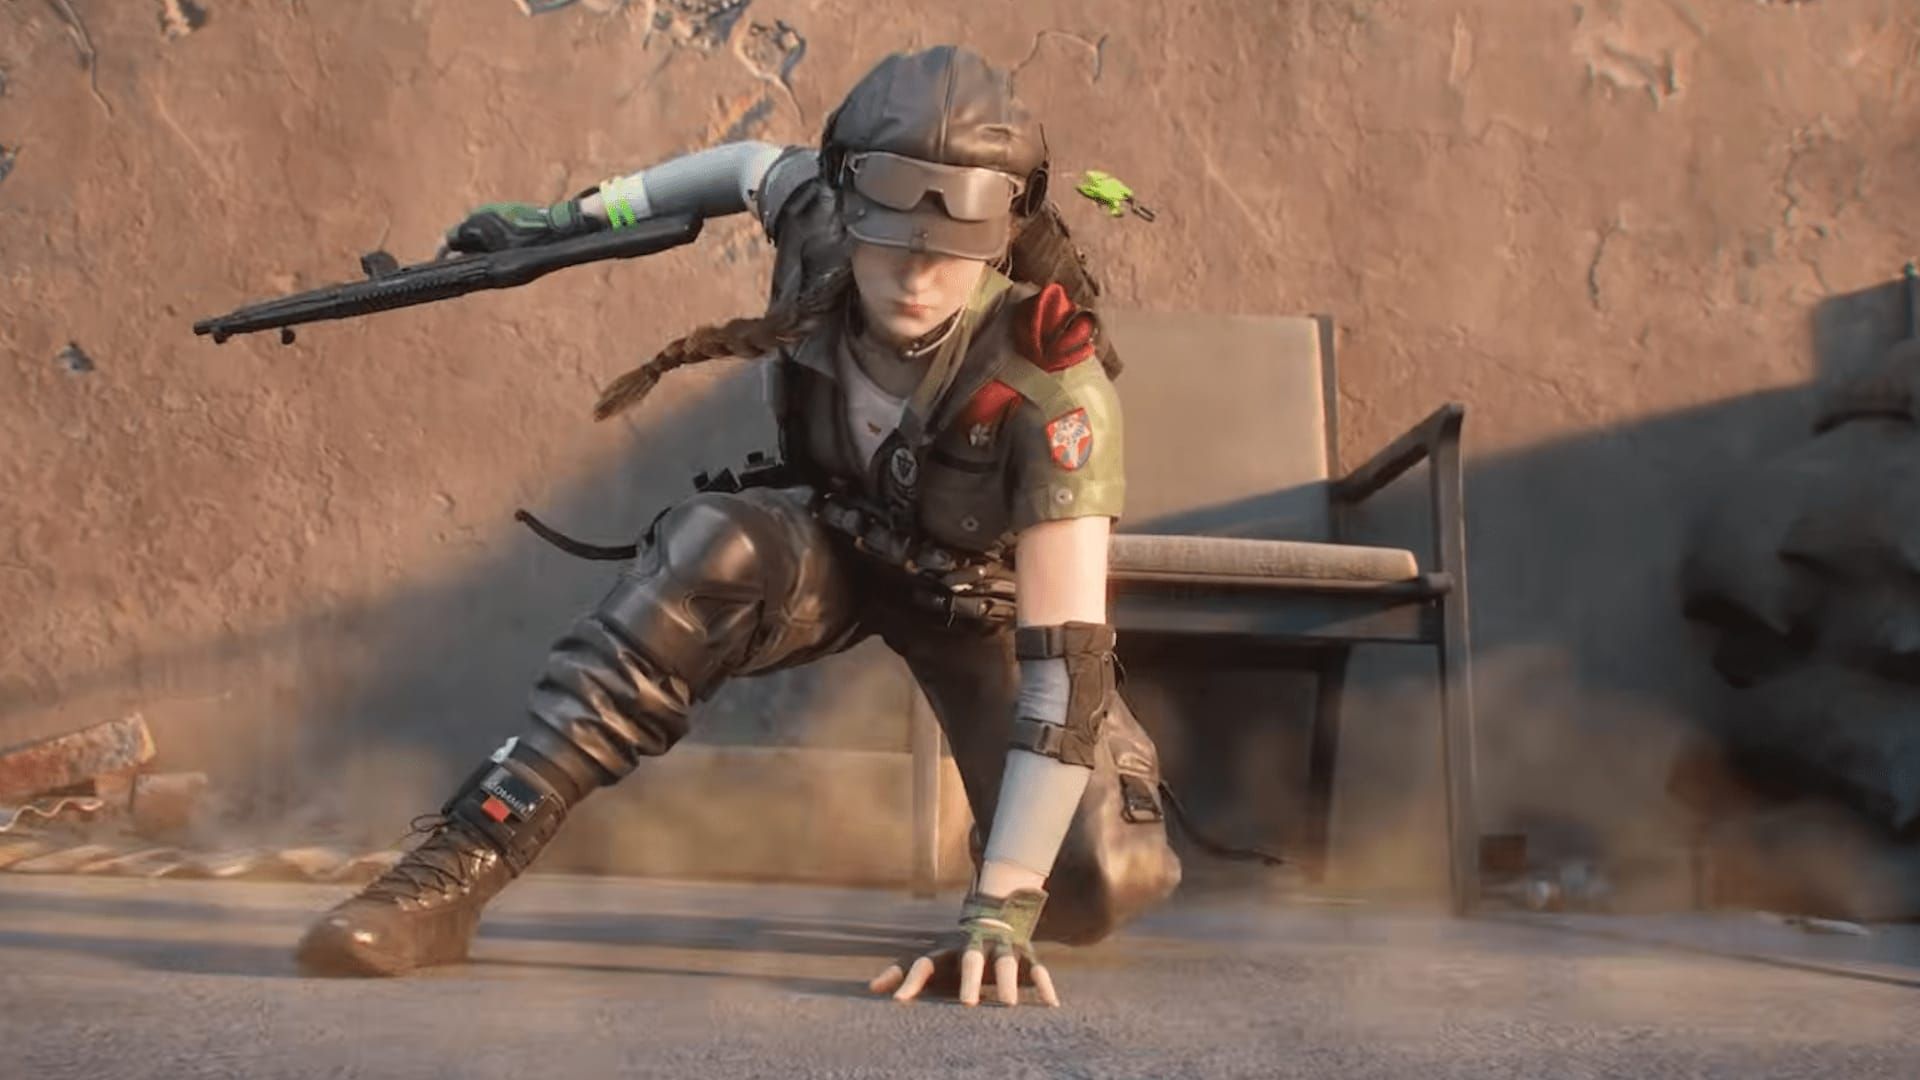
Vlinder (Lina van der Meer, G.T.C. Europe Division) launches February 3-4, 2026 as Season 8's dedicated support operator. She excels at sustaining team pushes through precise healing and area denial, filling the gap where traditional medkits fail during prolonged objective holds.
Season 8's meta shifts toward extended engagements where Vlinder's Vital Signs Monitoring passive extends downed ally timers while highlighting silhouettes and health status. Reviving allies reduces Butterfly Rescue Drone cooldown—rewarding aggressive support play.
For instant Battle Pass access, Delta Force top up through BitTopup provides secure transactions and competitive pricing.
Core Abilities and Stats
Nano Medical Dust: Deploys medical drone with dual modes—short press heals allies in line-of-sight, long press self-heals. Restores full health in 1.5 seconds within 10 meters. Critical limitation: 60-meter tracking range.
Remote-Controlled Smoke Grenade: Gesture-guided flight path (hold to steer). Effective range 100-150 meters. Curve smoke around obstacles, block sniper sightlines, create escape routes.
Butterfly Rescue Drone System: 55-meter radius auto-revive for downed allies. Integrated Active Defense System blocks one explosive damage instance for 20 seconds. 120-second cooldown—save for objective pushes or multi-teammate downs.
Why Support Matters Now
Season 8's longer time-to-kill and reinforced objectives punish solo plays. Vlinder's 1.5-second full heal outpaces consumables, maintaining pressure without resupply retreats. Her Active Defense System counters Season 8's increased explosive damage—competitive teams run her in 80% of objective compositions.
When to Pick Vlinder
Choose her with aggressive entry fraggers needing sustained healing during site takes. Shines in 5v5 competitive modes. Avoid fast-rotation modes where 120-second cooldown doesn't align with engagement frequency. Requires more coordination than self-sufficient operators in solo queue.
Complete Vlinder Support Build (100+ Matches Tested)
Primary Weapon: MCX LT Assault Rifle
Caliber: .300 Blackout
Base Damage: 36
Effective Range: 30m
Fire Rate: 798 RPM
Recoil Control: 55
Handling Speed: 63
Muzzle Velocity: 450 m/s
Magazine: 30 rounds
Attachments: Compensator (push recoil above 70), 2x-3x variable scope (maximizes 30m range), extended mag for multi-target insurance. Avoid high-magnification optics that slow healing target tracking.
Secondary: FS-12 Shotgun
Damage: 18x8 (144 total/shot)
Effective Range: 12m
Hip-Fire Accuracy: 87
Fire Rate: 300 RPM
Handling: 32 base
Magazine: 20 (25 with compact extended)
Attachments: Laser sight (pushes accuracy above 90). Folding stock collapses in 0.2 seconds—keep collapsed when moving, extend for defensive holds. Avoid chokes that sacrifice close-range lethality.
Gadgets and Equipment
Primary Gadget: Additional smoke grenades (supplement Remote-Controlled Smoke)
Equipment Priority: Medical supplies first, then utility
Backup: Medkits for cooldown gaps, flashbangs for supporting pushes
Buy Delta Force recharge online via BitTopup for fast delivery and premium equipment access.
Perks and Specializations
Combat Medic: 15% healing cooldown reduction on successful revives (stacks with Vital Signs Monitoring for 25-30 second faster ultimate)
Field Surgeon: 10% movement speed while healing (maintains line-of-sight on moving allies)
Avoid: Damage-focused perks—assists and revives matter more than K/D
Fixing Grenade Launcher Mechanics
The Real Issues
Players expect hitscan but get arcing projectiles with travel time. Lack of visual trajectory feedback forces trial-and-error learning. Splash damage drops sharply beyond 2-meter radius—shots landing 3-4 meters deal minimal damage. Sound propagation at 500 meters broadcasts position, inviting counter-sniper fire.
Projectile Physics
Launchers follow parabolic arcs at 460 m/s muzzle velocity with constant gravity. Required elevation:
50m: 5-7 degrees
100m: 15-20 degrees
Aim-Through Technique: At 75m, aim head-level on a target 10m behind your actual target. Accounts for arc and travel time.
Practice Distances: Mark 25m, 50m, 75m, 100m with environmental landmarks. Build muscle memory for instant firing.
Optimal Launch Angles
25-50m: Minimal elevation, aim center mass. Negligible arc—prioritize direct impact
75-100m: 15-20 degrees above target. Maximum effective range for moving targets
100m+: Area denial only. Lob into choke points for psychological pressure
Splash Damage Zones (Tested)
0-2m (Lethal): 80-100% damage
2-4m (Damage): 30-50% damage
4m+ (Suppression): <20% damage
Heavy armor reduces splash by 40%—requires direct hits. Against vehicles, target tracks/optics/hatches, not frontal armor.
AAV Turret Optimization
Component Selection
Compound Turret Coaxial Machine Gun: 500m effective range
High-Capacity Feed: +40% continuous fire time (+200 rounds, 15-20 extra seconds)
Barrel Choice: Standard barrel over heavy (better thermal management vs. marginal 50m range gain)
Ammunition Types
Armor-Piercing: +60% vehicle penetration, -30% anti-infantry. Use against enemy armor.
High-Explosive: Devastating vs. infantry, requires 2-3x hits on vehicles. Better versatility for mixed engagements.
Optimal Loadout: Start AP for vehicle combat, switch to HE for infantry support as match progresses.
Incendiary: Damage-over-time, forces relocation. Poor armor penetration.
Tracer: Visual feedback for 300m+ shots. Reveals position—use only in low visibility.
Positioning Strategies
Urban Maps: Elevated positions at intersections. 500m range covers city blocks. Maintain escape routes from blind spots.
Open Fields: Ridgelines/elevated terrain. Maintain 300m+ from infantry. Use terrain to break line-of-sight when repositioning.
Objectives: Dynamic positioning per phase. Cover spawn routes initially, shift with objectives. Never commit to positions preventing retreat.
Advanced Launcher Techniques
Pre-Aiming Choke Points
Memorize trajectories for high-traffic areas. Pre-aim before enemies appear—fire instantly on callouts. Create mental references: Third-floor window hits ground entrance. Coordinate with teammates to bait enemies into pre-aimed zones.
Indirect Fire
High-angle fire (45 degrees) bypasses cover. Use Remote-Controlled Smoke as practice tool—identical physics. Works best on stationary targets (objective holders, snipers). Moving targets nearly impossible at high angles.
Vehicle Disable Combos
Coordinate with armor-piercing teammates. Your launcher forces repositioning, exposing weak armor. Target optics/sensors (lower armor values). Time shots with teammate anti-vehicle cooldowns to overwhelm active protection systems.
Synergy with Vlinder Abilities
Fire during Butterfly Rescue Drone's 20-second explosive interception window
Use Remote-Controlled Smoke to obscure position before firing (shoot-and-scoot)
Add launcher fire while healing aggressive teammates for overwhelming pressure
AAV Combat Mastery
Target Priority
Anti-vehicle specialists (immediate threat)
Enemy vehicles (determines map control)
Transport vehicles (prevents reinforcements)
Logistics vehicles (minimal threat)
Against infantry: prioritize rocket launcher carriers above all.
Leading Moving Targets
460 m/s muzzle velocity creates travel time beyond 200m. Lead formula: one body width per 100m distance.
Infantry: 5-6 m/s movement
Vehicles: 15-25 m/s
300m Example: 0.65s travel time × 20 m/s vehicle = 13m lead required
Watch for movement patterns—most players repeat strafe rhythms. Time bursts to intersect predictable phases.
Mode Switching
2-3 second vulnerability during ammo type switch. Plan during combat lulls. Maintain mental ammo counts—don't run empty mid-fight. Communicate switches to team (affects anti-vehicle coverage).
Survival Under Fire
Activate smoke, reverse to cover immediately. Use hull-down positions (expose turret only, hide body). Coordinate infantry screening—never operate without support in contested areas. Retreat when enemies reach 75m.
Map-Specific Strategies
Urban Positioning
Position in multi-exit buildings. 60m Nano Medical Dust range covers interiors and adjacent streets. Upper floors provide better Remote-Controlled Smoke trajectory control (100-150m range influences fights two blocks away). Choose central buildings accessing 2-3 objectives.
Open Field Execution
Operate from terrain depressions/treelines. Use vehicles as mobile cover. Time movements with team advances—never cross open ground alone. Your survival = team's sustained effectiveness.
Objective Defense
Establish primary position within 55m of objective. Set fallback points at 30m intervals. Pre-place smokes at choke points. Save ultimate for main assault phase (not initial contact). Coordinate timing with enemy push waves.
Vehicle Route Control
Deny routes with persistent launcher threat zones. Mark routes with smoke to blind vehicle sightlines. Create kill zones where terrain forces predictable paths—launcher initiates, team crossfire finishes.
Team Composition
Best Pairings
Pair with aggressive entry operators (benefit from sustained healing). Include one anti-vehicle specialist (mutual protection). Avoid redundant support—one healer per 5-person squad.
Communication Callouts
Ability Status: Heal ready, Smoke available, Ultimate in 30s
Healing Priority: Healing [player] (prevents consumable waste)
Ultimate Coordination: Popping ultimate, push now (2-3s warning)
Resource Management
Prioritize survival over kills. Drop medkits for teammates (you self-heal via abilities). Coordinate purchases to avoid redundant loadouts.
Ultimate Timing
Stack with aggressive teammate ultimates (provides safety net). Avoid simultaneous defensive abilities (sequential extends protection time). Track enemy cooldowns for proactive responses.
Common Mistakes
Overcommitting
Don't push beyond 60m tracking limit. Communicate range limitations. Use Vital Signs Monitoring to assess revive viability—don't feed deaths.
Wasting Launcher Ammo
6-8 rounds demand discipline. Avoid shots beyond 100m (<30% hit probability). Don't fire with clear enemy sightlines (500m sound propagation). Reserve for stationary/grouped enemies, not mobile individuals.
Cooldown Mismanagement
Track 120-second ultimate constantly. Stagger Nano Medical Dust usage (prioritize critically wounded). Plan Remote-Controlled Smoke for anticipated pushes, not reactive deployment.
Poor AAV Positioning
Always use terrain masking. Reposition every 30-40 seconds (10-15s bursts). Maintain 100m+ from enemy infantry. Retreat at 75m.
Season 8 Progression
Unlocking Vlinder
Battle Pass level 15 (free track). 15-20 hours for average players. Focus daily/weekly challenges (2-3x more XP than matches). PC update: February 3, 02:00 UTC+0 (28.6 GB). Mobile: 1.04 GB.
Battle Pass Acceleration
Purchase premium after reaching level 15 organically (retroactive rewards). Group with friends for squad challenge bonuses (40-50% faster). Complete support-aligned challenges (healing, assists, objectives).
Premium Currency
BitTopup provides secure Delta Force currency with competitive pricing, fast delivery, and 24/7 customer service. Tier skips unlock Vlinder immediately for limited playtime players.
FAQ
Best Vlinder build for Season 8? MCX LT (recoil attachments) + FS-12 shotgun + smoke grenades + cooldown reduction perks. Maximizes healing uptime with adequate self-defense.
How to fix grenade launcher? Not broken—learn arc physics. Practice 25m/50m/75m/100m distances. Lead moving targets one body width per 100m. Prioritize 2m lethal radius shots.
Optimal AAV loadouts? Start armor-piercing + high-capacity feed for vehicles. Switch to high-explosive for infantry. Standard barrel for heat management. Hull-down positioning.
Maximize Vlinder healing? Brief exposure for 10m line-of-sight trigger, return to cover during 1.5s heal. Prioritize <30% health teammates. Use Vital Signs Monitoring for priorities and cooldown reduction.
Best weapons for Vlinder? MCX LT: 36 damage, 798 RPM, 63 handling, 30m range. FS-12: 144 damage/shot, 87 hip-fire accuracy, 12m range.
Explosive damage calculation? 0-2m: 80-100% (lethal). 2-4m: 30-50% (damage). 4m+: <20% (suppression). Heavy armor: -40% splash. Vehicles: target weak points, not frontal armor.