

Alondra is the #1 solo-queue ranked pick in Blood Strike MENA right now — and for good reason. Released March 12, 2026 in the 2nd Anniversary update, her Jetpack + Arc Snare kit creates vertical pressure that most squads simply can't answer without specific counter-picks. But here's what most guides miss: Alondra's real value isn't solo carry potential. It's how her mobility forces enemy squads to react, opening windows for your whole team. Build around her correctly, and you're running one of the highest-percentage ranked climb strategies on MENA servers in 2026.
Is Alondra Actually Worth Building Your Ranked Squad Around in 2026?
Yes — community testing consistently places her at the top of MENA solo-queue ranked picks, ahead of Volt. But her squad value depends entirely on how you structure the roles around her.
Her Ability Kit, Explained Practically
Alondra runs three core tools:
Jetpack — Hold Jump to ascend using limited fuel that auto-recharges. This isn't just a mobility toy. It lets Alondra reach elevated positions that no other Striker can access, which in Blood Strike's vertical map design means she controls sightlines other heroes can't contest.
Arc Snare — Slows enemies on contact. Devastating in chokepoints, nearly useless in open fields. This distinction matters more than most players realize.
Grappling Hook — Pairs with Jetpack for the full independent loop: Hook → Jetpack → Arc Snare → Thompson SMG close-range finish. This loop is what makes her self-sufficient in solo queue.
The Thompson SMG is her optimal close-range weapon for this loop. For a more aggressive high-kill setup, community testing favors P90 SMG + M700 — the P90 handles the close burst, the M700 covers mid-range gaps when you're repositioning between rooftops.
Why She Creates Squad-Wide Value, Not Just Solo Value
Here's the insight most guides skip entirely: Alondra's Jetpack forces enemy squads to dedicate resources to rooftop control. The moment she ascends, opponents have to choose — rotate to counter her elevation, or hold their current position and absorb the angle disadvantage. That decision creates openings on the ground level for your teammates.
In my experience running her across Diamond and Master tier on MENA servers, the squads that win with Alondra aren't the ones where she gets the most kills. They're the ones where her vertical pressure pulls two enemies out of position while Volt or Kraken cleans up the remaining player below. Alondra is a tempo-setter, not a fragger.
2026 Season 9 Meta Context
Community data from April 2026 Season 9 confirms Alondra remains viable — aggressive and solo-friendly alongside Volt — but she's not a displacer who trivializes ranked. She rewards squads that understand her timing. Pre-April nerf discussions in the MENA community haven't materialized into significant changes yet, so her current kit is stable for ranked climbing.
What Makes an Alondra Squad Composition Stronger Than Other Team Setups?
The core principle: Alondra enables aggressive vertical pushes that standard ground-based squads can't replicate. But vertical aggression only wins if your squad has the anchor and control to capitalize on the chaos she creates.
The 3 Proven Alondra Squad Archetypes

Aggressive (Volt + Alondra + Kraken): Community testing rates this S-tier for Hot Zone ranked. Volt anchors the ground push, Alondra takes the high ground, Kraken provides DPS pressure from mid-range. The three-way threat forces enemies into impossible positioning. This setup wins more early engagements but bleeds rank points from overextension — I've seen this squad go 8-kill games and still lose rank because they pushed the final zone with no zone control utility.
Zone Control (Volt + Alondra + Ran + Nacho): This is the S-tier ranked squad for April 2026 MENA meta. Volt anchors, Ran's Ice Barrier locks down rooftop entries and denies Alondra-style aerial approaches from enemies, Nacho's Hellfire controls positioning in the final circle. After testing both archetypes across two full ranked seasons, this setup consistently outperforms in mid-to-late game zones. It's less flashy, but it closes out games.
Hot Zone Aggro (Volt + Alondra + Kraken + Ash Lord): The 4-stack version for coordinated groups. Ash Lord adds another layer of area denial that complements Alondra's vertical pressure. Emerging as a strong option on The Valley map (added February 27, 2026) where building density rewards vertical play.
Hero Synergy — Why These Pairings Work Mechanically
Most guides list pairings without explaining the mechanic. Here's why each works:
Volt + Alondra: Volt's ground anchor creates a stable base that lets Alondra take risks vertically. Without an anchor, Alondra's aerial repositioning leaves the squad exposed. Volt covers that gap.
Ran + Alondra: Ran's Ice Barrier denies rooftops — which is exactly what enemy squads use to counter Alondra. Having Ran means you can protect your own elevated positions while Alondra pushes forward.
Nacho + Alondra: Nacho's Hellfire denies enemy positioning in chokepoints, which pairs with Arc Snare's slow. Stack both in a doorway or stairwell and it's a near-impassable zone.
Kraken + Alondra: Pure DPS amplification. Kraken's kit rewards aggressive pushes, which aligns with Alondra's tempo-setting role. High-risk, high-reward.
Map-Specific Notes
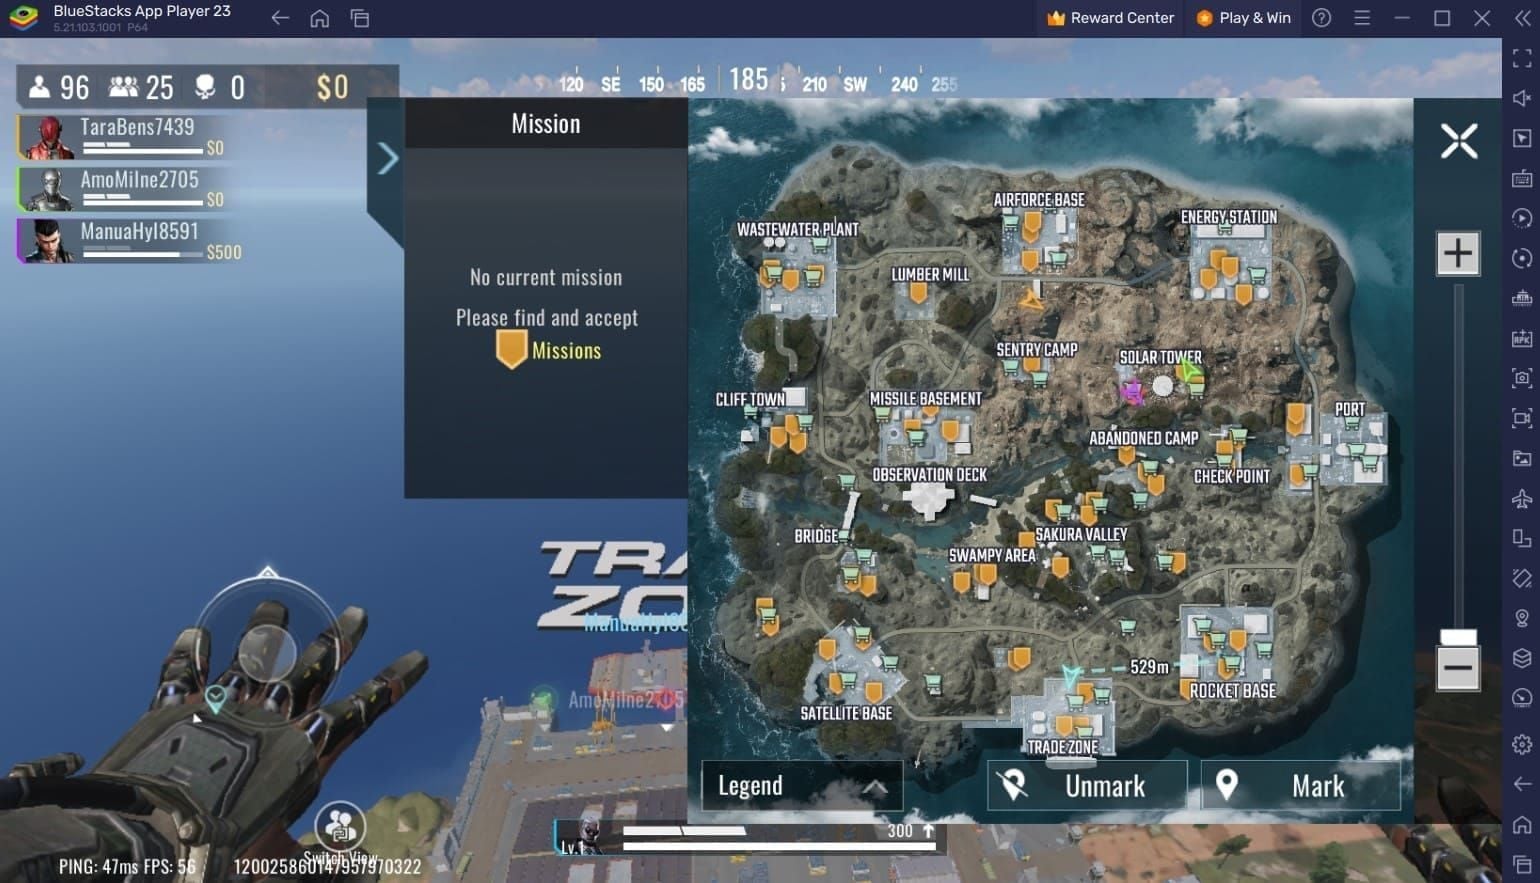
Hot Zone maps heavily favor Alondra squads — Thompson SMG vertical dominance is at its peak in dense building clusters. The Valley is emerging as a strong Alondra map with the Volt + Alondra + Kraken aggressive setup. Open-field maps are where she struggles most; Arc Snare loses most of its value without chokepoint geometry.
Why Do So Many Alondra Squads Fail in Blood Strike MENA Ranked?
Most Alondra squads don't lose because of her kit — they lose because of how players misuse it.
The Critical Mistakes
1. Wasting Arc Snare in open areas. This is the #1 mechanical error. Arc Snare's slow is only punishing when enemies can't simply sidestep it. In open fields, a slowed enemy is still mobile enough to reposition. Save it for doorways, stairwells, and building entries.
2. Treating Alondra as passive support. Based on coaching newer MENA ranked players, this single misunderstanding costs more rank points than any other factor. Her kit is designed for proactive, tempo-setting play. Waiting for enemies to push you negates the Jetpack's entire value proposition.
3. Burning Jetpack fuel on non-combat repositioning. Fuel auto-recharges, but the timing matters. Using Jetpack to rotate between zones means you arrive at the next engagement with empty fuel — no vertical option when you need it most.
4. No teammate synergy for zone rotations. Community observation is clear: Alondra squads that don't coordinate zone rotations lose even with mechanical skill advantages. Stick together. Her vertical pressure only creates openings if your ground teammates are positioned to exploit them.
5. Spending Gold on Gacha instead of Strike Pass. This is a resource management mistake that delays Alondra unlock and limits squad-building options. The Strike Pass is the higher-value spend for players building toward this meta. If you're looking to top up efficiently, Blood Strike (MENA) strike pass recharge discount options exist that make the investment more accessible for MENA players.
How Enemy Squads Counter Alondra — And How to Respond
Two primary counters exist in the current meta:
Ran Ice Barrier on rooftops: Pre-emptive rooftop control before Alondra can establish position. Counter this by varying your entry angles — don't always approach the same rooftop from the same direction.
Nacho Hellfire on landing zones: Denies the ground area Alondra needs to land after aerial repositioning. Counter by having a teammate clear Nacho's position before you commit to the descent.
Community testing also confirms: spreading squad entries mitigates Arc Snare's effectiveness. If you're running Alondra, don't cluster your squad in the same chokepoint — you're making it easier for enemies to catch multiple players in one Snare.
Bait her abilities. If enemies force Alondra to burn Jetpack fuel or Arc Snare on non-critical engagements, she loses her toolkit advantage for the actual fight.
How Do You Build and Execute the Optimal Alondra Squad in Ranked Mode?
Step 1 — Choose Your Archetype Based on Rank Tier
Diamond and below: Start with Aggressive (Volt + Alondra + Kraken). The high-kill potential is more forgiving at lower ranks where zone play is less punishing.
Master and above: Switch to Zone Control (Volt + Alondra + Ran + Nacho). Opponents at this tier know how to punish overextension, and the defensive utility becomes essential.
Step 2 — Assign Roles Clearly
Step 3 — Loadout Timing Around Alondra's Abilities
Primary loadout: Thompson SMG + Grappling Hook for the full Hook → Jetpack → Snare → Thompson loop. This is the standard solo-queue setup.
High-kill variant: P90 SMG + M700. The P90 handles close burst after aerial descent, M700 covers mid-range when repositioning. I expected the Thompson to outperform in all scenarios, but the P90 + M700 combo actually pulls ahead in engagements where Alondra needs to cover multiple ranges quickly — particularly on The Valley's mixed-range sightlines.
Magnum is a viable sidearm that complements her mobility without weighing down the loadout.
Step 4 — Zone Rotation and Engagement Rules
Don't initiate aerial pushes alone. Confirm your ground teammates are in position before Alondra ascends. The vertical push only works if enemies have to split attention.
Arc Snare before entry, not after. Place Snare at the chokepoint before your squad pushes through, not reactively during the fight.
Rotate as a unit. Alondra squads losing zone rotations is almost always a coordination failure, not a kit failure.
Step 5 — MENA-Specific Communication Callouts
MENA server ranked has distinct playstyle tendencies — faster aggression in early zones, heavier rooftop contesting than global servers. Your callouts need to account for this:
Call Jetpack fuel status before initiating vertical pushes ("fuel ready / fuel low")
Call Arc Snare placement location, not just "snare out" — teammates need to know which chokepoint is locked
Call rooftop clear before Alondra commits to descent — don't assume teammates see Nacho Hellfire below you
For players still working toward unlocking Alondra and building out this squad, Blood Strike (MENA) golds top up cheap options can accelerate access to the heroes and resources needed for this composition.
FAQ: Alondra in Blood Strike MENA Ranked 2026
Is Alondra good for ranked mode in Blood Strike MENA? Yes — she's the #1 solo-queue ranked pick in MENA, ahead of Volt. Her Jetpack mobility and Arc Snare create vertical pressure that forces enemy squads to react, generating openings for your teammates. She rewards proactive play, not passive support.
What is the best squad composition with Alondra in Blood Strike? For April 2026 Season 9 ranked: Volt + Alondra + Ran + Nacho is S-tier for zone control and late-game play. For aggressive Hot Zone matches, Volt + Alondra + Kraken is the go-to. Both are community-confirmed S-tier for MENA ranked.
Who are the best heroes to pair with Alondra in a squad? Volt is the non-negotiable anchor. After that: Ran for defensive zone control (his Ice Barrier counters enemy aerial entries), Nacho for chokepoint denial, Kraken for aggressive DPS amplification. The pairing depends on your archetype — don't mix aggressive and defensive heroes without a clear game plan.
How do you counter an Alondra squad in Blood Strike ranked? Pre-emptive rooftop control with Ran Ice Barrier before Alondra establishes position. Nacho Hellfire on her landing zones. Spread squad entries to avoid multi-player Arc Snare hits. Force her to burn Jetpack fuel on non-critical engagements — she loses her vertical advantage for the actual fight.
Has Alondra been buffed or nerfed in the 2026 Blood Strike update? No confirmed nerfs as of April 2026 Season 9. Community sources note nerf discussions pre-April, but nothing materialized in official patch notes. Her kit remains stable for ranked climbing. Monitor official patch notes for any mid-season changes.
What are the most common mistakes when using Alondra in ranked? Wasting Arc Snare in open areas (it needs chokepoint geometry to be effective), treating her as passive support instead of a tempo-setter, burning Jetpack fuel on rotations instead of saving it for combat, and failing to coordinate vertical pushes with ground teammates.
Final Verdict: Is the Alondra Squad Meta Worth Investing In?
Alondra is genuinely one of the strongest squad-enabling heroes in Blood Strike MENA's 2026 ranked meta — not because her kit is broken, but because it forces enemy squads into reactive positioning that your team can exploit. The Zone Control archetype (Volt + Alondra + Ran + Nacho) is the most reliable ranked climb setup for Master tier and above. The Aggressive archetype (Volt + Alondra + Kraken) is the faster path to kills in Diamond and below.
The investment is worth it. Fix the Arc Snare placement habit, coordinate your vertical pushes, and stop treating her as a passive hero — those three adjustments alone will move the needle on your ranked results faster than any loadout change.