

Ever wondered how to make Arlecchino shine in Genshin Impact without splurging on Chevreuse? Yeah, me too – as someone who's grinded through countless Abyss runs on a shoestring budget, I've got you covered. We're talking top-tier team comps relying on 4-star characters for Vaporize, Melt, and Mono-Pyro setups. These can hit 80-85% of meta DPS levels with smart rotations, builds, and energy tweaks, perfect for clearing Spiral Abyss without breaking the bank.
Meet Arlecchino: Genshin's Fiery Powerhouse
Who's This Pyro Polearm Beast?
Arlecchino's your 5-star Pyro Polearm main DPS, all about that Bond of Life mechanic to supercharge her attacks. At level 90, she's packing HP 13,103, ATK 342, DEF 765, and a juicy CRIT DMG of 88.4% with a +38.4% ascension bonus. To get her there, you'll need Agnidus Agate Sliver ×1, Fragment ×9, Chunk ×9, Gemstone ×6, Rainbow Rose ×168, Fatui Insignias, and 420,000 Mora. Simple enough, right? But honestly, farming those Rainbow Roses in Fontaine feels like a side quest all its own – worth it, though, for her raw power.
Ditching Chevreuse: Why Bother?
Look, Chevreuse brings those sweet 40% Pyro and Electro buffs, but without her, you pivot to Vaporize and Melt for those 1.5x damage multipliers. Or try Fischl in an Overload setup for solid 70-80% meta performance. Take stock of your roster – got Bennett and Xiangling? Great, simulate some builds aiming for 150-165% Energy Recharge in solo Pyro teams. It's all about adapting what you've got.
Why This Matters for Wallet Warriors
These budget squads with 4-stars can pump out 180-200K damage in Vaporize reactions, throw in Kaeya for Melt, and snag that +25% ATK from Pyro resonance. Farm up a 4-piece Gladiator's Finale set for +18% ATK and +35% Normal ATK DMG, slap on a White Tassel for another +24% Normal ATK DMG boost, and get your supports to level 80 for those precious energy particles. It's efficient, effective – and hey, as an editor who's tested dozens of F2P builds (my personal take: nothing beats the satisfaction of clearing Abyss on a dime).
For players looking to enhance their Arlecchino builds efficiently, consider platforms like BitTopup for secure top-ups. You can buy Genesis Crystals safely through BitTopup, which offers competitive pricing, instant delivery, robust security measures, wide payment support, excellent customer service, and high user satisfaction ratings to fuel your Genshin adventures without hassle.
Decoding Arlecchino's Moves: Kit and Playstyle Breakdown
Skill and Burst: The Heart of the Action
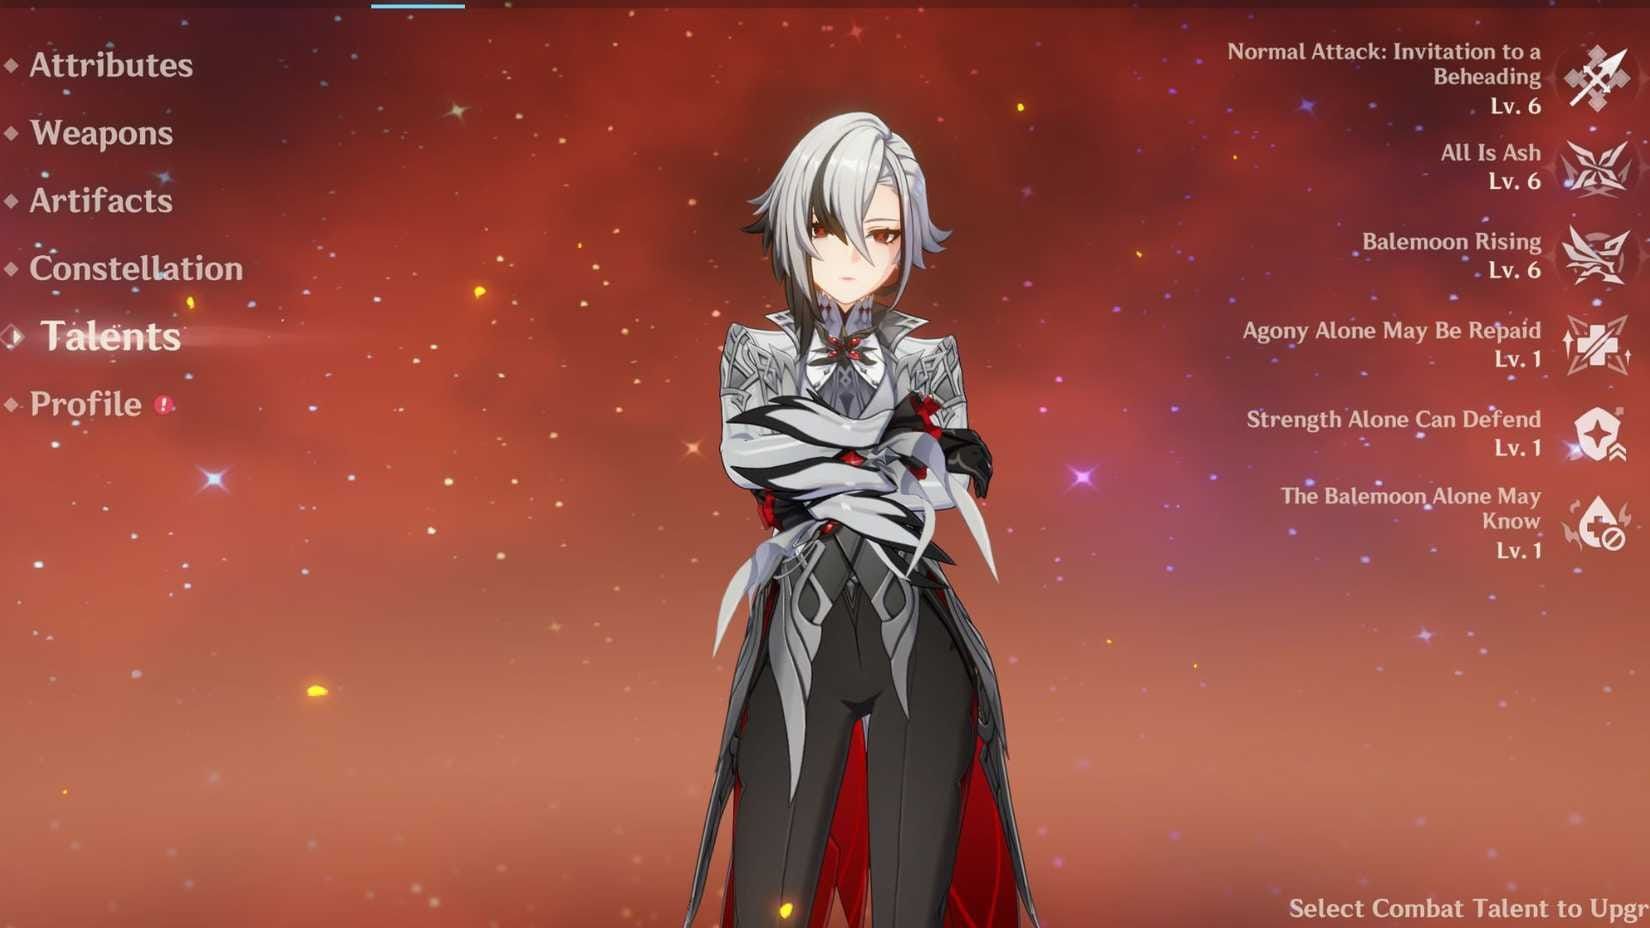
Her Elemental Skill slaps on Blood-Debt Directives for Pyro DoT (damage over time) every 5 seconds, which you absorb with a Charged Attack to stack up to 145% Max HP in Bond of Life – that unlocks +120.4% DMG at level 1. The Burst? Massive AoE Pyro damage, heals for 150% ATK, clears the Bond, and resets Skill cooldown. At C4, it shaves 2 seconds off Burst CD and restores 15 Energy. Your rotation: Mark with Skill, absorb via Charged Attack, then weave in 6 Normal Attacks with dash-cancels after N3 to dodge that pesky 18% DPS drop. It's a rhythm you gotta feel out – miss it, and you're leaving damage on the table.
Rocking the Pyro DPS Role
She dishes out a +40% Pyro DMG Bonus through her passive and gets interruption resistance at C1, making her a beast in Vaporize for those 1.5x multipliers or Melt for big hits. Level up talents like this: Normal Attack to 9 first, then Skill and Burst. You'll burn through Teachings of Order ×3, Guide ×21, Philosophies ×38, and Fading Candle ×6 per talent. Pro tip: She's versatile, but Vaporize feels like her sweet spot in crowded fights.
Why Reactions Are Your Best Friend
Vaporize amps Pyro hits by 1.5x, Melt lets you proc huge damage on Cryo auras, and Mono-Pyro gives that +25% ATK resonance. Pick based on the enemy lineup – Vaporize for mobs, Melt for single bosses. In Vaporize, delay your Hydro by 2 seconds to line up that 7-second window. Ever tried swapping mid-fight and watched it all click? That's the magic.
Building Budget Teams: Core Rules to Live By
Focus on 4-stars like Bennett for ATK buffs, Xingqiu for Hydro in Vaporize, or Kaeya for Cryo in Melt – they deliver 80-85% meta power even at C0. Take this lineup: Arlecchino + Xingqiu + Sucrose + Bennett. It cranks out 180-200K damage and clears Abyss 12, thanks to Favonius weapons for energy and that +25% ATK Pyro resonance. Solid, right?
Energy's the silent killer here. Arlecchino wants 140-150% ER in 2-Pyro teams, dropping to 125-135% in 3-Pyro for consistent Burst uptime. Stick Favonius on Bennett for particles; frontload your supports – Bennett Burst first, then Xiangling Skill into Burst. With C4, shave off 35-40% ER needs for 100% uptime in 3-Pyro setups.
Prioritize reactions wisely. Vaporize edges out Mono-Pyro in multi-target scenarios, while Melt shines against Pyro-weak bosses, though Kaeya variants lose about 15% uptime. Roster check: Xingqiu's your go-to for easy Vaporize, Kaeya for cheap Cryo. And remember, pause after N3 to reapply auras – maximizes those multipliers without the hassle.
Overload Teams That Pack a Punch (Minus Chevreuse)

Team up Fischl for off-field Electro, Arlecchino as main, Xiangling as Pyro sub-DPS, and Bennett for buffs – hits 70-80% meta performance. Swap in Beidou for shields if you need 'em; Fischl's Oz keeps Electro ticking despite the knockback.
Rotation? Kick off with Arlecchino's Skill, swap to Bennett Skill then Burst, drop Fischl's Skill, Xiangling Burst, back to Arlecchino for Charged Attack and N5 with dash-cancels. Pause 2.5 seconds for Electro refresh; Favonius on Fischl helps energy flow. Cycle every 20 seconds, skip Burst if healing's not critical.
Pros: Super accessible with 4-stars, potential for 40% Pyro shred, and 200K+ DPS in single-target with buffs. Cons: That knockback drags it down to 70-80% effectiveness, and it's no match for Vaporize in Abyss post-patch 4.6. (Editor note: I've run this in co-op and it's fun, but yeah, the chaos can be a turnoff.)
Vaporize Teams: Your Go-To Alternatives
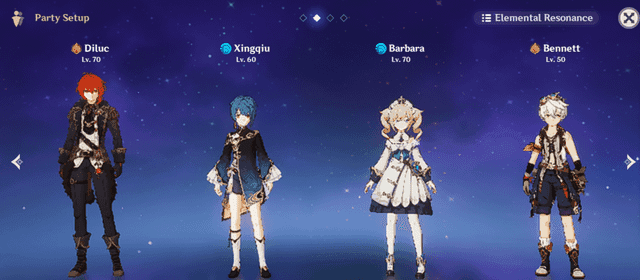
For Hydro support, roll with Arlecchino + Xingqiu + Sucrose + Bennett – Sucrose groups enemies and Swirls for EM buffs, Xingqiu's accessible with damage reduction. It's a crowd-pleaser.
To keep your Genshin progress smooth and affordable, BitTopup stands out for quick top-ups. For instance, Genshin Impact quick recharge via BitTopup ensures low prices, rapid account crediting, compliant security, global support, responsive after-sales, and top-rated user experiences, making it ideal for sustaining your team-building efforts.
Build-wise, grab 4-piece Fragment of Harmonic Whimsy for +18% ATK and 54% DMG from Bond, or Crimson Witch for +15% Pyro DMG plus +7.5% per Vaporize stack. Sands on ATK%, Goblet Pyro, Circlet CRIT; subs prioritize CRIT Rate/DMG over ATK% then ER. Aim for 2,000+ ATK, 70-80% CRIT Rate, 160% DMG – throw in 4-star Martial Artist for +15% Normal DMG if you're feeling fancy.
Damage? Vaporize gives 1.5x on charged attacks, netting 180-200K in F2P setups. Research shows it's 20-30% ahead of Overload; hit 150% ER solo with Bennett's 1,200+ ATK buff for those peaks.
Melt Teams on a Budget: Cryo Combos That Hit Hard
Synergize with Rosaria for crit buffs or Kaeya for straightforward Cryo, add Bennett for +25% ATK resonance – budget versions lose 15% uptime but still clear content. For advanced, Citlali brings AoE Cryo and shields.
F2P pick: Arlecchino + Kaeya + Bennett + Sucrose for VV shred (Viridescent Venerer, that resistance reducer). Rosaria's a solid alt for crit sharing. Level Kaeya to 80 with Favonius for energy.
Optimize like this: 140-150% ER in 2-Pyro; rotation starts Arlecchino Skill, Citlali Skill to Burst, Bennett Burst, then Arlecchino Charged into Normals. Do 4x N4 with dash and 2.5-second pauses for Cryo reapply; snapshot buffs before swaps and steer clear of C6 Bennett.
Artifacts and Weapons: Budget Picks That Work

4-piece Gladiator's Finale: +18% ATK, +35% Normal DMG. Or Gilded Dreams for +35% Normal DMG after reactions. Farm Momiji-Dyed Court for those 4-star gems, always snag a Pyro Goblet first.
F2P weapons? White Tassel R5 for +24% Normal DMG in Vaporize/Melt; Prototype Starglitter for ER on Burst builds. Missive Windspear adds +24% ATK and +96 EM post-reaction – refine to R5 with CRIT subs.
Stats: CRIT DMG/Rate (1:2 ratio) first, then ATK%, ER, EM. Target 70-80% CRIT Rate, 160% DMG. Hybrid 2-piece Crimson Witch + Gladiator works for Vaporize; farm till you break 2,000 ATK.
Dodging Common Pitfalls
Don't lean too hard on 5-stars – Xingqiu subs for Yelan in Vaporize, keeping you at 80-85% effectiveness with his damage reduction.
Ignore ER at your peril. Aim 125-135% in 3-Pyro with Favonius supports for particles; C4 lets you drop 35-40% to avoid downtime.
Bad rotations kill DPS. Pause post-N3 for aura reapply, delay bursts by 2 seconds; dash-cancel after N3 to skip that 18% loss.
Leveling Up: Advanced Tweaks and Farms
Scale to mid-tier by grabbing C1 for resistance, upgrading to Staff of Homa for HP-scaling ATK; swap to Yelan Vaporize for a 20-30% DPS bump.
Farm smart: 168 Rainbow Roses in Fontaine, Agnidus Agate from Pyro bosses, Insignias from Fatui camps. Total Mora hits 420,000 for ascension, 4,957,500 for talents – hit Wednesday/Saturday domains for Order books.
Dive into community tools for simulations; try rotations like Bennett > Kazuha > Yelan > Arlecchino N5C for Vaporize precision. Share your builds – that's how we all improve.
Wrapping It Up: Your Arlecchino Roadmap
Top comps? Vaporize with Arlecchino + Xingqiu + Sucrose + Bennett for reliability; Melt via Arlecchino + Kaeya + Bennett + Sucrose for bursty hits; Mono-Pyro like Arlecchino + Xiangling + Sucrose + Bennett for steady play – all budget-friendly without Chevreuse.
Go experiment in Abyss, tweak for your style; she's killer at C0 with these. Hit up Genshin forums for more tips – and hey, share what works for you!