

Quick Answer: Season 3 — Operation Unbound — launched March 12, 2026, bringing the Valley map and reshaping the Bonds economy. Top priorities: Battle Pass (2,600 bonds, returns 2,000–3,000 bonds over 30 days), Composite Case (1,000 bonds, six death-protected slots), and Elite Subscription (500 bonds, 500-grid inventory). Meta blueprints — SVD (1,000), Tactical AK-74M (800), MPX (600) — round out the must-buys. Free players earn 70–120 bonds per week through quests and daily logins.
What Are Bonds and Why They Matter More in Season 3
Bonds are Arena Breakout's premium currency — the layer separating players who survive consistently from those who bleed Koen every session. Unlike Koen earned through looting, Bonds unlock structural advantages: protected inventory slots, blueprint weapons, and subscriptions that compound value across an entire season.
Season 3 raised the stakes. Valley is 1.5× larger than any previous map, introduces 700+ resource points, and punishes under-equipped players harder than anything before it. Enter with fewer than 3,000 bonds and you'll feel the pressure immediately.
Want to skip the grind and stay competitive from day one? Buy Arena Breakout Bonds cheap through BitTopup — competitive pricing, fast delivery, and secure transactions trusted by thousands of players each season.
Starter Budget Breakdown
Minimum viable: 1,500 bonds (Composite Case + Elite Subscription)
Competitive baseline: 4,100 bonds (Battle Pass + Composite Case + Elite Subscription)
Full meta setup: 6,500+ bonds (all above + top blueprints)
Free-to-play players accumulate roughly 840–1,440 bonds per month — enough for one or two priority purchases per season, but not enough to compete at the highest level without strategic planning.
Valley Map: What It Demands From Your Loadout
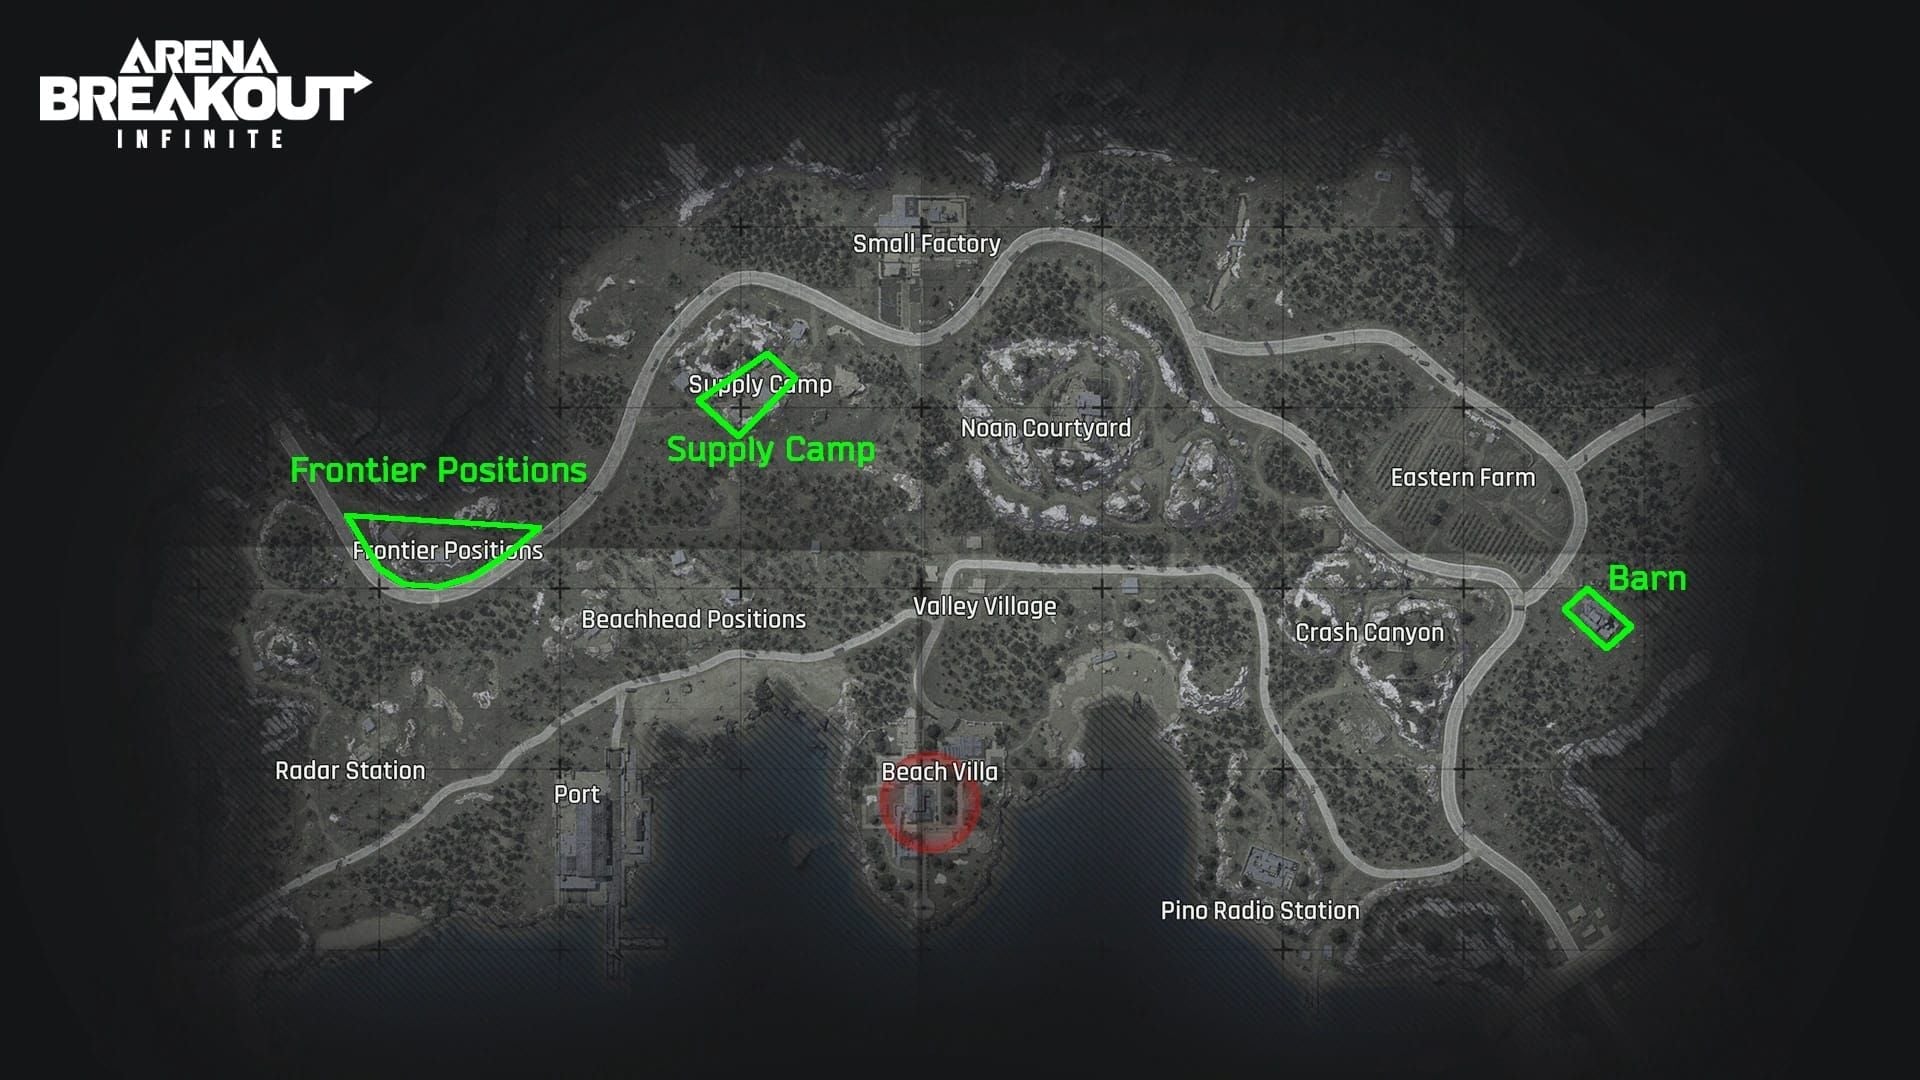
Valley unlocks at Level 8, introduces the Antonio family faction led by Doss, and splits into three zones with distinct risk profiles.
High-Risk Zones (Port and Northridge):
Port dock warehouse — two floors, weapon cases, ammo; expect coordinated squads
Nortano Court main building — ammo long weapon case, contested hot drop
Helipad extraction — requires Valley Boss Token; only prepared players qualify
Mid-Risk Zones (Farm):
Beach Villa guest house — free safe weapon case, low competition relative to reward
Small Factory basement nursery safe — premium weapon case worth the detour
Extraction Requirements (the real gear tax):
Helipad — Valley Boss Token
Abandoned RV — Toolbox
Supply Van — Toolbox + 20 seconds uninterrupted interaction (extremely vulnerable)
Tactical Helipad — faction medallions
Valley's exclusive high-value item, the Gold Dumbbell, demands both the right gear and the right exit plan. Bonds-funded loadouts are a direct investment in extraction success here.
Bonds Spending Priority Tier List
Tier S — Buy These First
Battle Pass — 2,600 bonds The single best Bonds investment in Season 3. Returns 2,000–3,000 bonds over 30 days of active play, effectively paying for itself while unlocking exclusive content. Buy this before anything else if you're playing consistently through March and beyond.
Composite Case — 1,000 bonds Six death-protected slots in a 3×2 layout. On a map as punishing as Valley, protecting your best gear isn't optional — it's the foundation of a sustainable economy. This directly reduces the Koen bleed that kills most players' progression.
Tier A — High Value
Elite Subscription — 500 bonds Expands inventory from 350 to 500 grids, grants 300 weekly Market listings, and adds 8 simulation listings. On Valley with 700+ resource points, you'll constantly hit storage limits without this.
SVD Blueprint — 1,000 bonds
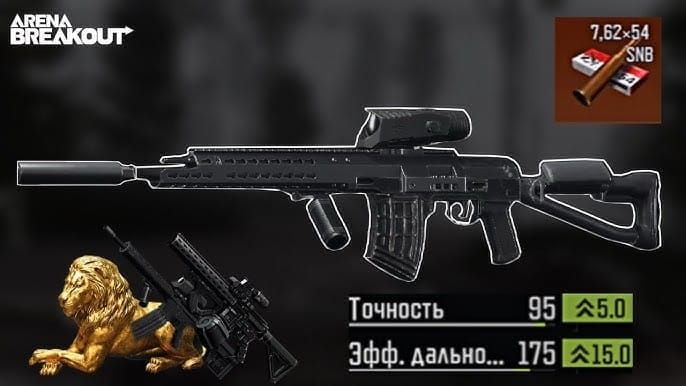
Chambered in 7.62×51mm, dominant on Valley's open Farm and Port sightlines. Highest-cost blueprint but delivers the most map-specific value this season.
Tactical AK-74M Blueprint — 800 bonds The balanced pick for players rotating between CQB and mid-range. Reliable across all three Valley zones, more forgiving in Port warehouse interiors.
Tier B — Situational
MPX Blueprint — 600 bonds Excellent for aggressive CQB in Port warehouse and Northridge interiors. Lower value if you prefer Farm's open engagements.
Container Upgrades:
2×3 container — 400 bonds, 6 protected slots, solid mid-season upgrade
3×3 container — 800 bonds, 9 protected slots, best for daily high-value loadouts
Tier C — Skip or Delay
Cosmetics and non-functional items. With Valley's extraction requirements demanding real gear investment, spending Bonds on aesthetics before securing Tier S and A items is the most common and costly mistake in Season 3.
Best Meta Loadouts for Valley
Loadout #1: Aggressive CQB (Port + Northridge)
Core weapon: MPX blueprint (600 bonds). Pair with KN Field Commander L5 armor — 80 durability, -2 burn rate, -5% movement penalty — keeping you mobile in tight corridors while absorbing punishment. Ceramic L5 repair costs 12,000 Koen for 70–100% durability restoration; factor that into your per-run budget.
Loadout #2: Balanced Mid-Range (All Zones)
Core weapon: Tactical AK-74M (800 bonds blueprint). Prioritize the 3×3 container upgrade (800 bonds) to protect extracted loot — each successful run compounds your stash value. The G28 in 7.62×51mm works as an alternative for semi-auto precision at mid-range.
Loadout #3: Budget Survival (Under 1,500 bonds)
Buy the Composite Case (1,000 bonds) first, then use Koen for weapons. The SCAR-HAMR in 5.56×45mm is a strong free-market option. Focus on Beach Villa and Small Factory — lower competition, reliable loot, safer exits via Abandoned RV with a Toolbox prepped in advance.
Need to top up between major purchases? Top up Arena Breakout Bonds fast delivery at BitTopup for instant fulfillment and competitive rates.
Best Armor to Buy in Season 3
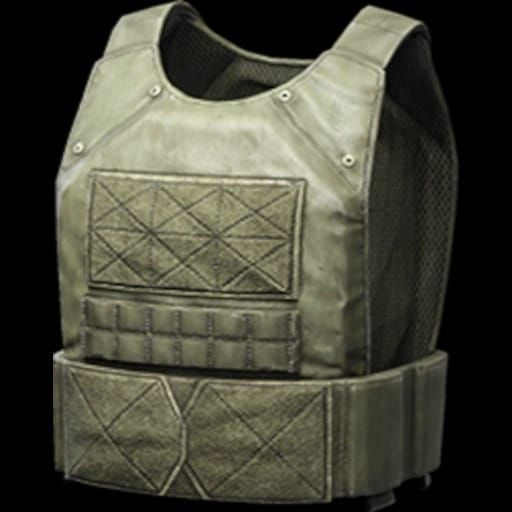
The KN Field Commander L5 is the standout armor this season — its stats are built for Valley's engagement distances:
80 durability — among the highest at its tier
-2 burn rate — significantly extends armor lifespan per raid
-5% movement penalty — low enough to maintain aggressive positioning
At 12,000 Koen per Ceramic L5 restoration (70–100% durability), it's economically sustainable for consistent extractors. Pro tip: prioritize body armor over helmets in your Bonds budget — body armor directly affects survival rate across every engagement type on Valley.
How to Farm Bonds Efficiently
Daily sources:
Login rewards: 10–20 bonds/day
7-day login streak bonus: 50–100 bonds
Daily quests: 10–20 bonds each
Weekly sources:
Weekly quests: 50–100 bonds each
3–5 weekly quests per reset cycle
Realistic weekly total: 70–120 bonds for consistent players, or 280–480 bonds per month.
The most efficient habit: complete all daily quests before logging off. They take minimal time and compound significantly over a 30-day season. Maintain every 7-day streak and finish all weekly quests — that's your free-play ceiling.
5 Biggest Bonds-Wasting Mistakes
Buying cosmetics before functional gear. Cosmetics have zero extraction value. Lock in your Composite Case and Elite Subscription first.
Over-insuring low-value items. Insurance only makes sense on gear worth more than the insurance cost plus expected loss frequency.
Hoarding Bonds past the Battle Pass window. It's time-limited and self-funding. Delaying costs you net bonds over the season.
Skipping container upgrades. The 2×3 container at 400 bonds is one of the best value purchases in the shop. Skip it and you'll pay more to recover those slots later.
Buying blueprints before knowing the map. The SVD is exceptional on Valley's open zones but wasted on players who exclusively run Port interiors. Match your blueprint to your playstyle.
How to Top Up Bonds Cheaply and Safely
The Battle Pass alone at 2,600 bonds represents 22–37 weeks of free farming. Topping up is the practical choice for players who want Season 3 fully funded from day one.
How to top up via BitTopup:
Visit BitTopup and select Arena Breakout Bonds
Choose your package based on your Season 3 spending plan
Enter your Arena Breakout account details
Complete secure checkout
Receive Bonds — typically within minutes
BitTopup offers competitive pricing across all package sizes, high user ratings, and reliable customer service for both new and returning players.
FAQ
What's the best way to spend Bonds in Arena Breakout Season 3? Battle Pass first (2,600 bonds — returns 2,000–3,000 bonds over 30 days), then Composite Case (1,000 bonds) for death protection, then Elite Subscription (500 bonds) for inventory expansion. Add meta blueprints after these foundations are secured.
Is the Season 3 Battle Pass worth it? Yes. At 2,600 bonds with a 2,000–3,000 bond return over 30 days of play, it's the only Bonds purchase that effectively pays for itself. Highest-priority buy for any active Season 3 player.
What are the best meta loadouts for Valley? Tactical AK-74M (800 bonds) is the most versatile across all zones. SVD (1,000 bonds) dominates Farm and Port sightlines. MPX (600 bonds) excels in Port warehouse and Northridge CQB.
How do you get Bonds fast in Season 3? Daily login streaks (10–20 bonds/day, 50–100 at 7-day streak), daily quests (10–20 bonds each), weekly quests (50–100 bonds each). Free total: 70–120 bonds/week. For faster accumulation, top up via BitTopup.
Should I spend Bonds on armor or weapons first? Neither — buy the Composite Case first, then Elite Subscription, then blueprints. Armor like the KN Field Commander L5 can be sourced with Koen. Bonds are better reserved for items exclusive to the Bonds shop.
Do Bonds reset at the end of Season 3? No — unspent Bonds carry forward. But season-specific items like the Battle Pass and limited blueprints expire with the season. Don't delay time-limited purchases.