

Zenless Zone Zero Version 2.6 launches February 6, 2026, introducing Angels of Delusion Training in Progress at 404 Livehouse. This guide covers training mechanics, battery optimization, and reward strategies dividing the community. Maximize Polychrome earnings, navigate difficulty tiers, and leverage S-Rank agents Sunna and Aria plus Biggest Fan Bangboo.
Event Overview: What Makes 2.6 Different
Angels of Delusion shifts from exploration-based Hollow Zero to structured training stages with performance targets and progressive difficulty scaling.
Requirements: Inter-Knot Level 20, Season 1 Chapter 1 Intermission complete Duration: January 30 - February 9, 2026 Rewards: 100 Polychromes, 54 Official Investigator Logs, 120,000 Denny, The Shape of Delusion namecard
The battery-based progression system with difficulty-scaled currency rates demands strategic resource allocation across three weekly phases with escalating score requirements. For Polychrome top-ups, Zenless Zone Zero top up Monochrome via BitTopup offers competitive rates and instant delivery.
Duration and Accessibility
Week 1: January 30, 5,000-point target
Week 2: January 31, 15,000-point target (200% increase)
Difficulty Tiers:
Low: Level 20-30, 5.0 currency/Battery
Medium: Level 30-40 (Level 40+ characters), 7.0 currency/Battery
High: Level 40+, 9.0 currency/Battery (80% efficiency boost)
404 Livehouse hub features mini-games, dialogue, and gathering activities supplementing core training.
Rewards Structure
Training Completion:
Week 1: 30 Polychromes, 2 Logs, 2,000 Denny
Week 3: 40 Polychromes, 2 Logs, 2,000 Denny
Final Test: 40 Polychromes, 2 Logs, 2,000 Denny
Sunna Special Training:
1 session: 4 Logs, 10,000 Denny
3 sessions: 20 Polychromes
Event Shop: 300 Polychromes, 5 Boopons, 24 Original Chips, 12 W-Engine Energy Modules, 150,000 Denny
404 Livehouse Shop: 60 Polychromes, 4 W-Engine Energy Modules, 30,000 Denny, 12 Original Chips
Full clear requires 3,600-4,200 Battery (Medium/Low) or 2,800 Battery (High).
Key Differences from Previous Events
Previous events emphasized randomized Hollow encounters. Angels of Delusion introduces deterministic progression where skill and roster directly correlate to currency rates.
Battery Economy:
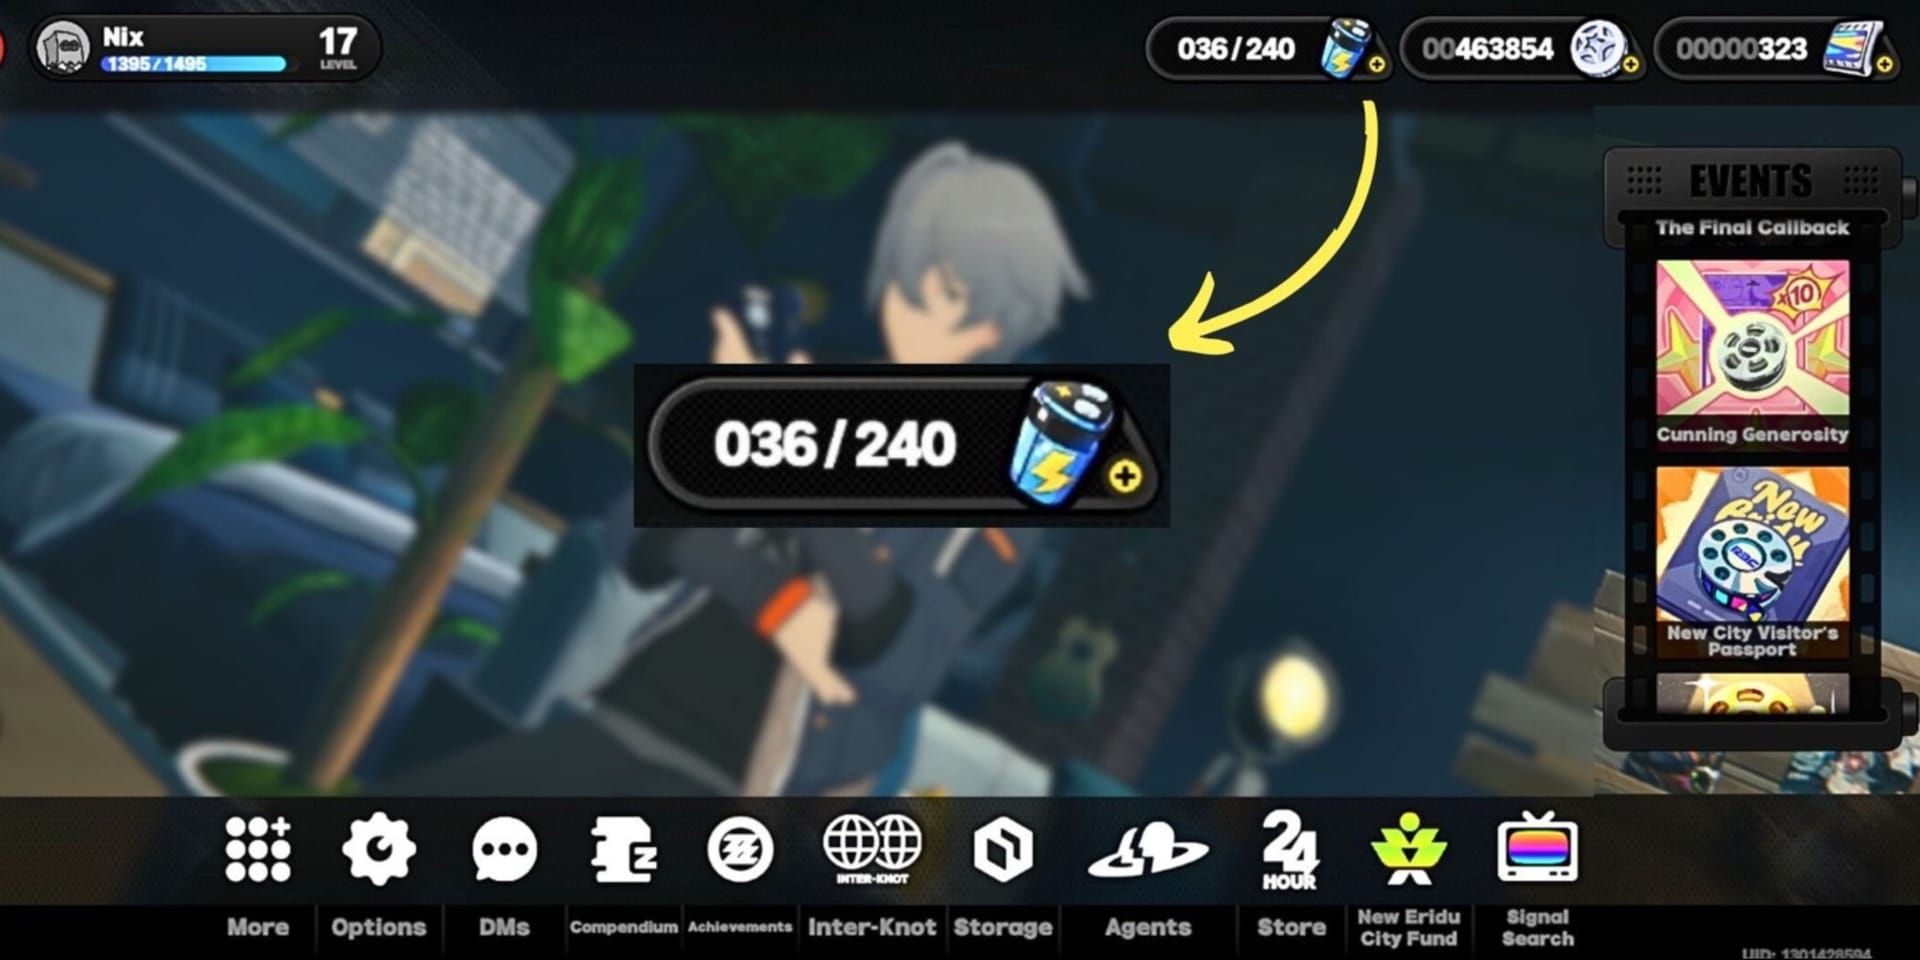
Natural regen: 240 Battery daily (1 per 6 minutes)
Coff Cafe coffee: 60 Battery daily
Total: 300 daily, 4,500 over 15 days
This barely covers Medium Difficulty shop clears but comfortably exceeds High Difficulty requirements. Skipping 150,000 Denny saves 900 Battery, enabling full clears on Medium.
Complete Mechanics Breakdown
Training Progression and Score Thresholds
Week 1: Vocals and Dance skill development
Week 2: Rhythm training + Angel Assist Instant Impact mechanic
Final Test: All three focuses combined
Score sources: combat performance, combo maintenance, time bonuses, training objectives. The 5,000 → 15,000 jump catches unprepared players. Final Test requires balanced development—over-investing in single attributes creates resource shortages.
Battery Management and Currency Optimization
4,500 total Battery creates zero-sum allocation. Optimal usage:
Claim Coff Cafe coffee daily (+60 Battery)
Complete 404 Livehouse activities for supplementary rewards
Select difficulty based on power level
Farm 3-5 runs using 60-100 Battery per session
Buy premium items first, skip Denny to save 900 Battery
High Difficulty players clear both shops with 700-800 Battery buffer. Medium requires near-perfect execution. Low Difficulty mathematically cannot full clear.
Angel Assist Instant Impact Mechanics

Week 2 introduces frame-precise timing (0.3-second window). Successful activation:
1.5x score multiplier for 8 seconds
+15 Rhythm points
Missing three opportunities loses 450-600 points—enough to fail Week 2's threshold. Advanced players bait enemy behaviors to generate 5-6 windows vs. standard 3-4, creating 15-20% scoring advantage.
Why Players Are Split
Difficulty Spike and Accessibility
Week 1 to Week 2's 200% score increase is ZZZ's steepest event curve. Players at Inter-Knot Level 25-35 (largest demographic) face content that's mechanically easy but mathematically impossible to fully complete.
Fixed Battery regeneration prevents grinding to overcome roster gaps—unlike previous events where dedication compensated for deficiencies.
F2P vs Whale Gap
**Sunna (Physical Support):

**
Boosts Attack and Anomaly stats
Ultimate pulls giant hammer for heavy damage
Enables Quick Assists
20-30% faster clears, +1,000-1,500 points vs. A-Rank alternatives
Aria (Ether Anomaly):
Idol projection construct forms for burst damage
Aligns with Instant Impact timing
6-7 Impact opportunities vs. 3-4 standard
+1,500-2,000 point advantage
Biggest Fan S-Rank Bangboo:

Stats: 5,095 HP, 7,896 ATK, 666 DEF, 110 Impact, 50% CRIT Rate, 100% CRIT DMG, 110 Anomaly Mastery
25-35% better than A-Rank Bangboos
Restores HP and boosts Attack with two Angels agents
Players with Sunna/Aria report 40-60% higher completion rates and 30-50% better efficiency.
Community Sentiment
Reddit: 60/40 satisfied/frustrated split
Satisfied: Level 40+ veterans with deep rosters
Frustrated: Level 20-30 players, F2P with limited S-Ranks
Discord: Similar division, dedicated coping mechanisms channels for Medium Difficulty
Official Forums: 45/55 favoring criticism
Requests: difficulty rebalancing, Battery increases, skill-based progression paths
Top 7 Mistakes (And Fixes)
1. Ignoring Training Skill Progression
Players focus on combat, neglect Vocals/Dance/Rhythm development.
Fix: Allocate 30-40% focus to training objectives. Skill multipliers outweigh time bonuses 2-3x. Aim for 80-90% completion across all skills before threshold runs.
2. Poor Energy Rotation
Energy exhaustion before Instant Impact windows misses 30-40% scoring opportunities.
Fix: Reserve 40-50 energy for Impact windows. Execute assist immediately when prompted. Practice energy conservation during low-pressure segments. Adds 15-20 seconds but increases scores 1,200-1,800 points.
3. Suboptimal Difficulty Selection
Players choose Medium for safety despite High capability, sacrificing 28% efficiency.
Fix: Test High at Level 40. Three successful High runs > four perfect Medium runs. Break-even: 50% High success rate (4.5 expected currency/Battery) exceeds Medium's 7.0 when accounting for saved Battery on failures.
4. Misunderstanding Instant Impact Windows
0.1-0.2 second late execution misses multipliers, creating 500-800 point deficits.
Fix: Maintain peripheral awareness of prompt zone. Interrupt all actions immediately—even mid-combo. Score loss from interrupted actions (50-100) < missed multipliers (150-200). Practice in Week 1 for muscle memory.
5. Inefficient Bangboo Deployment
Random deployment wastes 40-50% contribution potential.
Fix: Reserve abilities for Instant Impact phases. Biggest Fan's Attack buff during Impact windows generates 300-400 additional points per activation—triple random deployment value.
6. Skipping Optional Activities
404 Livehouse activities cost 10-15 minutes daily but provide 15-20% total rewards.
Fix: Complete all activities before stage farming. Grants bonus Battery, training XP, occasional Polychromes. 60 Polychromes from 404 shop alone justifies investment.
7. Neglecting Shop Priority
Arbitrary purchases deplete Battery on low-value items.
Fix: Purchase order: Polychromes (300 + 60) → Boopons (5) → W-Engine Modules (12 + 4) → Original Chips (24 + 12) → Denny last. Skip Denny to save 900 Battery. Secure Polychromes by day 5-6.
Hidden Mechanics
Environmental Interaction Bonuses
Glowing amplifiers grant 10-second Attack boosts (15-25% based on training skills). Worth 800-1,200 points per run.
Optimal: Clear nearby enemies, activate amplifier before next wave. Certain positions align with Instant Impact timing—activate 2-3 seconds before prompts for stacked buffs (+200-300 points).
Training Skill Synergies
Sunna: Ultimate gains 20% Impact at 80%+ Vocals
Aria: Form shifts 30% faster at 90%+ Dance (enables extra burst window)
Biggest Fan: Attack buff scales with Rhythm (12% at 50%, 20% at 90%—67% improvement)
Score Calculation Multipliers
50+ hit combo: 1.2x multiplier
100+ hit combo: 1.4x multiplier
Perfect dodge: 15 points each
Perfect parry: 25 points each
Multipliers stack multiplicatively. 100+ combo + perfect dodges + Instant Impact = 2.5-3.0x effective multiplier.
Time bonuses:
<180 seconds: 500 points
180-240 seconds: 350 points
>240 seconds: 0 points
241-second clears score identically to 300-second clears.
Optimal Team Strategies
S-Rank Combinations
Best: Sunna (Physical Support) + Aria (Ether Anomaly) + flex DPS
Sunna's Quick Assist enables rapid swapping during Instant Impact without losing uptime. Activate Impact with Aria → swap to DPS for burst → return to Aria for next form shift.
Alternative: Replace Aria with Ellen/Zhu Yuan. Sacrifices 15-20% scoring but viable for High Difficulty thresholds.
Budget A-Rank Teams
Optimal F2P: Anby (Stun) + Nicole (Support) + Billy (DPS)
Achieves 70-80% of S-Rank scoring when optimally piloted. Sufficient for Week 1's 5,000 points, marginal for Week 2's 15,000.
Critical: Requires Level 50+, Skill Level 8+, optimized W-Engines and Drive Discs. Spreading resources across multiple A-Ranks falls 2,000-3,000 points short.
Role Priority
Support agents provide disproportionate value. Sunna's buffs contribute 1,500-2,000 points per run—more than most DPS direct damage.
Optimal distribution: 40% Support, 35% DPS, 25% Stun (vs. standard 20/60/20)
W-Engine and Drive Disc
Sunna's Thoughtbop: +30% Support effectiveness = +800-1,000 points per run
Aria's Angel in the Shell: Enables extra construct shift = +500-700 points
Drive Disc priorities:
Support: Attack%, Anomaly Mastery
DPS: CRIT Rate, CRIT DMG
Stun: Impact
F2P: Fanged Metal 4-piece provides universal Attack% and energy regen across all roles.
Reward Optimization
Complete Breakdown
Total Polychromes: 460 (100 training + 300 event shop + 60 Livehouse shop) = ~2.9 pulls
Official Investigator Logs: 54 total
Currency Requirements:
Full clear with Denny: 25,200-27,000
Full clear skip Denny: 22,500-24,300
Efficiency Routes
High Difficulty: 9.0 currency/Battery → 3,600-4,200 Battery for full clear (300-900 surplus)
Medium Difficulty: 7.0 currency/Battery → 3,857-4,286 Battery (requires near-perfect execution + skip Denny)
Low Difficulty: 5.0 currency/Battery → 22,500 max (cannot full clear)
High provides 80% better rates than Low, 28% better than Medium.
Premium Currency Investment
Break-even: Pull Sunna/Aria only if planning to use long-term. Their 1,000-1,500 points/run improvement enables Medium→High transitions.
For event completion only, direct Polychrome purchases more efficient than character pulls. Buy ZZZ Monochrome recharge via BitTopup for competitive rates and secure transactions.
Optimal: Complete with existing roster, evaluate Sunna/Aria fit, pull final banner days if needed (March 2-4 Sunna, March 21-23 Aria).
Expert Tips
Advanced Skill Manipulation
Front-load Week 1 skills (Vocals/Dance) to 90%+ before Week 2 (Rhythm). Creates early-week buffer for mistakes.
Hidden breakpoints: 50%, 75%, 90% = substantial multiplier increases. Target these thresholds vs. gradual progression.
Speed Run Optimization
Clear weak enemies in 2-3 hits vs. full combos. Focus resources on bosses/elites. Activate all amplifiers during single burst phase for stacked buffs. Reduces uptime but concentrates damage, improving times 15-25 seconds.
Consistency vs Risk
Conservative 14,000-point runs > aggressive 16,000 attempts with 30% failure (12,000 on fail). Expected value: 14,000 guaranteed > 70% × 16,000 + 30% × 12,000 = 14,800 when accounting for Battery costs.
Increase risk tolerance late-event when complete Battery/currency info available.
FAQ
Minimum requirements for completion? Inter-Knot Level 20 + Chapter 1 Intermission for access. Level 30+ with Level 40+ characters for meaningful rewards (Medium Difficulty 7.0 rate). Low Difficulty cannot mathematically full clear.
Total Polychrome earnings? 460 total: 100 training + 300 event shop + 60 Livehouse shop. Requires clearing both shops (High Difficulty or near-perfect Medium + skip Denny).
Is Sunna/Aria necessary? Not required for Week 1/2 thresholds. Fully-invested A-Ranks achieve 5,000 and 15,000 targets. Final Test and efficient clearing benefit from Sunna's 20-30% improvement or Aria's burst windows.
How does battery regeneration work? 1 Battery per 6 minutes (240 daily) + 60 from Coff Cafe coffee = 300 daily, 4,500 over 15 days. Fixed pool, no expansion possible.
Most efficient difficulty? High (9.0 currency/Battery) is 80% better than Low (5.0), 28% better than Medium (7.0). Farm High exclusively if 50%+ success rate—expected value exceeds lower difficulties' guaranteed returns.
When to purchase shop items? Secure Polychromes (360 total) by day 5-6. Then Boopons → W-Engine Modules → Original Chips. Skip Denny to save 900 Battery unless surplus exists.