

Master Rondo's unique end-game mechanics through destructible cover tactics, elevation control in urban areas like Jadina City, and advanced zone reading techniques. This 8x8 km battleground rewards aggressive, adaptable gameplay over passive strategies.
Here's the thing about PUBG Mobile's Rondo map – it completely throws traditional end-game strategy out the window. And honestly? That's exactly what this genre needed.
After spending countless hours analyzing pro matches and testing strategies firsthand, I can tell you that Rondo's destructible cover system isn't just a gimmick. It's a fundamental shift that separates good players from great ones. This 8x8 km battleground accommodates 100 players, but the game-changing elements here will make you rethink everything you thought you knew about battle royale positioning.
The map brilliantly blends traditional Eastern architecture with sleek modern cityscapes. Unlike those static cover systems we've grown accustomed to, Rondo lets you literally reshape the battlefield mid-fight. Combine that with new equipment like the Emergency Cover Flare and Stun Gun, and suddenly those impossible situations become winnable.
Quick note on resources: competitive play demands premium access, and the PUBG Mobile UC 1875 pack from BitTopup delivers excellent value for unlocking advanced customization and battle passes. Their instant delivery system means you're not waiting around when you need that premium content – something I've learned matters more than you'd think during ranked pushes.
Understanding Rondo's Destructible Cover System
Types of Destructible Cover
Let me break this down simply: Rondo splits environmental objects into two categories, and knowing the difference will save your life.
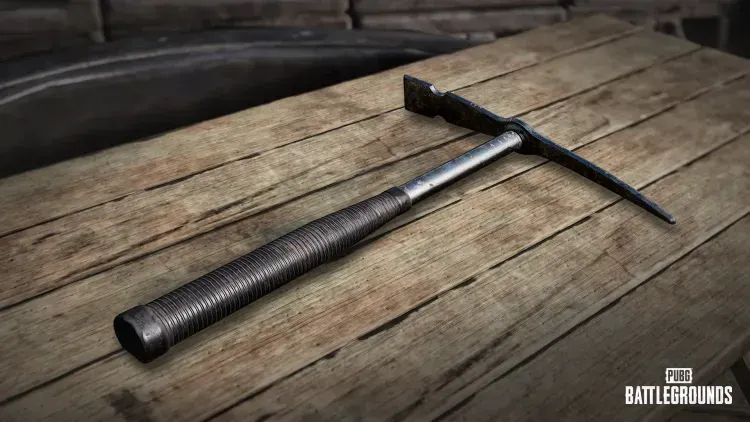
Destructible materials include soil, mud, bamboo structures, and wooden fences. The Pickaxe becomes your primary destruction tool here – 60 damage output, 20 weight, and absolutely essential for tactical terrain modification. I've seen too many players skip this tool thinking it's just for farming materials. Big mistake.
Non-destructible materials? Concrete, cement, and stone structures that'll protect you no matter what enemies throw at you. This distinction becomes critical in final circles when you need to know which cover an enemy can eliminate versus what offers guaranteed protection.
Here's what most guides won't tell you: grenades and vehicle explosions also destroy soft materials. That creates multiple destruction vectors that smart players exploit constantly.
Destruction Mechanics
The Pickaxe doubles as both melee weapon and tactical tool, but here's the catch – that 20-weight requirement forces tough inventory decisions. In final circles where every slot matters, you're constantly weighing this tool against other essentials.
Timing destruction effectively means creating new sightlines during enemy rotations or eliminating cover your opponents are counting on. I've turned losing fights around by destroying the bamboo wall someone thought would protect their heal.
Explosive destruction offers area-of-effect terrain modification, but you're burning valuable throwables. Frag grenades can clear multiple bamboo structures simultaneously. Vehicle explosions create massive destruction zones. Advanced players coordinate these sequences – initial explosions force movement, then precise Pickaxe work finishes the job.
Strategic Implications
This changes everything about end-game psychology. Those traditional hard cover strategies? Unreliable when enemies can eliminate your protection with common tools.
The map heavily favors mobile, aggressive playstyles over static camping. Maintaining positional advantage requires constant adaptation – something that honestly took me weeks to fully internalize.
Teams need destruction awareness. You're constantly evaluating whether current cover can be compromised, identifying backup positions before engaging. This creates layered positioning strategies where multiple fallback options become absolutely necessary.
Mastering Elevation Control in End-Game
Key High Ground Positions
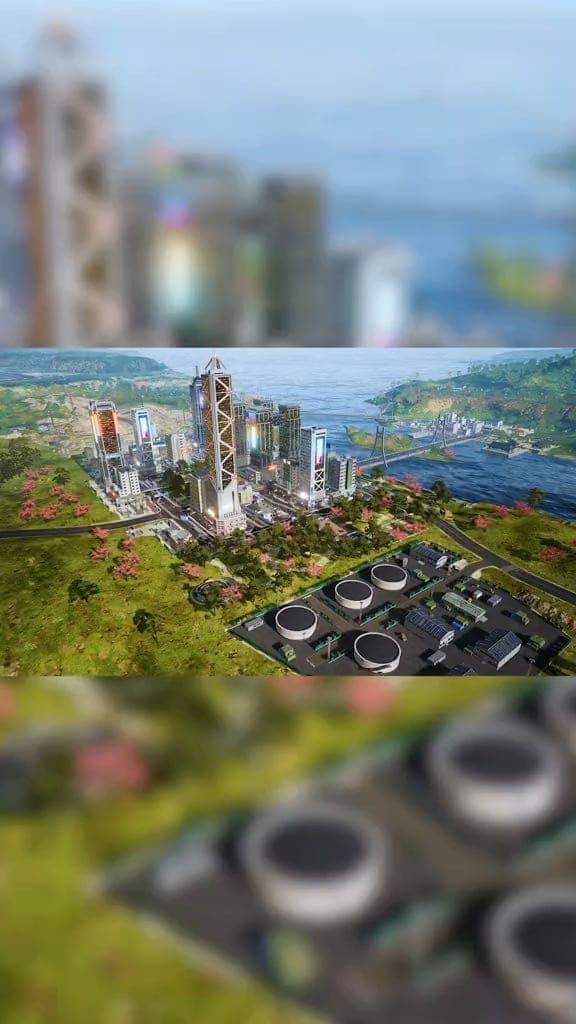
Jadina City is where Rondo truly shines. These high-rise buildings connected by escalator systems create vertical combat unlike anything else in mobile battle royale.
Those escalators enable instant repositioning between floors, creating ambush angles that'll catch enemies completely off-guard. Controlling escalator access points becomes crucial for maintaining elevation advantage throughout extended fights.
The city offers three distinct elevation tiers: ground level provides cover density and escape routes, mid-level floors balance sightlines with rotation options, while rooftops deliver maximum visibility at the cost of exposure. Successful teams rotate between tiers based on circle positioning and enemy movements.
Elevation Cut Techniques
Elevation cuts involve using vertical positioning to break enemy sightlines while maintaining firing angles. In Jadina City, you use escalators to quickly ascend one floor, eliminating ground-level threats while gaining superior positioning for your next engagement.
This technique proves particularly effective against teams rotating late into circles – they're focused on zone damage, not checking vertical angles.
Advanced elevation cutting requires memorizing building layouts and escalator positioning. You need buildings offering multiple escalator access points, enabling rapid repositioning when enemies try to counter your elevation advantage. The key? Maintaining movement unpredictability while preserving height advantage.
Vertical Positioning Strategy
Here's where things get complex. Unlike traditional maps where elevation provides straightforward advantages, Rondo's escalator systems allow enemies to challenge your position rapidly.
Successful vertical play involves controlling escalator access while maintaining escape routes to alternative elevation points. Teams should assign specific roles – designated players monitoring escalator approaches while others maintain overwatch positions.
Communication becomes absolutely critical. Vertical threats emerge from multiple directions simultaneously, and the goal involves creating elevation superiority while preventing enemies from achieving similar positioning advantages.
Advanced Zone Reading and Prediction
Zone Pattern Analysis
Rondo's zones follow predictable patterns that skilled players exploit ruthlessly. Zones favor land masses over large water bodies, avoiding initial flight path areas during early circles. Building concentration areas often attract zone centers – making urban areas like Jadina City frequent final circle locations.
Here's an insider tip: airdrops serve as unofficial zone indicators. Supply planes often drop cargo inside or near next safe zone centers. While not guaranteed, this pattern provides valuable early intelligence for rotation planning.
Timing Your Rotations
Optimal rotation timing involves moving to predicted zone locations before current circles finish closing. This proactive approach avoids those chaotic late-game scrambles where multiple teams converge simultaneously.
Early rotation allows establishing defensive positions and controlling key terrain before enemies arrive. The Signal Jammer Backpack enables alternative rotation strategies, providing 100 Blue Zone damage resistance for extended edge play. This Level 2 capacity backpack allows surviving outside safe zones longer, creating opportunities for flanking maneuvers and third-party positioning.
For sustained competitive play, adequate UC reserves become crucial for accessing premium items and battle pass rewards. The PUBG Mobile UC 3000 pack offers substantial value through BitTopup's platform. Their streamlined purchasing process, combined with 24/7 customer support and industry-leading security measures, makes them the go-to choice for serious players.
Predictive Positioning
Advanced zone reading involves analyzing terrain features and building density to predict likely circle centers. Areas with balanced cover distribution and strategic chokepoints often become final circle locations.
The EMP Zone adds fascinating complexity to zone prediction. This electromagnetic pulse area disables electronic devices without causing player damage – affecting electronic scope reticles, engine-powered vehicles, Markets, Recall Towers, and Signal Jammer Backpacks. This mechanic disappears after the third Blue Zone but dramatically impacts mid-game positioning strategies.
Destructible vs Permanent Cover Strategy
When to Destroy Cover
Strategic cover destruction involves eliminating enemy protection while preserving your defensive options. Optimal timing occurs when enemies commit to positions behind destructible cover, particularly during rotation phases when they can't immediately relocate.
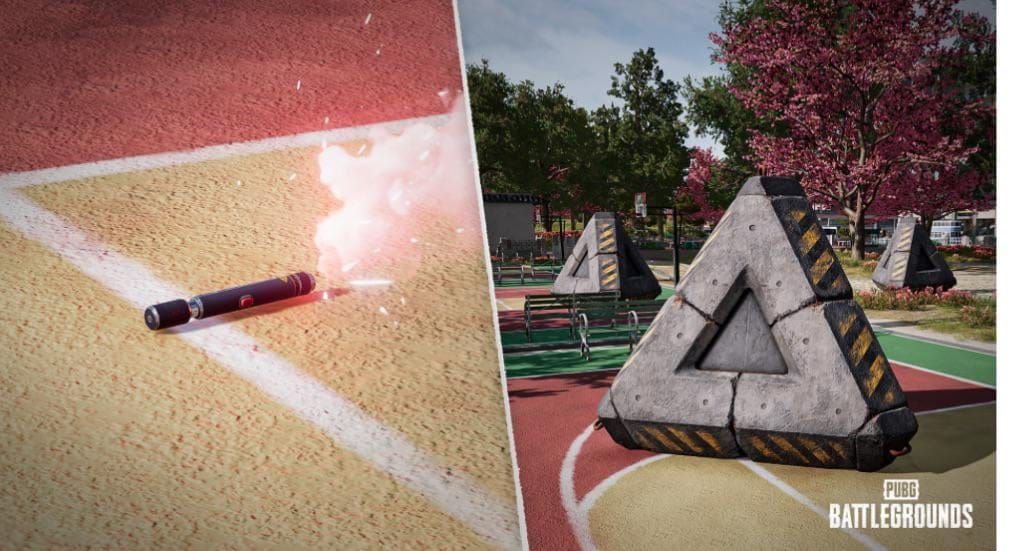
The Emergency Cover Flare provides instant cover creation, summoning two triangular bunker-like objects that can destroy bamboo or wooden fences upon impact. This red smoke deployment tool proves invaluable in open final circles where natural cover becomes scarce.
Preserving Strategic Positions
Cover preservation requires identifying structures providing permanent protection versus temporary concealment. Concrete and stone structures offer reliable long-term cover, while bamboo and wooden elements remain vulnerable.
Smart positioning involves creating layered defense systems where primary cover remains permanent while secondary positions utilize destructible elements. This provides fallback options when enemies attempt to eliminate primary protection.
Essential End-Game Equipment and Loadouts
Optimal Weapon Combinations
The JS9 SMG represents Rondo's premier close-quarters weapon – 32 damage output with 900 rounds per minute fire rate. This 9mm weapon delivers 400 meters per second bullet velocity across 200-meter effective range, making it ideal for Jadina City's dense urban combat.
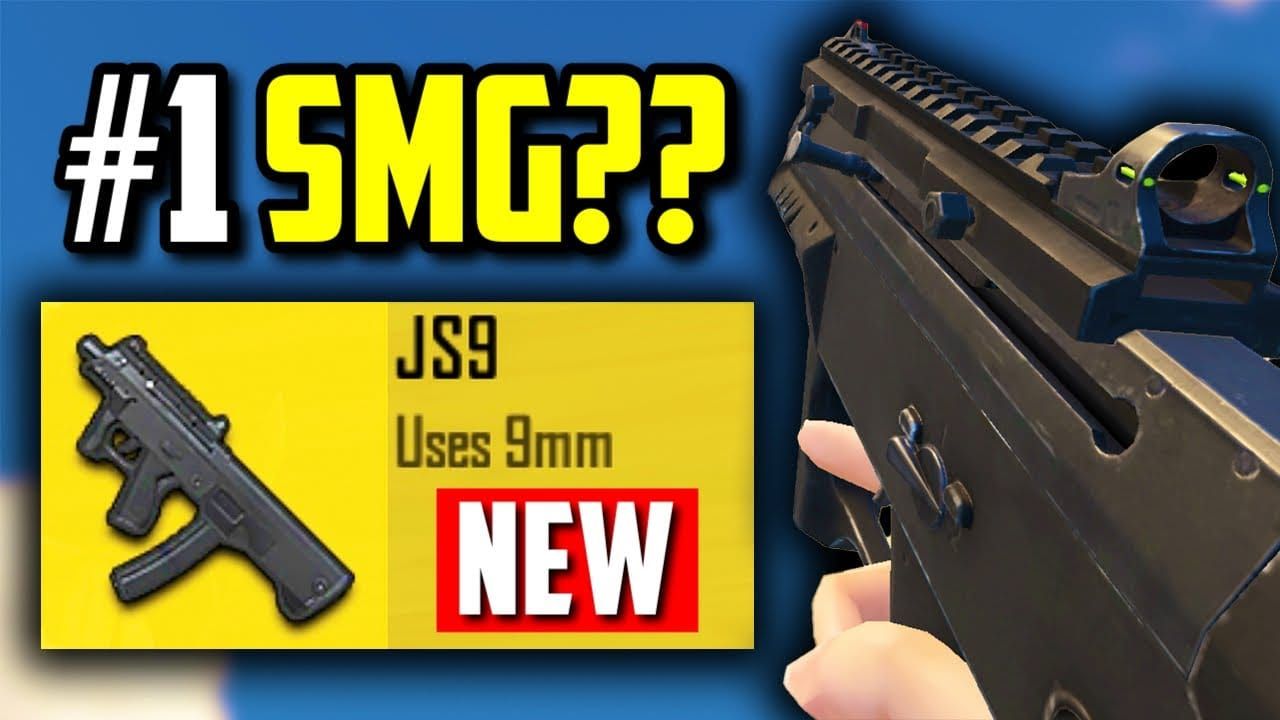
Weapon selection should prioritize versatility across multiple engagement ranges. The JS9 excels in close-quarters situations, while assault rifles provide mid-range capability for open area rotations.
Utility Item Priority
The Battle Ready Kit serves as the ultimate end-game consumable, restoring 100% health and energy in 8 seconds. Reserve this for critical final circle moments when full health restoration can determine match outcomes.
The Stun Gun provides tactical advantage through enemy incapacitation, freezing targets upon successful hits. This single-shot secondary weapon proves particularly effective during squad encounters, allowing teams to disable key opponents before engaging in full combat.
Team Coordination and Communication
Role Assignments
Effective squad composition involves defined roles maximizing team efficiency. The Fragger focuses on close-quarters combat, leading aggressive pushes. Support players provide backup fire, healing assistance, and utility deployment.
Scout roles involve gathering intelligence on enemy positions and identifying safe rotation paths. Sniper/DMR specialists control long-range engagements while providing overwatch during team movements.
Callout Systems
Clear communication systems prove critical for Rondo's complex vertical environment. Teams should establish standardized callouts for elevation levels, escalator positions, and building identifiers within Jadina City.
Effective callouts include directional references, distance estimates, and threat level assessments. This comprehensive information enables teammates to respond appropriately to developing threats.
Common End-Game Mistakes and How to Avoid Them
Positioning Errors
Late zone rotation represents the most frequent end-game mistake, occurring in approximately 50% of failed matches. Players who delay movement until zone pressure becomes critical face chaotic scrambles where positioning disadvantages become insurmountable.
Overcommitting to loot acquisition affects 52% of unsuccessful end-game attempts. The solution involves establishing clear priorities favoring positioning over marginal loot improvements.
Timing Mistakes
Ignoring airdrop signals as zone indicators occurs in 45% of matches where teams fail to predict circle movements accurately. Teams should monitor airdrop patterns while maintaining flexibility for alternative scenarios.
Passive gameplay strategies prove ineffective on Rondo's dynamic battlefield. The map's design rewards active engagement over defensive camping, as new mechanics favor mobile, adaptable playstyles.
Frequently Asked Questions
How does the destructible cover system work in PUBG Mobile Rondo? Rondo allows destroying soil, mud, bamboo, and wooden fences using the Pickaxe (60 damage), grenades, or vehicle explosions. Concrete, cement, and stone structures remain permanent. This enables tactical terrain modification where you eliminate enemy cover or create new sightlines during engagements.
What makes elevation control crucial in Rondo's end-game? Jadina City's escalator systems enable rapid vertical movement between building floors. You can instantly reposition to different elevation tiers, creating unexpected ambush angles and countering ground-level threats. Controlling escalator access points becomes critical for sustained positioning advantages.
How do you effectively read and predict zone movements on Rondo? Zones favor land masses over water, avoid initial flight paths, and gravitate toward building-dense areas. Airdrops often land near future zone centers, providing early positioning intelligence. Proactive rotation to predicted locations before current circles close avoids chaotic late-game scrambles.
When should you destroy cover versus preserve it during end-game? Destroy enemy cover when opponents commit to positions behind destructible materials during rotation phases. Preserve your own cover by prioritizing positions behind permanent structures. Create layered defense systems where primary cover remains permanent while secondary positions utilize destructible elements.
What equipment combinations work best for Rondo's final circles? Optimal loadouts include JS9 SMG for close-quarters combat (32 damage, 900 RPM), assault rifles for mid-range engagements, Emergency Cover Flare for instant protection, Stun Gun for enemy incapacitation, and Battle Ready Kit for complete health restoration. Signal Jammer Backpack enables extended edge play with 100 Blue Zone damage resistance.
How do professional teams coordinate during Rondo's complex end-game scenarios? Professional coordination involves defined roles: Fragger for aggressive pushes, Support for healing and utility, Scout for intelligence gathering, and Sniper for long-range control. Teams establish standardized callouts for elevation levels and escalator positions, coordinate synchronized movements, and execute planned destruction sequences through precise timing and communication.