Power Plant's central towers offer some of the best DMR positioning on Livik, but you'll need precise northwest vehicle timing and quick post-loot rotations—those Blue Zone mechanics are 50% faster than you're used to.
Power Plant Strategic Overview
Here's the thing about Power Plant: it's basically Livik's version of School or Pochinki, except everything's crammed into one massive building complex. That concentration is both a blessing and a curse.
The structure dominates northwest Livik like a fortress, and honestly? It deserves that Big City classification. Multiple squads will contest this spot every single match because the loot density is just ridiculous—you can gear an entire squad without leaving the building.
Loot Breakdown:
Quality: High (Level 3 gear spawns consistently)
DMR Spawn Rate: Excellent (Mk12, SLR, Mini14 show up regularly)
Scope Availability: Superior (4x, 6x, 8x are practically guaranteed)
Risk Factor: Very High (expect company, always)
Quick note on staying competitive—if you're serious about maintaining your edge, reliable UC top-ups matter. PUBG Mobile UC top up worldwide through BitTopup delivers instantly with secure transactions, competitive pricing, and 24/7 support when you need it.
The Circle Reality: Northwest positioning gives you decent circle coverage on this compact 2x2km map. But here's what catches people off-guard—Livik's Blue Zone moves 50% faster than standard maps. With only 15 minutes per match, every decision needs to be lightning-fast.
High-Ground DMR Positioning
Your Tower Options:
Central Tower Peak - The crown jewel with 360-degree coverage
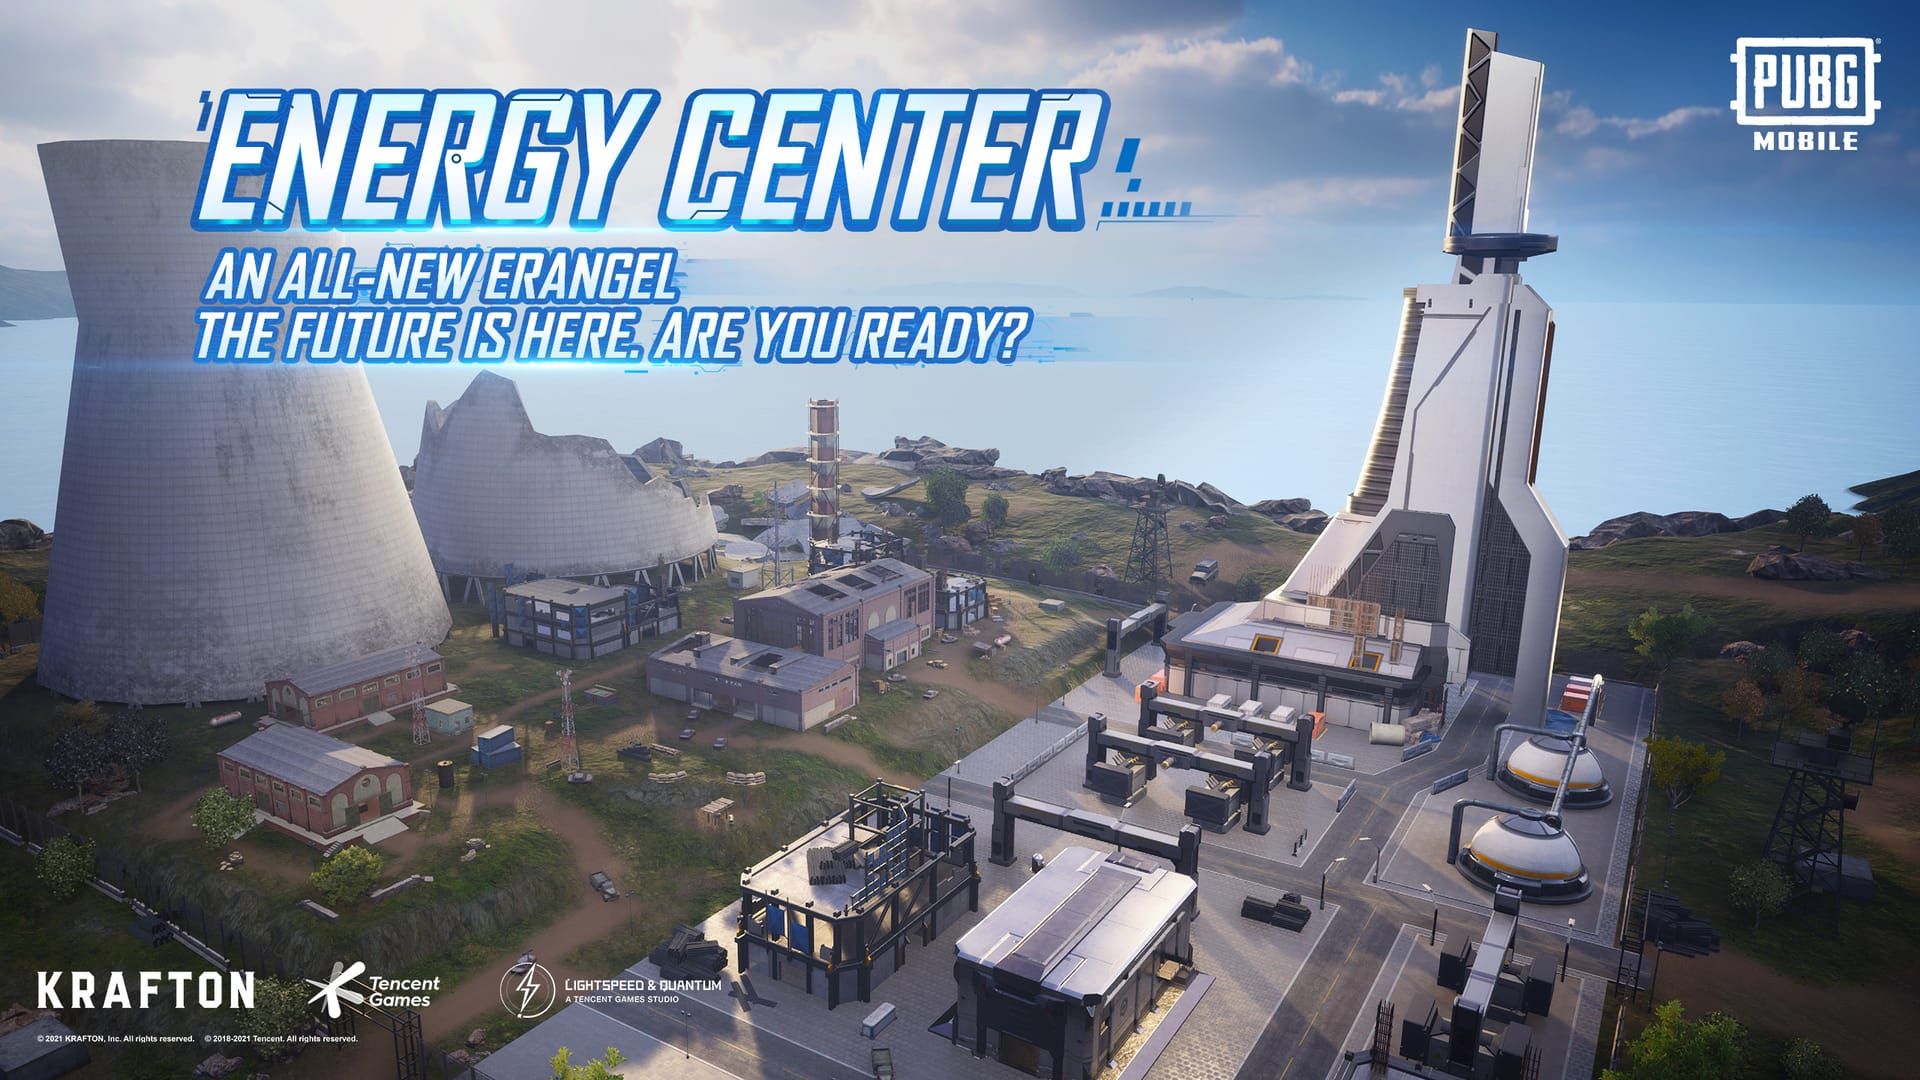
Northeast Corner Tower - Perfect for watching Midstein approaches
Southwest Tower - Controls those crucial southern rotations
Upper Building Levels - Interior windows with protected angles
That central tower? It's DMR heaven. You're looking at optimal sight lines in the 100-300 meter sweet spot, which is exactly where DMRs shine brightest. Pro tip: always position near those internal stairwells—you'll need quick repositioning options.
What You Can See:
East: Clean shots toward Midstein and Blomster
South: Wide open terrain for easy picks
West: Monitor every vehicle approach
North: Track Blue Zone rotations
The elevation advantage here is honestly unfair. You're essentially playing a different game than the squads scrambling below.
DMR Weapons and Attachments
Top-Tier Picks:
Mk12 (Livik Exclusive): That burst-fire capability hits different
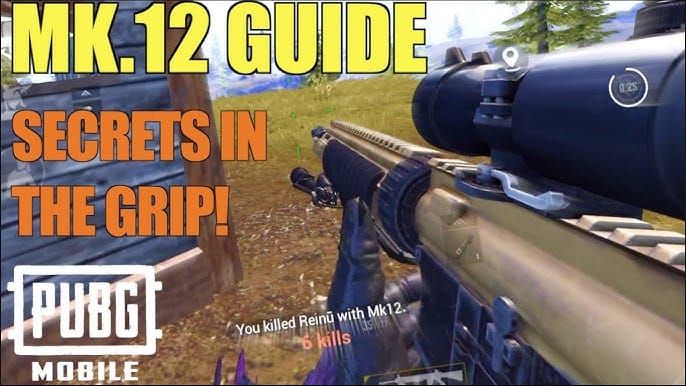
SLR: Raw single-shot damage that deletes enemies
Mini14: Fast fire rate with manageable recoil patterns
Attachment Priority (Don't Mess This Up):
Scope: 6x for versatility, 8x when you want maximum reach
Muzzle: Compensator for control, suppressor for stealth plays
Grip: Vertical for stability, angled for faster target acquisition
Stock: Tactical for overall handling improvements
Mobile Sensitivity Sweet Spots:
6x Scope: 15-20% for smooth target tracking
8x Scope: 10-15% for those long-range precision shots
ADS: 25-30% for quick target acquisition
Want premium rewards to dominate Power Plant even harder? PUBG Mobile UC redeem gift through BitTopup hooks you up with exclusive weapon skins and attachments—cost-effective with instant delivery.
Vehicle Entry Strategies
Smart Approach Routes:
Northwest Vector: Natural terrain cover keeps you hidden
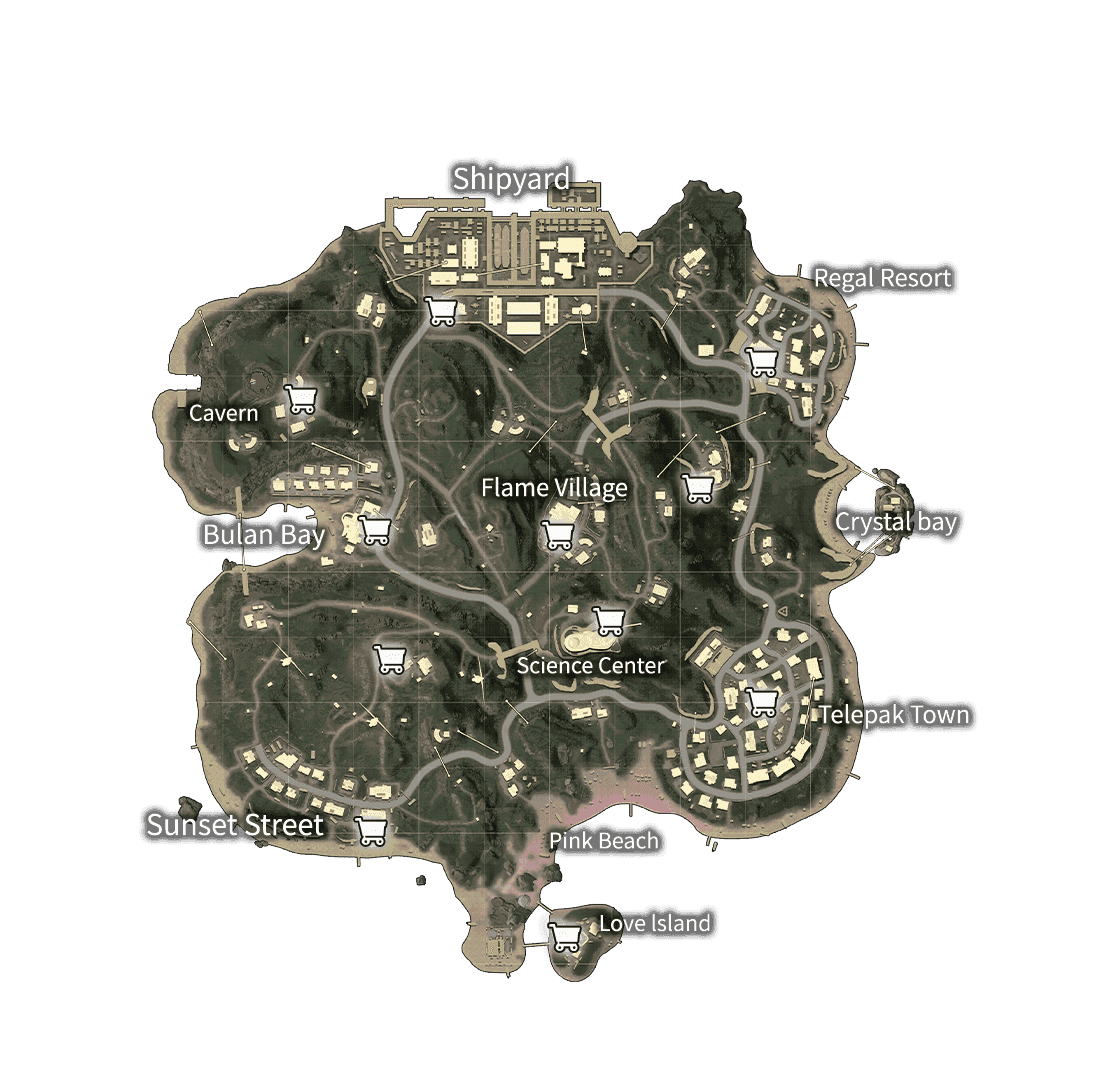
Western Approach: Building-side protection during final approach
Southwest Route: Sets up your escape route perfectly
Vehicle Selection Matters:
UAZ: Maximum protection but slower and louder
Buggy: Balanced protection/speed with moderate noise
Motorcycle: Lightning fast but you're basically asking to get knocked
Entry Protocol (Follow This Exactly):
Scout Power Plant for 10-15 seconds before committing
Use terrain features to break line-of-sight
Park behind building cover—never in the open courtyard
Keep that engine running for immediate escapes
Coordinate team entry through multiple access points
Vehicle Positioning: Park behind those northwestern walls at 50-meter distance. You want to avoid grenade range while maintaining quick access. And here's something most teams mess up—keep multiple vehicles separated. One well-placed grenade shouldn't eliminate your entire mobility.
High-Ground Control
Securing Protocol:
Tower Rush: Send your fastest player straight to central tower
Building Sweep: Clear ground level systematically, room by room
Stairwell Control: Lock down those primary access points
Perimeter Watch: Someone needs to monitor external approaches
Defensive Setup:
Primary Defender: Central tower with full DMR setup
Secondary Support: Upper windows with assault rifle backup
Rotation Support: Ground level with close-quarters loadout
External Scout: Perimeter monitoring with vehicle access
Team Coordination: Clear callout protocols aren't optional—they're survival. Rotate positions every 60-90 seconds to avoid predictable patterns. Maintain overlapping fields of fire and coordinate reload timing. Those vulnerability windows will get you eliminated fast.
Safe Exit and Rotation
Early Rotation Strategy: Exit immediately after securing essential loot. You've got maybe a 2-minute window before Blue Zone activation, and with Livik's accelerated pace, that's not much time.
Primary Exit Routes:
Eastern: Toward Midstein with decent building cover
Southern: Open terrain requiring vehicle support
Northern: Risky but unexpected—sometimes that works
Critical Exit Considerations:
Audio Awareness: Listen for approaching vehicles and gunfire
Circle Prediction: Anticipate where the next safe zone lands
Team Health: Complete all healing before movement
Equipment Check: Verify ammo and utility availability
Emergency Protocols: Designate rally points outside the perimeter. Keep smoke grenades ready for vision denial. Maintain fueled vehicles positioned for immediate use. Establish backup communication if your team gets separated.
Combat Scenarios
Long-Range Engagements: Beyond 200 meters, prioritize headshot attempts with bolt-action rifles or sustained DMR fire. Kar98K and M24 provide one-shot eliminations against Level 2 helmets—Level 3 requires two shots.
Weapon Switch Tactics: After landing non-lethal sniper hits within 200 meters, immediately switch to assault rifles for 1-2 finishing shots. Don't waste time cycling bolt-action weapons.
Damage Breakdown:
AWM: One-shot headshot any helmet, one-shot body against unarmored
Kar98K/M24: One-shot headshot Level 0-2, two-shot Level 3
Body Shots: Kar98K needs 3 hits against Level 2+ armor
Engagement Distance Guide:
0-50m: SMG/Shotgun territory
50-150m: Assault rifle effectiveness
150-300m: DMR optimal range
300m+: Bolt-action dominance
Common Mistakes (Don't Be That Squad)
Over-Looting During Combat: Secure the area first, loot second. Designate one member for quick collection while others maintain overwatch.
Extended Occupation: Set strict departure timelines based on circle positioning. Essential equipment beats complete looting every time.
Terrible Vehicle Parking: Position behind cover at optimal distances. Keep engines running during high-risk periods—fuel consumption is worth the escape potential.
Reactive Rotation: Analyze circle probabilities during your looting phase. Prepare multiple routes and begin movement before you're forced to scramble.
Advanced Competitive Tips
Pro Positioning Secrets: Elite players use ghost positioning—rapid repositioning combined with sound manipulation creates uncertainty about defender numbers. Your enemies won't know if they're facing one sniper or four.
Tournament-Level Coordination: Assign specific roles—Primary AWPer, Support DMR, Entry Fragger, IGL for rotation timing. Everyone knows their job.
Current Meta Adaptation: The meta favors aggressive early control followed by strategic abandonment before second circle closure. Don't overstay your welcome.
Audio Exploitation: Use environmental sounds—vehicles, gunfire, Blue Zone audio—for movement masking during repositioning. Smart timing makes you invisible.
Circle Prediction Mastery: Analyze flight paths, drop patterns, and terrain features. You can predict circles with 70%+ accuracy for proactive positioning advantages.
FAQ
What are the best DMR angles from Power Plant's towers? Central tower gives you that 360-degree coverage with primary effectiveness toward eastern approaches and southern terrain. Northeast tower covers vehicle routes perfectly. Use 6x scopes for 150-250m engagements, 8x for 250m+ precision work.
How do you safely enter with vehicles? Northwest approach with terrain cover is your safest bet. Monitor for 10-15 seconds before entry, park behind northwestern walls at 50m distance with engines running, and coordinate multi-point entry timing with your squad.
What are the most effective exit strategies? Start exit planning during your looting phase—Livik's accelerated Blue Zone doesn't give second chances. Eastern routes offer building cover, southern requires vehicles, northern provides unexpected direction with higher risk.
Which DMR weapons work best from these positions? Mk12 (Livik-exclusive) is optimal for burst-fire damage output. SLR for single-shot precision, Mini14 for sustained fire capability. Prioritize 6x scopes with compensators and vertical grips for maximum effectiveness.
How do you prevent third-party attacks? Limit engagement duration to minimize audio attraction. Use suppressed weapons when available, monitor high-traffic rotation areas, and coordinate with Blue Zone timing for strategic disengagement.
What critical mistakes cause Power Plant failures? Over-looting during combat exposes you to third-parties. Extended occupation beyond rotation timing gets you caught in Blue Zone. Poor weapon selection limits your elevated position effectiveness. Reactive instead of proactive movement planning leaves you scrambling.

