

Quick Answer: Master EMP-resistant rotations by abandoning vehicles during late-game phases (under 20 players), utilizing advanced jiggle movement techniques, and prioritizing tactical equipment like Emergency Cover Flares and Signal Jammer Backpacks for optimal survival in vehicle-disabled zones.
Look, I've been covering PUBG Mobile strategy for years, and nothing frustrates players more than getting caught with their pants down when the EMP Zone hits. You're cruising along in your trusty UAZ, feeling invincible, then BAM – dead metal. No engine. No scope reticles. Just you, your iron sights, and a whole lot of regret.
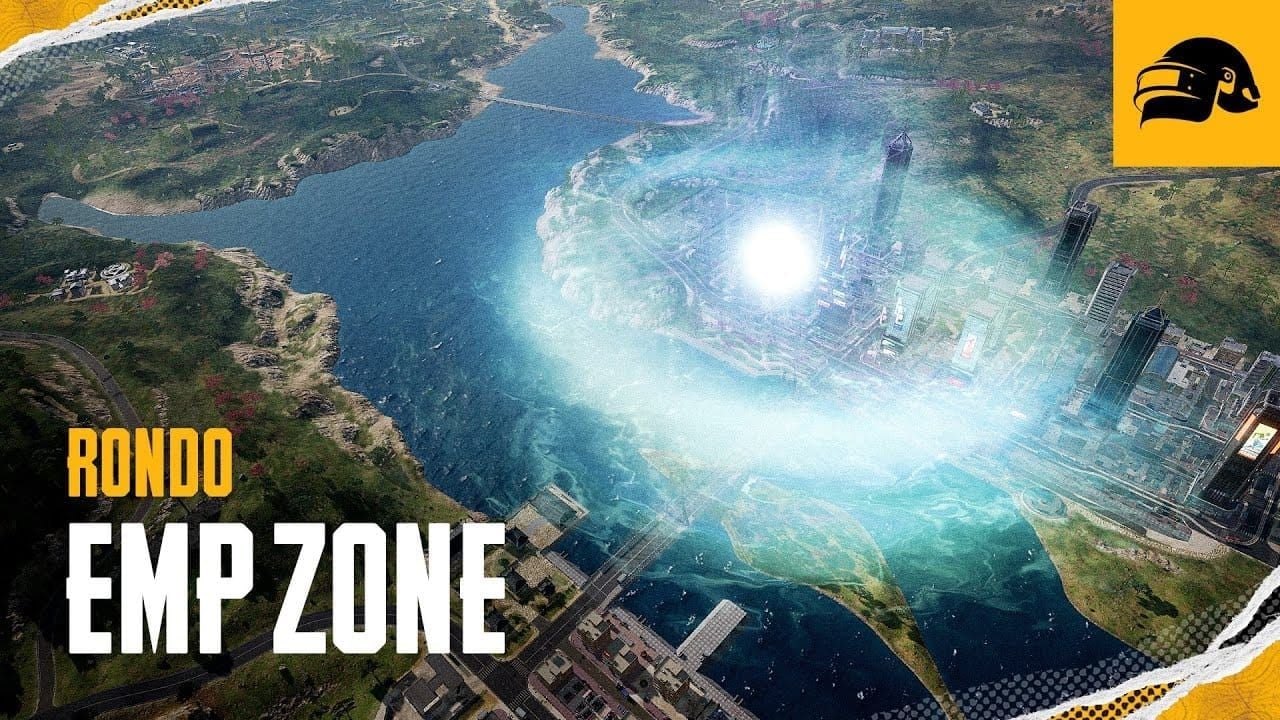
The EMP Zone on Rondo doesn't mess around. It appears before that third Blue Zone closes, giving you just enough warning to panic properly. When it activates? Every engine-powered vehicle becomes an expensive paperweight, your fancy red dot sight turns into decoration, and those convenient stores might as well not exist.
Here's something most guides won't tell you upfront – if you're serious about climbing ranks, you need reliable UC access for tactical equipment. PUBG Mobile UC no VPN through BitTopup keeps you stocked without the headache of regional restrictions. Trust me, running out of premium items mid-season is not the hill you want to die on.
Understanding EMP Mechanics and Vehicle Vulnerability
EMP Zone Activation and Effects
The EMP Zone doesn't just disable your ride – it fundamentally changes how the game works. Your minimap lights up with warnings, but by then you've got maybe seconds to make critical decisions. Unlike those blue zones that slowly chip away your health, EMP zones are psychological warfare. No damage, just pure tactical disruption.
What really gets players is the scope situation. You've been running that holographic sight all game, muscle memory dialed in perfectly, then suddenly you're squinting through iron sights like it's 2017 again. Recall towers? Forget about it. Signal Jammer Backpacks? Paperweights.
But here's the thing – vehicles don't just stop working, they become static cover. That's actually useful intel most players overlook.
Vehicle Damage and Destruction Mechanics
Vehicle health follows a predictable pattern that smart players exploit. Smoking means you're at about 60% damage – still drivable, but you're living dangerously. Flames? You've got 10-15 seconds before it becomes a very expensive firework.
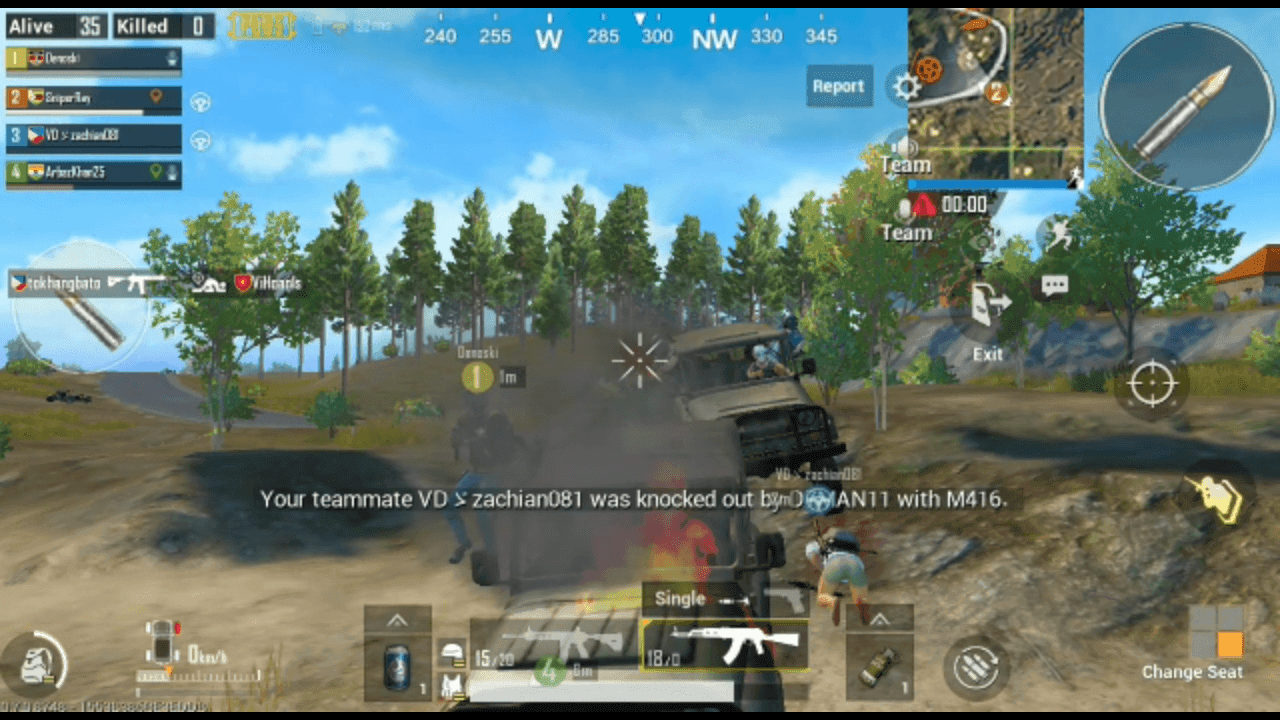
I've seen too many squads wipe because they didn't respect these visual cues. High-caliber weapons absolutely shred vehicles, especially when multiple enemies focus fire. The key is recognizing when your transportation has become a liability instead of an asset.
Decision Framework: When to Abandon Vehicles
Late-Game Vehicle Risks
Twenty players left. Circle's tighter than your grip on the controller. This is when vehicles transform from lifesavers to death traps.
Engine noise in compressed play areas? Might as well send up a flare saying Third party me, please! The acoustic signature travels way farther than footsteps, and every remaining squad knows exactly where you are.
Smart rotation means parking 200-300 meters out and hoofing it to your final position. Yeah, it's slower. Yeah, it feels vulnerable. But it beats announcing your arrival to every sniper in the lobby.
Terrain and Positioning Assessment
Erangel's central plains? Keep that vehicle running. Sanhok's jungle maze? Ditch it before you get stuck between trees like some kind of tactical piñata.
The 50-100 meter rule applies here – if you can't spot decent cover within that range, keep driving until you can. Getting caught in the open because you abandoned your ride too early is a rookie mistake that'll haunt your rank progression.
Essential Equipment for Vehicle-Free Rotations
Tactical Gear Prioritization
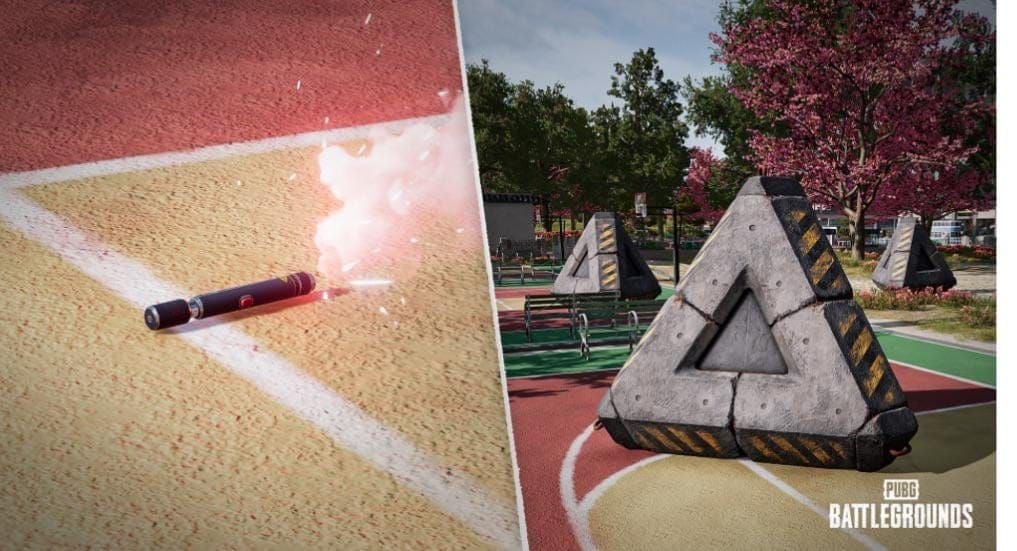
Emergency Cover Flare is your best friend when you're caught pants-down in the open. Instant defensive structure, no questions asked. I've seen this single item turn guaranteed eliminations into clutch victories.
Signal Jammer Backpack? Underrated as hell. Extended blue zone positioning lets you take unconventional routes that other teams won't expect. Sometimes the best rotation is the one nobody else is taking.
And don't sleep on the Stun Gun. Close-quarters crowd control that creates guaranteed elimination windows when your squad follows up properly.
Healing and Boost Management
Battle Ready Kit should be treated like gold – save it for those critical late-game moments when you don't have 10 seconds to pop a first aid.
Energy management becomes crucial for foot movement. Maximum energy bars provide speed boosts and passive health regen that can be the difference between making the zone and becoming a statistic. Smoke grenades? Carry 4-6 minimum. Your future self will thank you.
For players pushing competitive ranks consistently, resource management extends beyond in-game items. PUBG Mobile UC price compare shows BitTopup's competitive edge in both pricing and service quality. Instant delivery and solid customer support mean you're never caught without essential tactical equipment when it matters most.
Advanced On-Foot Movement Techniques
Jiggle Movement Mastery
Jiggle movement isn't just wiggling your character around hoping for the best – it's about disrupting enemy aim patterns while maintaining your own accuracy. This takes serious training ground time to master properly.
Short Sideways Jiggle works in close quarters and final circles. Rapid, minimal left-right movements that make you harder to track. Long Sideways Jiggle covers more ground with slower, wider movements – perfect for confusing spray patterns at medium range.

Front Jiggle lets you advance aggressively while staying unpredictable. Back Jiggle? That's your tactical withdrawal technique when things go sideways (and they will).
Cover-to-Cover Progression
Open-field sprinting is for content creators and dead players. Real rotation means methodical cover-to-cover advancement with protection points every 20-30 meters.
Sound discipline matters more than you think. Every unnecessary gunshot in late game is basically sending your GPS coordinates to every remaining team. Unless it's a guaranteed elimination, keep your finger off that trigger.
Map-Specific Foot Rotation Strategies
Rondo Urban Environment Tactics
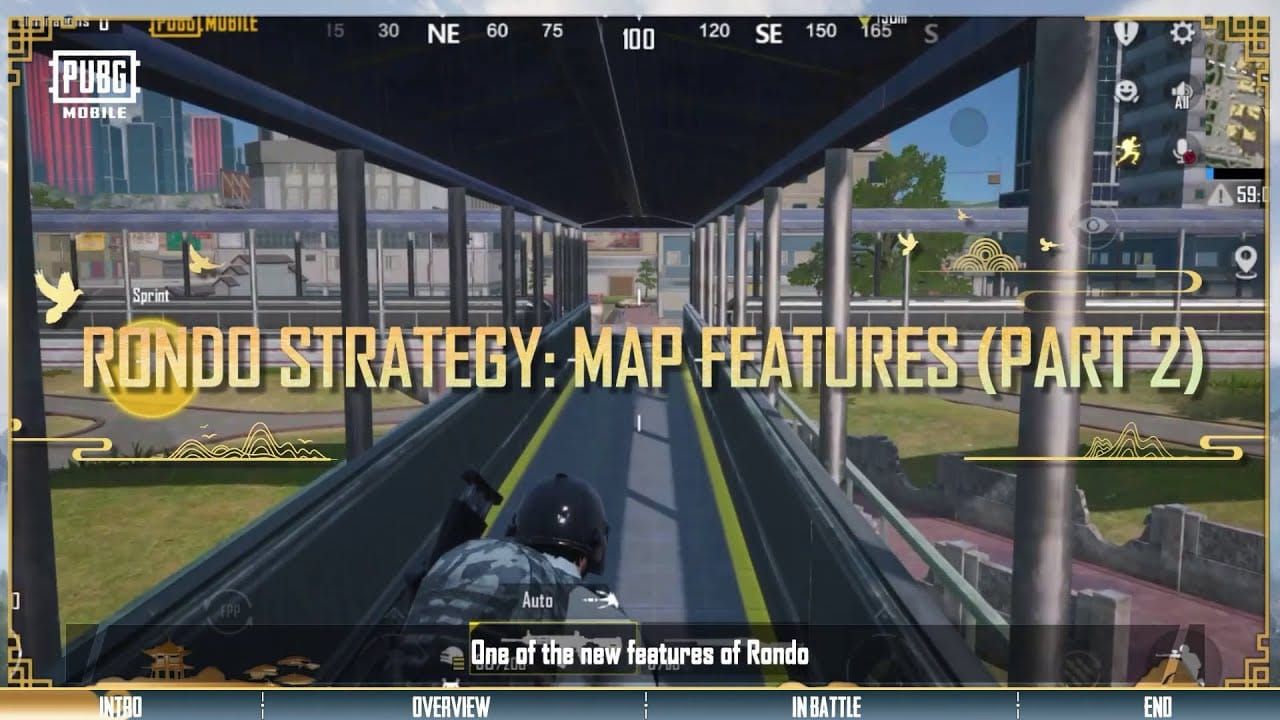
Rondo's escalators in Jadina City are criminally underused. Rapid vertical repositioning that catches enemies off-guard? Yes, please. Most players stick to stairs like it's muscle memory, but escalators provide unexpected flanking angles.
The terrain destruction mechanics add another layer. Pickaxe those bamboo walls, shoot through wooden structures, create custom sightlines that didn't exist 30 seconds ago. This isn't Minecraft, but creative destruction wins games.
Traditional Map Adaptations
Erangel's open spaces are brutal for foot rotations. The map was designed around vehicles, so fighting that design requires early positioning and conservative timing. Route selection through areas with adequate protection isn't optional – it's survival.
Sanhok flips the script entirely. Dense vegetation naturally counters vehicle advantages through limited visibility and countless ambush positions. The jungle environment actually favors foot movement when you know how to use it.
Team Coordination for Group Rotations
Squad Role Definition
Effective team rotations need defined roles, not four players doing whatever feels right. Fragger focuses on close-quarters combat with appropriate loadouts. Support prioritizes healing, smokes, and backup firepower. Scout handles advance reconnaissance with lightweight gear for rapid movement.
Sniper provides overwatch during team movements, controlling long-range threats and covering advancing teammates. This role demands positioning flexibility and solid communication skills for effective callouts.
Communication Protocols
One on the roof! Smoke me, I'm down! Rotate left; flank them!
Short, clear voice commands that convey maximum information quickly. Standardized communications prevent confusion when bullets start flying and adrenaline kicks in.
Revive procedures need to be automatic – smoke before revive attempts, use hard cover instead of open areas, prioritize enemy elimination in duos when under direct fire. These protocols save more games than fancy aim ever will.
Counter-Tactics Against Vehicle-Based Teams
Positioning for Vehicle Ambush
Bridge controls, narrow passages, elevated positions – these force vehicle abandonment and give you concentrated fire opportunities. Position near chokepoints where mobile enemies become sitting ducks.
Leading shots against moving vehicles requires understanding bullet travel time. Aim ahead of vehicle movement to compensate for projectile physics. Master this, and you can eliminate entire teams before they even realize they're under attack.
Gatekeeping strategies involve controlling zone entry points. Force enemy teams to fight while taking blue zone damage, and watch their tactical options evaporate.
Timing and Circle Phase Considerations
Early Game Positioning
Predictive rotation beats reactive rotation every time. Move toward anticipated safe zones before current circles finish closing. This proactive approach avoids those chaotic late rotations when half the lobby moves simultaneously.
Center hold versus edge play depends on game phase and team capabilities. Early game often favors central positioning for maximum rotation options. Late game edge play provides safer cover and third-party opportunities.
Late Game Final Circles
Final circle preparation means full health and maximum energy bars before anticipated engagements. Energy drinks and painkillers provide speed boosts and passive health regeneration that determine final fight outcomes.
Looting discipline becomes critical. Stationary looting creates vulnerability windows that often outweigh potential gear improvements. Only essential items – ammunition, armor, medical supplies – justify looting risks in final circles.
Common Mistakes and How to Avoid Them
Over-Reliance on Vehicle Transportation
Vehicle dependency creates strategic vulnerabilities when transportation becomes unavailable. Combat damage, fuel depletion, no-vehicle spawn areas – developing foot rotation skills provides essential backup capabilities for these scenarios.
Noise discipline violations through unnecessary late-game vehicle use immediately compromise stealth advantages. Understanding when mobility benefits no longer outweigh detection risks prevents tactical errors that lead to team elimination.
Poor Equipment Prioritization
Inadequate healing item management for foot rotations often results in elimination during zone transitions. When vehicle escape options are unavailable, carrying sufficient medical supplies and boost items becomes more critical than that extra attachment.
Tactical equipment neglect – particularly smoke grenades and utility items – severely limits foot rotation effectiveness. These items provide essential capabilities for safe movement, revives, and position changes during vehicle-free gameplay.
FAQ
When should I abandon my vehicle in PUBG Mobile ranked matches? Abandon vehicles when player counts drop below 20 and circles become small enough that engine noise alerts all remaining enemies. Also ditch vehicles immediately in EMP Zones, when your vehicle reaches smoking damage levels, or when approaching final positioning areas where stealth trumps mobility.
How do I effectively use jiggle movement during foot rotations? Master three types: Sideways Jiggle for dodging bullets with left-right motion, Front Jiggle for aggressive advancement while sprinting, and Back Jiggle for defensive retreats. Start with short sideways movements in close combat, then progress to longer movements for mid-range engagements.
What equipment is essential for successful vehicle-free rotations? Prioritize Emergency Cover Flare for instant protection, Signal Jammer Backpack for extended blue zone positioning, and increased smoke grenade inventory (4-6 pieces). Maintain higher healing item counts including energy drinks for speed boosts, and consider Stun Gun for close-quarters crowd control.
How do different maps affect foot rotation strategies? Erangel's open fields make foot rotations risky and require early positioning. Sanhok's dense jungle favors stealthy foot movement with excellent natural concealment. Rondo offers unique urban tactics using escalators for vertical mobility and destructible terrain for custom routes.
What are the best counter-tactics against vehicle-based teams when on foot? Position near chokepoints like bridges or narrow passages that force vehicle abandonment. Practice leading shots to account for bullet travel time when targeting moving vehicles. Use gatekeeping strategies to control zone entry points, forcing enemies to fight while taking blue zone damage.
How should teams coordinate during group foot rotations? Establish clear squad roles: Fragger for close combat, Support for healing and utility, Scout for reconnaissance, and Sniper for overwatch. Use short, clear callouts like One on the roof! Implement standardized revive procedures using smoke grenades and hard cover.