

Quick Answer: PUBG Mobile 4.0's Mortar packs dual firing modes - direct fire for up-close mayhem and indirect fire for long-range devastation. Nail those arc calculations with distance estimation, sync perfectly with smoke grenades, and systematically tear apart building defenses.
The September 4, 2025 PUBG Mobile 4.0 update dropped something special - a game-changing Mortar that's completely reshaping how we approach battlefield control. This isn't just another explosive; it's a tactical powerhouse that transforms area denial and compound-cracking into an art form.
Honestly? After spending weeks testing this thing, I'm convinced it's one of the most underutilized weapons in the current meta.
For maximizing your gameplay potential with weapon upgrades and battle pass progression, BitTopup delivers competitive rates and instant service for PUBG Mobile UC promo code purchases - superior pricing, instant delivery, secure transactions.
Understanding PUBG Mobile Mortar Mechanics in 4.0
Basic Mortar Properties
Here's where things get interesting. The Mortar operates through two completely different firing modes, and mastering both is crucial.
Direct-fire mode? Think advanced grenade launcher. You're delivering instant impact explosions for anything within 50 meters - perfect for those oh crap moments when enemies rush your position. Indirect-fire mode is where the magic happens though. High-arcing bombardments that laugh at traditional cover, complete with automatic trajectory calculation that actually works (unlike some other games I could mention).
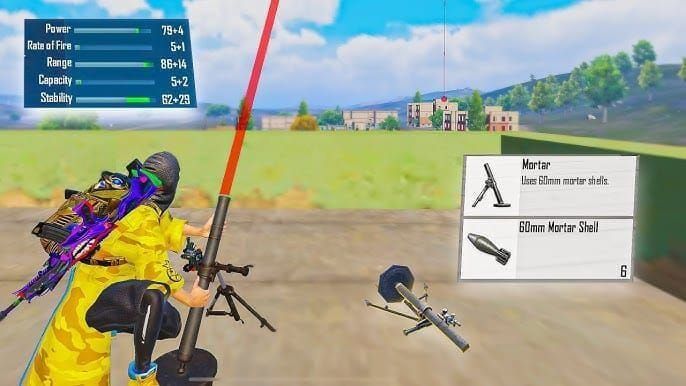
The damage specs are brutal: 8-meter blast radius with maximum carnage at the epicenter. Direct hits will delete full-health enemies from existence. Splash damage? Still enough to leave targets critically wounded and scrambling for cover.
Range capabilities break down like this - direct-fire works best between 20-50 meters, indirect-fire can reach 300+ meters but sweet spot is 100-200 meters. Just remember: minimum safe distance is 15 meters unless you enjoy respawning.
Version 4.0 Updates
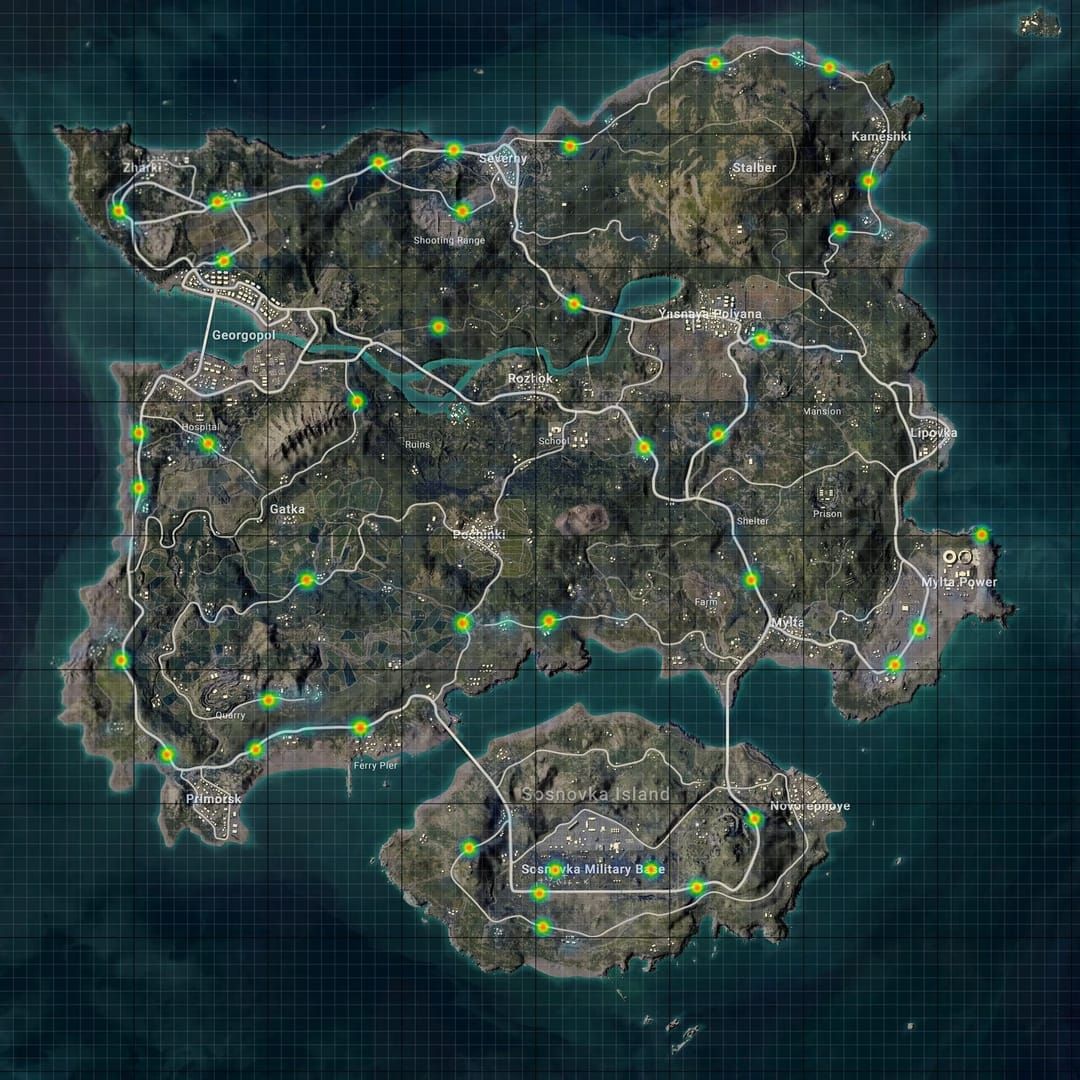
The September update integrated Mortars across all Classic Mode maps. You'll find them spawning in military compounds, major cities, and high-tier loot zones with moderate rarity - not super common, but not unicorn-rare either.
Key improvements include enhanced trajectory visualization (finally!), improved blast effects that actually help with damage assessment, optimized network synchronization, and three dedicated Training Grounds difficulty levels. The trajectory visualization alone makes this weapon infinitely more usable than it would've been otherwise.
Mastering Mortar Arc Calculations
Trajectory Physics and Distance Estimation
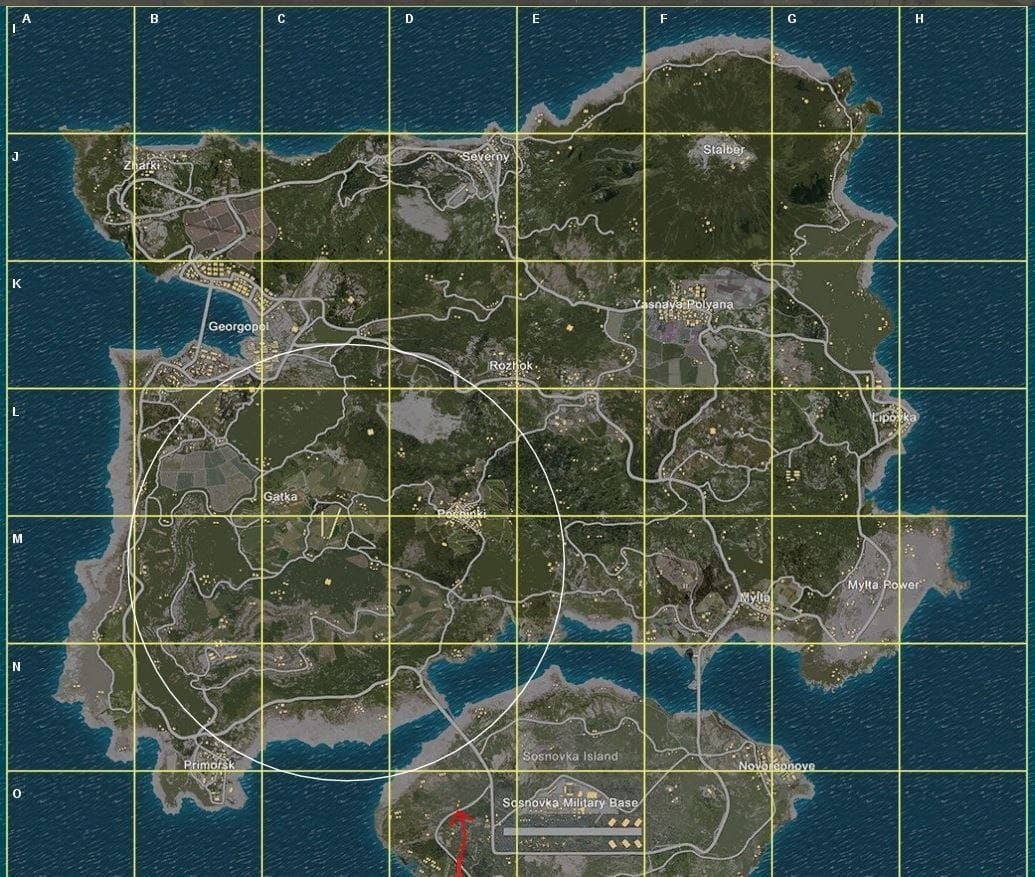
Let's talk about the map grid system - your best friend for distance reference. Each large grid square represents 1000 meters, with smaller divisions marking 100-meter increments. Simple enough, right?
Environmental factors mess with your shots though. Wind affects projectile drift by 2-5 meters at maximum range - not huge, but enough to miss that perfect window shot. Uphill targets require about 10% longer flight time, and you'll need to lead moving targets by 1-2 seconds at 200+ meters.
Here's a technique I've been using: thumb measurement. One thumb-width on your screen represents roughly 50-75 meters depending on your device. Major compounds typically span 100-150 meters, while adjacent compounds average 200-300 meters apart. The mini-map zoom function is clutch for precise triangulation.
Elevation Adjustments
Uphill positions require increasing your estimated range by 15-20%. Downhill targets? Reduce range by 10-15%.
Building adjustments get trickier. Ground floor uses standard calculations, but second floor adds 25 meters to your calculations, and rooftop positions need an extra 40-50 meters for proper clearance. Trust me on this - I've watched too many rounds slam into building edges because I didn't account for elevation properly.
Smoke Synchronization Strategies
Timing Coordination Methods
This is where Mortar gameplay gets tactical. Offensive smoke sync involves deploying 2-3 smoke grenades for complete visual barrier coverage. Cook your frag grenades to 2-second timers, launch them into the smoke center as visibility peaks, then begin Mortar bombardment 3 seconds after grenade detonation.
For defensive situations, try Molotov cocktails in smoke centers against rushing enemies - the area denial is incredible.
Smoke grenades hit maximum coverage after 8-10 seconds and maintain peak density for about 15 seconds. Target chokepoints and sightlines rather than specific positions. Focus on blocking sniper angles, bridge crossings, and compound entrances.
For enhanced tactical capabilities, BitTopup provides reliable PUBG Mobile UC redeem instantly services with competitive pricing and secure transactions, supporting your competitive gameplay needs.
Team Communication Protocols
Establish clear callouts: Smoke ready means grenades are prepared, Smoke out signals grenades thrown, Smoke active confirms full coverage, Smoke fading warns of decreasing coverage.
Role designation matters. You need a smoke deployer, grenade coordinator, Mortar operator, and assault leader. Without clear roles, this strategy falls apart fast.
Compound Cracking Fundamentals
Building Weakness Identification and Destruction Patterns
Priority targets should be rooftop positions (eliminate those elevated defenders), stairwell areas (block enemy rotation), window clusters (multiple firing angles), balcony positions (remove overwatch capability), and vehicle cover (destroy defensive barriers).
I've been using a Top-Down destruction pattern that's proven incredibly effective:
Phase 1 targets rooftop and top-floor positions with 3-4 rounds. Phase 2 focuses on middle floors and balconies with 2-3 rounds. Phase 3 suppresses ground exits and windows with 2-3 rounds. Phase 4 coordinates team assault during your reload window.

Allow 8-10 seconds between phases. This gives defenders time to reposition, which sounds counterintuitive but actually works in your favor - panicked repositioning often exposes them to your teammates.
Advanced Positioning Tactics
High Ground Advantages and Cover Selection
Ideal positions include ridge lines with natural elevation and escape routes, multi-story buildings with upper floors and roof access, hill crests offering maximum range with 360-degree coverage, and compound edges providing elevation near team support.
Avoid exposed hilltops and isolated positions. I can't stress this enough - you're a sitting duck without proper cover.
Prioritize locations offering both cover and concealment. Building corners provide hard cover with concealed angles. Tree lines offer natural concealment with nearby cover. Compound walls give solid protection with repositioning capability. Vehicle clusters create mobile cover with concealment options.
Escape Route Planning
Always plan multiple exit strategies. You need routes in multiple directions, hard cover intervals every 20-30 meters, team support zones, vehicle access when available, and alternative firing positions within range.
Practice these routes during your positioning phase. Under pressure, muscle memory saves lives.
Team Coordination and Communication
Role Assignments and Callout Systems
Four-person squad roles work best: Mortar Operator handles bombardment and trajectory calculation, Spotter/Observer manages target identification and damage assessment, Assault Leader coordinates ground movement and breach timing, Support Gunner provides covering fire and area denial.
Target callouts should include Building Alpha/Bravo/Charlie for target ID, Floor 1/2/3 for vertical position, North/South/East/West side for direction, and Multiple contacts for enemy concentration.
Timing callouts: Rounds away, Impact in 5/4/3/2/1, Smoke ready, Breach go, Withdraw.
Synchronized Assault Timing
Standard sequence flows like this: Preparation phase (30 seconds for positioning and equipment), Bombardment phase (45 seconds for systematic strikes), Smoke deployment (15 seconds for visual barriers), Assault phase (30 seconds for coordinated breach), Consolidation phase (60 seconds for securing and looting).
Map-Specific Applications
Erangel and Sanhok Strategies
Erangel offers fantastic Mortar positions. Hills overlooking Pochinki provide 200-300m range coverage. Ridgelines near School give elevated compound overview. Military Base towers offer extreme range with protection. Georgopol container areas provide urban cover with repositioning flexibility.
Sanhok requires completely different strategies. Focus on direct-fire mode due to limited sightlines, but use indirect fire for Paradise Resort, Bootcamp, and Ruins. Emphasize tree line concealment, hill crest positions, compound edge locations, and river valley positions.
The terrain differences between these maps are dramatic - what works on Erangel's open fields won't necessarily translate to Sanhok's dense jungle environment.
Common Mistakes and Training Methods
Critical Errors to Avoid
Positioning errors kill Mortar operators. Avoid skyline silhouetting, single exit positions, predictable patterns, inadequate range, and team separation.
Timing miscalculations are equally deadly. Don't overcook grenades - master the cancel throw function. Cook to 2 seconds for 20-meter targets.
Resource management matters. Prioritize high-value eliminations, strategic positions, vehicle destruction, area denial, and suppressive fire over random bombardments.
Training Ground Exercises
Three difficulty levels await: Beginner features static targets at 50/100/150m, Intermediate adds moving targets with elevation changes, Advanced throws multiple simultaneous targets with time pressure at you.
Dedicate 15-20 minutes per session focusing on specific skills. Track your accuracy percentages - improvement should be measurable.
Custom room scenarios include compound clearing drills, counter-Mortar exercises, smoke synchronization practice, emergency extraction drills, and communication protocol training.
Skill progression timeline: Weeks 1-2 focus on basic trajectory, 3-4 on smoke sync, 5-6 on positioning and coordination, 7-8 on map-specific strategies.
FAQ
How do you calculate mortar arc trajectory? Use the map grid system - each large square represents 1000 meters. Add 15-20% for uphill targets, subtract 10-15% for downhill. Lead moving targets 1-2 seconds at 200+ meters.
What's the best smoke synchronization method? Deploy 2-3 smoke grenades, cook frags to 2-second timers, throw into smoke center, begin Mortar bombardment 3 seconds after grenade detonation.
How do you crack compounds effectively? Use the Top-Down pattern: rooftop positions (3-4 rounds), middle floors (2-3 rounds), ground exits (2-3 rounds). Wait 8-10 seconds between phases.
What changed in PUBG Mobile 4.0? September 4, 2025 update introduced dual-mode Mortar with enhanced trajectory visualization, improved blast effects, moderate spawn rarity, and three Training Grounds difficulty levels.
How much damage do mortars deal? 8-meter blast radius, direct hits eliminate full-health enemies, splash damage reduces to critical health. Destroys motorcycles and buggies immediately.
What are optimal mortar positions? Ridge lines, upper building floors with roof access, hill crests, compound edges near team support. Avoid exposed hilltops, maintain hard cover proximity.