

Quick Answer: New players should grab Tighnari, Diluc, or Keqing for exploration and early DPS. Meta-focused players benefit from Jean, Tighnari, or Mona for endgame compositions. Veterans with C6 characters can select duplicates for Masterless Stella Fortuna and Level 100 progression.
Here's something that doesn't happen often in gacha games – Genshin's actually giving us a completely free 5-star character for their 5th Anniversary. No strings attached, no gacha luck required. The Uncover Lunar Realms, Hone the Eventide Radiance event kicks off September 10, 2025 with Version 6.0 Luna I, and you'll snag 1600 Primogems, 10 Intertwined Fates, plus your chosen character.
You've got 40 days to decide before the window closes October 21, 2025. That's plenty of time to overthink this decision (trust me, you will).
For maximum Primogem efficiency, Welkin Moon best price through BitTopup provides instant delivery and competitive pricing to supplement anniversary rewards.
2025 Anniversary Free 5-Star Selection Overview
Event Mechanics and Process
Nothing too complicated here. You'll need Adventure Rank eligibility and Archon Quest Prologue Act I completion – basically, if you've played for more than a few hours, you're good. Your selected character shows up with Level 60 ascension materials, so they're immediately usable rather than sitting at Level 1 collecting dust.
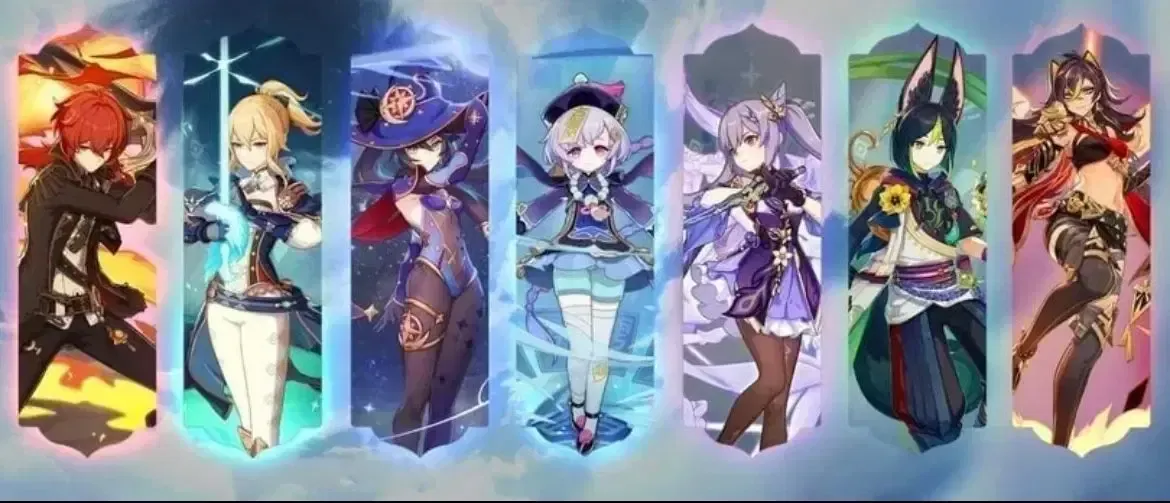
Eight characters are available from the complete Wanderlust Invocation pool: Jean, Diluc, Mona, Qiqi, Keqing, Dehya, Tighnari, and Yumemizuki Mizuki. Yeah, that's the entire standard banner roster.
The concurrent To Temper Thyself and Journey Far event sweetens the deal with free Stella Fortuna for characters you already own. Complete 5 daily training goals weekly for 8 weeks (120 Original Resin daily, commission completion required). It's a grind, but free constellations don't grow on trees.
Complete Standard Pool Character Analysis
DPS Characters: Diluc and Keqing
Diluc remains the poster child for **reliable but not spectacular.
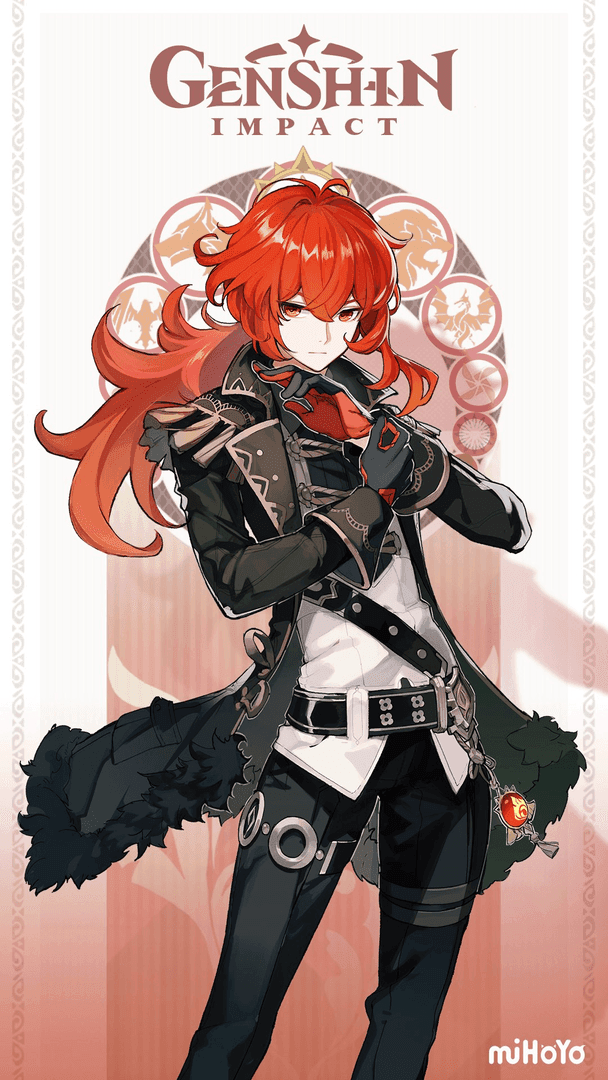
** 12,980 HP, 334 ATK, 783 DEF, 19.2% Crit Rate ascension stats tell the story – he's sturdy and hits consistently. That 40-energy Burst enables constant uptime with Crimson Witch artifact set, and his combo execution is so straightforward your grandmother could master it.
Power creep's been rough on the old man, though. He'll carry you through early game content without breaking a sweat, but don't expect Spiral Abyss records.
Keqing got a second lease on life when Dendro dropped. 13,103 HP, 322 ATK, 799 DEF, 38.4% Crit Damage ascension – those stats look better when she's triggering Aggravate reactions left and right. Her teleport ability remains unmatched for exploration (seriously, try climbing without it after you've gotten used to it), but she needs Dendro support to compete damage-wise.
Thundering Fury set turns her into a different character entirely. Just don't expect miracles without proper team building.
Support Characters: Jean and Qiqi
Jean is what I'd call the Swiss Army knife of Genshin characters.
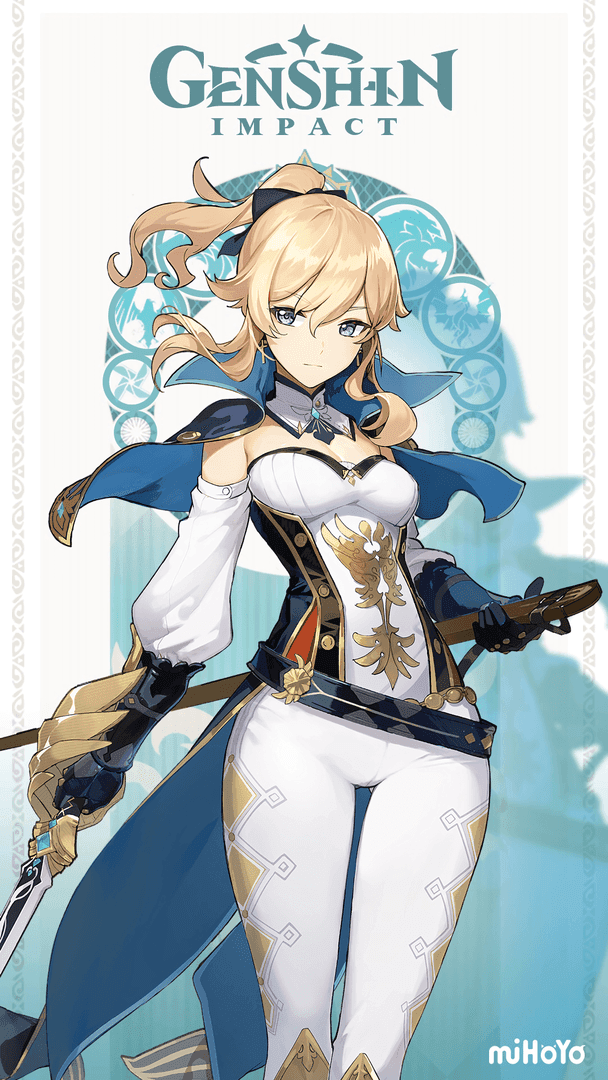
14,695 HP, 239 ATK, 768 DEF, 22.0% Healing Bonus ascension stats don't tell the whole story. Viridescent Venerer resistance shredding plus instant party healing? That's a combination that never goes out of style.
Her synergy with Furina's HP manipulation mechanics is chef's kiss perfect. Yeah, that 80-energy Burst cost stings, but she generates particles like nobody's business.
Qiqi is... well, she exists. 12,368 HP, 287 ATK, 922 DEF, 22.0% Healing Bonus ascension. Ocean-Hued Clam set tries to make her excessive healing useful by converting it to damage, but she's got zero energy generation and her Cryo application is inconsistent at best.
That 30-second skill cooldown? Painful. There's a reason most players prefer 4-star healers – they actually do things besides heal.
Hybrid Utility: Mona and Tighnari
Mona lives in a weird space between support and DPS that doesn't quite work for either role. 10,409 HP, 287 ATK, 653 DEF, 32.0% Energy Recharge ascension. Her Omen debuff can amplify damage significantly in burst compositions with Noblesse Oblige/Emblem sets, but that brief buff duration makes practical application tricky outside one-shot scenarios.
She's the queen of screenshot damage, if that's your thing.
Tighnari surprised everyone by being genuinely good.
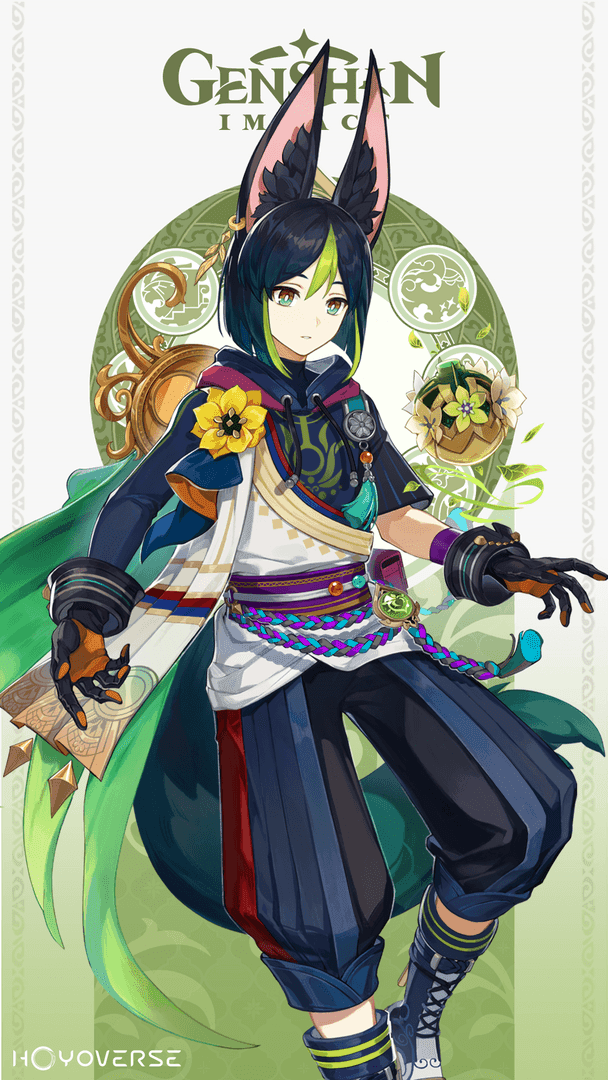
10,849 HP, 267 ATK, 630 DEF, 28.8% Dendro Damage Bonus ascension stats support his role as the strongest standard DPS in Quicken teams. Deepwood/Gilded Dreams sets, low Burst cost for frequent rotations, and his passive locates Sumeru specialties.
He's basically what happens when HoYoverse actually tries to make a standard character competitive.
Account-Based Selection Framework
Early Game Priorities
If you're just starting out, Tighnari's your best bet. Highest DPS potential, works with 3-star Slingshot (which you'll have plenty of), and bow utility for puzzles. Dendro reactions activate with basic Electro characters, so team building isn't a nightmare.
Diluc offers reliable Pyro DPS with rotations so simple they're practically foolproof. Keqing delivers exceptional mobility plus future Dendro synergy potential – though that requires more investment to realize.
For additional character acquisition, Genshin Impact top up instant email delivery through BitTopup ensures quick roster expansion with secure payment processing and 24/7 support.
Endgame Optimization
Veterans should think about Masterless Stella Fortuna value for Level 100 progression. You need 3 total: 1 for Level 95, 2 for Level 100. Jean's C2 provides party ATK/movement buffs, C4 offers 40% Anemo resistance shred. Tighnari's constellations uniformly improve damage with C1 adding 15% Charged Attack Crit Rate.
It's all about long-term investment at this point.
Character Tier Rankings
Beginner Rankings
S-Tier: Tighnari (highest damage, F2P weapon compatibility)
A-Tier: Diluc, Keqing (straightforward mechanics, utility)
B-Tier: Jean (requires support understanding)
C-Tier: Mona (complex buff mechanics)
D-Tier: Dehya, Qiqi, Mizuki (kit limitations that hurt)
Veteran Rankings
S-Tier: Masterless Stella Fortuna strategy for C6 characters
A-Tier: Jean, Tighnari (high constellation value)
B-Tier: Mona (C1 enhances reactions 15%, C4 party Crit Rate)
Team Composition Analysis
Tighnari anchors Quicken teams beautifully. Fischl/Yae/Raiden provide consistent Electro application, Nahida or other Dendro supports enhance reaction frequency, and Anemo characters add grouping plus EM buffs. It's a formula that just works.
Jean enables Sunfire compositions with Bennett – continuous Pyro through Swirl that's both satisfying and effective. Her healing enables Furina teams across multiple archetypes while Anemo utility counters shields like they're made of paper.
Keqing functions in Aggravate teams but demands more field time than some players prefer. Dendro Traveler/Collei provide F2P Dendro application, though premium options like Nahida offer significantly enhanced performance.
Meta Viability and Future-Proofing
Version 6.0's introducing Lunar-Charged reactions and the Nod-Krai region, which could shake up character viability in ways we can't predict yet. The Level 100 system creates additional progression for invested characters, particularly benefiting strong constellation scaling like Jean and Tighnari offer.
Let's be honest – standard characters rank in the bottom 20% of all 5-stars due to power creep. But they maintain value through guaranteed accessibility, and Jean's unique healing/Anemo combination ensures continued relevance regardless of whatever meta shifts HoYoverse throws at us.
Common Selection Mistakes
Don't fall for popularity over practicality. Qiqi's design appeal can't overcome fundamental kit limitations – she's cute, but cuteness doesn't clear Spiral Abyss. Consider roster synergy over individual strength; Jean's moderate damage becomes irrelevant when she's enabling powerful compositions that wouldn't work without her.
Plan long-term rather than chasing immediate gratification. Constellation development requires extended timelines, and this free selection could be the foundation for something bigger down the road.
Final Recommendations
New Players (AR 1-45): Tighnari for DPS/utility combo or Diluc for straightforward Pyro damage
Intermediate Players (AR 45-55): Jean for healing/Anemo utility, Tighnari for Dendro DPS based on roster gaps
Veterans (AR 55+): Prioritize Masterless Stella Fortuna through C6 selection or Jean/Tighnari for constellation value
FAQ
Which character should new players pick? Tighnari offers the best damage/utility combination with Dendro reactions and bow puzzles. Works perfectly with 3-star Slingshot, minimal team requirements. Diluc's a solid alternative if you prefer melee combat with Pyro utility.
Is picking owned characters for constellations worth it? Veterans absolutely benefit from C6 selection for Masterless Stella Fortuna and Level 100 progression. Jean and Tighnari offer the most impactful constellations. Skip low-impact characters like Qiqi or Diluc for this strategy.
How do standard characters compare to limited 5-stars? They're in the bottom 20% due to power creep, but maintain value through accessibility and utility niches. Jean's healing/Anemo combination remains unique, Tighnari offers the highest standard DPS potential.
Should I pick Jean if I have other healers? Jean's value extends way beyond healing through Anemo utility and Viridescent support. She synergizes perfectly with Furina's HP mechanics, provides particle generation and crowd control that pure healers can't match.
What's the constellation event strategy? To Temper Thyself and Journey Far provides free Stella Fortuna for your 25 owned 5-stars. Prioritize high-impact constellations like Shenhe C1 or valuable C2 upgrades. Requires 8 weeks of daily goals completion – it's a commitment.
Can I change my selection? Nope, selection's permanent once confirmed. That 40-day window provides plenty of consideration time, but rushing leads to regret. This is an annual event, so you're waiting a full year for the next opportunity.