

Have you gotten the new furniture item — the Metal Photo Frame?
This frame allows you to display your own Dorm photos within your Dorm space. It’s large, customizable, and lets you freely arrange and enlarge your photos — truly a must-have for Dorm aesthetics lovers!
Today’s guide will show you how to shoot and place vertically aligned Dorm photos — they look absolutely stunning this way!
Step-by-Step Tutorial:
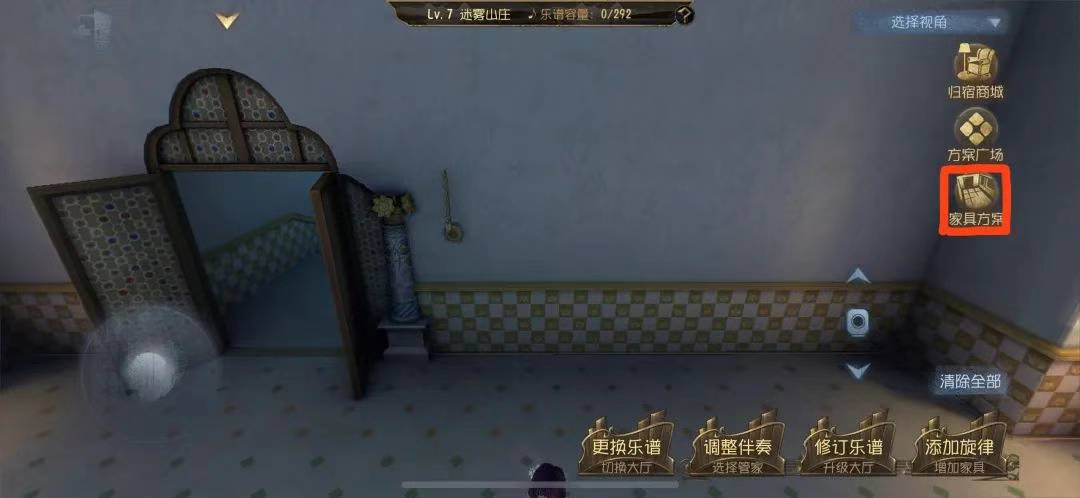
1. Clear your current Dorm layout and open the Furniture Scheme.
(Make sure to save your existing layout before clearing it!)
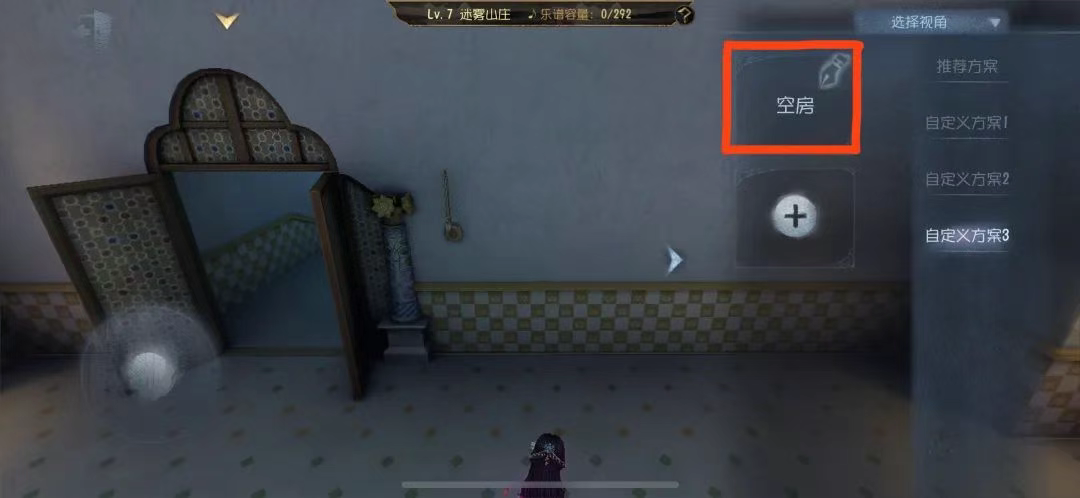
2. In Custom Scheme, save your empty layout with a clear note — this will be used to duplicate furniture.
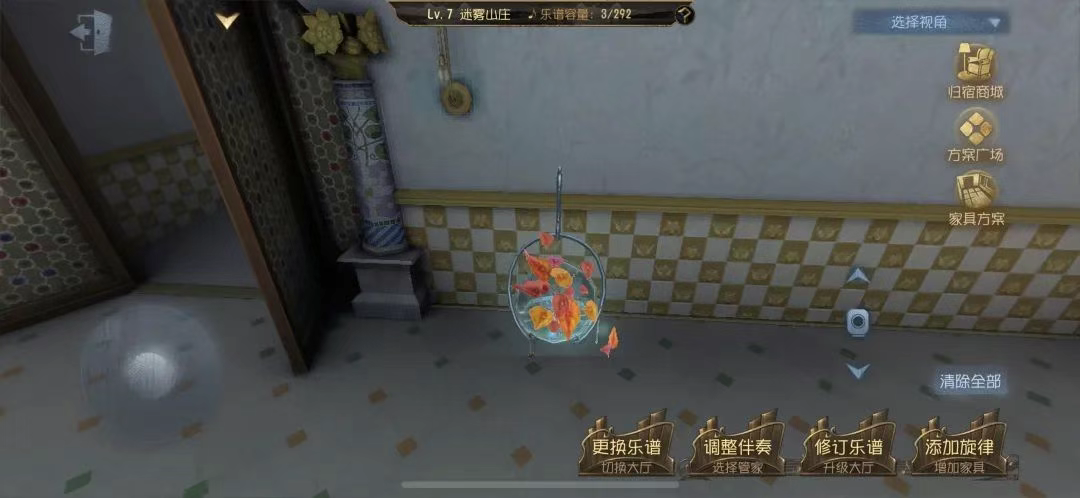
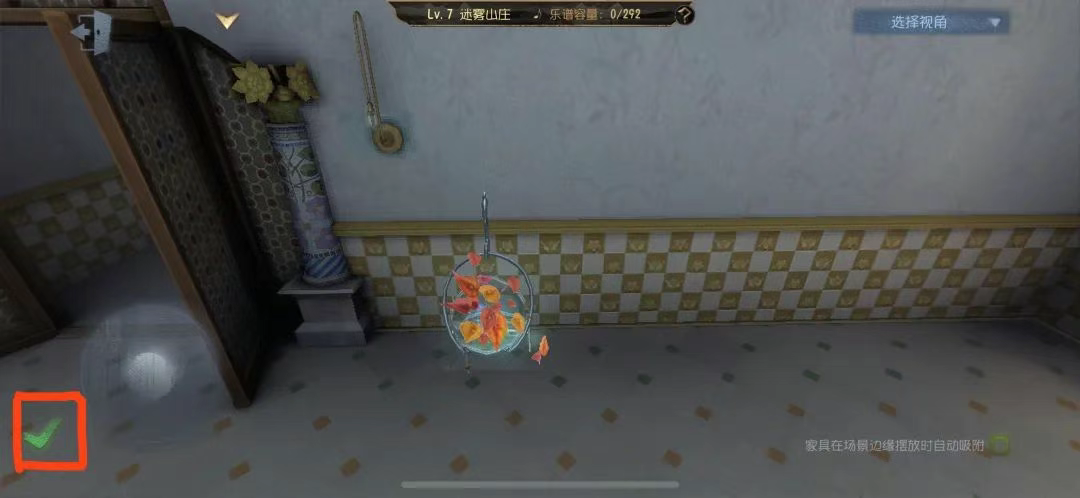
3. Set the Dorm to Daytime and place the Glass Hydroponic Jar on the wall near the entrance.
4. Open Furniture Scheme and find the empty room layout you just saved. While selecting it, also click on the Hydroponic Jar.
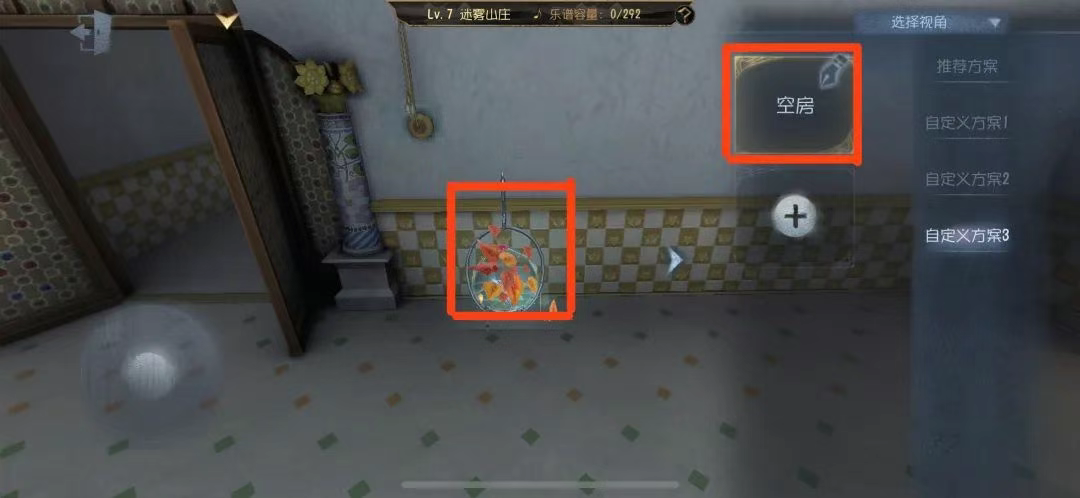
5. If a ✅ appears in the lower left corner, it means the furniture stacking has succeeded. Tap the ✅ and then double-tap the top-left “Exit” button.
6. If the trick works, the brightness of the room will increase. Now you can drag the jar out directly.
(Note: If it’s stuck and won’t drag out, exit and try again. Swipe up firmly when dragging. Keep trying — it’ll work eventually!)
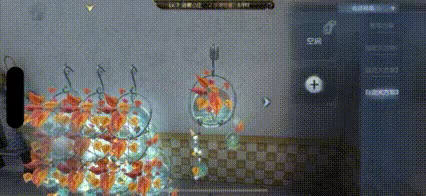
7. Stack another layer of jars for even more brightness and a better visual effect. Try creating a 3×3 or 4×4 grid of Hydroponic Jars, then adjust your character’s standing position.
(In the example, two layers were stacked for enhanced brightness.)
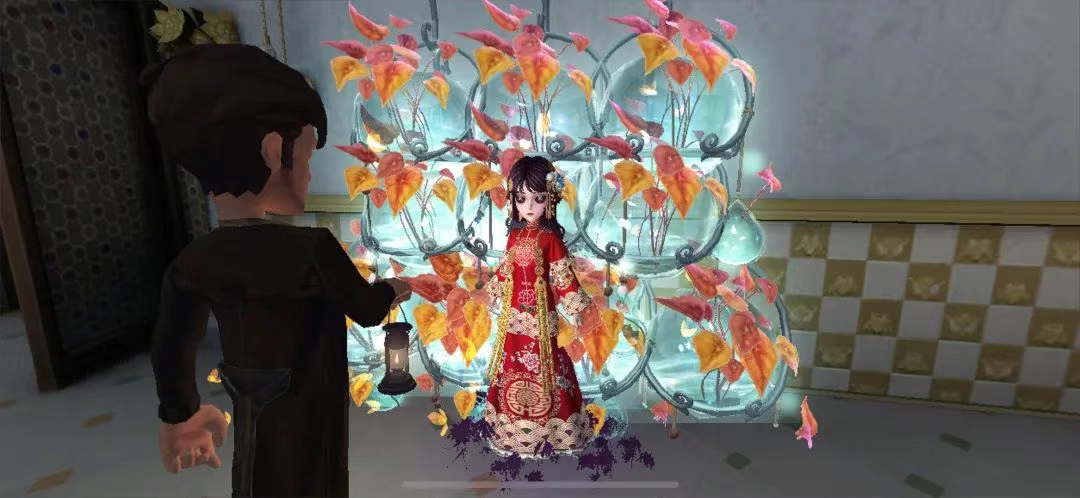
8. Invite a friend or use an alt account to switch to the Detective character for lighting assistance.
(Lighting is crucial — it makes a huge difference in the final photo!)
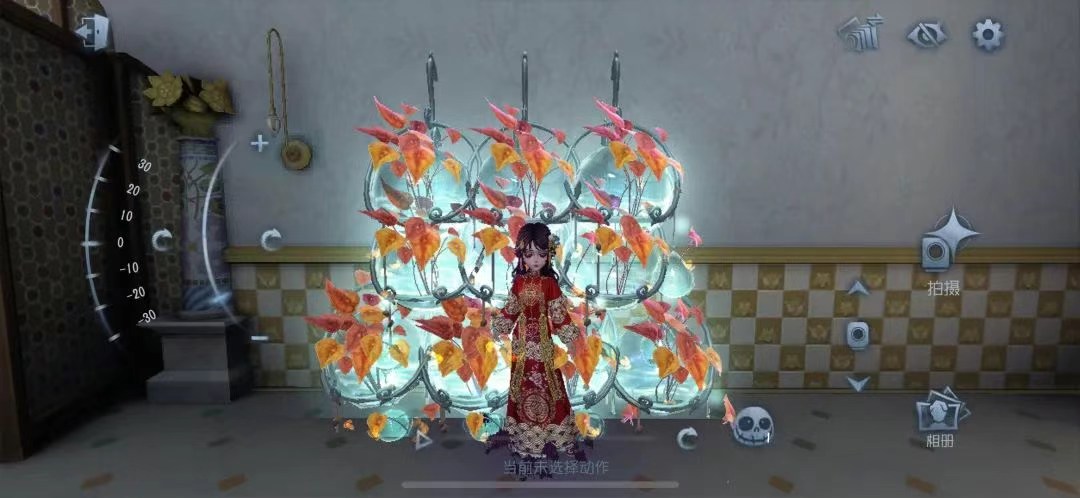
9. Once everything is in place, choose your favorite pose. On the left side of the screen, slide the camera rotation to 90 degrees to turn the view sideways, and take a horizontal photo.

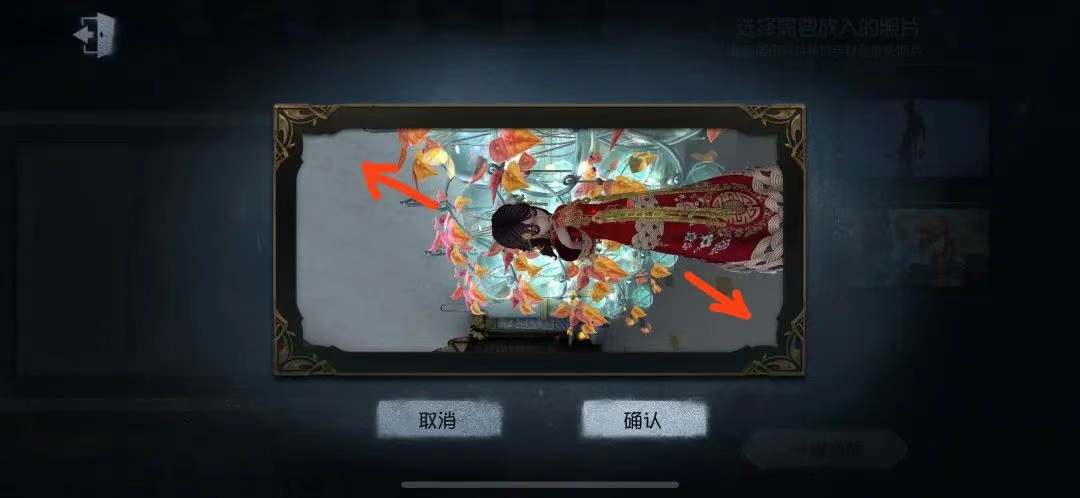
10. Tap “Place” on the Metal Photo Frame, then select the photo you just took. Use two fingers to zoom in and adjust it to your preferred size.
(The example shows the photo zoomed to the max size.)
11. Resize the photo as shown below. You can now take photos with other characters using the same method and display them side-by-side. Done!
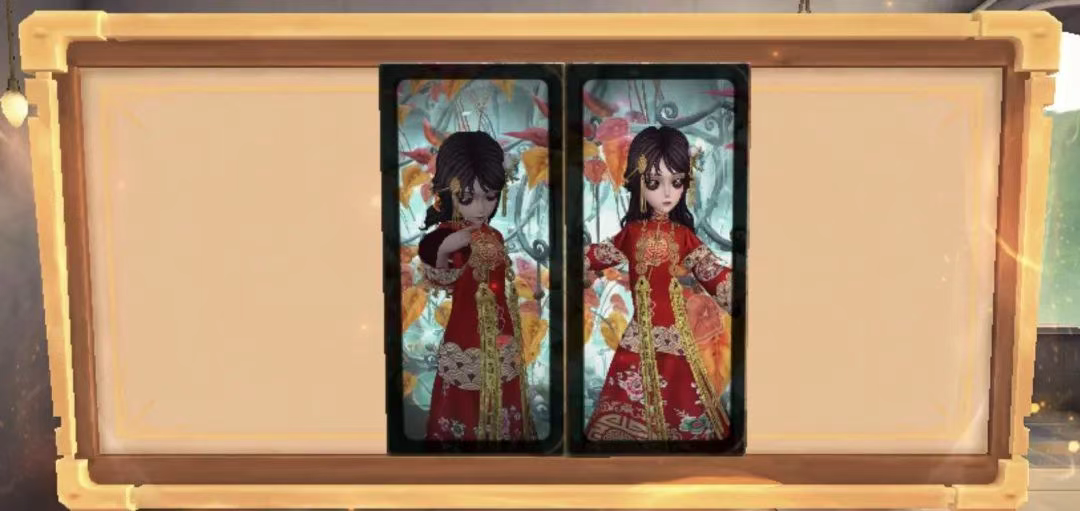
Note: The left photo was taken without lighting, and the right one with lighting — see the difference? Lighting is key to achieving great results!

Thanks for checking out this guide!
Wishing you golden pulls and easy wins — may ranking up be as easy as drinking water!