

This comprehensive beginner guide covers Delta Force: Hawk Ops' complete game mode breakdown, character class selection, optimal settings configuration, and essential first-match strategies. Learn weapon loadouts, team coordination tactics, and progression strategies to dominate your early matches in this tactical extraction shooter launching Season 6 on September 23, 2025, and Season 7 on November 18, 2025.
Getting Started with Delta Force: Hawk Ops - 2025 Edition
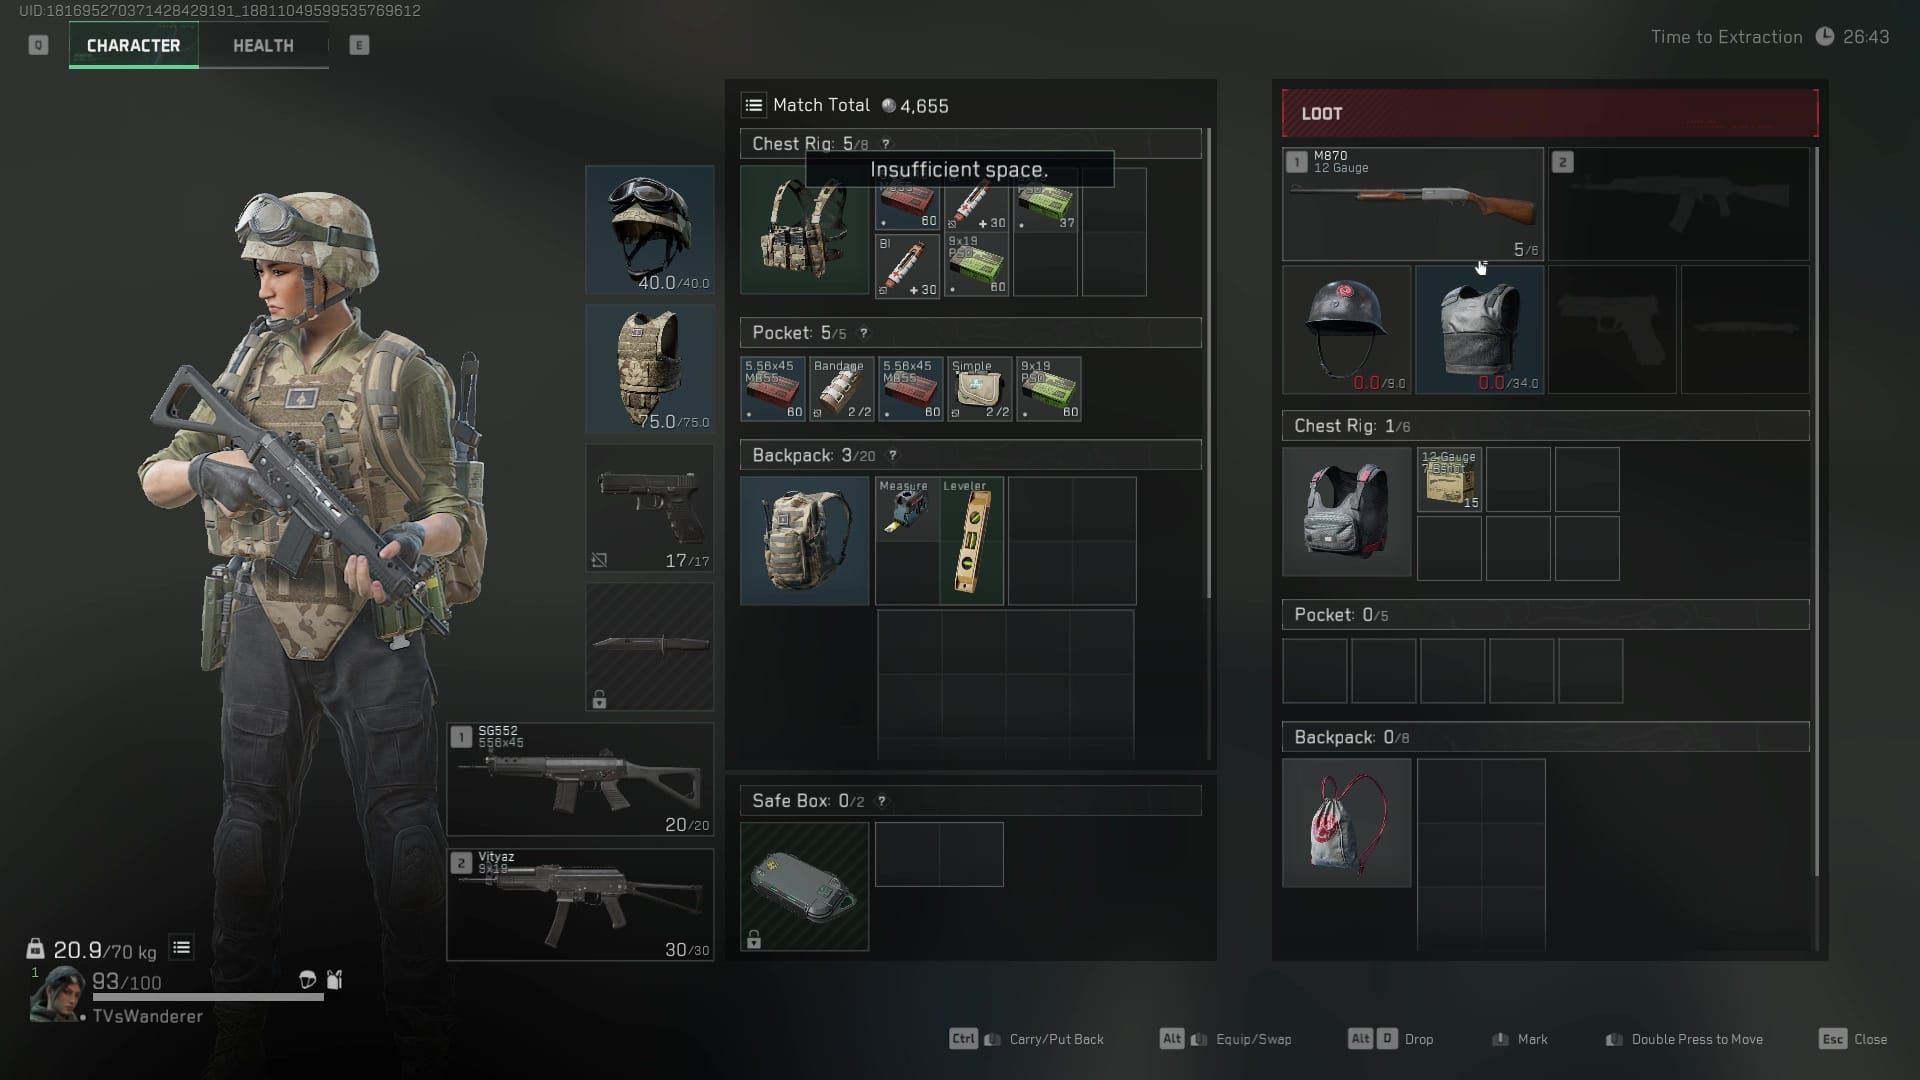
Here's the thing about Delta Force: Hawk Ops – it's not your typical run-and-gun shooter. This tactical extraction game will punish you hard if you treat it like Call of Duty. We're talking real gear loss when you mess up in Operations Mode, which honestly makes every firefight feel like it actually matters.
The cross-progression support across PC, PlayStation, and Xbox is pretty sweet though. Finally, a game that gets it right.
Season 6: War Ablaze dropped on September 23, 2025, and brought us Raptor – a Recon operator who's basically an electronics nightmare for your enemies. EMP grenades that shut down all their fancy gadgets? Yes, please. Season 7's coming November 18, 2025, with Gizmo as the new Engineer. Three exploding spiders that apply corrosion damage. Because apparently regular explosions weren't terrifying enough.
Quick settings tip before we dive deeper: crank that FOV to 100, keep your mouse sensitivity low (trust me on this), and use the competitive audio mix. You need to hear those footsteps. Also, dial down those graphics settings – pretty visuals won't save you when you're getting 60 FPS in a firefight while everyone else is running 120+.
Delta Force Hawk Ops credits top up through BitTopup provides secure, fast transactions with competitive pricing and 24/7 customer support for weapon upgrades and operator unlocks.
Complete Game Modes Breakdown
Operations Mode Strategy
Operations Mode is where this game really shows its teeth. Three submodes here, each with its own personality.
Hazard Operations? That's the real deal. Exploration, securing objectives, extraction – and if you die, you lose your gear. Time limits add pressure, and you're fighting both AI and other players who want your stuff. The new Ghroth boss in Tide Prison will absolutely wreck unprepared teams, and don't get me started on those environmental fire hazards in Layali Grove.
Hot Zone feels almost relaxing by comparison – 3v3v3 PvP with no gear loss. Perfect for beginners who want to learn combat without risking their favorite loadout. Ninety-second MandelBrick decryption objectives, first to three rounds wins. Simple concept, but the execution gets intense fast.
Raid mode? Think of it as training wheels. AI encounters with your personal gear, no death penalties. Great for learning maps and testing builds.
Here's what most guides won't tell you: in Hazard Operations, prioritize objectives over kills. I've seen too many teams get distracted by firefights and run out of time. Those 3-squad MandelBrick competitions for rare items are tempting, but extraction success beats a high K/D every time.
Warfare vs Operations Comparison
The contrast between these modes is night and day. Warfare gives you unlimited respawns with ticket-based gameplay – basically traditional FPS action with ranking. Operations? Every life matters because of that gear risk system.
Hot Zone sits in this interesting middle ground. Quick preset PvP without the loot anxiety, while Hazard Operations throws you into these massive maps with side missions and custom loadouts where one mistake costs you everything.
Difficulty progression goes: Hot Zone < Operations < Black Hawk Down. And here's a pro tip – play during peak hours to avoid getting stuck with AI teammates. Nothing kills a Black Hawk Down run faster than AFK players when you've got no respawns and limited supplies.
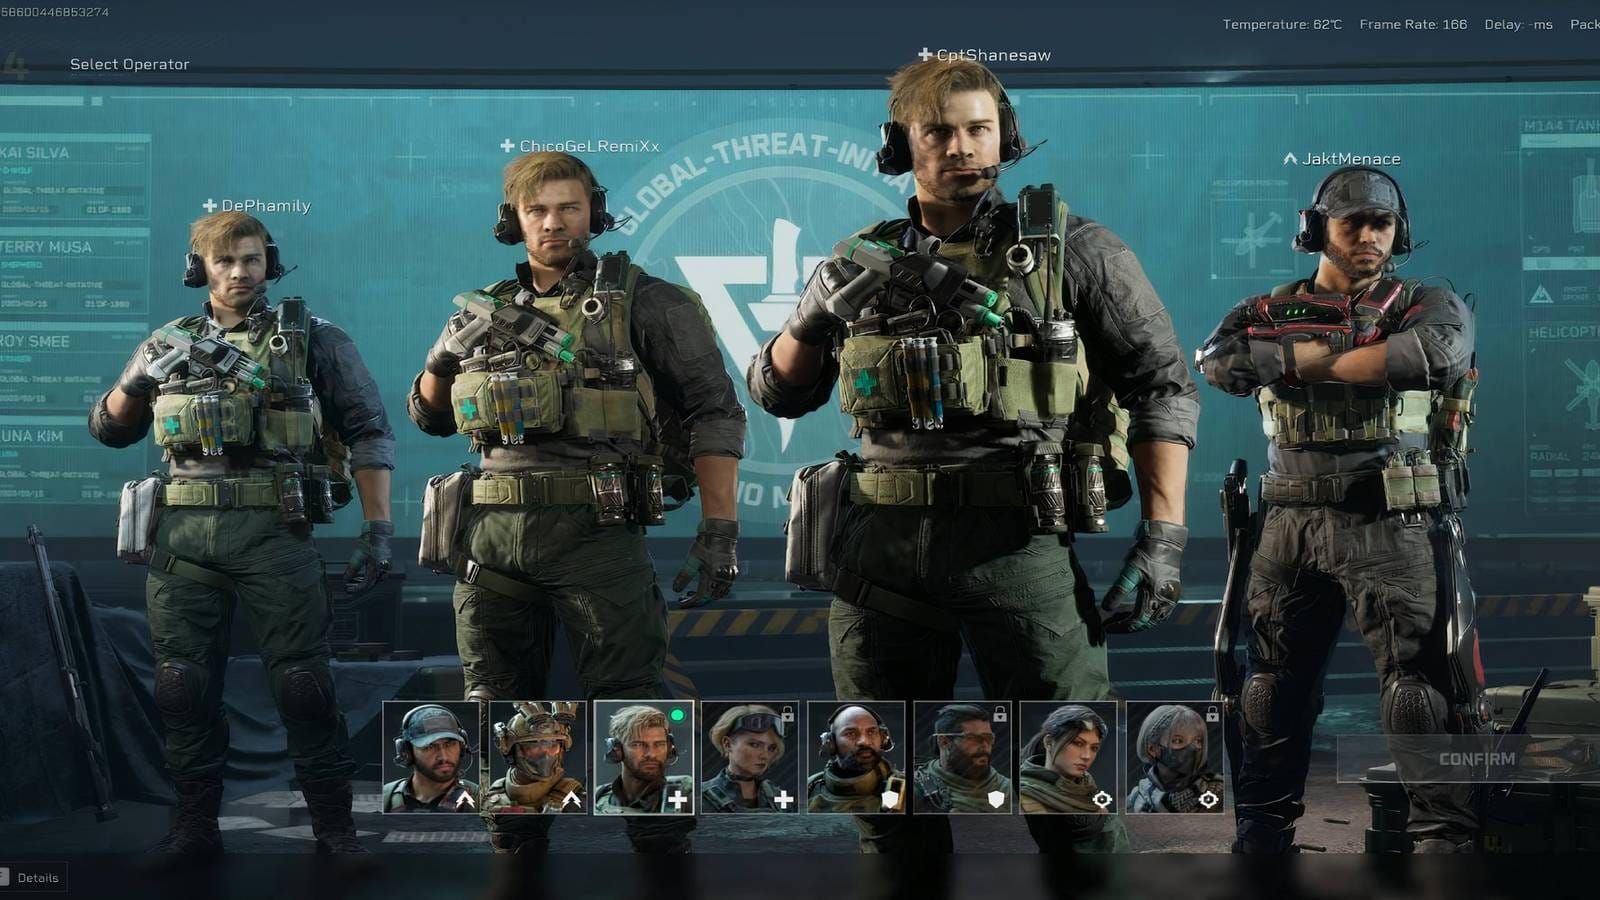
Character Classes Mastery Guide
Assault Class Overview and Playstyle
Assault operators are your front-line fighters, and honestly, they're probably the most forgiving for new players.
D-Wolf ranks A-Tier for good reason – that mobility and slide mechanics make him perfect for aggressive loot control. Vyron's propulsion abilities are flashy but harder to master. Nox though? S-Tier for stealth extractions because of that noise reduction. When you need to slip out quietly with valuable loot, Nox is your guy.
The M4A1 and CI-19 are your bread and butter weapons here. M4A1 especially – 25 damage per round, 672 RPM, low recoil, and a solid 10.1% pick rate among experienced players. There's a reason it's popular.
D-Wolf's enhanced sliding isn't just for show. Use it for rapid repositioning during firefights and quick loot grabs. That grenade proficiency also means you can control areas more effectively than other classes.
Recon Class Advanced Positioning
Luna is SS-Tier, and if you're not using her for intelligence gathering, you're missing the point of Recon entirely. Hackclaw's S-Tier for silent scouting and hacking, but Luna's versatility wins out.
Now, Raptor from Season 6? Game-changer. Those EMP grenades don't just disable lasers and optics – they completely shut down enemy deployables. The 5x ping capability and footprint tracking make him incredible in fog conditions where visibility drops to 30-40m. I've been running Raptor in Wildfire Events, and it's almost unfair how much intel you can gather.
The synergy between Luna's detection and D-Wolf's mobility is beautiful when executed properly. Luna spots, D-Wolf repositions based on that intel. Simple concept, devastating execution.
Support and Engineer Class Roles
Stinger achieves S-Tier status for rapid healing, but Toxik? SS-Tier with those debuff applications and healing buffs. Stinger's smoke deployment is clutch for extractions though – never underestimate good cover when you're trying to get out.
Season 7's Gizmo is going to shake up the Engineer meta completely. Three exploding spiders that apply corrosion, smoke mines that slow and reveal enemies, and those hunting spiders with web deployment that disable gadgets while marking targets. It's like they took everything annoying about Engineers and cranked it to eleven.
The M250 LMG remains the Engineer's best friend – 550 RPM, 125-round magazines, 55 damage, 40m effective range. Perfect for area denial and suppression.
Cheap Delta Force in game currency recharge via BitTopup offers instant delivery, secure payment processing, and competitive rates with comprehensive customer support across all regions.
Essential First-Match Preparation
Optimal Team Composition Strategy
Four-player teams need balance. One Recon for intel, one Support for healing, one Engineer for equipment management, one Assault for aggressive plays. It's not rocket science, but you'd be surprised how many teams ignore this basic setup.
The synergies matter more than individual skill sometimes. Luna's intelligence combined with D-Wolf's mobility creates opportunities that neither could achieve alone. Stinger keeping your Assault operator alive during extended firefights? That's how you win matches.
For beginners, I recommend Luna (easy intel gathering), Stinger (straightforward healing), D-Wolf (forgiving mobility), and Raptor (EMP capabilities that counter current meta builds). Master these four before getting fancy with other operators.
Pre-Match Loadout Configuration
M4A1 with build code 6FINC4G0CQTV1IBVCBQVT is your starting point. Resonant Ergonomic Grip, Invasion Rear Grip, AR Gabriel Long Barrel, Sandstorm Compensator, UR Spec Ops Stock, Recon 1.5/5 Scope, 45-Round Magazine, DBAL-X2 Laser. This setup handles most situations you'll encounter.
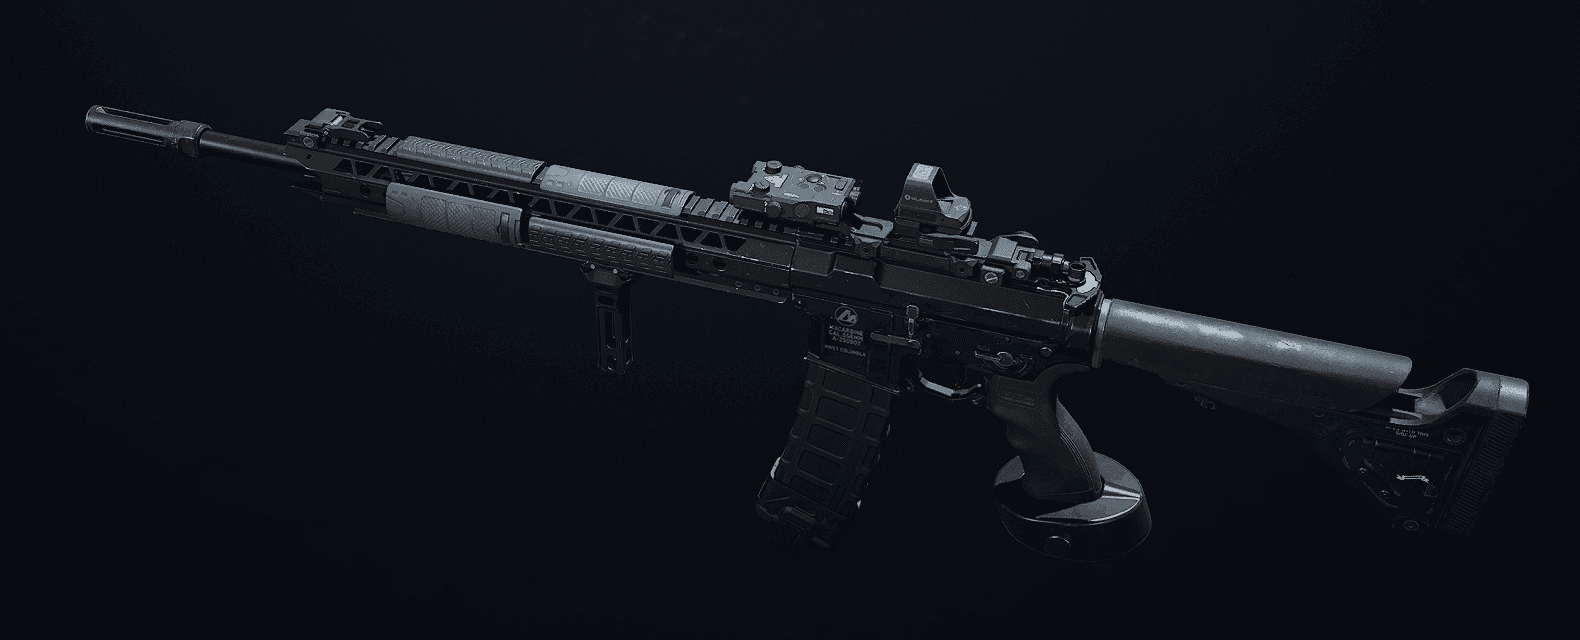
Secondary weapons? 93R pistol for backup, TAC Dagger for silent eliminations. Keep it simple until you understand the game's rhythm.
Attachment priorities: recoil control first (Sandstorm Vertical Compensator), then optics (Cobra for mid-range, OSIGHT for close quarters), extended mags (45-round capacity), and laser attachments for Tactical Stance. Don't stack similar benefits – diversify your improvements.
Optimal Settings and Controls Configuration
Graphics and Performance Optimization
FOV between 95-105, with 100 being the sweet spot. Low mouse sensitivity for precision aiming – I can't stress this enough. Competitive audio mix emphasizing sound effects because footsteps will save your life more than fancy graphics.
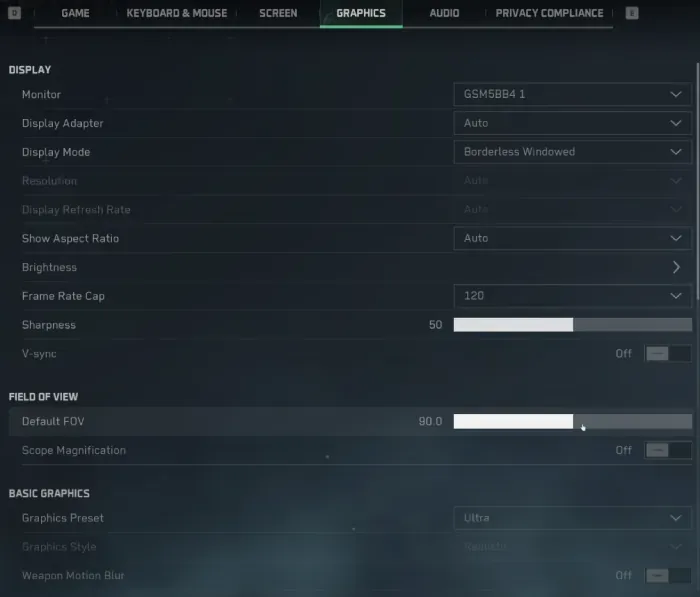
Reduce graphics settings to maintain 120+ FPS. Seriously. Pretty visuals won't help when you're getting outgunned because of frame drops.
Practice offline map exploration. Learn the choke points, flanking routes, extraction locations. Knowledge beats reflexes in this game.
Configuration process: adjust FOV in display settings, set low sensitivity, enable competitive audio, lower graphics for high FPS, test everything in training mode before going live. Simple steps, massive impact.
Audio and Control Scheme Setup
Competitive audio configuration is non-negotiable. Footsteps, reload sounds, environmental cues – these audio elements provide tactical awareness that can't be replaced by visual information alone.
Use headphones. Not speakers, not your TV audio – proper headphones for directional audio. You need to detect enemy movements, reloads, equipment deployment. The DBAL-X2 laser attachment enables Tactical Stance with reduced recoil through breath hold mechanics, but you need to hear when enemies are doing the same thing.
Control scheme optimization should focus on comfortable key bindings for operator abilities, smooth movement for sliding and positioning, efficient weapon switching. Practice in training mode until it becomes muscle memory.
Beginner-Friendly Loadouts and Equipment
Primary Weapon Recommendations by Class
CI-19 maintains an 8.5% pick rate with that 60-round drum capacity and 55m range. Build code 6FIN5OG0CQTV1IBVCBQVT includes Resonant Grip, Newtype Sword Heavy Grip, CI-19 Hadal Barrel, Titanium Muzzle Brake, UR Stock, Viewpoint 3X Scope, 60-Round Drum, CI-19 Gas Block, DBAL-X2 laser. High damage output, but you need to master that recoil.
SMG-45 sits at 6.1% pick rate with high RPM and 40-round extended magazines. Perfect for close-quarters. Support build code 6HLOBLC09MFFCME3G7LT2 features Secret Order Bevel Foregrip, AR Heavy Tower Rear, SMG-45 Fission Barrel, SMG Echo Suppressor, UR Stock, OSIGHT Red Dot, 40-Round Magazine, PEQ-2 Laser. Stealth CQC focus.
Specialized Weapon Configurations
M250 LMG provides 550 RPM, 125-round magazines, 55 damage, 40m range, 50 accuracy – S-Tier for suppression roles. Build code 6FIAPV406L5PA4U76HE30 incorporates AR Heavy Tower Rear Grip, 75-Round Belt, M250 Sentinel Short Barrel, Micro Sight Riser with Panoramic Red Dot, Resonant MKII Foregrip, Sandstorm Vertical Compensator, Shadow Rail Stock, Perst-7 Blue Laser. Area denial at its finest.
AWM Sniper delivers 100 damage with 200m range, 23 accuracy, one-shot chest eliminations to 30m using build code 6F50VEC0CH8TK2MI8PG7U. Skyline Barrel, Resonant Suppressor, 8X Scope, Perst-7 Laser, M-Lok kit. A-Tier weapon with 3.6% pick rate, ideal for open maps like Dam.
Critical Mistakes Every Beginner Should Avoid
Equipment and Loadout Errors
Overloading gear causes mobility penalties. Use lightweight options like MP5/SMG-45 instead of trying to carry everything. Stacking similar attachments creates diminishing returns – diversify your attachment types. Using high-recoil weapons like AKM (40 damage, 53 accuracy) without sufficient skill development is asking for trouble.
These errors impact movement speed, weapon effectiveness, overall combat performance. I've seen new players lose winnable fights because they couldn't move fast enough or control their weapon properly.
Tactical mistakes? Solo aggression that breaks team formations, ammunition waste through poor conservation, inadequate map awareness. Study those maps offline. Progression errors include frequent class switching instead of mastering one class for 2-3 weeks, buying premium items without testing in training or Hot Zone first.
Strategic and Communication Failures
Poor callout systems kill teams faster than enemy bullets. Use specific map references, not vague directions. Enemy north means nothing. Enemy on the water tower, northwest corner saves lives.
Effective communication requires concise callouts using map landmarks, designated role assignments before the match starts, strategic ping usage, ammunition and medical supply sharing based on operator roles.
In Hot Zone specifically: don't interrupt decryption unnecessarily, defend your carrier properly, don't hold the MandelBrick too long because it reveals your position. Save weapons when you're ahead in rounds, track opponent status for tactical advantages.
Map Awareness and Positioning Fundamentals
Terrain-Specific Strategies
Different maps demand different approaches. SMG-45 for urban environments like Space City, AWM and CI-19 for open desert terrain with that 55m effective range, suppressed weapons for forest ambush tactics.
Dam provides mountain elevation for sniper positions. Forest favors stealth with suppressed weapons like SR-3M. Space City demands close-quarters proficiency with SMG-45 optimization.
Wildfire Events create 30-40m fog conditions that favor shotguns and SMGs while requiring enhanced audio awareness. Raptor operators excel here with tracking abilities, and high-magnitude sights on SG552 and CAR-15 provide visibility advantages when everyone else is blind.
Advanced Positioning Techniques
Counter-meta positioning against S12K rushers involves EMP and stun grenades to deny laser stance advantages, engaging beyond 8-10m range, deploying smoke for cover. Destroy enemy drones to counter thermal optics during fog events.
Raptor's EMP Grenades disable lasers, optics, deployables while the Ultimate Trace Scanner provides 5x ping capabilities. It's like having wallhacks, but legal.
Effective positioning principles: read minimap information for enemy movements, maintain safe positioning with cover and concealment, time rotations based on objective phases, coordinate with team formations. Recon operators should prioritize elevated positions with Engineer barrier support.
Team Coordination and Communication
Voice Chat and Callout Systems
Concise callout protocols using map landmarks and directional references for enemy positions, loot discoveries, extraction routes. Designate roles pre-match: Assault handles M4A1/CI-19 for mid-range, Support manages SMG-45 with healing priorities, Engineer controls M250 suppression and barrier deployment, Recon utilizes SR-25 with 85m falloff for intelligence.
Formation protocols require point, support, rear position assignments with strategic ping usage. Share ammunition and medical supplies based on operator roles, maintain formation integrity by avoiding clustering, use headphones for enhanced footstep and reload detection.
Role-Based Coordination Strategies
Synergy combinations work beautifully when executed properly. Luna's intelligence gathering combined with D-Wolf's repositioning capabilities creates opportunities. Stinger's healing support sustaining Assault operators during firefights keeps pressure on enemies. Engineer barriers providing protected positions for Recon sniping operations control map areas.
Raptor's EMP capabilities synergize with Luna's detection systems for comprehensive battlefield control. It's like having two different types of radar working together.
Team composition for Black Hawk Down campaign requires role assignments with voice communication and ping systems. Warm up with three Hot Zone rounds, track squad icons for positioning awareness, designate carriers and defenders for objective-based gameplay.
Progression Strategy and Long-Term Goals
Structured Improvement Phases
Phase 1 (Weeks 1-2): Complete tutorials, 15 minutes daily aim training, basic map knowledge, master 1-2 weapons starting with M4A1. Don't rush this foundation.
Phase 2 (Weeks 3-4): Sprint-slide mechanics, pre-aiming techniques, recoil pattern memory, expand to 2-3 weapon proficiencies. This is where muscle memory develops.
Phase 3 (Weeks 5-6): Callout system implementation, defensive positioning, utility timing with smoke deployment. Team play becomes crucial here.
Phase 4 (Weeks 7+): Stream analysis for advanced techniques, meta adaptation strategies. Track extraction rates, K/D ratios, accuracy percentages. Review killcam footage for improvement opportunities.
Performance Tracking and Optimization
Progression rank system spans seven ranks from Private (0-299 RP) to General of the Army (7200+ RP). Earned through kills, assists, objective completion, match victories. Cross-platform play support, no pay-to-win mechanics – refreshing in today's gaming landscape.
Season 7's MK4 SMG features 3-burst/full-auto capabilities with 793 RPM, 34 damage, 20m range, 24-round magazines. Recommended attachments: VMX Frameless Sight, Steel Muzzle Brake, EC Front Grip, SR-25 Handguard, MEO Riser for optimal performance with Gizmo's Engineer synergies.
Meta weapon selections for Operations Mode prioritize M7 for 4-shot kills and QJB201 for mobile suppression. Warfare Mode favors R93 with 100 damage buff and M4A1 for versatility. Hot Zone meta emphasizes SR-3M and Vector for close-quarters dominance.
FAQ
What are the best beginner operators in Delta Force: Hawk Ops? Luna (SS-Tier Recon) for scouting, Stinger (S-Tier Support) for healing, D-Wolf (A-Tier Assault) for mobility, Raptor (S-Tier Recon) for EMP grenades and tracking. Master one class for 2-3 weeks before switching – seriously, don't jump around.
Which game mode should new players start with? Begin with Hot Zone for combat practice without gear loss, progress to Raid for PvE experience, then advance to Hazard Operations with minimal gear. Hot Zone's 3v3v3 PvP with preset loadouts removes the equipment anxiety.
What's the optimal weapon for beginners? M4A1 with build code 6FINC4G0CQTV1IBVCBQVT offers 25 damage, 672 RPM, low recoil, 10.1% pick rate. Prioritize recoil control attachments, mid-range optics, extended magazines, laser attachments. It's popular for good reasons.
How should I configure my settings for competitive play? Set FOV to 100, use low mouse sensitivity for precision, enable competitive audio for footstep detection, reduce graphics for 120+ FPS. Practice offline maps to learn choke points and extraction routes. Performance beats pretty visuals.
What are the most common beginner mistakes to avoid? Overloading gear (use lightweight SMG-45/MP5), stacking similar attachments, breaking team formations through solo aggression, poor ammunition conservation. Follow progression: tutorials > aim training > Hot Zone > Hazard Operations. Don't skip steps.
How does team composition work in Operations Mode? Optimal 4-player teams need 1 Recon (spotting), 1 Support (healing), 1 Engineer (barriers), 1 Assault (breaching). Key synergies include Luna + D-Wolf for repositioning, Stinger + Assault for sustained combat. Balance matters more than individual skill sometimes.