Flashpoint mode demands mastery of shifting objectives, rotation timing, and operator synergies. This guide covers spawn trap mechanics creating 10-30 second kill windows, top operator combos featuring Luna's 9.5% pick rate, and rotation strategies leveraging 200-meter spawn distances.
Understanding Flashpoint Mode
Flashpoint is Delta Force's most dynamic Morphosis variant where objectives constantly shift rather than staying static. New capture points spawn every 90-120 seconds, forcing teams to abandon positions and race toward fresh zones.
Core Mechanics
Objectives spawn in three patterns: linear progression across lanes, triangular rotations between landmarks, and random spawns weighted toward center positions. Each zone awards 3 points/second of uncontested control. First to 100 points or highest score at 15 minutes wins.
The 10-second kill cam creates decision windows where dead players communicate enemy positions while alive teammates assess whether to contest current objectives or rotate early.
Scoring System
3 points/second for uncontested objective control
0.5 points per elimination (minimal impact)
Comeback multipliers activate when trailing 20+ points
Contested zones pause point accumulation
Why Rotations Matter
200-meter spawn distances plus shifting objectives create scenarios where teams arriving 5-10 seconds early establish spawn traps lasting entire objective cycles. Elite squads rotate 15-20 seconds before shifts, sacrificing final capture ticks for superior positioning.
Map knowledge reduces travel time 20-30%, providing critical seconds to deploy equipment and establish crossfires.
Rotation Fundamentals
Spawn Pattern Analysis
Objectives follow semi-random patterns weighted by previous locations. The system prevents consecutive spawns in same areas—objectives alternate between map sections. Tracking previous two locations eliminates 40-50% of potential spawns.
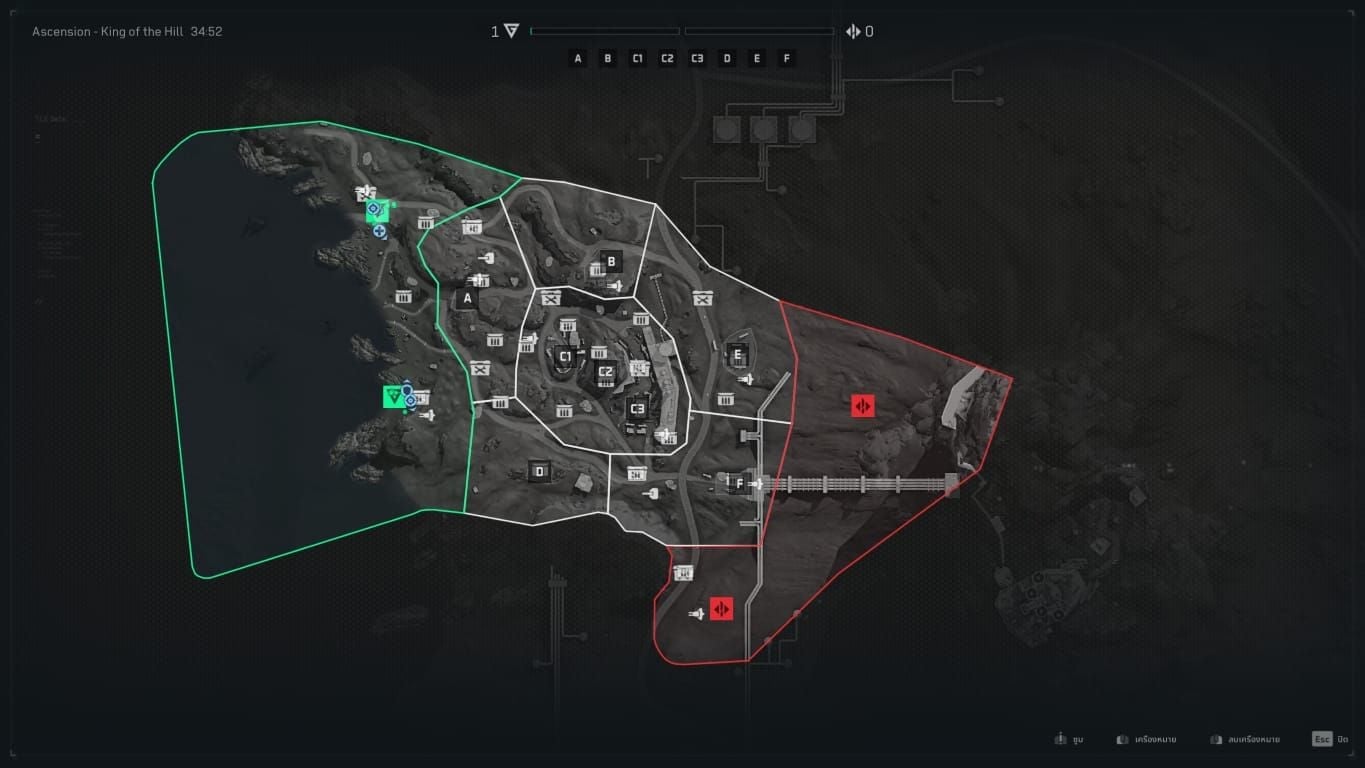
Ascension: Rotates between cement plant, elevated ridge, and valley floor. After cement plant objectives, next zone spawns on ridge/valley with 70% probability.

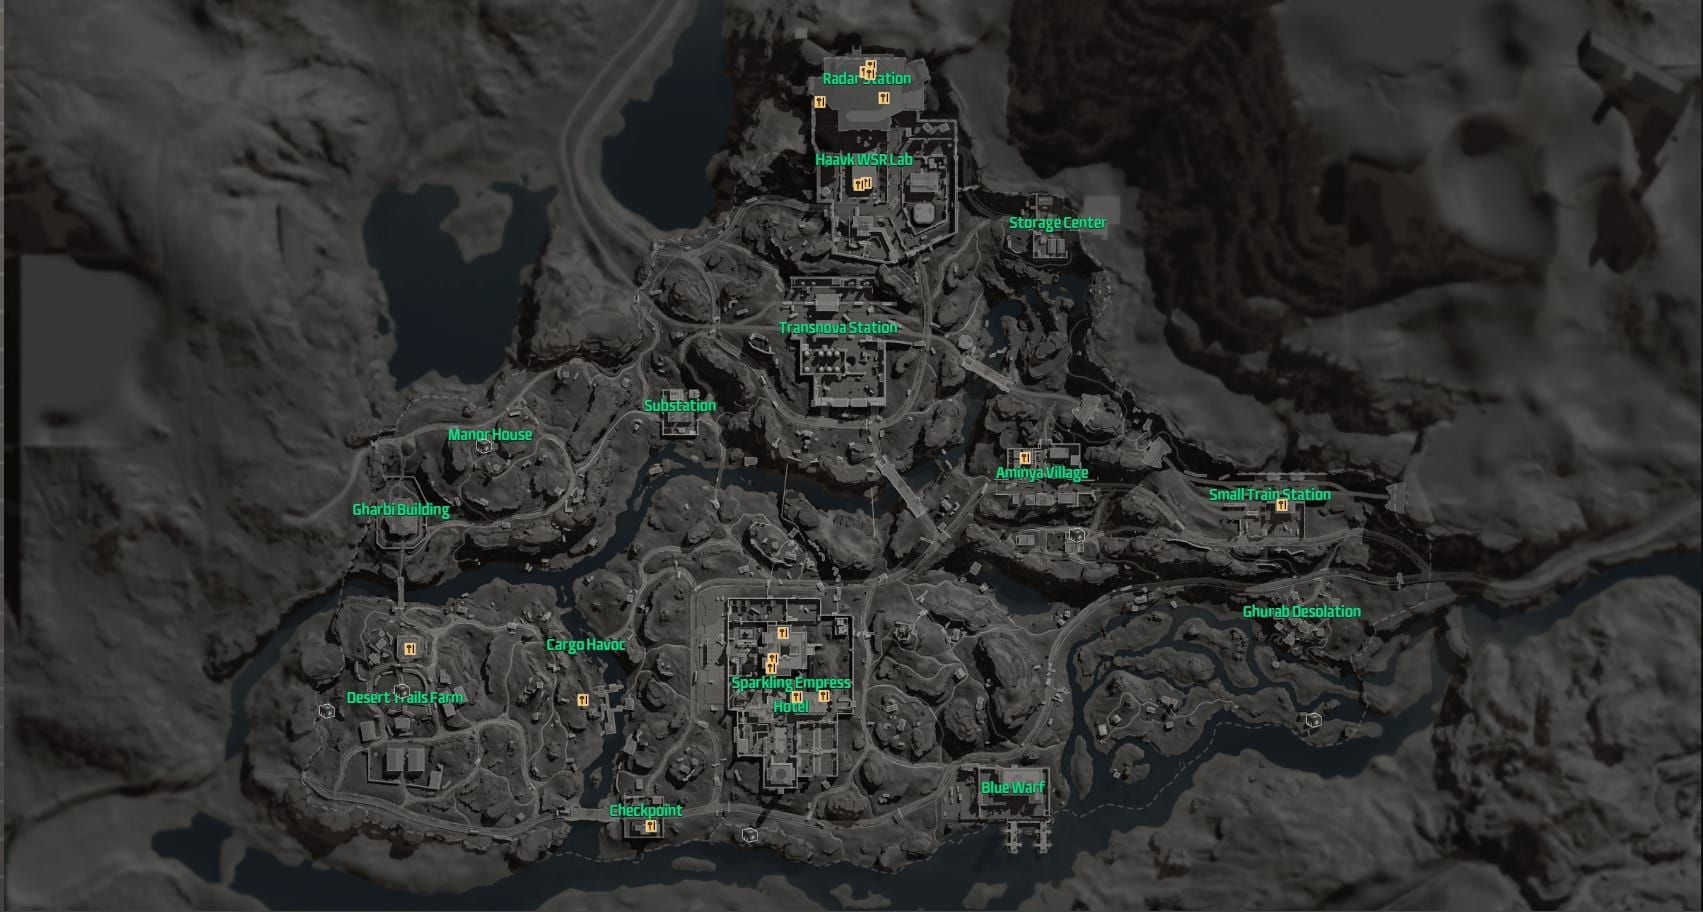
Zero Dam: Tighter patterns due to smaller size. Objectives spawn in dam structure, surrounding buildings, or water areas.
Optimal Timing Windows
When winning current objective: Rotate 20-25 seconds before shift for max points + positioning
When losing: Rotate immediately—contesting lost zones wastes time and lives
During spawn traps: Maintain pressure if controlling; coordinate breakouts if trapped
Primary Rotation Paths
Efficient paths prioritize cover and speed while avoiding chokepoints. Most maps feature three lanes:
Left flank: More cover, longer distance
Center: Fastest but exposed
Right flank: Balanced approach
Pro tip: Split rotations—send fast operators through center while support takes safer flanks.
Commit vs Reposition
Commit when:
Controlling objective with 30+ seconds remaining
Superior positioning
Full team alive
Reposition when:
Less than 20 seconds remaining on contested objective
Down 2+ players (3v5 scenarios are unwinnable)
Enemy spawn trap detected
Advanced Rotation Strategies
Split Push Tactics (2-2-2)
Send two players to most likely spawn, two to secondary location, two maintain current objective. If objective spawns at secondary position, the advance element contests immediately while primary group rotates. Point deficit from delayed arrival (10-15 points) beats full team misrotation (30-40 points).
Full Stack Rotations
All six players rotate together for overwhelming force. Enables immediate spawn trap setup through 3-team surround: lock left, middle, right spawn approaches with two-player elements.
Risk: Wrong predictions mean 20-30 seconds of uncontested enemy captures.
Reading Enemy Patterns
Aggressive teams: Rotate early for positioning
Defensive teams: Maximize current objective points
Mobility operators (D-Wolf): Indicate rapid rotation priority
Support-heavy comps: Signal extended objective contests
Track elimination locations—enemies dying north likely spawn south and rotate north.
Counter-Rotations
Position between enemy spawns and likely objectives, forcing opponents through your team. Move 10-15 seconds before shift along most direct enemy path. Shepherd's Sonic Trap drone provides 5-8 second warnings.
Decision Framework
Weight four factors:
Current objective status
Point differential (leading 20+? Play safe)
Spawn locations
Ultimate availability
When trailing, aggressive rotations sacrificing positioning for speed become necessary. When leading, maintain advantage through safe rotations.
Spawn Trap Mechanics
How Spawns Work
System places players 200 meters from objectives while maintaining 50+ meter distance from enemies. When teams control all qualifying spawns, system forces suboptimal locations—creating spawn traps.
Identifying Opportunities
Spawn traps emerge when controlling objectives and enemies approach predictably. The 30-second window after capture provides setup time.
3-team surround: Six players split into pairs covering left, middle, right approaches. Position 50-70 meters from objective, forcing enemy spawns outside 200-meter range.

Spawn Flip Triggers
Flips occur when sustained enemy presence (75 meters for 45+ seconds) near spawn points forces system to relocate spawns. Prevent flips by clearing these positions; force enemy flips by maintaining 60-75 meter harassment distance.
Breaking Spawn Traps
Recognition Signs
Multiple teammates die within 10-15 seconds of spawning
Consistent spawn locations despite deaths
Kill cam shows enemies between spawn and objective (not on objective)
Coordinated Breakouts
All players wait at spawn until full team assembles, then push simultaneously along different routes. Forces spawn-trappers to choose which push to contest.
Ability coordination:
Stinger Smokescreen for crossing open ground
D-Wolf Triple Blaster clears entrenched positions
Luna Volt Arrow disrupts formations (10-meter shock radius)
Operator Abilities for Relief
Raptor EMP: Disables deployables anchoring traps
Hackclaw 60m scan: Reveals perimeter gaps
D-Wolf Exoskeleton: Speed-rush past defenses
Solo Queue Escapes
Wait for teammates to push, follow their routes while enemies focus initial contact. Flank wide (adds 20-30 seconds but avoids kill zones). Choose self-sufficient operators: D-Wolf, Raptor for mobility; Stinger for self-heal.
Best 3 Operator Combos
Combo #1: Luna-Stinger-Shepherd-D-Wolf (Aggressive Rush)

Highest competitive win rate through overwhelming pressure and spawn control.
Luna (9.5% pick rate): Detection Arrow marks enemies + DOT; Volt Arrow 10m shock disrupts defenses
Stinger: Smokescreen for rotations/revives; Stim Pistol heals allies + debuffs enemies
Shepherd: Sonic Trap drone detects rotations 5-8 seconds early
D-Wolf: Exoskeleton speed for rapid rotations; heal-on-kill sustains aggression; Triple Blaster clears positions
Combo #2: Raptor-Gizmo-Stinger-Hackclaw (Defensive Control)
Excels protecting point leads through area denial and intel.
Raptor (9.3% pick rate): Trace Scanner (5 consecutive pings); EMP disables enemy deployables; 30-40m footprint tracking
Gizmo: Crawler Nest (3 exploding spiders, corrosion damage); Web Mine disables movement; duo passive +20% bullet damage
Hackclaw: 60m scan flash drone for real-time intel
Stinger: Support backbone for sustained holds
Combo #3: Luna-Raptor-Shepherd-D-Wolf (Balanced Flexibility)
Adapts to match flow through dual recon + flexible roles.
Luna + Raptor: Redundant intel ensures constant enemy tracking
Shepherd: Transitions between defensive holds and offensive pushes
D-Wolf: Primary assault, rapid repositioning
Best for: Solo queue where coordination varies.
Ability Synergies
Aggressive combo: Luna Detection Arrow → Shepherd Sonic Trap confirms route → Stinger Smokescreen → D-Wolf Triple Blaster clears
Defensive combo: Hackclaw drone identifies positions → Raptor EMP clears deployables → Gizmo establishes new denial → Stinger sustains setup
Balanced combo: Luna/Raptor track enemies → Shepherd positions along revealed paths → D-Wolf flanks marked targets
When to Switch
Enemy runs heavy area denial: Switch to Raptor for EMP
Trailing in points: Switch to aggressive comp (multiple D-Wolf)
Map-specific: Ascension long sightlines favor Raptor; Zero Dam tight corridors favor SMG operators
Individual Operator Performance
Top-Tier Operators
Luna (9.5% pick rate): Detection Arrow marking + DOT; Volt Arrow area shock. Essential for all match phases.
Raptor (9.3% pick rate): Trace Scanner 5 pings; 30-40m footprint tracking; EMP counters deployable meta.
Stinger: Irreplaceable support—Smokescreen enables contests under fire; Stim Pistol creates health advantages.
Mobility for Rotations
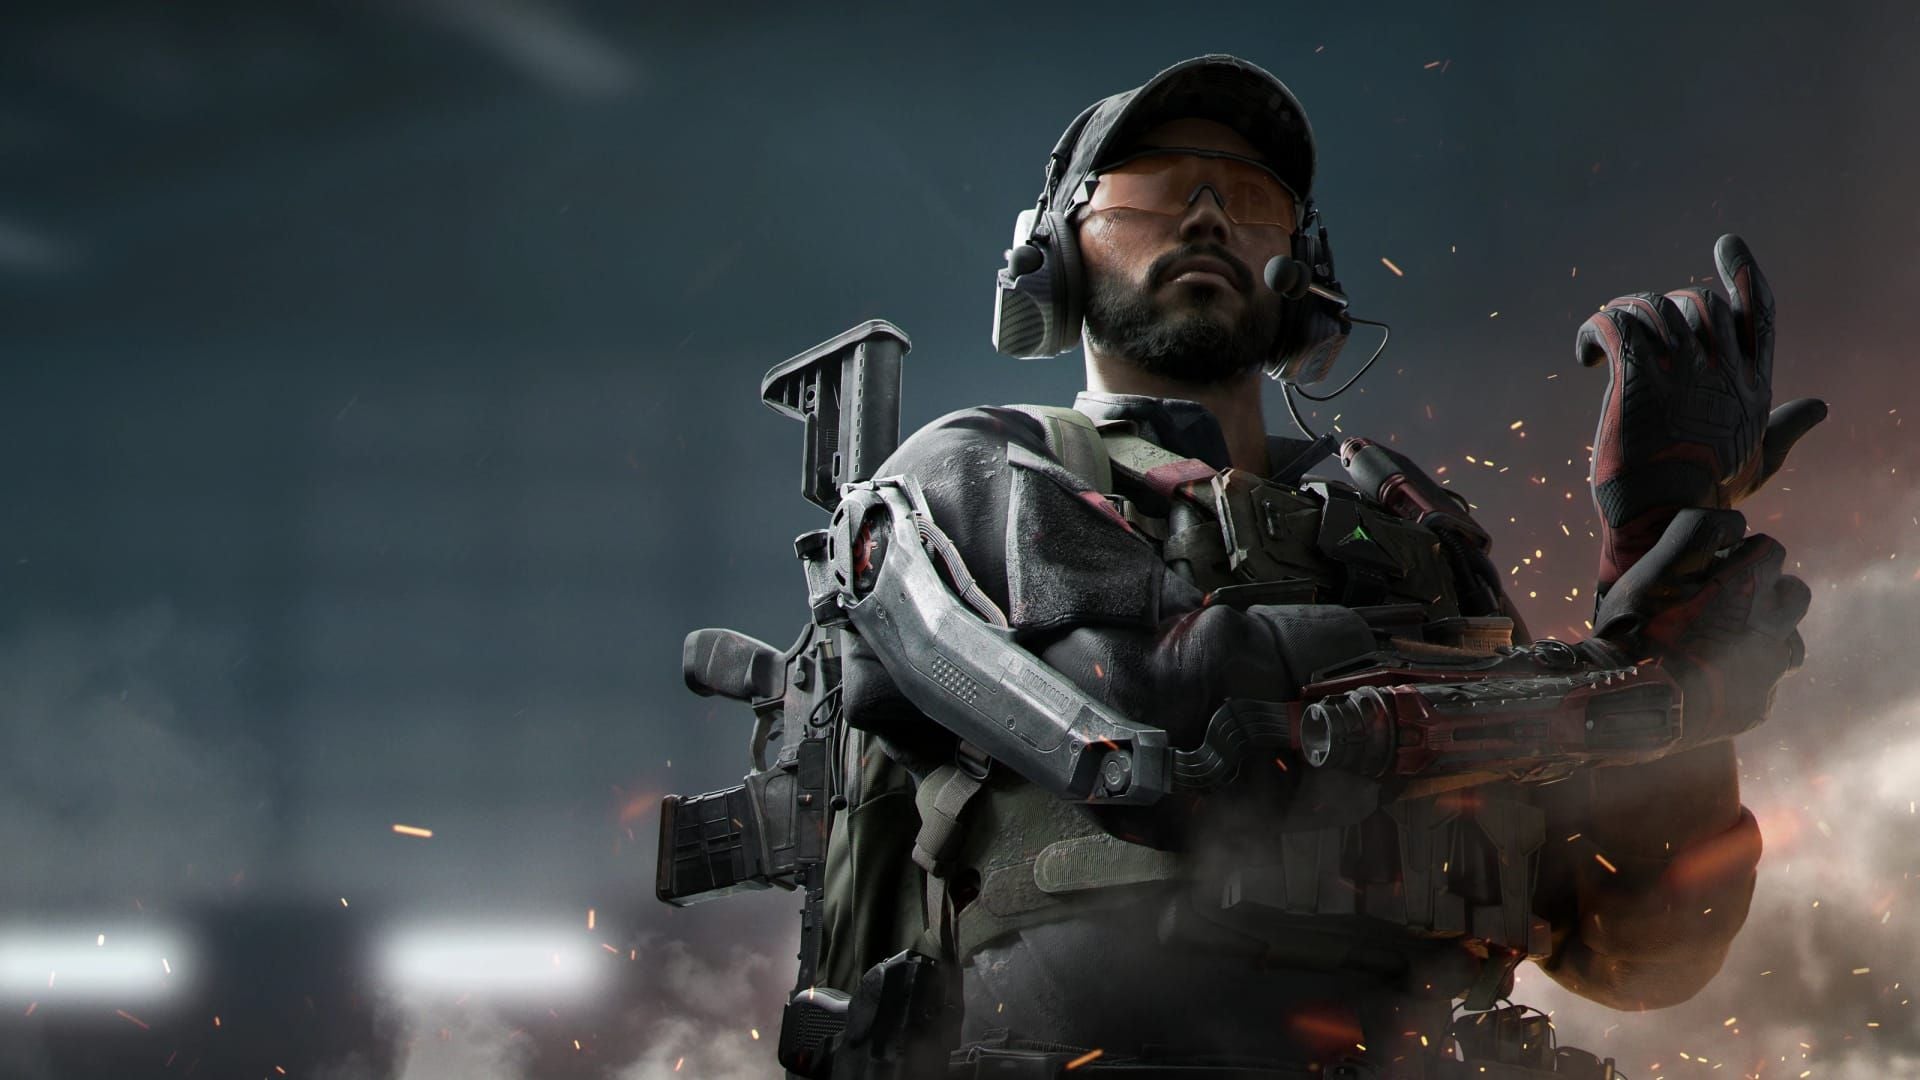
D-Wolf: Exoskeleton arrives 5-10 seconds before standard operators. Heal-on-kill sustains combat during rotations.
Area Denial
Shepherd: Sonic Trap detects approaches 5-8 seconds early. Position drones along rotation paths.
Gizmo: Crawler Nest + Web Mine creates kill zones. Three spiders deal corrosion damage shredding armor.
Deploy area denial immediately after captures (30-second window).
Support
Stinger: Smokescreen allows revives under fire. Stim Pistol heals allies while debuffing enemies (100 HP advantage swing).
Objective Priority
Evaluation Factors
Spawn distance (primary): 50m objectives beat 200m zones
Enemy positions: Luna Detection Arrow reveals enemy rotations—avoid their targets
Point differential: Leading 30+? Prioritize safe captures
Ability availability: Multiple ults ready? Contest against superior positioning
Risk vs Reward
Calculate expected points: capture probability × hold duration × 3 points/second.
Example: 30% capture chance × 20 seconds × 3 = 18 expected points. Compare against guaranteed points from uncontested objectives.
When to Abandon
Abandon when:
Capture probability drops below 20%
Team suffers 2 eliminations (3v5 unwinnable)
Kill cam reveals spawn control setup
Time to secure exceeds remaining objective duration
Exception: When trailing, need contested captures to close gaps.
Map Position Advantages
Ascension ridge: Elevation + long sightlines favor AR loadouts, defensive operators.
Valley floor: Disadvantages defenders (enemies approach from elevation). Capture quickly then rotate.
Siege A2→A3: Spawn flip forces disadvantageous positions. Rotate early before flip occurs.
Communication
Essential Callouts
Format: Location + enemy count + action
Three enemies rotating north to Objective B, we're pushing south
Objective 60% captured, two enemies west
Spawned south 200m, enemies camping north approach
Ability Coordination
Call before activation: Luna arrow marking three on objective, push now
Sequential combo:
Shepherd calls drone deployment
Luna marks revealed enemies
Stinger smokes approach
D-Wolf pushes through smoke
Solo Queue
Use ping systems—objective pings indicate rotations; enemy pings mark positions. Follow teammate movements for implicit coordination. Operator selection communicates playstyle (recon = info focus; assault = aggressive).
Pre-Made Squads
Assign permanent roles (fragger, support, recon). Pre-plan rotations: If objective spawns north, Team A rotates immediately while Team B holds.
Practice ability combos in customs for muscle memory.
Loadout Optimization
Weapons
M4A1 (10.1% pick rate): 25 damage, 672 RPM. Effective 10-100m, covers most Flashpoint scenarios.

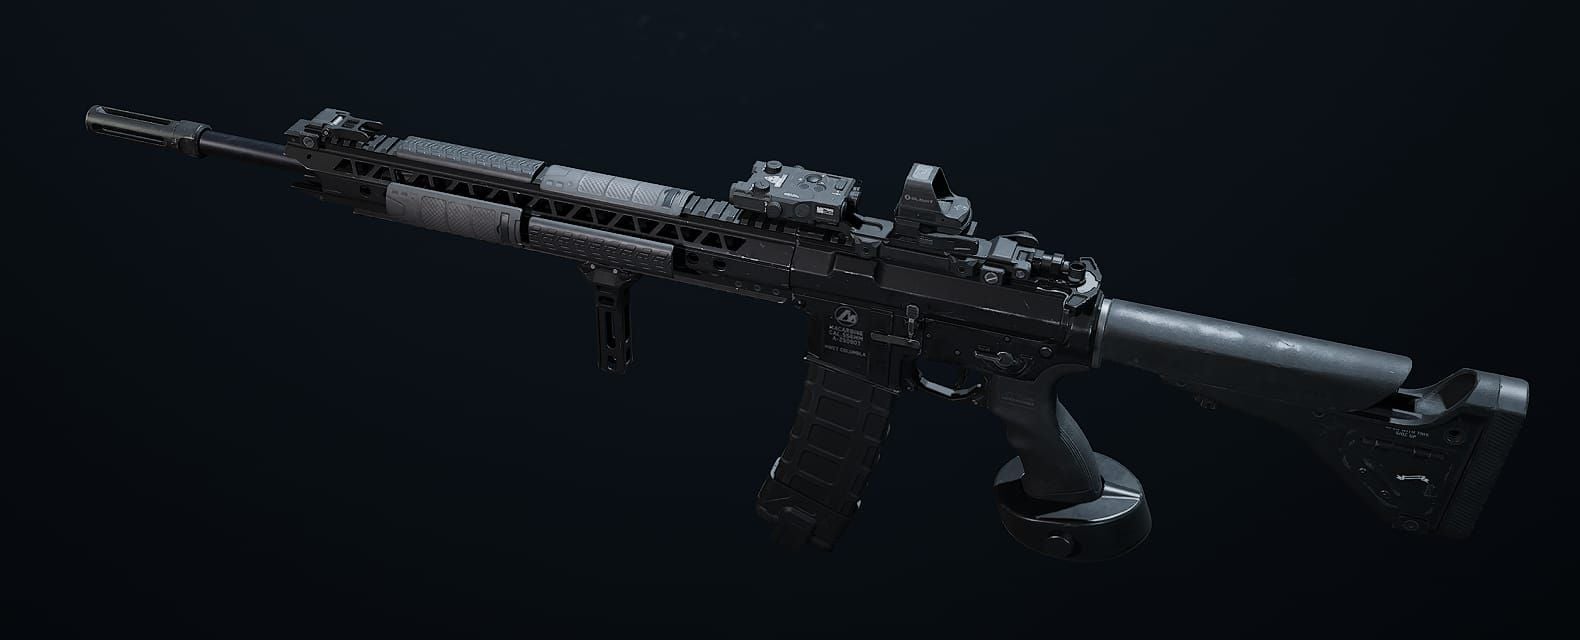
CI-19 (8.5% pick rate, down from 9.5%): 60-round drum for sustained fire. 55m effective range.
SMG-45 (6.1% pick rate): 40-round mags excel in interior fights (Siege map).
Loadout codes:
D-Wolf Assault: 6FINC4G0CQTV1IBVCBQVT
CI-19 long-range: 6FIN5OG0CQTV1IBVCBQVT
Equipment
Area denial: Claymores/proximity mines force equipment clearing, provide audio cues.
Smoke grenades: Deploy ON objective point (not between you and enemies) for final capture seconds.
Flashbangs: Stun defenders, create windows for captures.
Aggression vs Survivability
Assault operators: Maximize damage through aggressive attachments.
Support operators: Prioritize survivability, defensive equipment.
AWM sniper: 100 damage, 200m range, one-shot chest kills at 30m. Strong for rotation eliminations but slow fire rate/mobility penalties hurt objective contests.
Common Mistakes
Over-Committing to Lost Objectives
After 2 eliminations, objective becomes unwinnable without ability advantages. Recognize when repeatedly dying within 5 seconds of engaging—positional disadvantages make capture impossible.
Sunk cost fallacy: Don't continue contesting to make deaths worthwhile. This compounds losses.
Ignoring Spawn Pressure
Indicators: Consistent spawn locations, deaths within 15 seconds of spawning, kill cams showing enemies between spawn and objective.
Response: Coordinated breakouts or accept temporary point loss while spawns reset. Call spawn trapped south, wait for team to coordinate simultaneous pushes.
Poor Operator Selection
Address team gaps, not personal preference. Three assault operators with no support/recon lacks intel and sustainability.
Select last after teammates choose—fill missing roles. No recon? Pick Luna/Raptor regardless of preference.
Rotation Timing Errors
Too early: Sacrifices guaranteed points for unnecessary positioning.
Too late: Forfeits advantages for minimal points.
Optimal: 20-25 seconds before shift, adjusted for objective status. Losing current objective? Rotate immediately.
Current Meta Updates
Recent Balance Changes
November 27 A/D-Fault fix: Adjusted spawn mechanics reducing spawn trap exploitation. Teams now maintain wider perimeters for spawn control.
CI-19 decline: 9.5% (Season 1) → 8.5% (Season 4) reflects weapon balance adjustments.
Luna sustained dominance: 9.5% pick rate across patches demonstrates consistent strength.
Seasonal Shifts
Monitor patch notes and competitive pick rates for emerging meta operators. Map rotation changes require learning new spawn patterns. Weapon balance patches alter optimal loadouts.
Adaptation Strategies
Test updated operators 5-10 matches post-patch. Watch pro player streams for emerging strategies—professionals identify optimal adaptations within days.
Maintain flexible operator pools. Players locked into single operators struggle when patches nerf their approach.
Tournament Meta
Pro strategies often require equivalent team coordination for replication. Watch tournament matches focusing on rotation patterns and communication for advanced learning beyond textual guides.
FAQ
What is Morphosis Flashpoint mode? Flashpoint features constantly-shifting objectives spawning every 90-120 seconds. Teams earn 3 points/second of control. Victory requires 100 points or score superiority at 15 minutes.
How do you prevent spawn traps? Coordinated team breakouts—all players push simultaneously along different routes. Use Stinger Smokescreen for safe crossing, Raptor EMP to disable defenses, and communicate spawn locations for timing.
Best operators for Flashpoint? Luna (9.5% pick rate) for recon via Detection Arrows and Volt Arrow shocks. Stinger for healing and smoke. Raptor (9.3%) for sustained recon and deployable counters. D-Wolf for mobility and aggression. Optimal combo: Luna-Stinger-Shepherd-D-Wolf.
Optimal rotation timing? Rotate 20-25 seconds before shift when controlling current zone. When losing, rotate immediately. Adjust for spawn locations—closer spawns allow later rotations.
How do shifting objectives affect strategy? Eliminates static defenses, prioritizes mobility over fortifications. Constant movement creates spawn control opportunities where objective-controlling teams reach new zones faster than respawning opponents.
Which combos have best synergy? Luna-Stinger-Shepherd-D-Wolf: Luna marks → Shepherd detects rotations → Stinger enables pushes → D-Wolf executes. Balances recon, support, area denial, and assault for complete objective control.
👉 Delta Force top up credits 👈
✅ Official direct recharge, 100% secure
✅ No waiting – top-up arrives in 7 seconds
✅ Big discounts, low prices to save more
✅ 7×24-hour customer service, ready to assist anytime

