

Blood Strike's Blood Purge event (December 4, 2025 - January 7, 2026) introduces faction-based zombie survival with strategic ban phases reshaping meta builds. Zombie faction yields 35-50 Blood Crystals per match versus Human's 30-45, with optimized loadouts featuring Bizon SMG and Blood Crystal Katar. This guide covers post-ban adaptation, faction tactics, and equipment optimization for Peak Legend tiers requiring up to 3500 crystals.
Understanding Blood Purge Mode and Ban Phase Mechanics
Blood Purge transforms traditional combat into faction-based survival where character selection determines wave clear efficiency. Zombie faction demonstrates 15-20% superior crystal farming (35-50 vs 30-45 crystals), compounding across five weeks and directly impacting Peak Legend progression: Peak Legend 1 needs 3500 crystals, Legend 2 requires 2750, Legend 3 needs 2000, Peak Legend 4 demands 1500.
For competitive advantages through premium resources, Blood Strike golds top up purge zombie builds cheap at BitTopup provides instant equipment access with secure transactions and competitive pricing.
Wave Progression Patterns:
Waves 1-5: Resource accumulation, economy management
Waves 6-10: Elite variants requiring coordinated crowd control
Waves 11-15: Optimized DPS rotations and positioning discipline
Wave 15+: Perfected faction synergies and ultimate ability economy
What Makes Blood Purge Different
Zombie faction accesses unique abilities unavailable to Humans:
Blood Rage: 12 seconds of X-ray vision, movement speed boost, attack damage increase—critical during wave transitions
Charged Jump: Distance scaling based on hold duration for tactical repositioning
Contamination: Enemy movement speed reduction for battlefield control
Bloat Evolution: Unlocks Acid Fog (blinds, slows, damages) plus zombie summoning
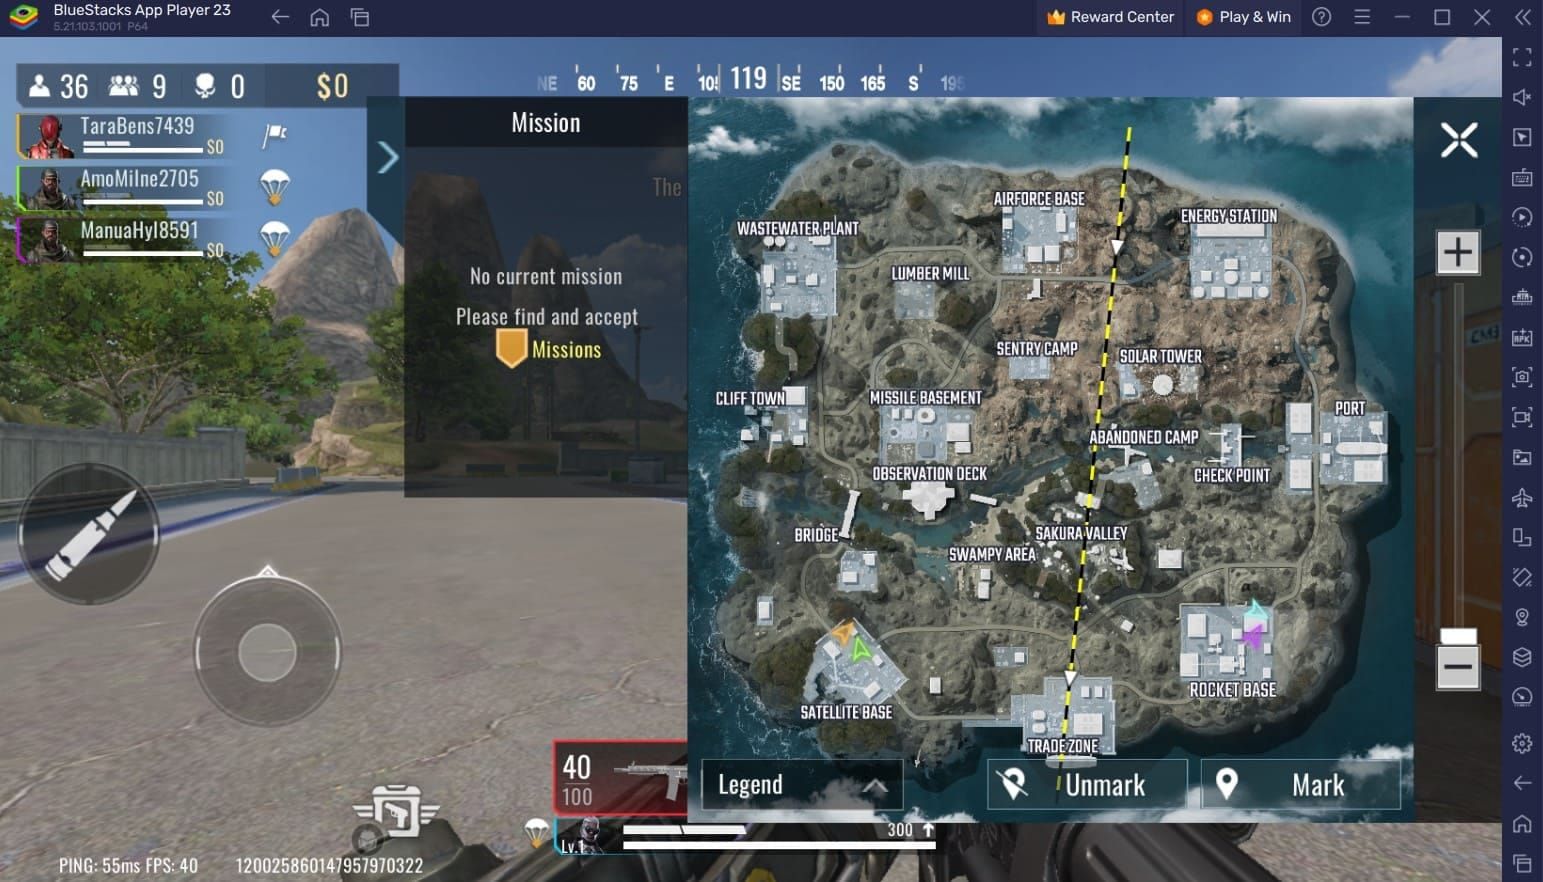
Crystal Monster spawns concentrate in Valley map's central zones. Peak hours (7-10 PM) deliver 45-90 second Zombie faction queue times. December 25 login bonus applies 150% crystal multiplier—critical for progression.
Ban Phase System Impact
The November 2025 ban wave removed 20,653 accounts, reshaping competitive integrity and making legitimate build optimization more valuable. Squad composition directly impacts yields: 2-Zombie squads boost earnings 200-300% versus solo play.
Optimal Squad Structure: 2 Zombies, 1 Human, 1 flexible role
Performance Bonuses:
5 eliminations: +10% crystals
8 eliminations: +20% crystals
12 eliminations: +30% crystals
Faction victory: +15% crystals
Weekend play: +25% crystals
Post-Ban Meta: Adapting Your Strategy
Post-ban meta emphasizes equipment configuration over character-specific advantages. Weapon attachments become the primary differentiator.
KAG-6 CQB S-Tier Setup:

CQB Muzzle (Level 38)
Extended Barrel (Level 20)
Extended Vertical Grip (Level 40)
Romeo4T Red Dot (Level 42)
Zombie Faction Loadout:
Bizon SMG with 32-Round R.I.P Drum
Blood Crystal Katar (short-range energy attacks, dodge mechanics, Earthshaker rift)
Smoke grenades
Resource Allocation Strategy
Vermilion Silence RPK skin requires 1500-2000 crystals, competing with Peak Legend tier progression. Prioritize rank advancement before cosmetics—higher ranks provide better matchmaking and increased win rate multipliers.
HANK Ultra Skin unlocks through team missions (doesn't consume crystals). Sedan Crimson Phantom unlocks from Legendary Camo Selection Chests—diversified rewards prevent single-path bottlenecks.
Reading Faction Selection Patterns
Heavy Human faction teams prioritize ranged damage and defensive positioning—exploit with aggressive Zombie mobility. Balanced compositions indicate experienced teams requiring cautious engagement.
Queue time analysis: Short Zombie queues (under 90 seconds peak hours) indicate player preference for crystal farming efficiency. Valley map's central Crystal Monster concentration favors Zombie mobility; dispersed spawns on other maps reduce Charged Jump advantages.
Top-Tier Survivor Builds for Faction Wave Clears
Core Zombie Build:
Bizon SMG + 32-Round R.I.P Drum (sustained fire)
Blood Crystal Katar (melee burst + mobility)
Smoke grenades (tactical flexibility)
Excels waves 6-12 where density requires sustained DPS and emergency escapes.
Blood Rage Timing: Activate during high-density spawns or Crystal Monster appearances. 12-second duration with X-ray vision, speed, attack boosts—premature activation wastes potential.
Bloat Evolution: Mid-game power spike. Acid Fog creates safe zones for objectives/revives. Zombie summoning adds damage without consuming ammunition.
Damage Dealer Builds
For maximum crystal farming efficiency, buy Blood Strike faction wave clears golds safe at BitTopup—secure transactions, instant delivery, 24/7 support.
Blood Crystal Claymore: Alternative melee for long-range preference. Aura projection and aerial beam strikes enable safer distance damage, trading Katar mobility for sustained ranged pressure.
Elimination Optimization: Reach 12 eliminations for +30% crystal bonus through aggressive positioning and target prioritization. Focus fire on low-health enemies rather than damage spreading.
Tank Builds
Human faction fulfills tank roles through equipment choices. Armor upgrades and defensive positioning compensate for lacking Zombie mobility. 30-45 crystal yield remains competitive with faction victory (+15%) and weekend (+25%) multipliers.
Defensive Positioning: Valley map central zones control Crystal Monster access while maintaining retreat paths. Occupy chokepoints funneling enemy approaches.
Resource Conservation (Wave 10+): Prioritize ammunition for Crystal Monsters and elite variants. Use melee for standard zombies.
Support Builds
Maximize team survivability through smoke deployment and tactical callouts. Coordinated smoke between teammates creates overlapping concealment for repositioning under fire.
Ultimate Ability Coordination: Designate primary/secondary users per wave tier. Blood Rage rotations between Zombie players maintain consistent pressure versus burst windows with vulnerability gaps.
Flexible Role (2-Zombie/1-Human/1-Flex): Early waves need additional DPS for accelerated farming. Late waves require defensive utility preventing wipes. Maintain loadouts for both scenarios.
Crowd Control Specialists
Contamination Deployment: Target chokepoints where density concentrates. Combine with Acid Fog for layered control zones halting enemy advances.
Earthshaker Rift: Creates terrain obstacles redirecting enemy pathing. Force enemies into killzones for focused fire, improving ammunition efficiency.
Zone Denial Timing: Anticipate spawn patterns rather than react. Preemptive deployment at known locations prevents enemy positioning advantages.
Faction-Specific Team Composition
2-Zombie/1-Human/1-Flexible maximizes crystal farming through faction bonuses while maintaining versatility. 200-300% yield boost from dual Zombies compounds with elimination bonuses and weekend multipliers.
Zombie Coordination: Stagger Blood Rage activations for near-constant uptime. 12-second windows with brief gaps provide continuous X-ray vision and combat bonuses.
Human Contribution: Consistent ranged damage and defensive positioning allow Zombie teammates aggressive mobility. 30-45 crystals/match valuable with faction victories (+15%) and high eliminations (+30% at 12).
Optimal 4-Player Synergy
Peak hours (7-10 PM): 45-90 second Zombie queues enable rapid match cycling. Schedule coordinated sessions during these windows for maximum matches/hour.
December 25 Critical Window: 150% login bonus creates prime farming opportunity. Full-day sessions combine login bonus, weekend (+25%), faction victory (+15%), and elimination (+30%) multipliers for multiple tier advancements.
Parallel Progression: Legendary Camo Chests and team missions don't consume crystals. Prioritize during non-peak hours or approaching milestones.
Role Distribution
Primary DPS: Crystal Monster elimination and high-value targets. Maintain ammunition reserves for critical threats, use melee for standard zombies. Katar energy attacks provide unlimited melee damage.
Secondary DPS: Wave clearing and area denial via Acid Fog/Contamination. Prevents primary DPS from being overwhelmed.
Support: Smoke deployment, threat callouts, coordinated ultimate timing. Track teammate cooldowns and health for real-time tactical decisions.
Communication Protocols
Track cooldowns across all members, designate primary users per wave tier. Blood Rage rotations maintain continuous bonuses versus simultaneous usage creating gaps.
Bloat Abilities: Deploy during high-density waves or Crystal Monster spawns. Blinding/slowing/damage creates safe zones; summoned zombies add damage without ammunition cost.
Emergency Protocols: Designate one player maintaining ability reserves for crisis situations versus optimal-case scenarios.
Mid-Game Adaptation
Wave Type Recognition: Standard density favors aggressive DPS. Elite variants require defensive positioning and coordinated focus fire.
Resource Scarcity (Wave 15+): Shift toward ammunition-efficient strategies. Melee-focused builds (Katar/Claymore) become valuable as ranged ammunition depletes.
Terrain Advantages: Valley map central zones enable defensive compositions funneling enemies through chokepoints. Identify positions early, establish fallback routes.
Equipment Loadout Optimization
Bizon SMG + 32-Round R.I.P Drum: Optimal primary for Zombie faction. Extended capacity enables sustained fire without reload vulnerability. Burst fire on priority targets, melee for standard zombies.
Blood Crystal Katar: Short-range energy attacks, dodge mechanics, Earthshaker rift. Unlimited melee damage potential without durability concerns. Dodge enables aggressive positioning with emergency escapes.
Smoke Grenades: Tactical concealment for revives, repositioning, objective completion. Coordinated deployment creates overlapping zones for safe movement across exposed terrain.
Weapon Selection by Role
KAG-6 CQB: CQB Muzzle (Lv38) + Extended Barrel (Lv20) + Extended Vertical Grip (Lv40) + Romeo4T Red Dot (Lv42) = S-tier close-quarters. Balances recoil control with damage output.
Blood Crystal Claymore: Long-range engagement alternative. Aura projection and aerial beams enable safer distance damage versus Katar mobility.
Ammunition Availability: Prioritize weapons with common ammo types enabling scavenging from eliminated enemies and supply drops. Bizon's widespread availability superior for extended survival.
Armor and Defensive Items
Prioritize damage reduction percentages over absolute health increases. Percentage-based reduction scales with incoming damage, providing greater value during high-wave scenarios.
Defensive positioning reduces armor degradation by minimizing damage taken. Effective cover usage and proper engagement ranges extend armor across more waves.
Reserve emergency healing for critical thresholds (below 30% health) versus topping off minor damage. Scarcity in wave 15+ makes conservative usage essential.
Consumable Management
Ammunition Conservation: Use melee on standard zombies from early waves. Katar's unlimited energy attacks enable complete ammunition preservation for Crystal Monsters and elite variants.
Smoke Economy: Early waves focus on accelerating objectives and crystal farming. Late waves reserve for emergency escapes during defensive failures.
Ultimate Cooldowns: Structure wave clearing around ability availability. Use cooldown periods for defensive consolidation and resource gathering versus aggressive pushes risking overextension.
Upgrade vs Save Resources
Blood Crystal allocation between Peak Legend tiers and cosmetics is primary resource decision. Vermilion Silence RPK (1500-2000 crystals) competes with Peak Legend 4 (1500) and Legend 3 (2000). Prioritize rank advancement for competitive viability.
Weekend sessions (+25%) should focus on tier threshold completion. Players approaching 1500/2000/2750/3500 milestones maximize matches during Saturday/Sunday for multiplicative bonuses.
Blight Horizon Strike Pass (launches December 15, 2025) introduces additional progression potentially competing with Blood Purge farming. Assess pass rewards versus Peak Legend benefits before committing time.
Advanced Wave Clear Tactics (Waves 10-20+)
Wave 10 = first major difficulty spike requiring coordinated team play. Enemy health pools increase substantially—focused fire on priority targets versus damage spreading. Designate target callers for coordinated elimination.
Positioning Shift: Aggressive forward pressure → controlled defensive zones. Valley map central areas provide natural chokepoints funneling approaches, maximizing area-denial effectiveness. Establish primary positions with predetermined fallback routes.
Blood Rage Timing (Waves 10-15): Activate during Crystal Monster spawns or high-density waves where combat bonuses provide maximum value.
Positioning Fundamentals
Zombie Faction: Charged Jump maintains aggressive positioning while preserving escapes. Distance scaling enables rapid repositioning between cover, creating unpredictable movement reducing incoming damage.
Human Faction: Anchor defensive positions providing covering fire for Zombie maneuvers. Ranged damage consistency compensates for reduced mobility, creating crossfire opportunities.
Support: Maintain central positions with sightlines to all teammates for rapid smoke deployment. Requires awareness of all locations and health states for proactive support.
Kiting Patterns and Safe Zones
Contamination Deployment: Creates temporary safe zones through movement speed reduction. Lead enemies through contaminated areas repeatedly, maximizing effective duration.
Acid Fog: Establishes area denial completely halting advances. Strategic chokepoint placement forces alternate routes where teammates establish ambushes.
Earthshaker Rift: Creates terrain obstacles redirecting pathing. Combine with Contamination/Acid Fog for layered defensive zones providing multiple fallback positions.
Boss Wave Strategies
Crystal Monster Priority: Significant crystal yields require priority targeting. Coordinate ultimate usage and focused fire for quick elimination, minimizing battlefield presence and damage taken.
Burst Damage Windows: Occur during enemy attack animations and ability cooldowns. Recognize patterns, coordinate team fire during vulnerability windows.
Ammunition Conservation: Use melee on standard enemies, reserve ranged ammunition for boss damage. Katar energy attacks enable unlimited melee, allowing complete ammunition preservation.
Resource Conservation (Late-Game)
Wave 15+ Survival: Ammunition efficiency and ability economy management. Target prioritization: Crystal Monsters get focused ranged fire, elite variants get coordinated abilities, standard zombies get melee clearing.
Healing Scarcity: Designate health thresholds for consumption (typically below 30%) versus topping off minor damage. Extends resource availability across more waves.
Ultimate Cooldown Tracking: Prevents wasted overlaps, ensures continuous coverage. Maintain rotation schedules providing consistent bonuses versus burst windows with vulnerability gaps.
Measuring Success: Key Performance Metrics
Crystal farming efficiency = crystals earned per hour (not per match). 35-50 Zombie yield combines with 200-300% bonuses from 2-Zombie squads, weekend (+25%), faction victory (+15%), elimination (up to +30% at 12).
Peak Legend Benchmarks:
Peak Legend 4: 1500 crystals
Legend 3: 2000 crystals
Legend 2: 2750 crystals
Peak Legend 1: 3500 crystals
Calculate required matches based on average yields and available multipliers for realistic timelines.
Rage Leaderboard (starts December 21, 2025): Competitive rankings reward consistent performance. Target leaderboard positions by maximizing farming during December 25 login bonus (150%) and weekend sessions.
Wave Clear Time Benchmarks
Zombie Faction: Mobility advantages enable faster clearing through aggressive positioning and rapid target acquisition. Blood Rage X-ray vision eliminates search time for remaining enemies, accelerating completion and increasing matches/hour.
Human Faction: Competitive clear times through consistent ranged damage and defensive positioning minimizing deaths/restart penalties. 30-45 crystals/match viable with high win rates and elimination bonuses.
Optimal Squad (2-Zombie/1-Human/1-Flex): Fastest progression through multiplicative bonuses. 200-300% yield boost outweighs individual optimization—team composition is highest-impact decision.
DPS Requirements by Wave Tier
Waves 1-5: Minimal DPS optimization. Focus on ammunition conservation and cooldown management.
Waves 6-10: DPS checks where insufficient output causes enemy accumulation overwhelming positions. Coordinate focused fire preventing density buildup.
Waves 11-15+: Optimized DPS rotations with ultimate coordination. Blood Rage, Acid Fog, focused fire must align to eliminate high-value targets before creating unmanageable pressure.
Survivability Thresholds
Death Prevention: Positioning discipline over aggressive damage. Proper engagement ranges and cover usage reduce incoming damage, extending survival without healing consumption.
Smoke for Emergencies: Maintain reserves for crisis situations versus optimal-case tactical usage. Ensures survival tools available when positioning collapses.
Revive Coordination: Designated support players maintain smokes and positioning for rapid recovery. Successful revives prevent team wipes resetting progress—more valuable than marginal DPS increases.
FAQ
What's the optimal faction composition for crystal farming? 2 Zombie faction, 1 Human, 1 flexible role. Provides 200-300% crystal yield bonuses from dual Zombies while maintaining tactical versatility through flexible position adapting to wave requirements.
How do I reach Peak Legend 1 before January 7, 2026? Peak Legend 1 requires 3500 crystals. Zombie faction (35-50/match) with 2-Zombie squad bonuses (200-300%) needs ~20-25 matches with faction victories (+15%) and high eliminations (+30% at 12). Maximize December 25 login bonus (150%) and weekend sessions (+25%).
What abilities should I prioritize as Zombie faction? Blood Rage provides highest immediate impact: 12-second X-ray vision, speed, attack boosts. Bloat evolution unlocking Acid Fog = critical mid-game power spike (area denial through blinding/slowing/damage plus zombie summoning).
Which weapon configuration performs best in waves 10+? Bizon SMG + 32-Round R.I.P Drum for Zombie faction. KAG-6 CQB with CQB Muzzle (Lv38), Extended Barrel (Lv20), Extended Vertical Grip (Lv40), Romeo4T Red Dot (Lv42) for S-tier close-quarters. Pair with Blood Crystal Katar for unlimited melee damage.
How do weekend bonuses and event multipliers stack? Weekend (+25%), faction victory (+15%), elimination (up to +30%), 2-Zombie squad (200-300%) multiply together. December 25 login bonus (150%) creates highest-value window when combined during coordinated sessions.
What's the fastest way to farm crystals during peak hours? Queue 7-10 PM for 45-90 second Zombie matchmaking. Focus Valley map central Crystal Monster spawns. Maintain 2-Zombie squad for 200-300% bonuses. Target 12+ eliminations for +30% bonus. Prioritize faction victories for +15%.
Dominate Blood Purge with optimized faction builds and strategic crystal farming! Top up your Blood Strike account instantly at BitTopup for premium equipment, exclusive skins, and battle pass access. Secure payments, instant delivery, 24/7 support, competitive pricing. Reach Peak Legend 1 before January 7, 2026—visit BitTopup today!