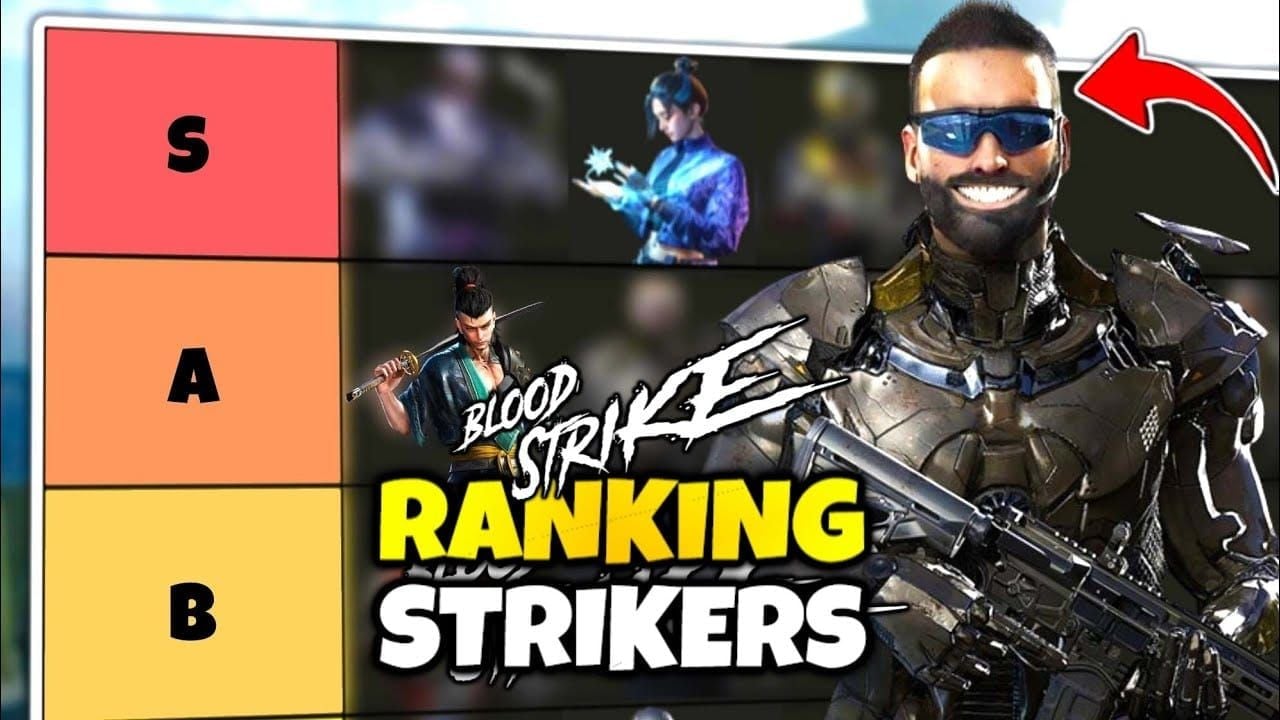
The Blood Strike BLEACH Collab 2026 Tier List ranks strikers for Hunt Rampage Mode from February 1-28, 2026. S-Tier strikers Volt, Nacho, and Ran dominate competitive play, with Ran hitting A+ status through buff stacking at 100/250/500 points. Post-January 29 balance changes pushed P90 to S-Tier via the new Burst Bolt attachment (level 100 unlock), delivering 90-105 damage per 5-round burst with 27% recoil reduction. Optimized strategies yield 250-300 points/hour for Tier 3 buff access.
BLEACH Collab & Hunt Rampage Meta Overview
BLEACH Collaboration runs February 1-28, 2026 across two sets:
SET I (Feb 1): MCX-Tensa Zangetsu, M82-Tensa Zangetsu, Zanpakuto-Zangetsu, ZERO-Ichigo Kurosaki
SET II (Feb 2): QBZ95-Hakka no Togame, MP5-Hakka no Togame, Zanpakuto-Sodenoshirayuki, RAN-Rukia Kuchiki
Login Reward: Ethan-Byakuya Kuchiki (28 consecutive logins)
BLEACH PASS: SPIKE-Toshiro Hitsugaya (Feb 1 launch)
Hunt Rampage Mode (January 8 - February 12, 2026) features progressive buffs:
Tier 1 (100 pts): 15% cooldown reduction
Tier 2 (250 pts): 25% enhanced skill effects + 27.75% total cooldown reduction
Tier 3 (500 pts): 30% auto-pickup health restoration
500-point cap, buffs persist through death
For premium content access, Blood Strike golds buy online at BitTopup offers fast, secure transactions with competitive pricing.
January 2026 Balance Changes
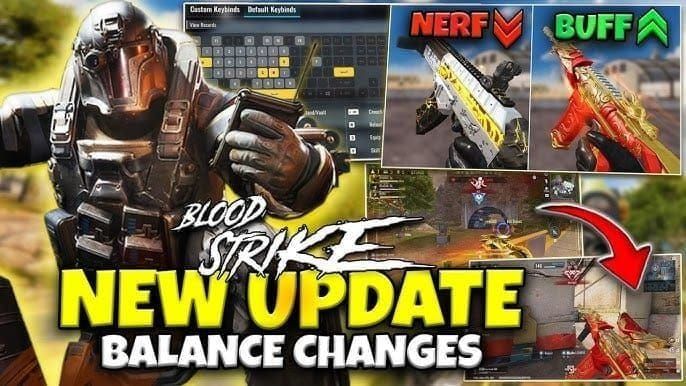
January 29 patch key adjustments:
P90 Burst Bolt (level 100): 5-round bursts dealing 90-105 damage at 25m falloff
Optimal attachments: Extended Barrel (+20% range), Compensator (-15% vertical recoil), Vertical Foregrip (-12% recoil), Tactical Stock (+8% ADS speed) = 27% total recoil reduction
AR97: Reduced damage distance dropoff
VSS: +10 magazine capacity
P90's 50-round mag maintains 10 full bursts before reload. Base 18-21 damage/shot at 900 RPM transforms into devastating burst potential with Tier 2's 25% skill effect enhancement.
Hunt Rampage Mechanics
Point accumulation unlocks exponential power scaling:
Ghost: 8s invisibility, 25s cooldown → 18.06s with full buffs
ETHAN: 400 HP barrier → 500 HP, 30s duration, 25.5s cooldown
JET: 7-missile barrage, 150 damage/projectile (1050 total)
Speed Circuit routes optimize point generation through 45-60s loops covering three high-density zones. Prioritize consistent engagement over risky targets. Tier 2 (250 pts) provides the biggest power spike.
S-Tier Strikers: Maximum Efficiency

Volt: Electromagnetic Dominance
Electromagnetic Pulse: 20m range, 40 armor damage. Tier 2 buffs reduce cooldown by 27.75%, creating zone control every 45-60s loop.
Optimal setup:
Primary: P90 Burst Bolt (Extended Barrel, Compensator, Vertical Foregrip, Tactical Stock)
Secondary: Bizon for close-quarters cleanup
Equipment: Grenades for zone denial
Position at zone boundaries, force predictable movement patterns. Pulse timing aligns with Speed Circuit transitions. 60-75 min to Tier 2.
Nacho: Aggressive Point Acceleration
Aggressive kit benefits from 25% enhanced skill effects at Tier 2. Faster eliminations = more frequent engagements = 20-30% faster Tier 3 access.
P90 Burst Bolt pairing: 5-round burst syncs with ability animations for seamless combat flow. Same attachment config as Volt, though some prefer ADS speed over range for closer fights.
Speed Circuit execution: Push through zones rapidly vs. controlling them. Reaches 250 pts in 50-60 min vs. Volt's 60-75 min, but higher pre-Tier 2 death risk.
Ran: Defensive Scaling Powerhouse
A+ Hunt Rampage status via unmatched survivability:
Ice Barrier: 1000 HP block, 25s duration, near-permanent uptime with 27.75% cooldown reduction
Cyromancy: +30% shield recovery speed in 30m range
Defensive playstyle enables 250-300 pts/hour with minimal death risk. Focus on objective captures and survival time vs. pure eliminations.
P90 setup emphasis: 50-round mag for extended barrier engagements. Tactical Stock essential for quick deployment reactions. Secondary: Vector for mobility during repositioning.
A-Tier Strikers: Competitive Viability
A-Tier roster: Zero, Nova, Kainda, Emma, Hank, Spike, Kraken, Blast
Zero: Mobility-Focused Burst
Shadowstrike: Blinks short distance after charging slash. Tier 2 enables hit-and-run every 15-18s.
P90 Burst Bolt delivers 90-105 damage immediately post-blink. Alternative: Vector for superior mobility stats. Combines Volt's zone control with Nacho's aggression for 225-275 pts/hour.
Spike, Hank, Kraken: Balanced Generalists
Reliable performance without standout strengths. Abilities improve proportionally with buffs but lack multiplicative scaling. SPIKE-Toshiro Hitsugaya (BLEACH PASS) maintains A-Tier functionality with aesthetic value.
Default to P90 Burst Bolt for universal effectiveness. Secondary varies: Bizon (sustained), Vector (mobility), RPK (long-range poke). Achieve 200-250 pts/hour, Tier 3 within 2-2.5 hours.
B-Tier Strikers: Niche Applications
B-Tier: Jack, Ethan, Val, Jet, E.M.T.
Ethan: Specialist Defensive Alternative
Hunt Rampage #2 specialist despite B-Tier general classification. 400 HP barrier → 500 HP with buffs, 30s duration, 25.5s cooldown.
Ethan-Byakuya Kuchiki: Free via 28 consecutive logins (Feb 1-28). Optimal F2P choice for learning Hunt Rampage mechanics.
Same defensive setup as Ran: P90 Burst Bolt with Tactical Stock priority, Bizon secondary. Achieves 200-240 pts/hour.
Jet: High-Risk Burst Potential
Hunt Rampage #3 specialist: 7-missile barrage, 150 damage/projectile (1050 total), 25m accuracy. Cooldown reduction enables frequent usage, but execution time creates vulnerability.
P90 Burst Bolt's 25m falloff matches barrage accuracy for seamless ability-to-weapon transitions. Skilled players hit 225-260 pts/hour; inexperienced struggle at 180-200. Better in squad play with cover support.
Hunt Rampage Specialist Rankings
Ghost: 8s invisibility, 18.06s cooldown at Tier 2 = ~44% uptime. Prioritizes survival time and objectives over eliminations. 180-220 pts/hour with near-zero death risk. Excels in squad play.
ETHAN: Barrier scaling (detailed above)
JET: Barrage damage potential (detailed above)
Sparkle: Enhanced skill effect benefits
Weapon Tier List
S-Tier: P90 Burst Bolt

Post-Jan 29 dominance: 90-105 damage/burst, 50-round mag (10 bursts), 15-25m optimal range.
27% recoil reduction build:
Extended Barrel: +20% range
Compensator: -15% vertical recoil
Vertical Foregrip: -12% horizontal recoil
Tactical Stock: +8% ADS speed
Unlocks at level 100. Extends effective range to 30+ meters.
A-Tier: Bizon & Vector
Bizon: 53-round mag for defensive holds (Ran, Ethan). Moderate recoil, lower per-shot damage than P90.
Vector: Superior mobility for faster Speed Circuit execution. 25-round mag limits sustained fire. Reduces zone transition time by 8-12%. Pairs well with Nacho.
B-Tier: RPK - Long-range poke, less effective in close-to-mid range meta.
Advanced Tactics & Route Optimization
Speed Circuit Execution

45-60s loop framework:
Spawn → nearest high-density zone
Secure 2-3 eliminations (prioritize isolated targets)
Transition to zone two before spawn shift
Complete zone three
Return to zone one as spawns reset
Timing benchmarks:
Tier 1 (100 pts): 20-25 min
Tier 2 (250 pts): 50-75 min (striker-dependent)
Tier 3 (500 pts): 90-120 min (defensive 100-120, aggressive 90-110)
Buff Power Spike Exploitation
Tier 1: 15% cooldown reduction, noticeable but not transformative
Tier 2: 25% enhanced effects + 27.75% total cooldown = fundamental capability shift. Abilities become spammable, enhanced effects secure eliminations without follow-up shots.
Tier 3: 30% auto-pickup health restoration enables sustained aggression. Each kill = immediate health recovery.
Aggression adjustment:
Pre-Tier 1: Safe eliminations, prioritize survival
Tier 1-2: Moderate aggression, avoid deaths
Post-Tier 2: Full aggressive execution
BLEACH Character Integration
Themed skins maintain base striker mechanics:
ZERO-Ichigo Kurosaki = Zero's Shadowstrike
RAN-Rukia Kuchiki = Ran's Ice Barrier/Cyromancy
Ethan-Byakuya Kuchiki = Ethan's barrier
SPIKE-Toshiro Hitsugaya = Spike's balanced kit
Value lies in aesthetics and collection vs. gameplay advantages.
Event Rewards & Acquisition
Free content:
Ethan-Byakuya Kuchiki: 28 consecutive logins (Feb 1-28)
Redeem codes: BSREWARD10K, BLOODSTRIKEFB, TYSTRIKERS, 5MSTRIKERS (24-hour windows)
Paid content:
BLEACH PASS: SPIKE-Toshiro Hitsugaya + additional rewards
Gacha: 80-120 Gold/pull, 100-pull guarantee (9,000-15,000 Gold max)
Parachute-Kon, Playpal-Substitute Soul Reaper: Event tokens
Gacha Economics
Featured weapon skins (MCX-Tensa Zangetsu, QBZ95-Hakka no Togame) = aesthetic only, zero gameplay impact. Zanpakuto skins offer unique visual effects.
F2P players: Use redeem codes for selective gacha participation. Complete collection challenging without purchases.
BitTopup advantages: Competitive pricing, fast delivery, secure transactions, excellent customer service for Blood Strike golds recharge discount.
Common Mistakes
1. Tier List Over-Reliance
Player skill and route optimization > striker tier. Skilled B-Tier Ethan outperforms inexperienced S-Tier Volt.
2. Overvaluing Eliminations vs. Survival
Balance elimination frequency with survival. Optimal: <1 death per 10 min. Aggression increases post-Tier 2.
3. Ignoring Attachment Optimization
P90 without proper attachments = 40-50% effectiveness loss. 27% recoil reduction requires specific combinations. Extended Barrel transforms 15-25m range to 18-30m. Tactical Stock reduces target acquisition by 50-80ms.
4. Misunderstanding Buff Stacking
Multiplicative stacking ≠ additive. Tier 2 = 27.75% total reduction, not simple addition. Ghost's 25s cooldown → 18.06s. ETHAN's barrier → 25.5s for near-permanent uptime.
Resource Efficiency & Gold Allocation
Priority ranking:
Ethan-Byakuya Kuchiki login reward (free)
Weapon progression (P90 level 100 for Burst Bolt)
Striker unlocks (gameplay impact)
BLEACH PASS evaluation (collection goals)
Gacha participation (aesthetic only)
Long-term investments:
Permanent content > limited cosmetics (exception: collectors valuing exclusivity)
P90 progression delivers consistent returns across all modes
Redeem codes offset collaboration costs
BitTopup's platform reliability ensures immediate Gold access for time-sensitive opportunities.
FAQ
Best strikers for Hunt Rampage? S-Tier: Volt, Nacho, Ran (A+ status). Specialists: Ghost (#1), ETHAN (#2), JET (#3), Sparkle (#4).
January 2026 update weapon impact? P90 → S-Tier via Burst Bolt (90-105 damage/burst, 27% recoil reduction at level 100). AR97 reduced dropoff, VSS +10 mag.
Highest win rate weapon build? P90 Burst Bolt: Extended Barrel, Compensator, Vertical Foregrip, Tactical Stock = 27% recoil reduction, 50-round mag, 15-25m dominance.
How do Hunt Rampage buffs work? Tier 1 (100 pts): 15% cooldown. Tier 2 (250 pts): 25% enhanced effects + 27.75% total cooldown. Tier 3 (500 pts): 30% health restoration. Multiplicative stacking, persist through death, 500-pt cap.
Can F2P compete? Yes. Ethan-Byakuya Kuchiki free (28-day login, Hunt Rampage #2 specialist). Redeem codes provide Gold for progression. 200-240 pts/hour achievable.
Optimal Speed Circuit routes? Three high-density zones, 45-60s loops. 2-3 eliminations/zone, transition before spawn shifts. 250-300 pts/hour, Tier 2 in 50-75 min, Tier 3 in 100-120 min.

