

Look, I've spent countless hours watching players grind TDM Warehouse thinking they're improving their aim, only to get demolished in ranked matches. Here's the thing – most people are doing it wrong. This isn't just about mindlessly fragging in TDM. We're talking about proven drill routines that create muscle memory for those clutch spray fights when your rank's on the line.
Why TDM Warehouse Actually Works for Aim Training (When Done Right)
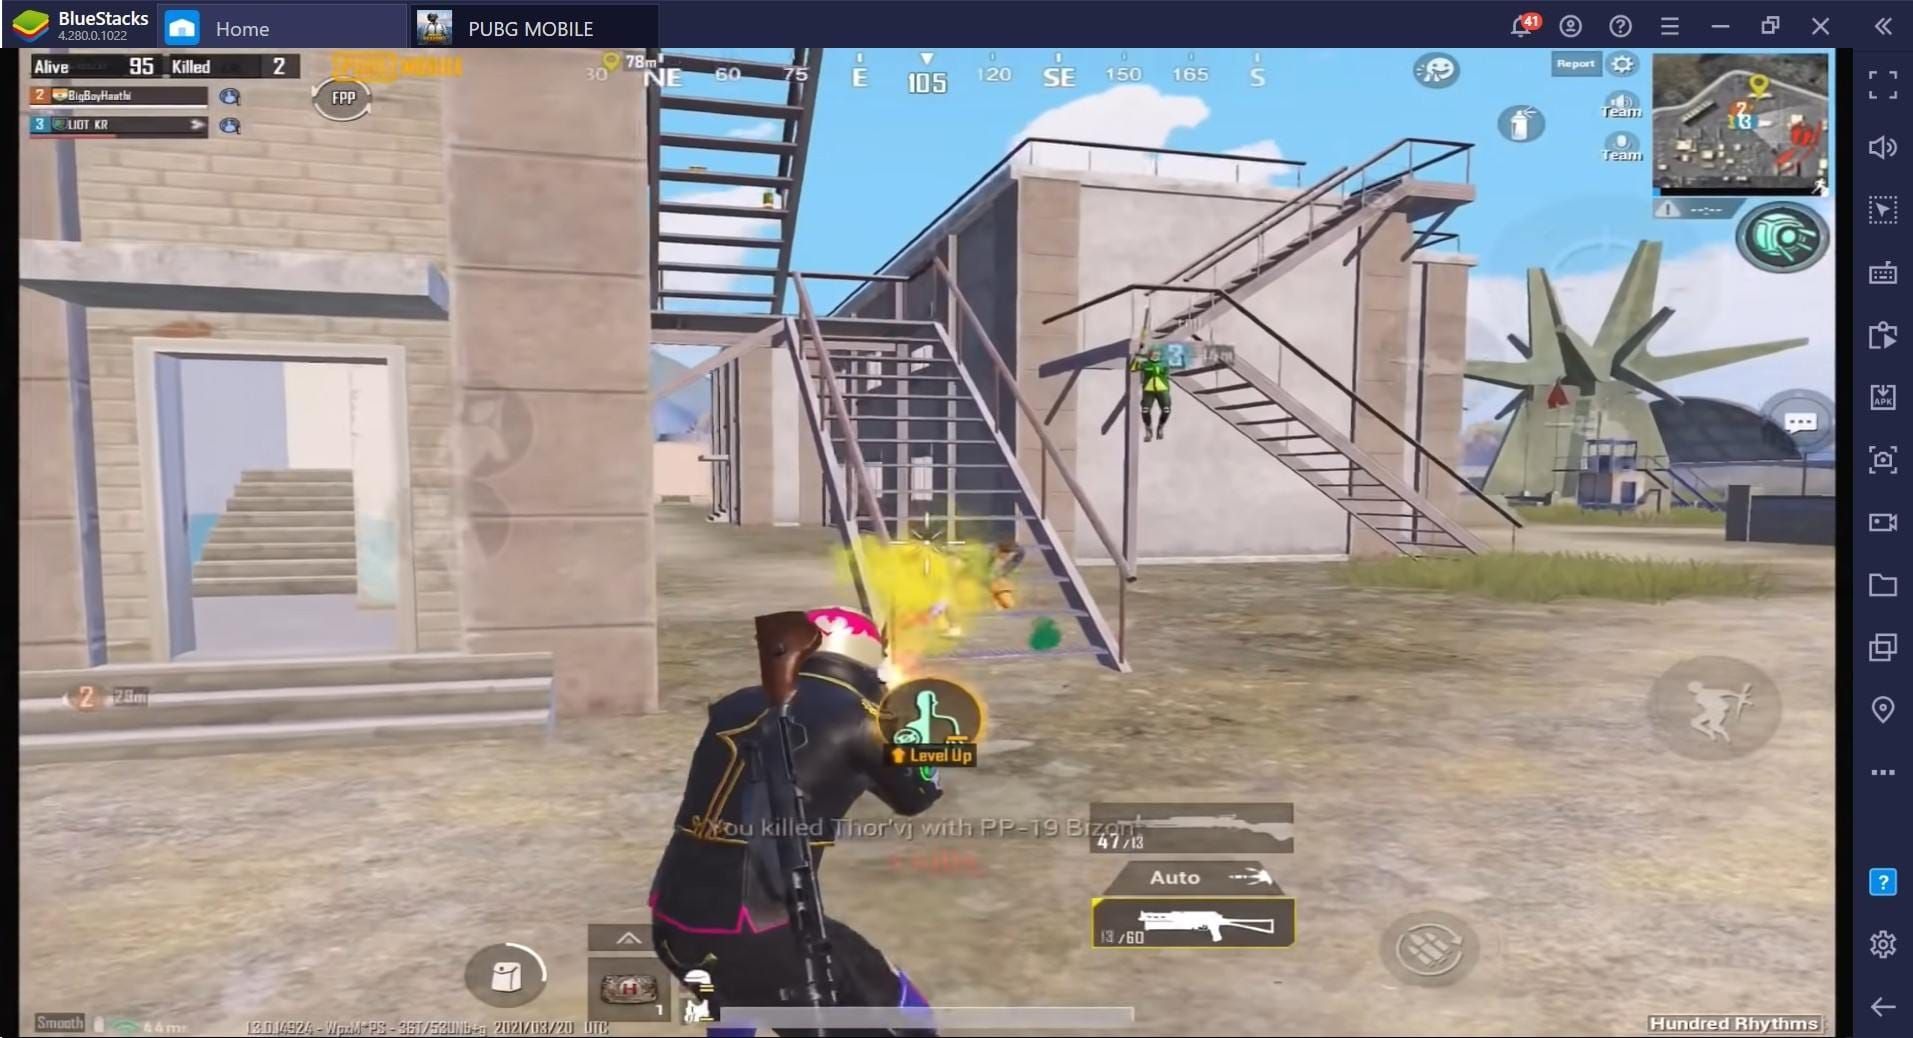
TDM Warehouse dropped with the 0.13.0 patch back on June 12, 2019, and honestly? It's become the unsung hero of aim training. The map's symmetrical design isn't just pretty – it's functional. Two teams, four players each, unlimited spawns, first to 39 kills wins. Simple concept, but the magic happens in those 10-25 meter engagement distances that mirror exactly what you'll face in ranked squad fights.
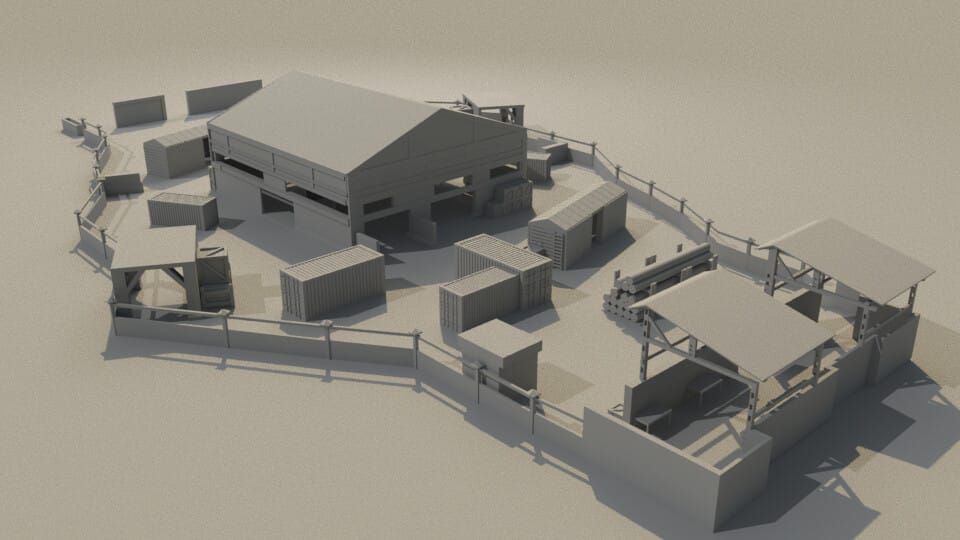
Here's what most guides won't tell you: the Warehouse has three distinct training zones that serve different purposes. The central container area? That's your spray control laboratory. Those elevated platforms teach you angle discipline. And those long corridors – perfect for tracking moving targets.
Pro tip from my own grinding sessions: camp the upper catwalks for pre-aiming practice, but don't stay there all match. Drop to ground level containers when you need to work on spray patterns under pressure.
For serious improvement (and I mean serious), PUBG UC quick top up through BitTopup keeps your training uninterrupted. Trust me, nothing kills momentum like running out of UC mid-session. BitTopup's instant delivery means you're back to grinding in seconds, not minutes.
The Four-Level Drill System That Actually Works
Professional players – the ones pulling six-figure tournament earnings – dedicate 20-30 minutes daily to structured drills. Not random shooting. Structured practice.
Level 1: Crosshair discipline. Keep that crosshair at head height constantly. Sounds basic? Most players fail this immediately.
Level 2: Pre-aiming common angles. Before you round any corner, your crosshair should already be positioned where enemies typically appear.
Level 3: Pre-firing likely positions. This separates good players from great ones.
Level 4: Cover isolation for pure 1v1 scenarios.
Flick shots deserve their own 10-minute block each session. Start stationary, progress to moving targets. Here's the benchmark: maintain 70% headshot accuracy before increasing speed. Focus on 90-degree flicks – they appear constantly in ranked matches. Practice both directions equally (your dominant side will naturally develop faster, creating bad habits).
Spray Control: Beyond the Basics
Every weapon has a personality. The M416? Steady downward pressure with slight left compensation after round 10. The AKM demands respect – aggressive downward control with periodic right adjustments that'll make or break your spray.
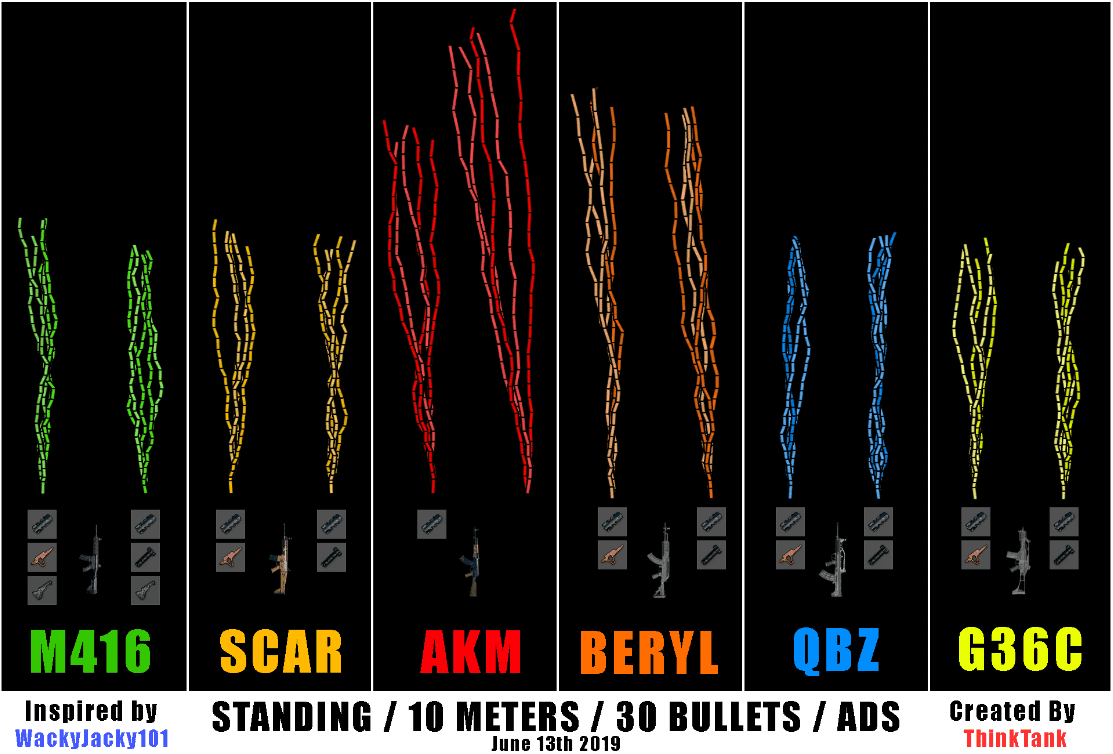
Here's something most players skip: fire full magazines at training ground walls first. Watch the pattern. Learn it. Then apply that knowledge in TDM under pressure.
SMGs like the UMP45 and UZI work differently. Forget full-auto sprays at close range – 2-3 round bursts are your friend. And attachments? They're not just cosmetic. Vertical grips and compensators reduce recoil by substantial margins. Test combinations in training ground before committing to TDM sessions.
Sensitivity Settings That Don't Suck
After testing hundreds of configurations (yes, hundreds), here's what actually works:
Camera Sensitivity: 3rd Person 120%, 1st Person 130%. For scopes: No Scope 130%, Red Dot 45%, 2x 30%, 3x 20%, 4x 18%, 6x 14%, 8x 12%.
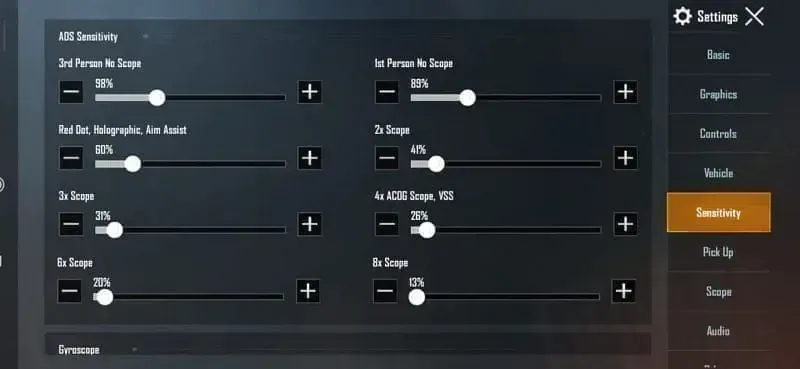
ADS Sensitivity: No Scope 100%, Red Dot 50%, 2x 35%, 3x 25%, 4x 20%, 6x 15%, 8x 12%.
Gyroscope settings (enable this, seriously): No Scope 300%, Red Dot 280%, 2x 270%, 3x 180%, 4x 160%, 6x 120%, 8x 100%.
ADS Gyroscope: No Scope 400%, Red Dot 375%, 2x 350%, 3x 260%, 4x 150%, 6x 195%, 8x 55-70%.
Test each setting for 10-15 minutes minimum. Adjust 5-10% based on your device's screen size and refresh rate. What works on a flagship phone might feel sluggish on a mid-range device.
Advanced Techniques That Separate Ranks
Pre-aiming isn't just positioning your crosshair randomly. It's about head-level placement before rounding corners, reducing reaction time and increasing first-shot accuracy dramatically.
Master angle isolation using cover to force 1v1 engagements. Open areas where multiple enemies can engage you simultaneously? That's how you get third-partied into oblivion.
Distance compensation matters more than most players realize. 100m targets require body-tip placement, 200m needs lower positioning, 300m+ demands significant drop compensation. For moving targets in TDM's close quarters, minimal leading is required – but practice it anyway.
Weapon-Specific Training That Transfers
The M416 remains the gold standard for versatility. Practice its recoil pattern by firing full magazines at 50-meter targets. Pull straight down for the first 15 rounds, then add slight left compensation. Dedicate 15 minutes daily to M416-specific drills: close-range hip-fire, medium-range ADS sprays, and scope transitions mid-engagement.
The AKM's high damage output requires confidence. Practice in 10-round bursts initially, gradually extending to full magazines. Focus on those first 10 rounds – they remain relatively predictable and deliver consistent damage.
Mistakes That Kill Your Progress
Pulling down too aggressively causes shots to land below targets. Start with minimal downward pressure, gradually increase until achieving center-mass hits. Balance camera sensitivity between 80-150% and ADS between 50-100% for optimal control.
Train head-level crosshair placement during movement and repositioning. This single habit improves kill-death ratios more than any other technique. Practice crosshair discipline during non-combat moments in TDM – it reinforces proper placement habits that transfer to ranked matches.
Making TDM Skills Work in Ranked
Here's the reality check: TDM engagements last about 1 second with 5-second target acquisition phases. Ranked fights involve longer positioning battles and constant third-party threats.
Apply aggressive spray techniques during close-range squad fights, but employ controlled bursts for long-range engagements. The muscle memory transfers, but the application changes.
PUBG Mobile UC card payment through BitTopup provides secure transactions and instant delivery, supporting your improvement goals with reliable access to premium content and training materials. Practice repositioning immediately after kills to avoid revenge eliminations – use smokes and cover to break enemy sight lines and maintain positional advantage.
Tracking Progress Like a Pro
Monitor headshot percentage, spray accuracy at various distances, and target acquisition speed during training sessions. Aim for 70% headshot accuracy in TDM before focusing on speed improvements.
Record metrics weekly. Identify improvement trends and correlate with ranked performance: K/D ratio, average damage, survival time. The data doesn't lie.
Structure your sessions: 10 minutes sensitivity testing, 20 minutes weapon-specific drills, 10 minutes scenario practice. Combine TDM practice with training ground exercises – use TDM for reaction time and real opponent practice, training mode for technical recoil pattern mastery.
FAQ
How long should I practice TDM Warehouse drills daily? 30 minutes to 1 hour daily, structured properly. 10 minutes sensitivity testing, 20 minutes weapon-specific drills, 10 minutes scenario practice. Consistency beats marathon sessions every time.
What sensitivity settings work best for aim training? Camera Sensitivity: TPP 120%, Red Dot 45%, 4x 18%. ADS: No Scope 100%, Red Dot 50%, 4x 20%. Gyroscope: Red Dot 280%, 4x 160%. Test each for 10-15 minutes before committing – don't just copy-paste settings.
Which weapons should I focus on for spray control practice? Start with M416, SCAR-L, Beryl M762 for assault rifles. Add UMP45 for SMG practice. Master 2-3 weapons thoroughly rather than practicing all superficially. Depth beats breadth.
How do I transfer TDM skills to ranked matches effectively? Apply aggressive spray techniques in close-range squad fights, controlled bursts for long-range. Practice repositioning after kills and ammunition conservation – TDM's unlimited ammo creates bad habits.
What are the best positions in Warehouse for aim training? Central container area for close-range spray control, elevated platforms for angle practice, long corridors for tracking drills. Position in high-traffic areas for maximum engagement frequency, but rotate positions to avoid predictability.
How can I track my aiming improvement progress? Monitor headshot percentage, spray accuracy at distances, target acquisition speed weekly. Aim for 70% headshot accuracy before focusing on speed. Correlate training metrics with ranked K/D ratio and average damage for real progress indicators.